By Design Bundles
How to Draw a Turtle
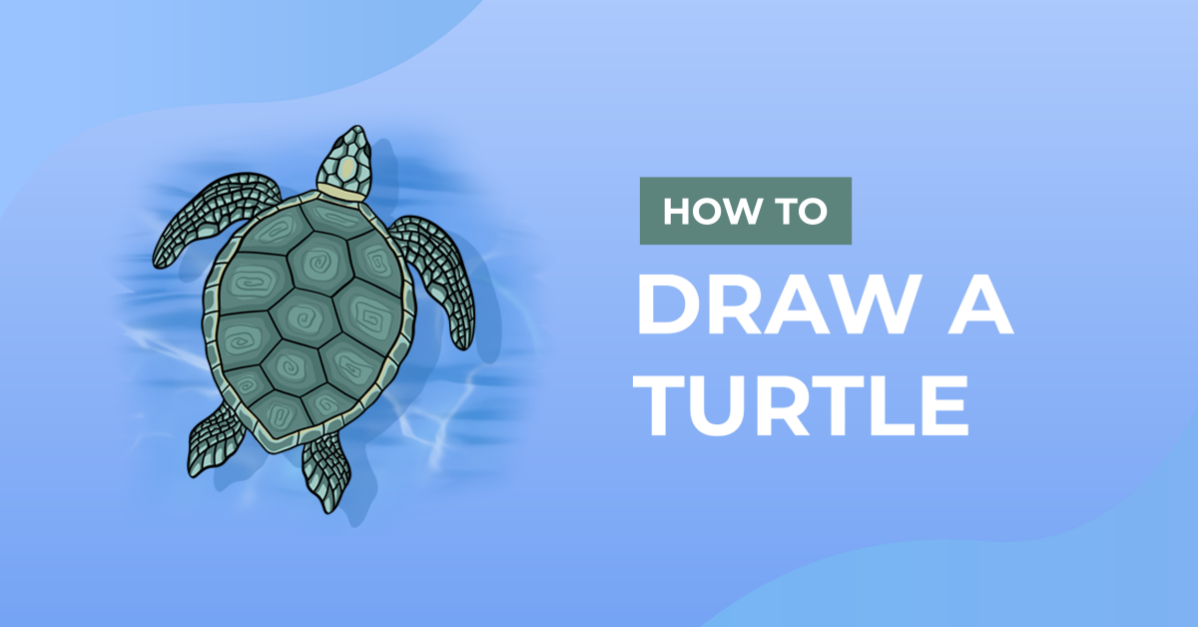
Turtle shells are truly mesmerizing with their unique patterns and sleek appearance. Drawing a turtle doesn’t have to be overly complicated so in this step-by-step tutorial, we’ll show you how you can draw a sea turtle with basic detailing to showcase its shell patterns.
Feel free to explore your own style when drawing your turtle and before we get started, grab your supplies. You can use anything you have on hand to draw your turtle, like pencils, crayons, Procreate, Photoshop, etc. If you are using Procreate like me, we will use ink Procreate brushes. You can check out our Procreate brushes for more choices if you want.

Step 1 - Draw the shell
The first part of the turtle that we will draw is its shell. Starting at the shell will help you with getting everything spaced out and where the turtle’s head and flippers will go. I’d like to think of a sea turtle’s shell to be in the shape of a guitar pick but a bit more rounded. You could definitely use an oval shape too for the shell.
For detailed drawings, I like to sketch out as much as I can with a pencil and then going in at the end with a liner pen to make sure I have clean lines. You could use whichever medium for your outline from the start though.

Step 2 - Draw the head and flippers
Next, you will draw the turtle’s head and flippers. The head is at the top of the shell and is a similar shape to a lizard. On the sides of the shell close to the head draw the long flippers and below close to the bottom draw the back flippers which are shorter.

Step 3 - Draw the shell segments
Going back to the shell you are going to draw the pattern of the shell. Start at the top and work down the big center segments. Leaving narrow gaps between all segments. Now go around the edge of the shell draw short segments that form the shape of the shell. Next, fill in the open spaces with more big segments next to the center ones.

Step 4 - Add the details
Let’s add some more details of more segments on the flippers and head. You could use a reference photo for some head patterns and see how it looks on the flippers too. You don’t have to completely fill everything, it just needs to be enough to add detail.
For the rest of the empty spaces on the neck and flippers, you can make dots or short strokes to show texture. Don’t forget to draw the eyes too!

Step 5 - Outline the sea turtle
As mentioned before, I’m going to outline my sketch and this is completely optional. Using my liner pen I’m following along my lines and cleaning up some of my details on the sea turtle. Once the outline is done we can erase the pencil sketch.

Step 6 - Final touches
With the sea turtle outline done you can go ahead and add final touches like coloring it in or adding background details.

With your turtle done, you can make so many projects with it, like a coloring page, stickers, or turn it into clipart. Next up, check out our other drawing tutorials such as drawing a flower and drawing a pumpkin.