By Jordyn
How to Make Die Cut Stickers in Illustrator
Have you ever wanted to make your own die cut stickerswith the white borders? In this tutorial we will show you how to make stickers in Adobe Illustrator to use for vinyl stickers, planner stickers, or even digital stickers!
Vinyl stickers have been rising in popularity as of the last few years, and people are using them all over.
Think water bottles, laptops, and cars being filled with stickers expressing your personality!
In this tutorial I’m going to create a Thank You sticker for your small business packaging! If you already have your design made and only need to see how to create the offset, skip down to Step 2.

Step 1 - Create Your Sticker Design
Outline Text
If you are using a text based design, you will want to create outlines for the text. Please note that once you create the outline the text box will be removed and you won’t be able to freely type with your font.
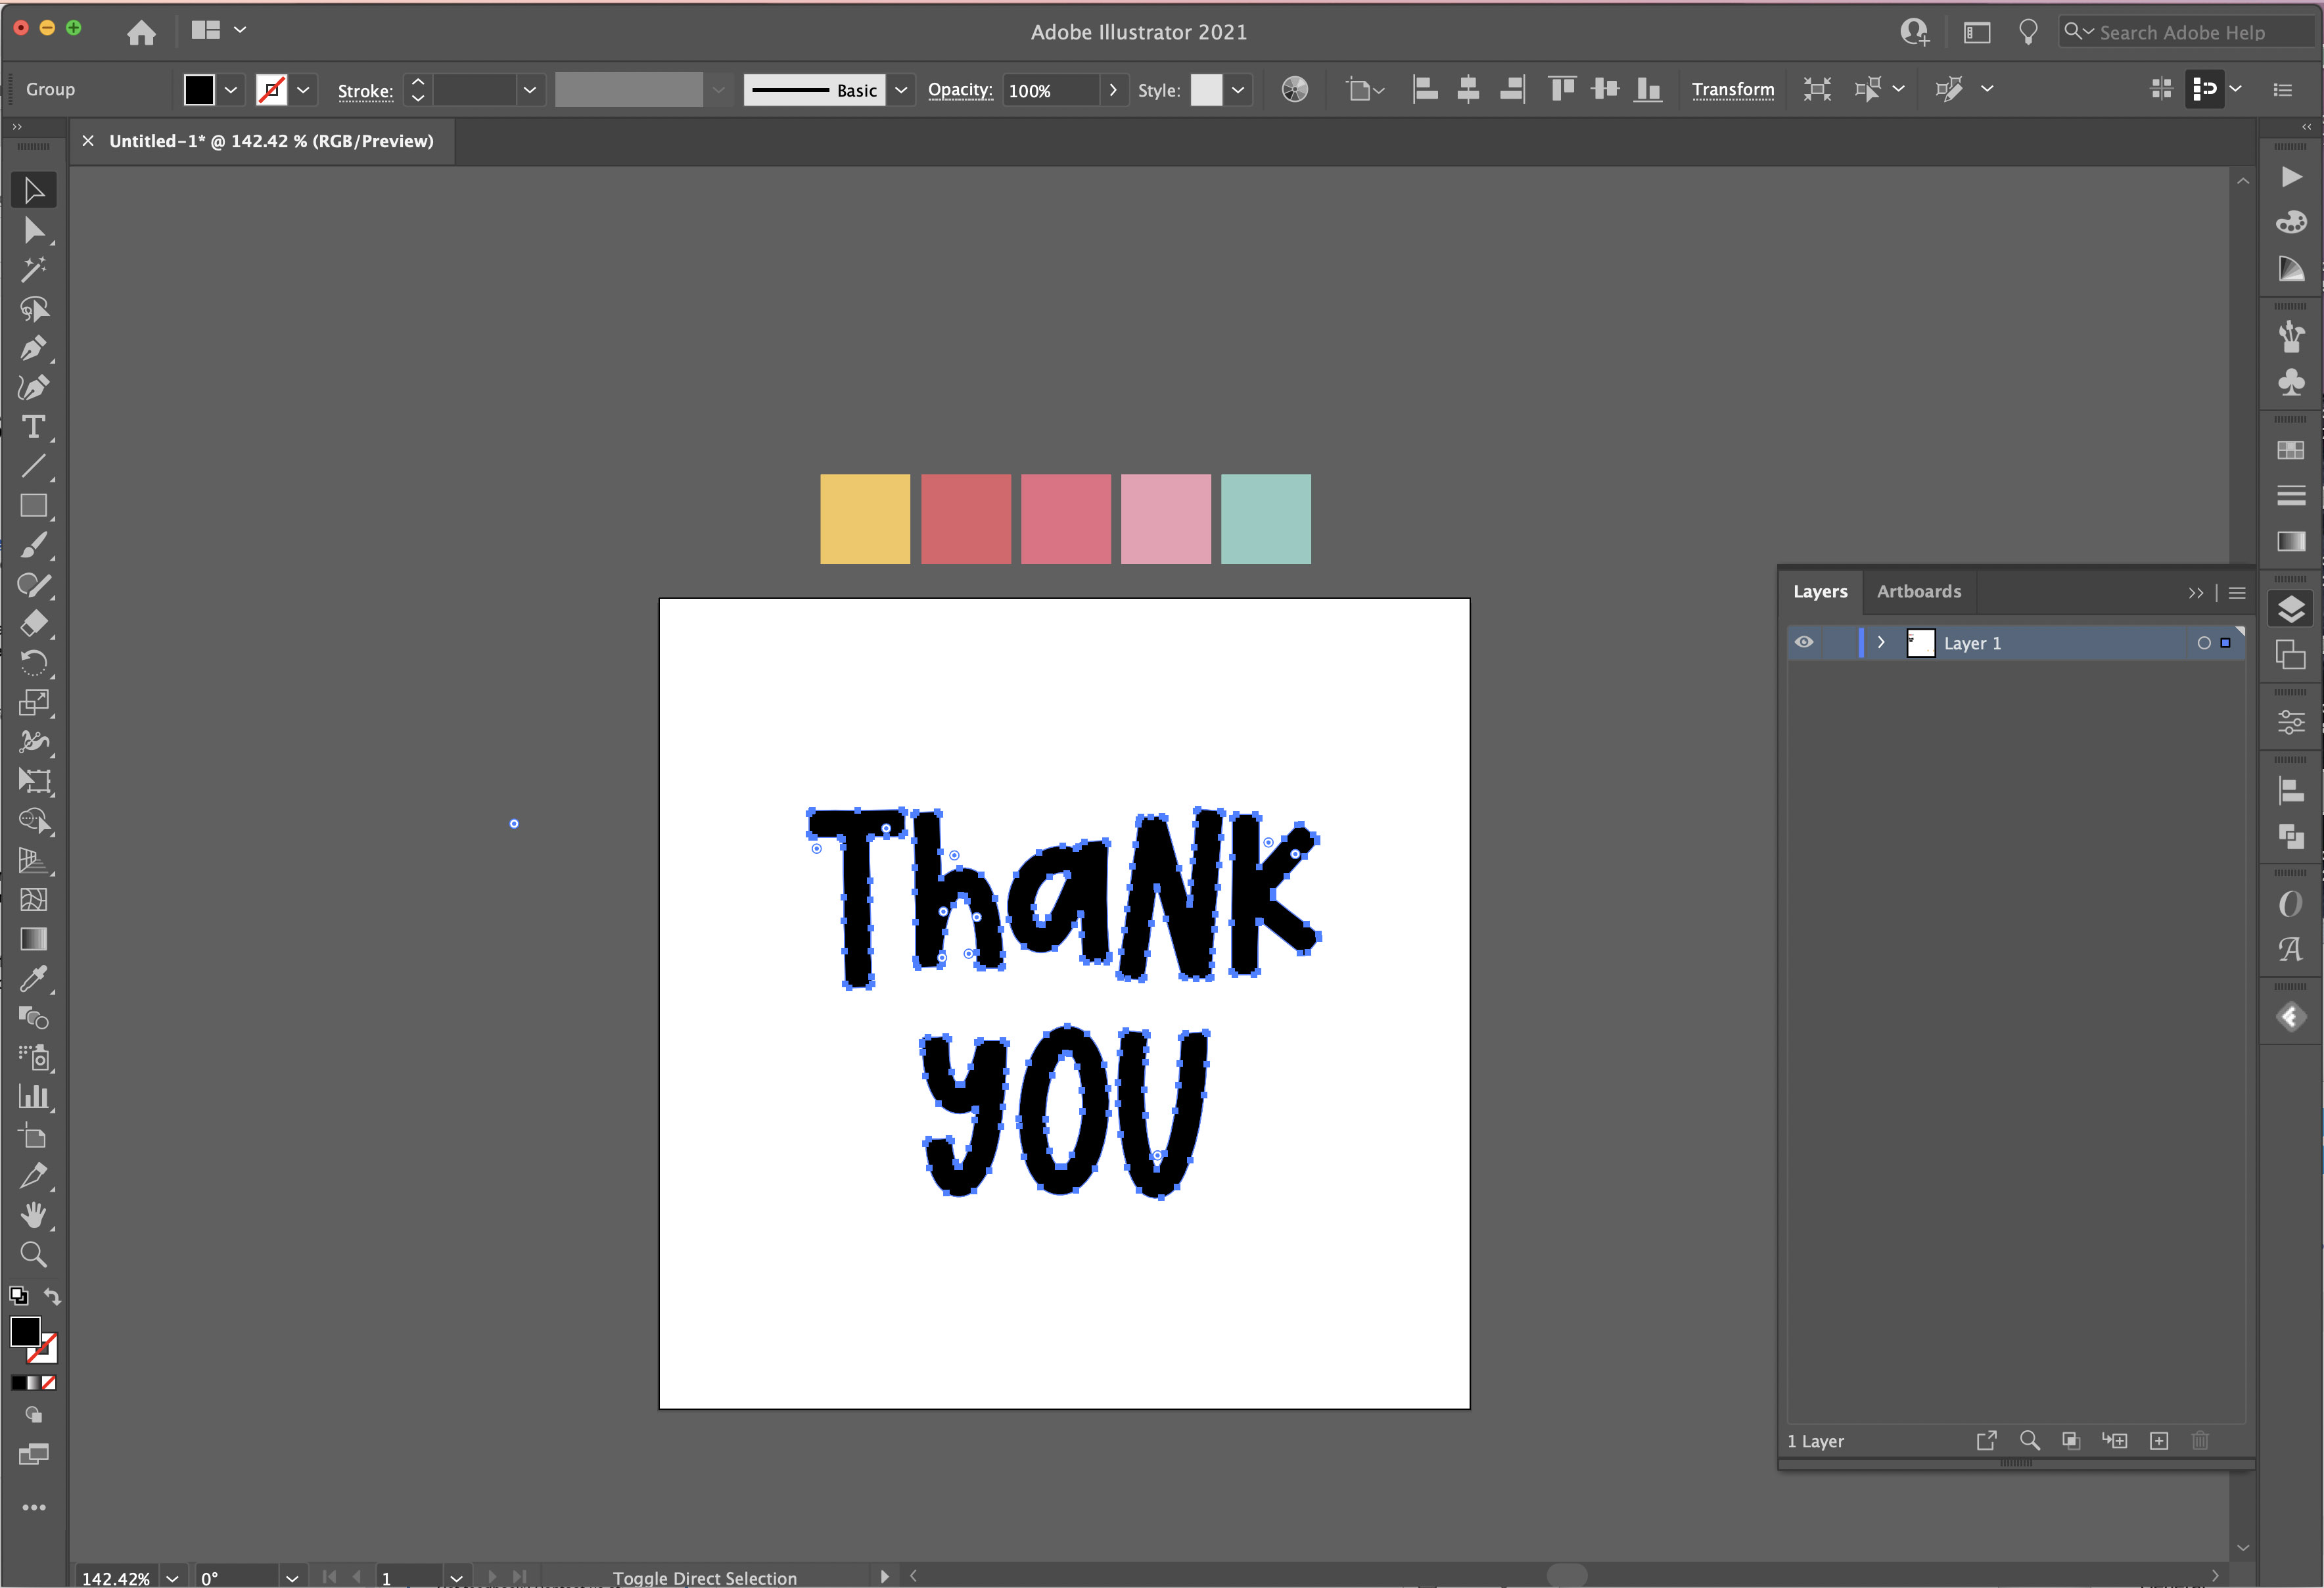
I have typed out “Thank You” in the Hello Sunday font from KA Designs. To create outlines hit Cmd/Ctrl + Shift + O or go to the top menus and select Type > Create Outlines.
Add Design Elements
I’m going to add some stars to my design here, but you could also add in some trendy sparkles! Click the Star Tool which is grouped in with the other shape tools.
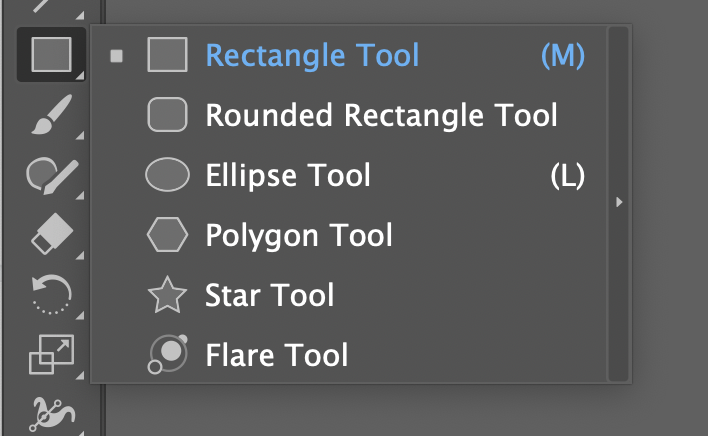
Drag with your mouse to create the size of the shape you’d like. You can then use the Eyedropper Tool (I) to select a color fill. Next you can round the corners to your shape, and our results look a little something like this:

Edit Color of Design
To edit the color of the text you will need to select the text and right-click to Ungroup, or click Cmd/Ctrl + Shift + G. Then using the Eyedropper Tool (I) again you can go one by one over each letter selecting the color you’d like.

Step 2 - Offset the Path
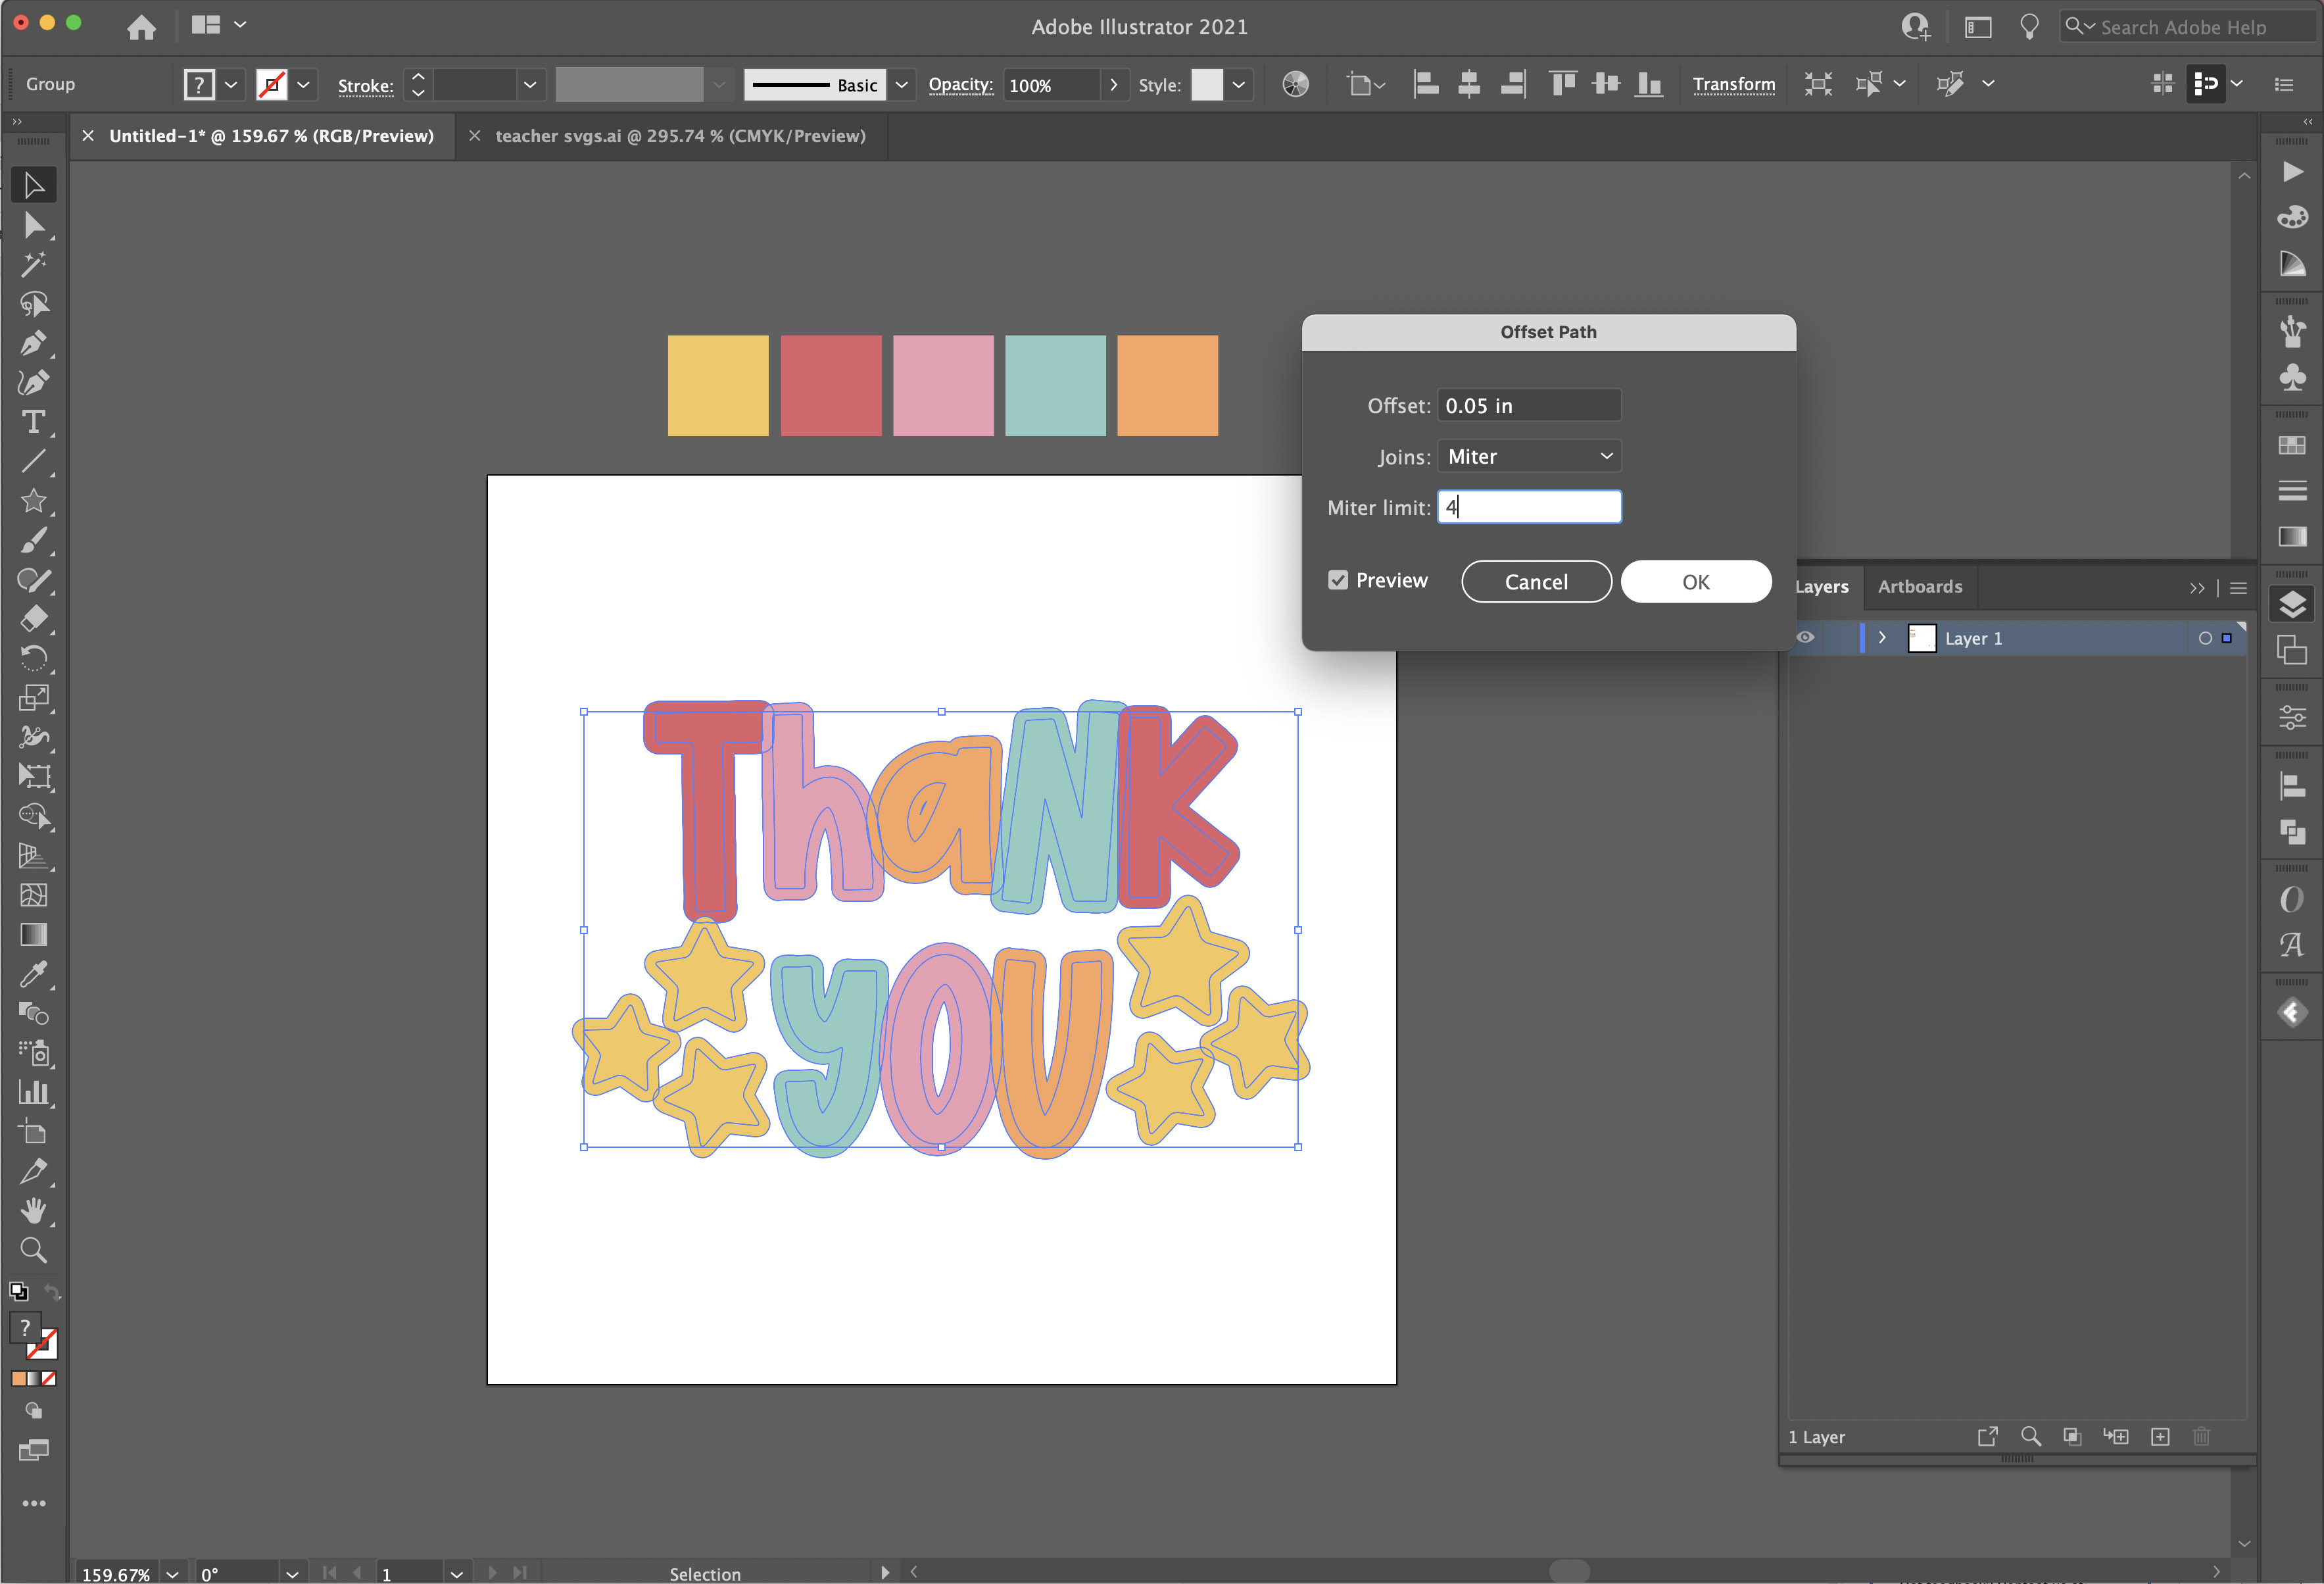
Select all of your elements and group them together by pressing Cmd/Ctrl + G. Then you’ll create the offset around your entire design by going to the top menus and selecting Object > Path > Offset Path.

I did an offset of .05 inches, but this will totally depend on your image size and the width you prefer. Don’t worry if it looks a little messy right now, that’s totally normal!
With everything still selected, I used the Eyedropper Tool (I) one more time and click on the canvas to make the outline white.
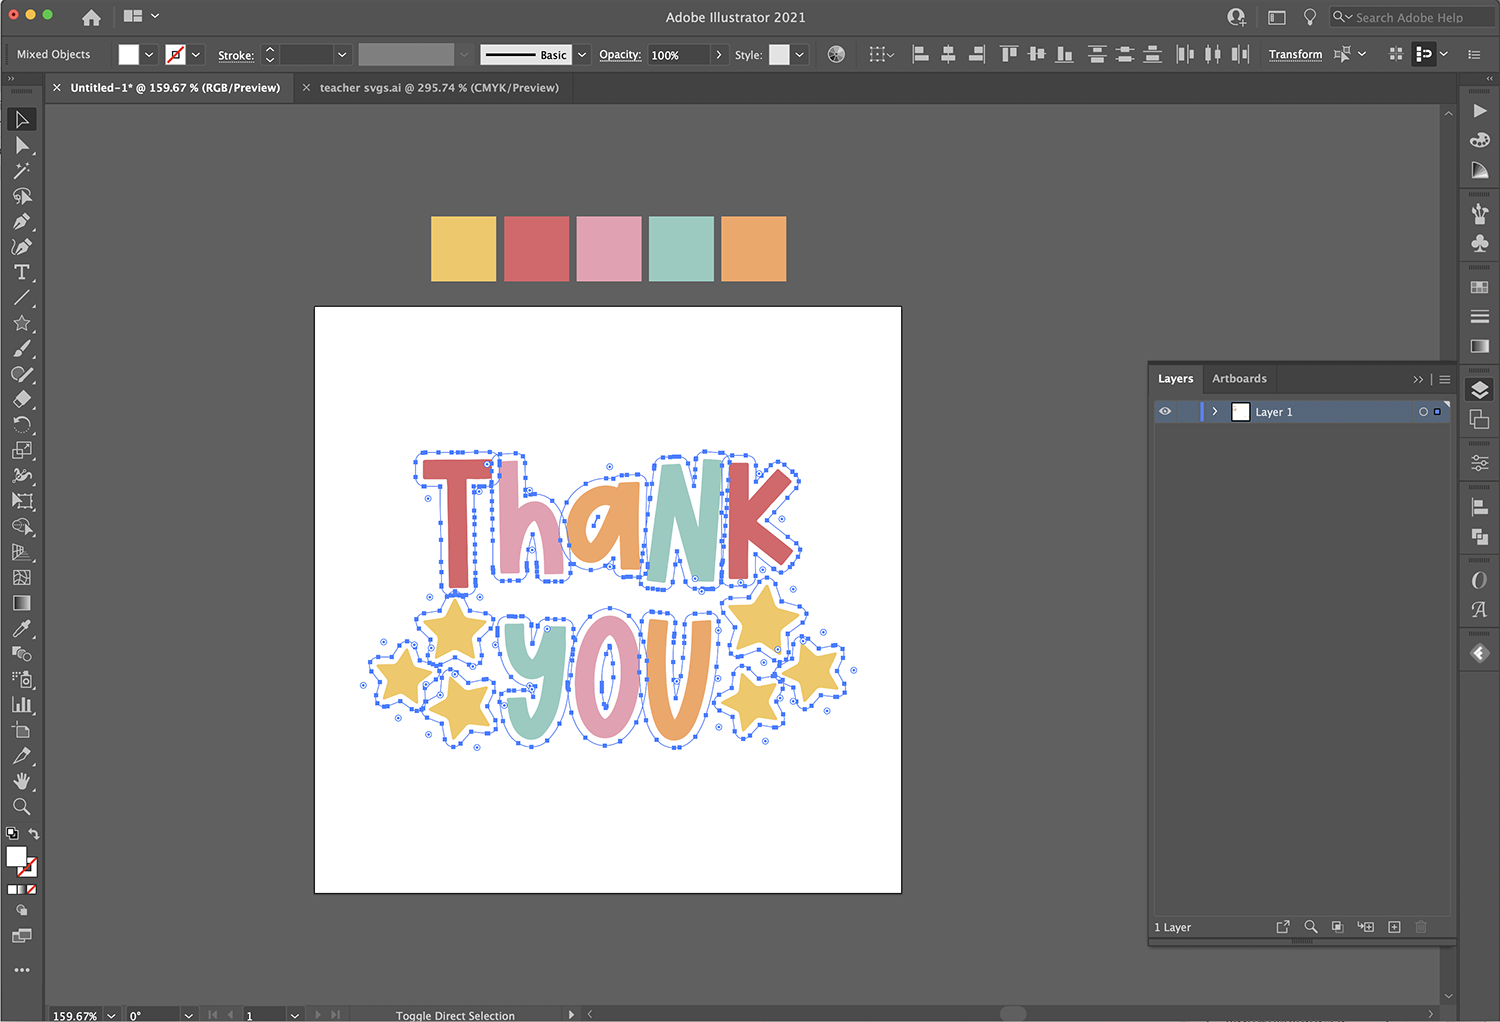
You’ll want to ungroup (Cmd/Ctrl + Shift + G) your layers now. We're doing this so we'll be able to easily lock layers in the next step.
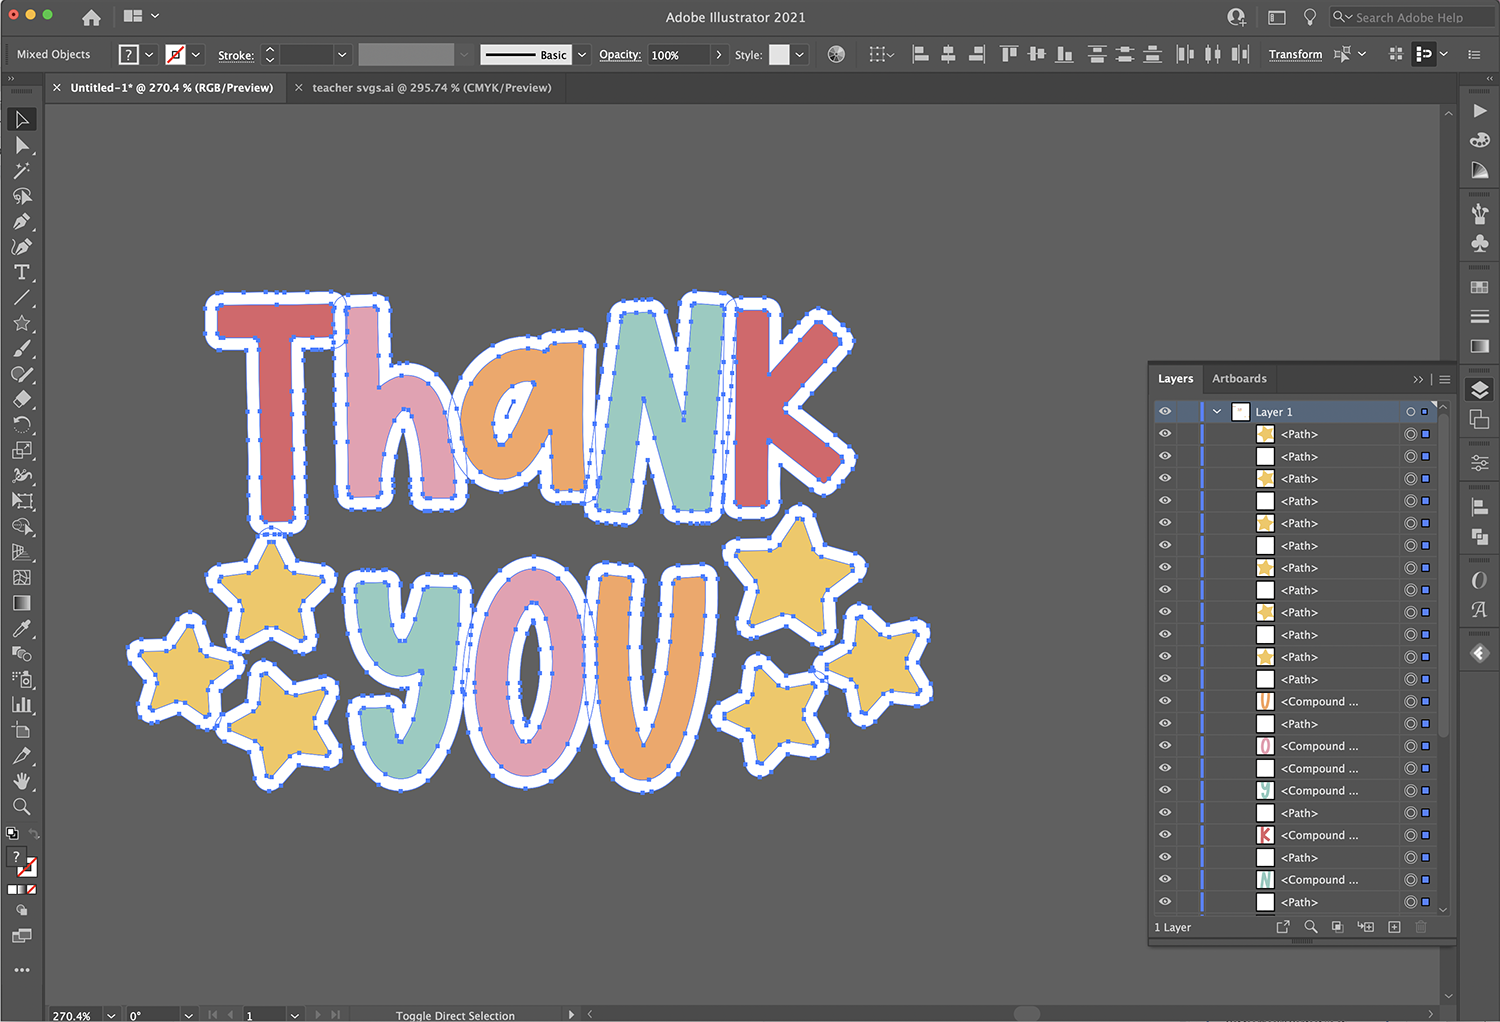
Step 3: Edit the Offset
When making stickers, you want to think about the end user who will be cutting the design. You will want to fill in the gaps of anything that may be too tiny to cut, as well as pieces that aren’t connected to the other parts of the design.
Lock the Design Layer
To make this easier to edit, we’re going to lock the design layer. To do this, click on a letter then hold down shift and continue clicking on each piece. Group the elements together, then lock them by hitting Cmd/Ctrl + 2.

Unite the Offset
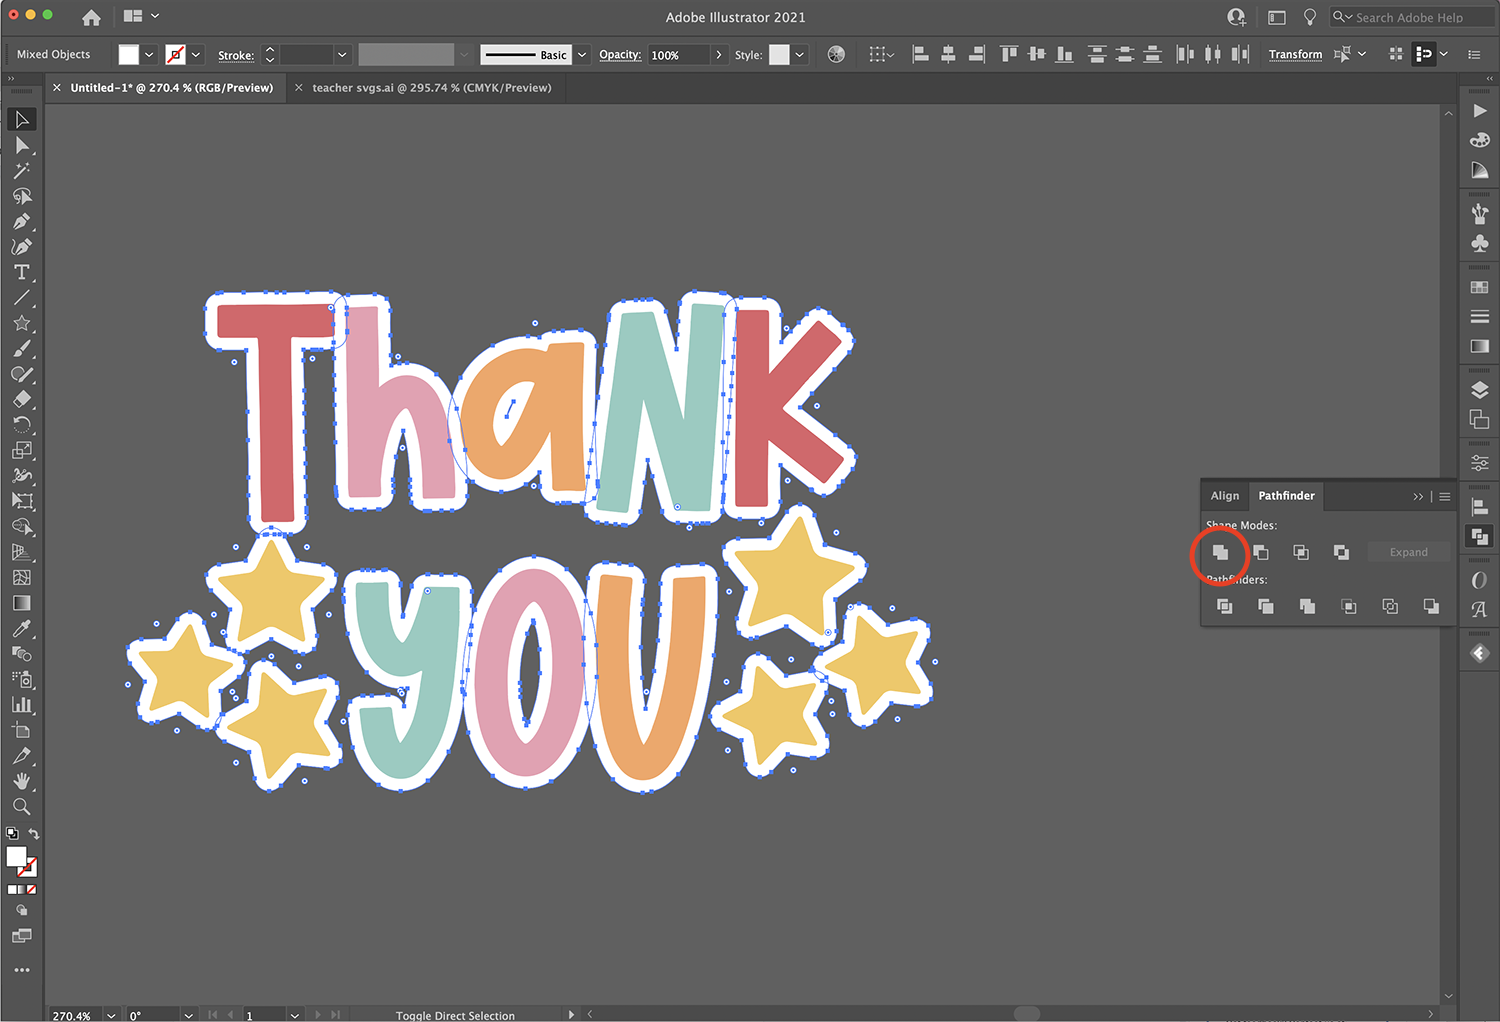
Now that the colored part of the design is locked, drag over everything to select the offset. Open up the Pathfinder Panel and select Unite to merge all the pieces together.
Use the Blob Brush Tool
Next, we will need to fill in the small pieces and connect our design together. I prefer to use the Blob Brush tool for this, but you can use whatever method you like best.
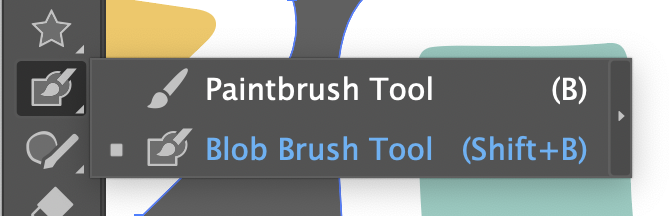
With the Blob Brush Tool, all you need to do is select the offset layer and then paint in the parts of the design you want to connect. For example, I filled in the counters (or insides) of the A and O. Then I began filling in the gaps between the two lines of text.

Once you are finished it should look something like the image below.
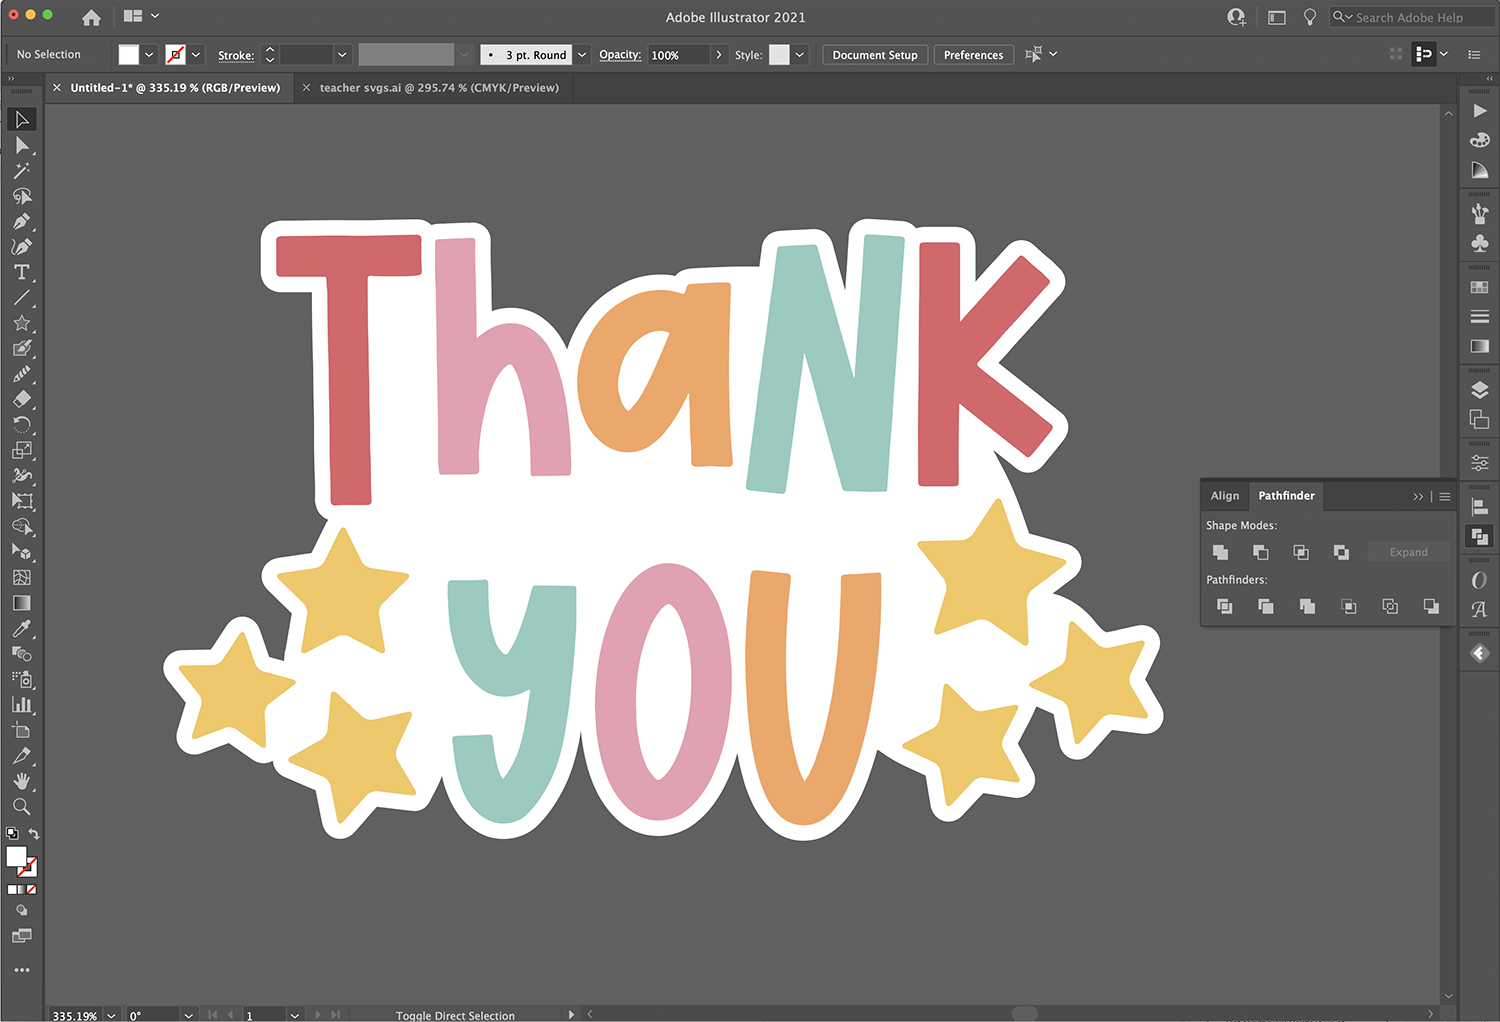
If you need to, you can use the Smooth Tool to smooth out any of the edges you’ve made with the Blob Brush. Unlock your design by pressing Cmd/Ctrl + Shift + 2. You’ll want to save the design as a PNG file, so that you can have a transparent background.
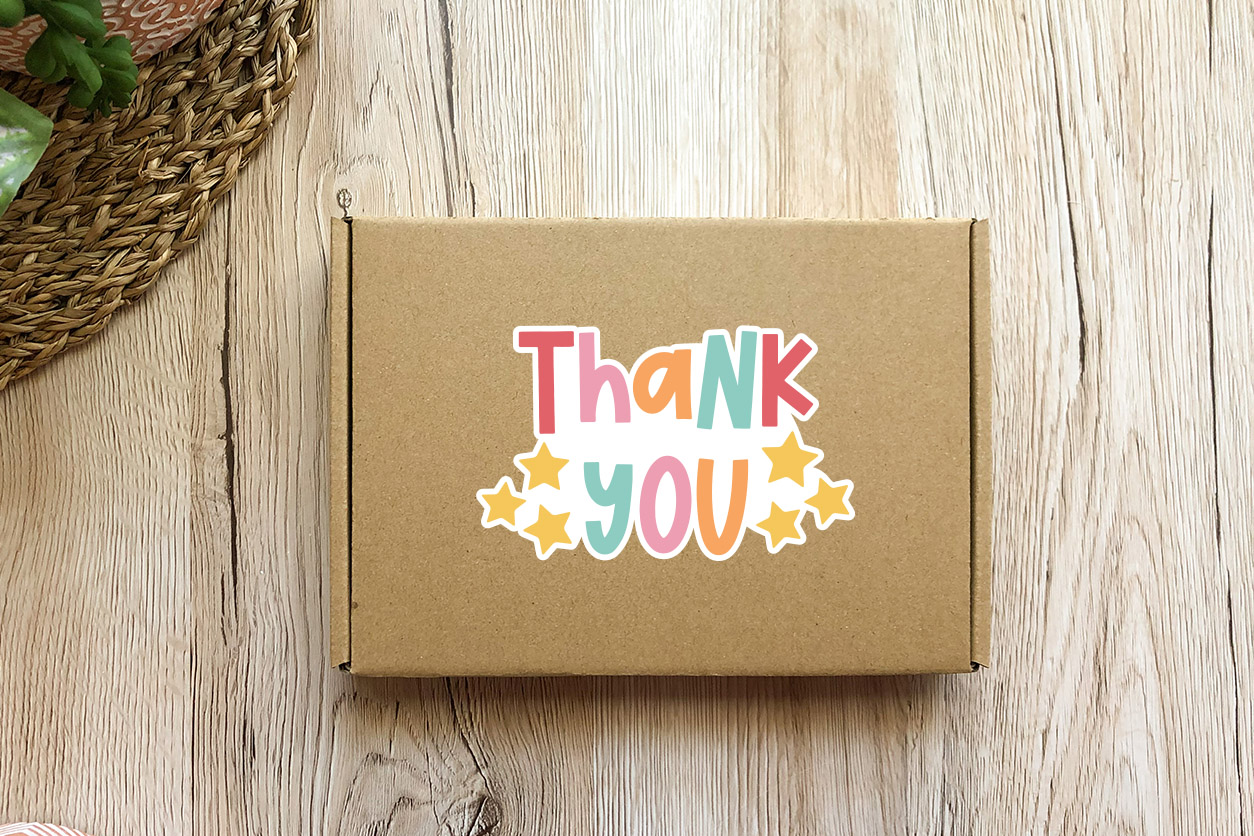
You have now learned how to make die cut stickers in Illustrator! Your design is now ready to Print then Cut with Cricut or Silhouette, and add to your outgoing packages, water bottle, or laptop!