By Design Bundles
How to Round Corners in Illustrator
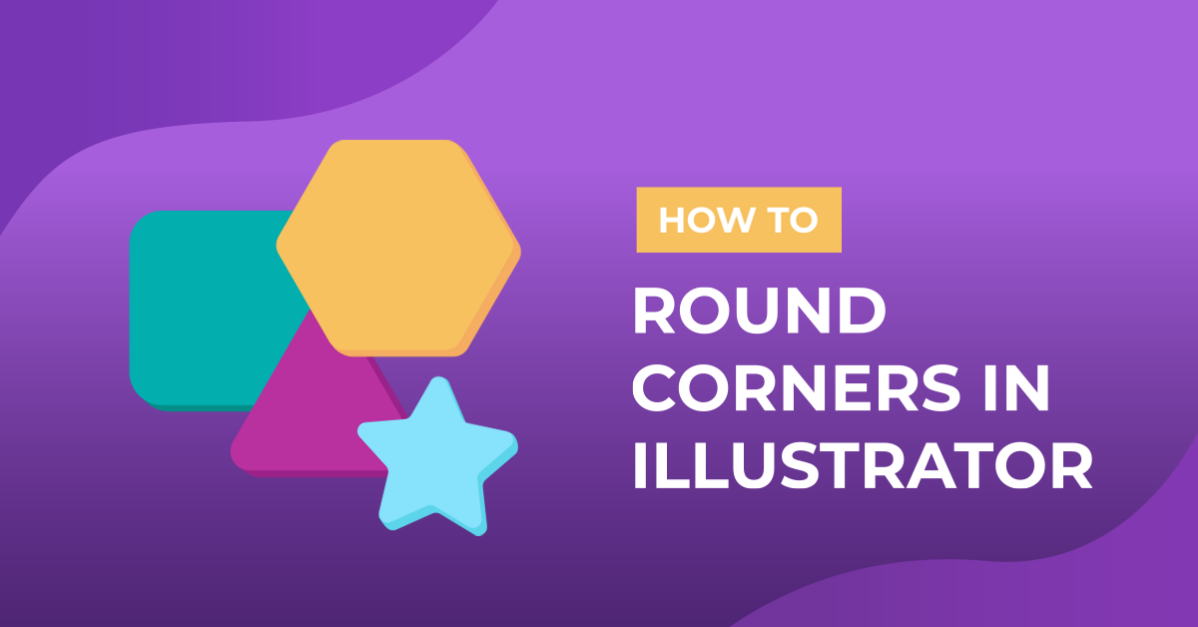
In this tutorial you will learn how to change sharp edges to rounded corners of any vector object. This creates a much softer look for your illustrations, infographics, diagrams or logos.Our Illustrator tutorial is super simple to follow and is a must have technique for your future design.
Step 1 - Create your design or shape
In this tutorial we will be using a triangleto show how to round corners. We drew our triangle using the Polygon Tool. Follow our tutorial on how to make triangles in Illustratorfor more detailed information.

Step 2 - Open the Round Corners panel
Next we will need to access the Rounded Corners panel to use the available options. Do this by selecting your design, then select Effects > Stylize > Round Corners.

Step 3 - Change the round corner values
Within the options, first tick the preview box so that is active. You will be able to see how the number values change your design. The higher the number, the larger the curve will be.

When you are happy with your corners, select OK. You could also use the Shape Builder Tool to only adjustindividual corners. We have adetailed tutorialon how to use the Shape Builder Toolif needed.

There you go, all done. You now have a triangle with perfectly rounded corners.
We have tons of great Illustrator tutorials, make sure you don’t miss our guides on making a seamless pattern in Illustrator, creating a flat character, and making a wavy line in Illustrator.