By Design Bundles
Long Shadow Effect in Illustrator
In this tutorial, we will learn two methods for creating long shadows in Illustrator.
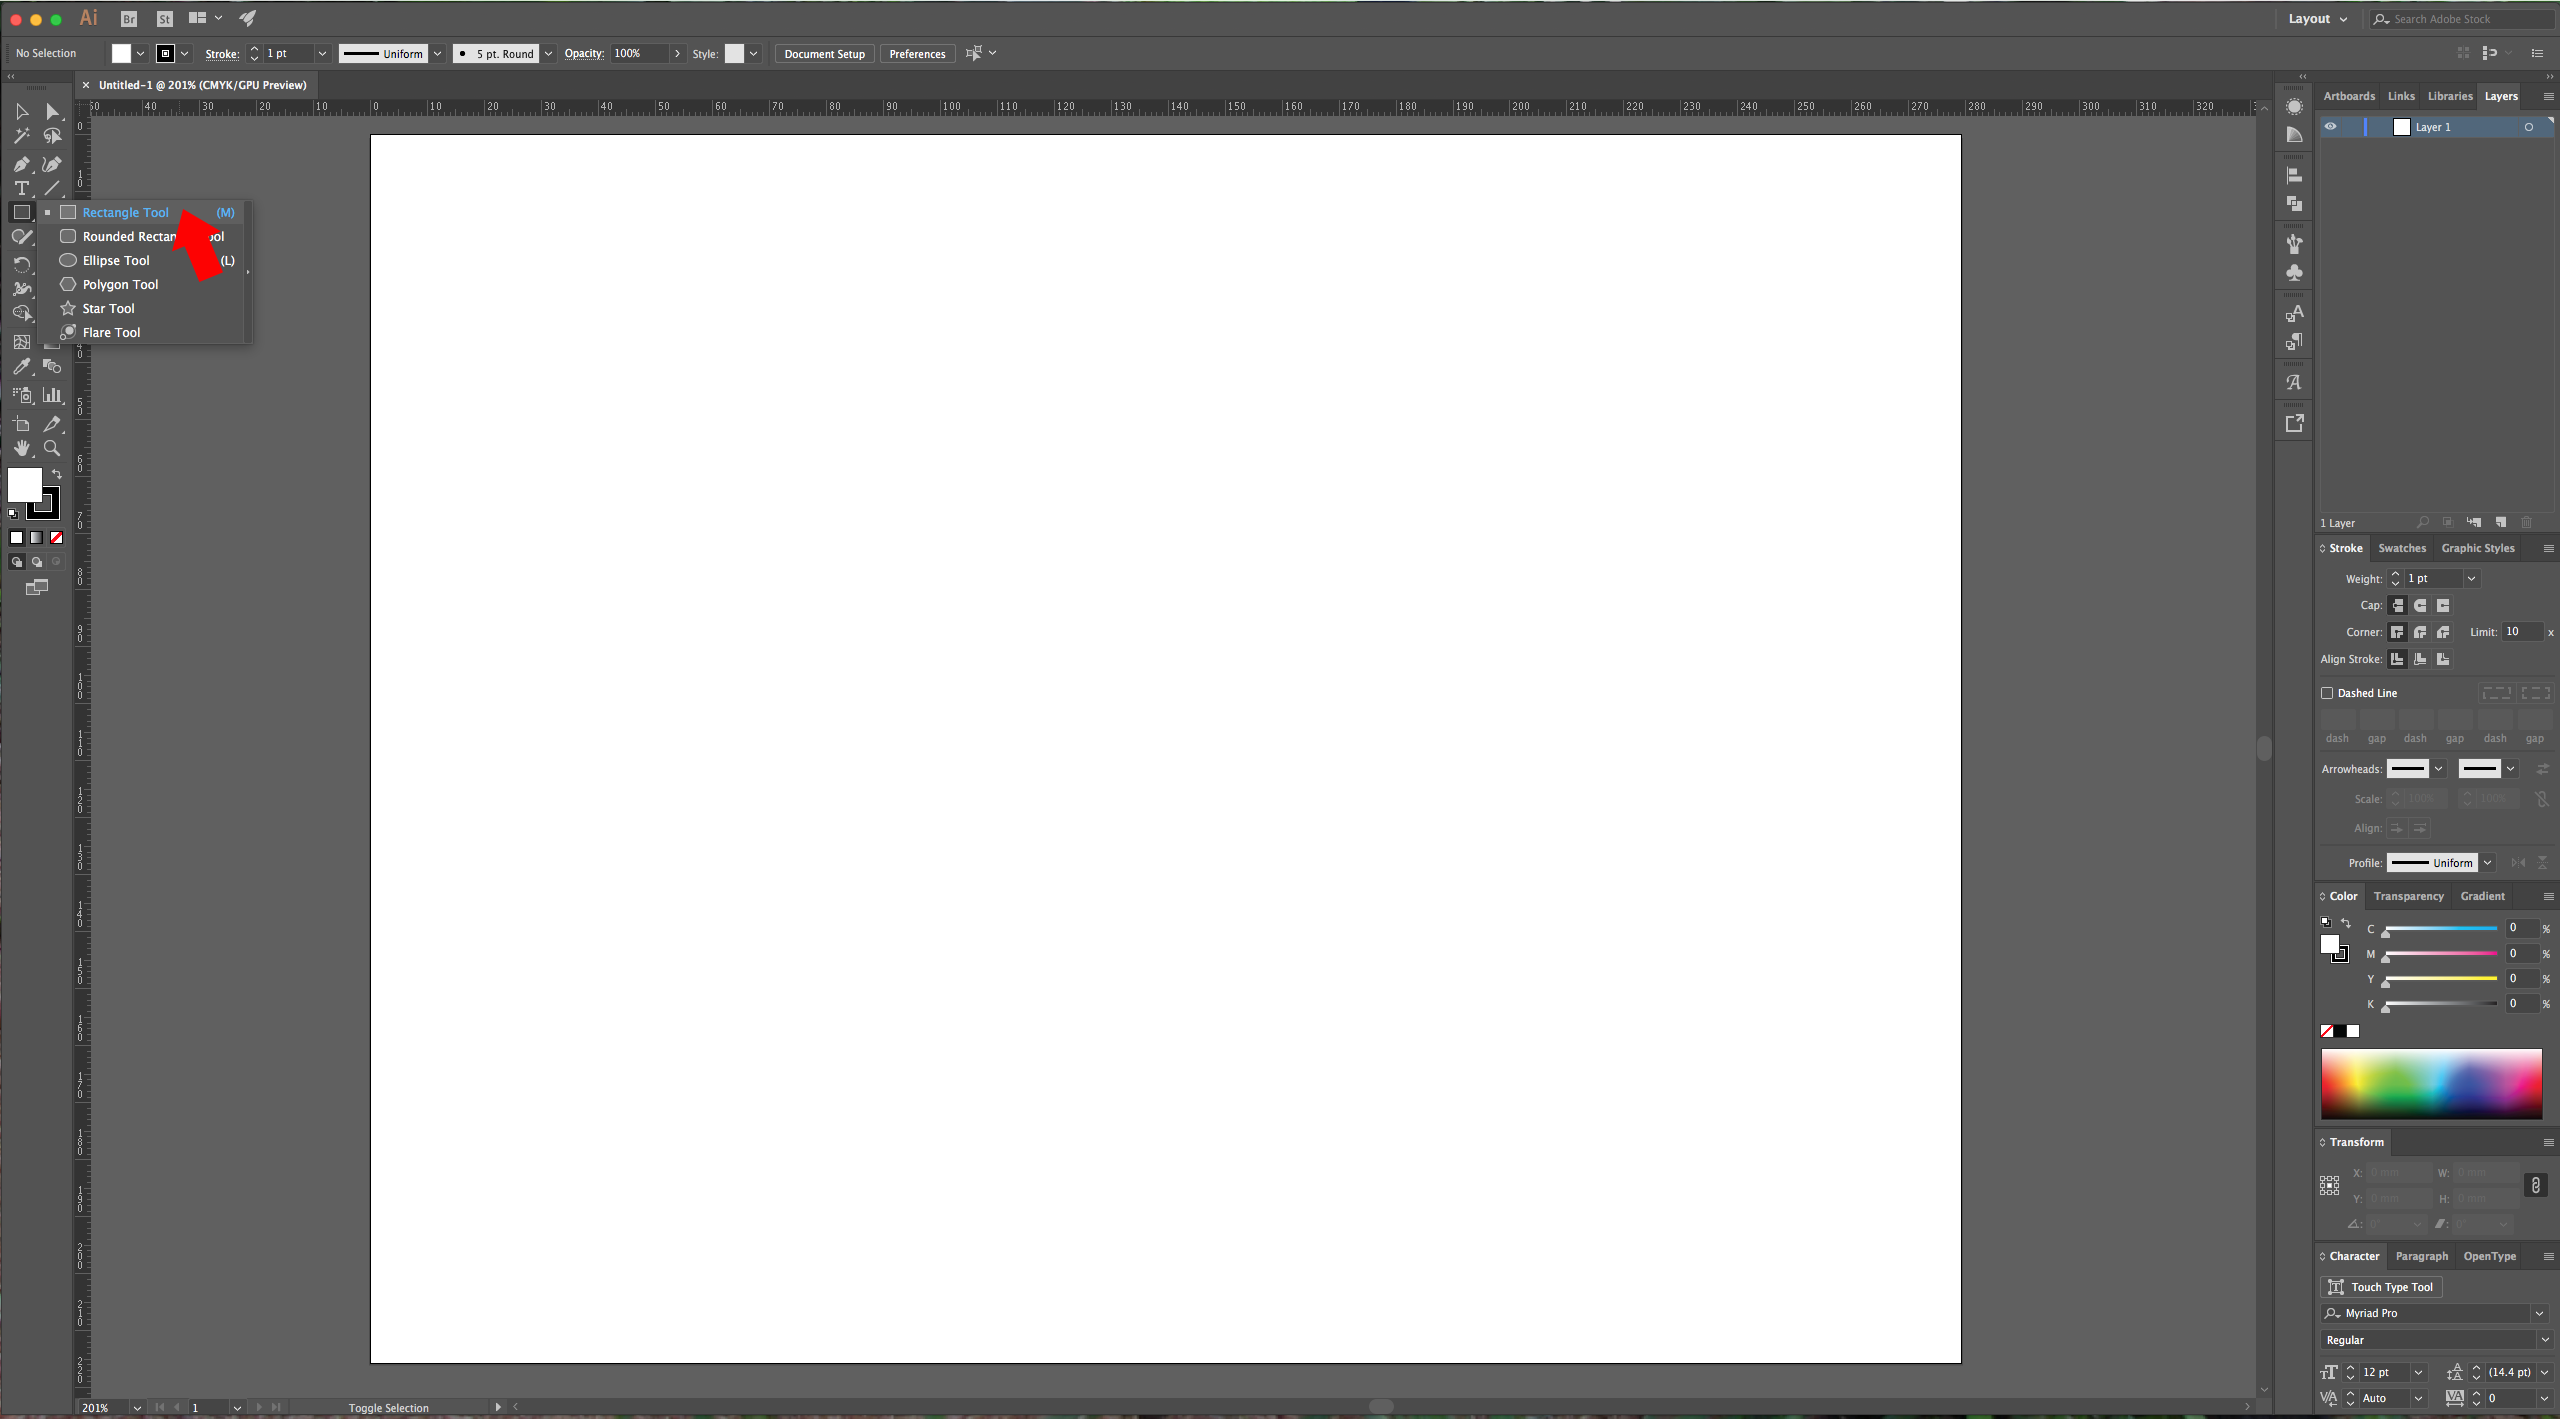
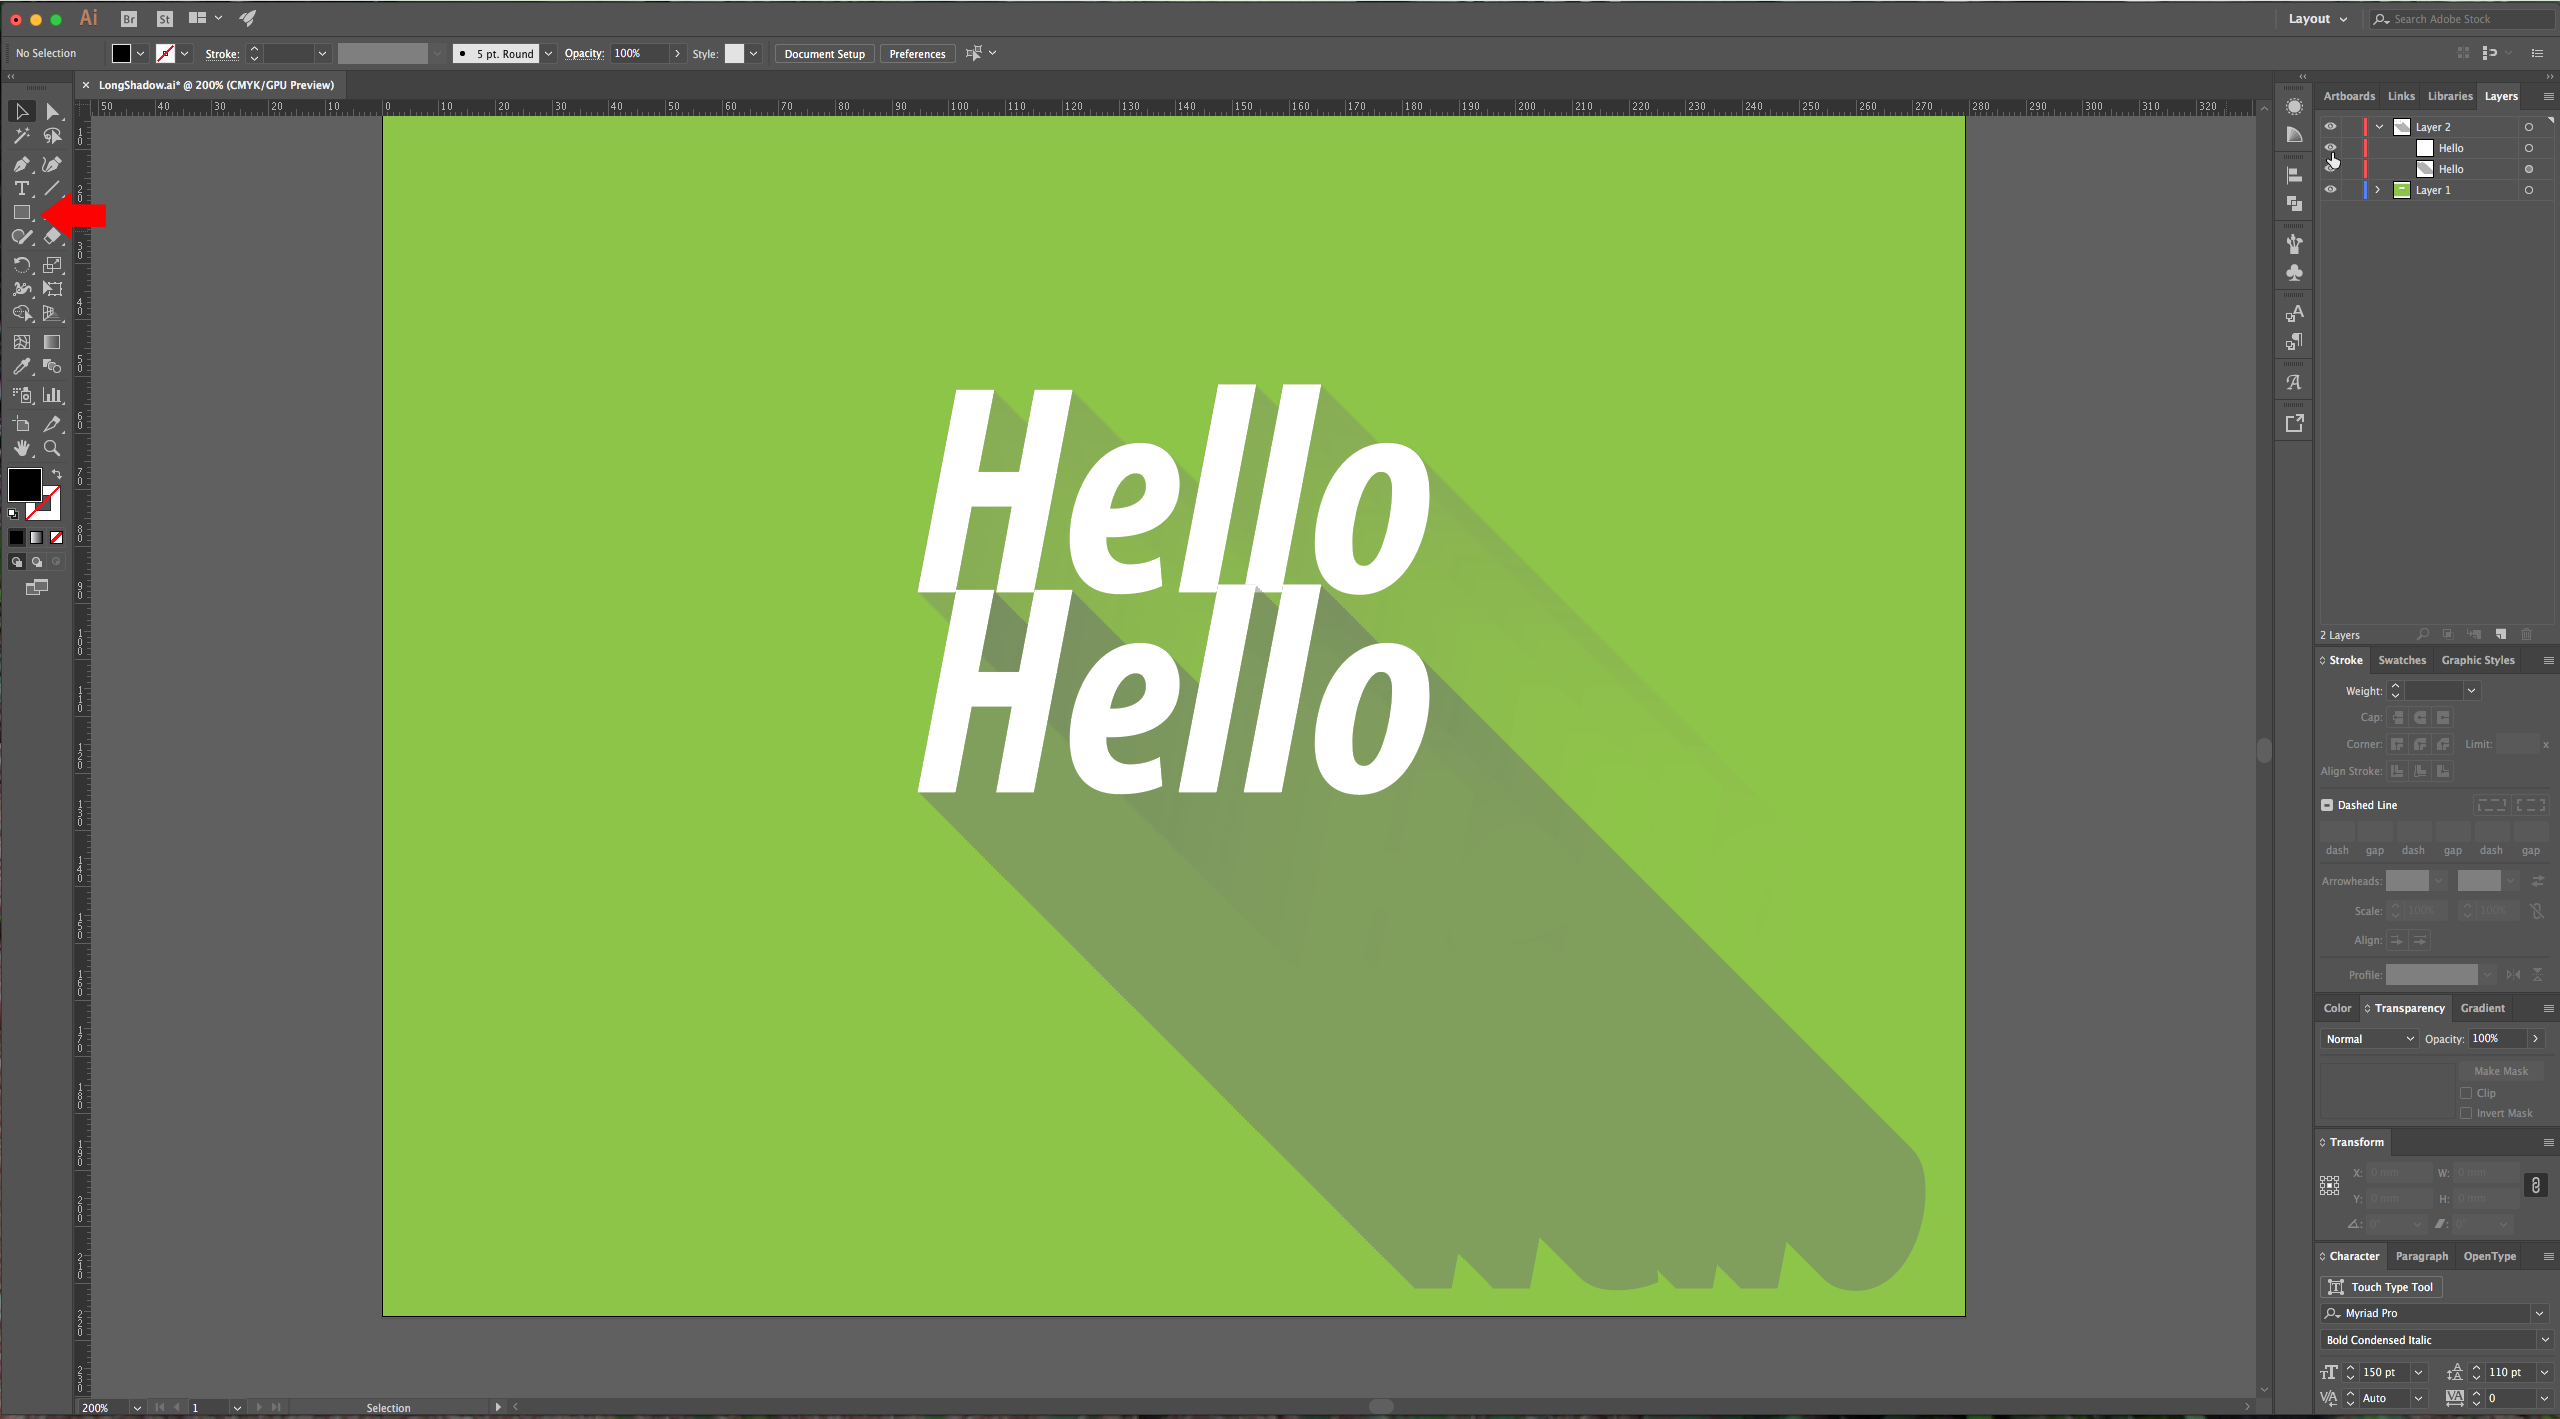
1 – In Illustrator, create a New Document and then using your “Rectangle Tool” (M) give your document a nice background color (you can use a gradient if you prefer).
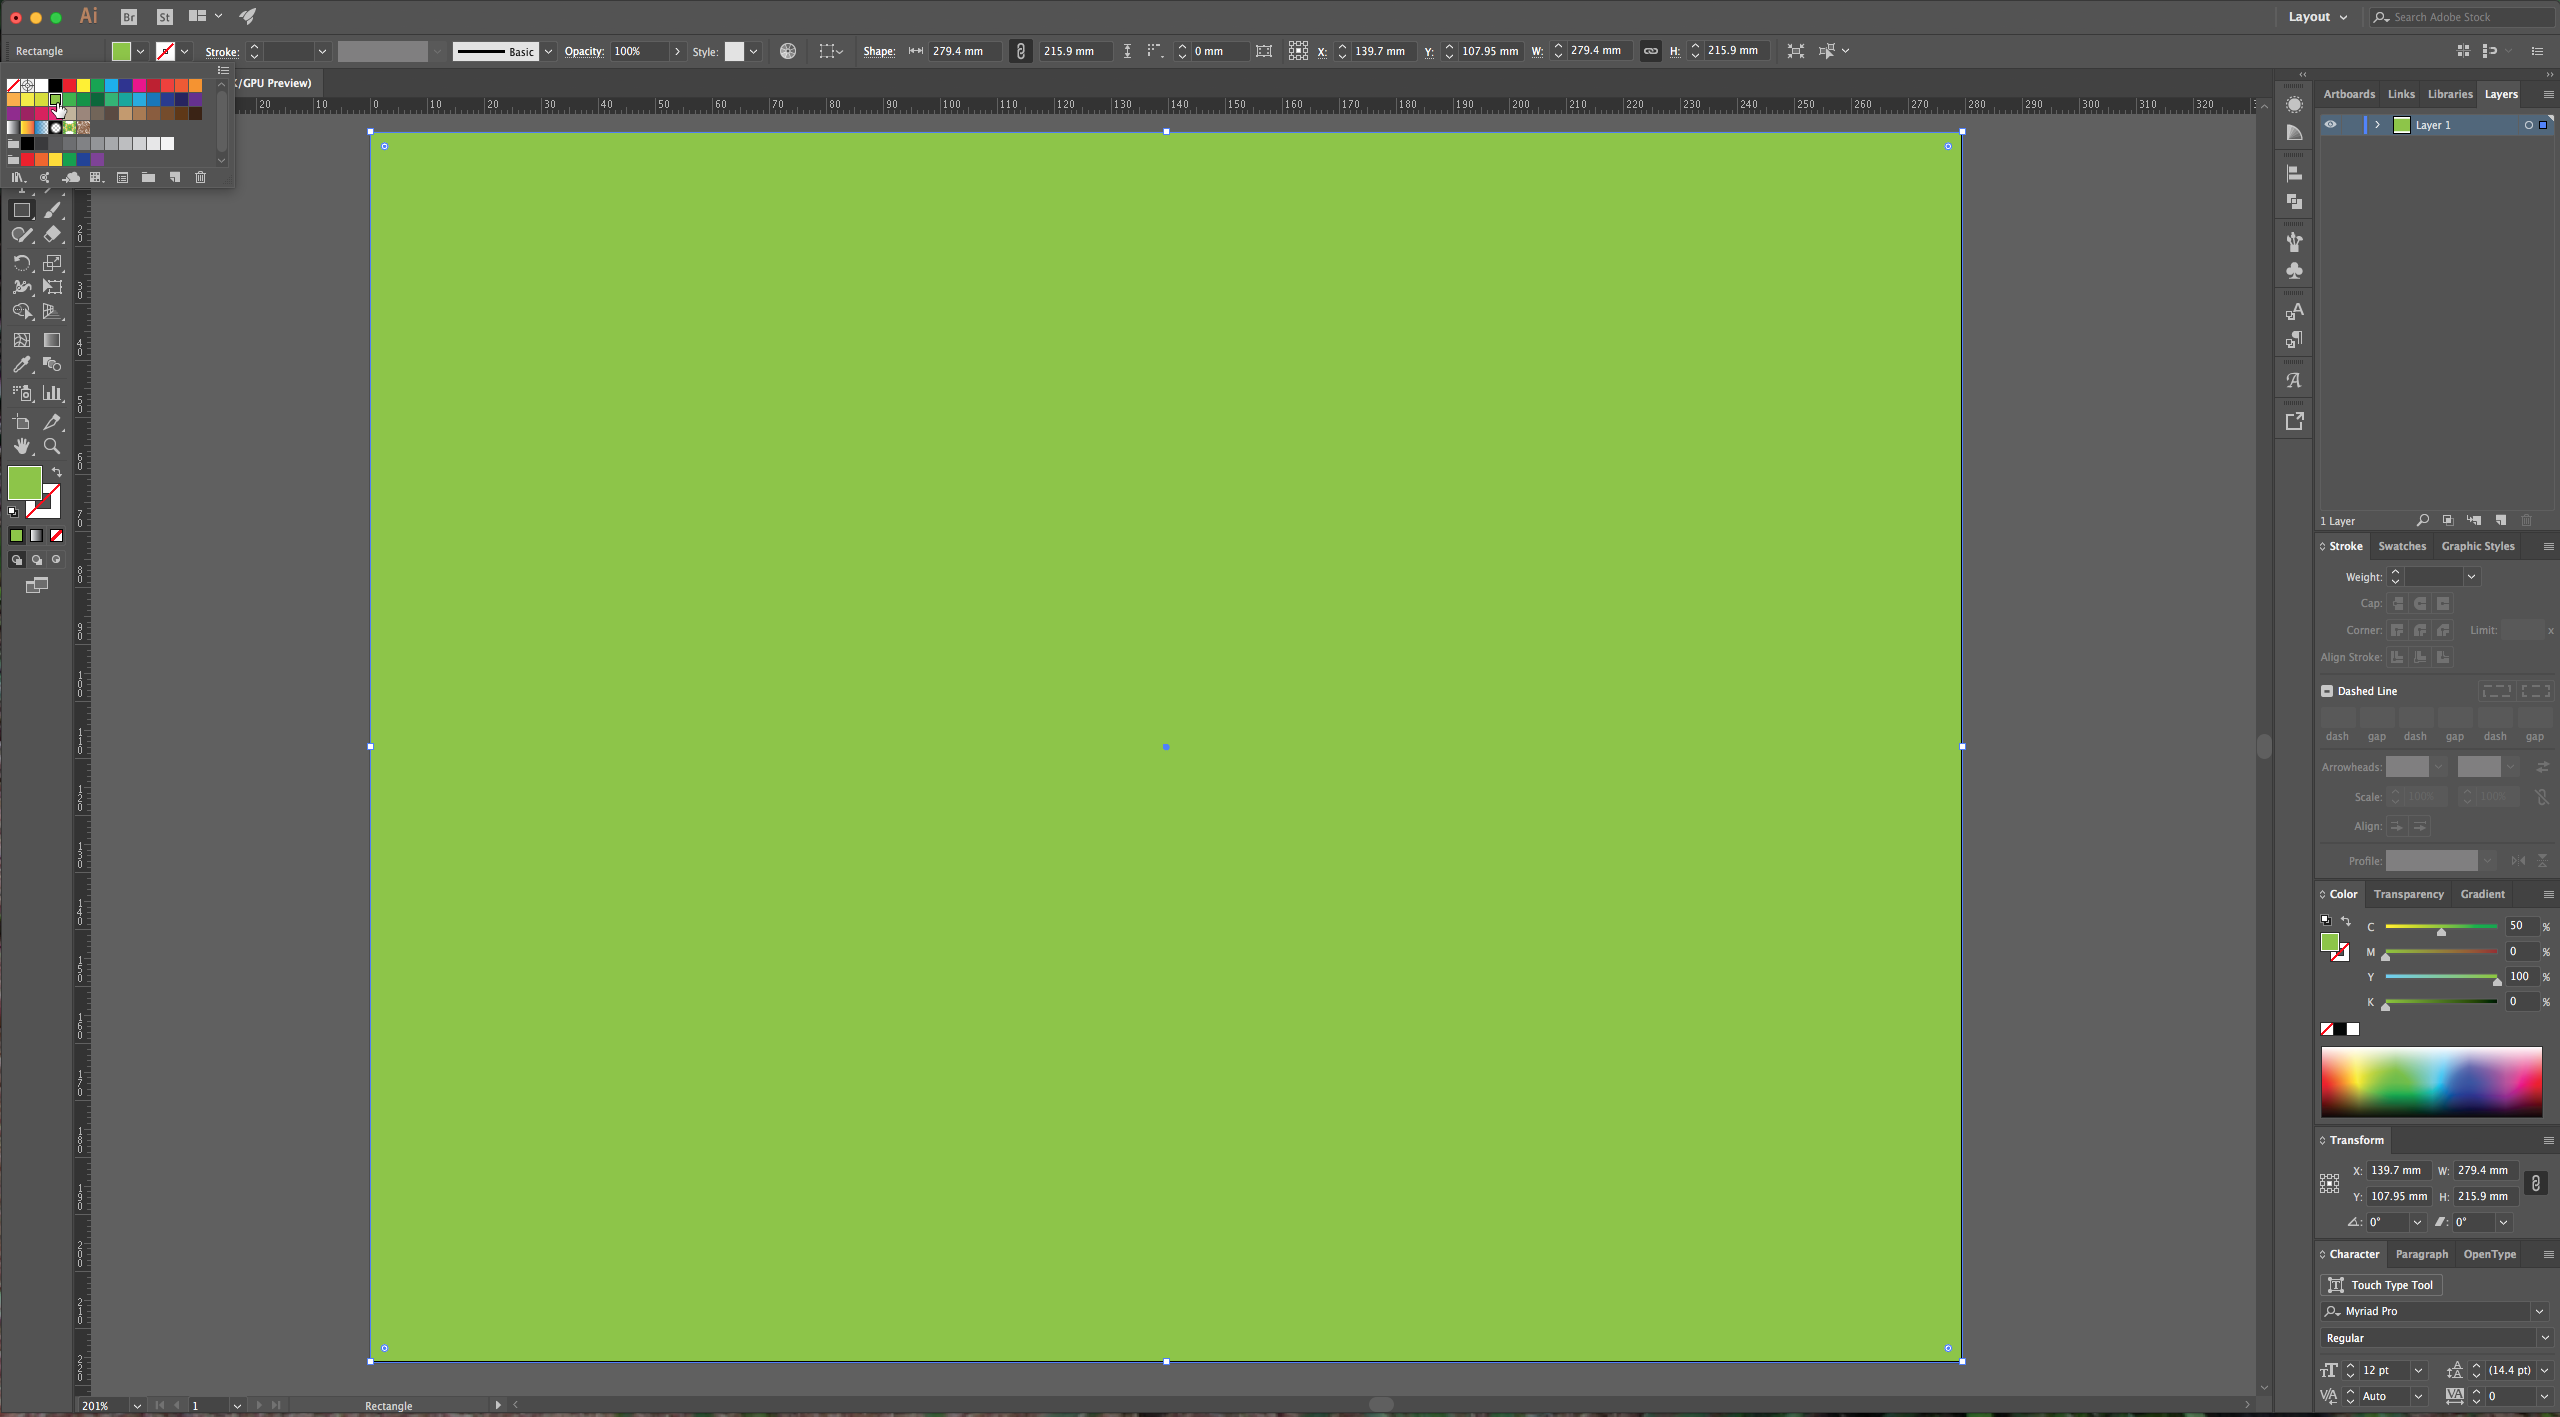
2 – Go to the “Layers” Panel and lock it by clicking on the little square to the right of the eye icon. (You can lock the entire Layer and create a new one, or just lock the “Rectangle” and keep working on that layer.
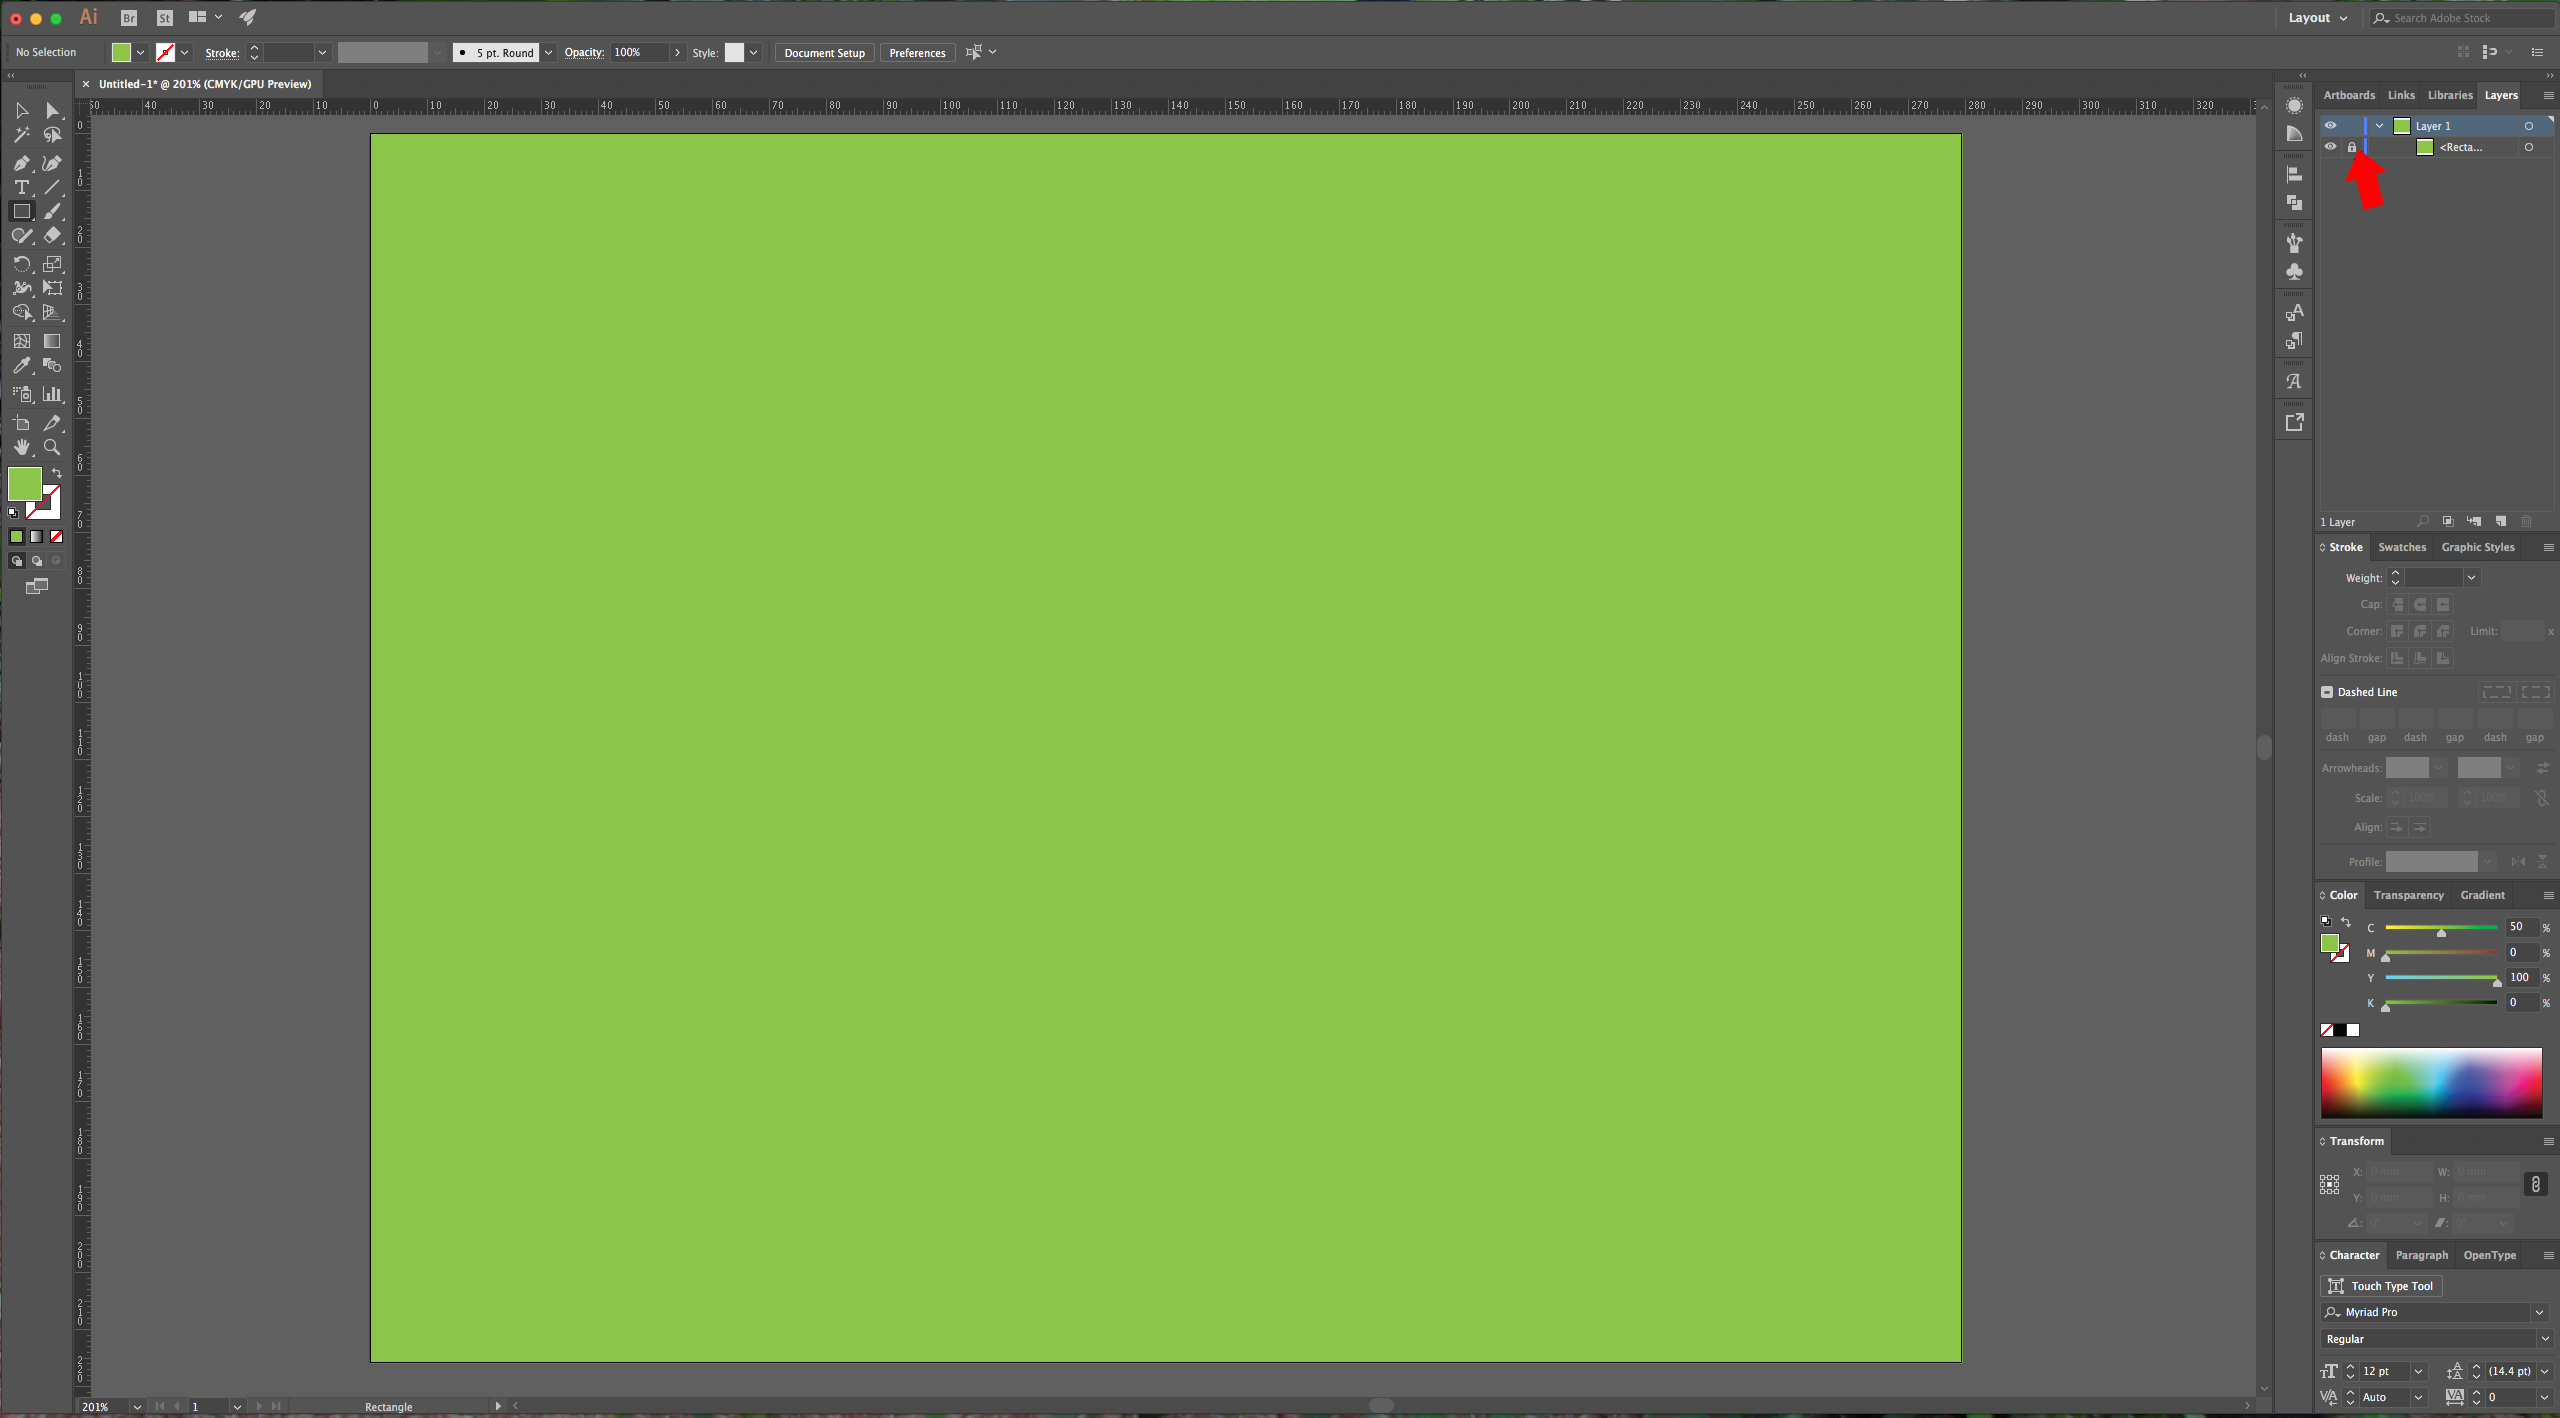
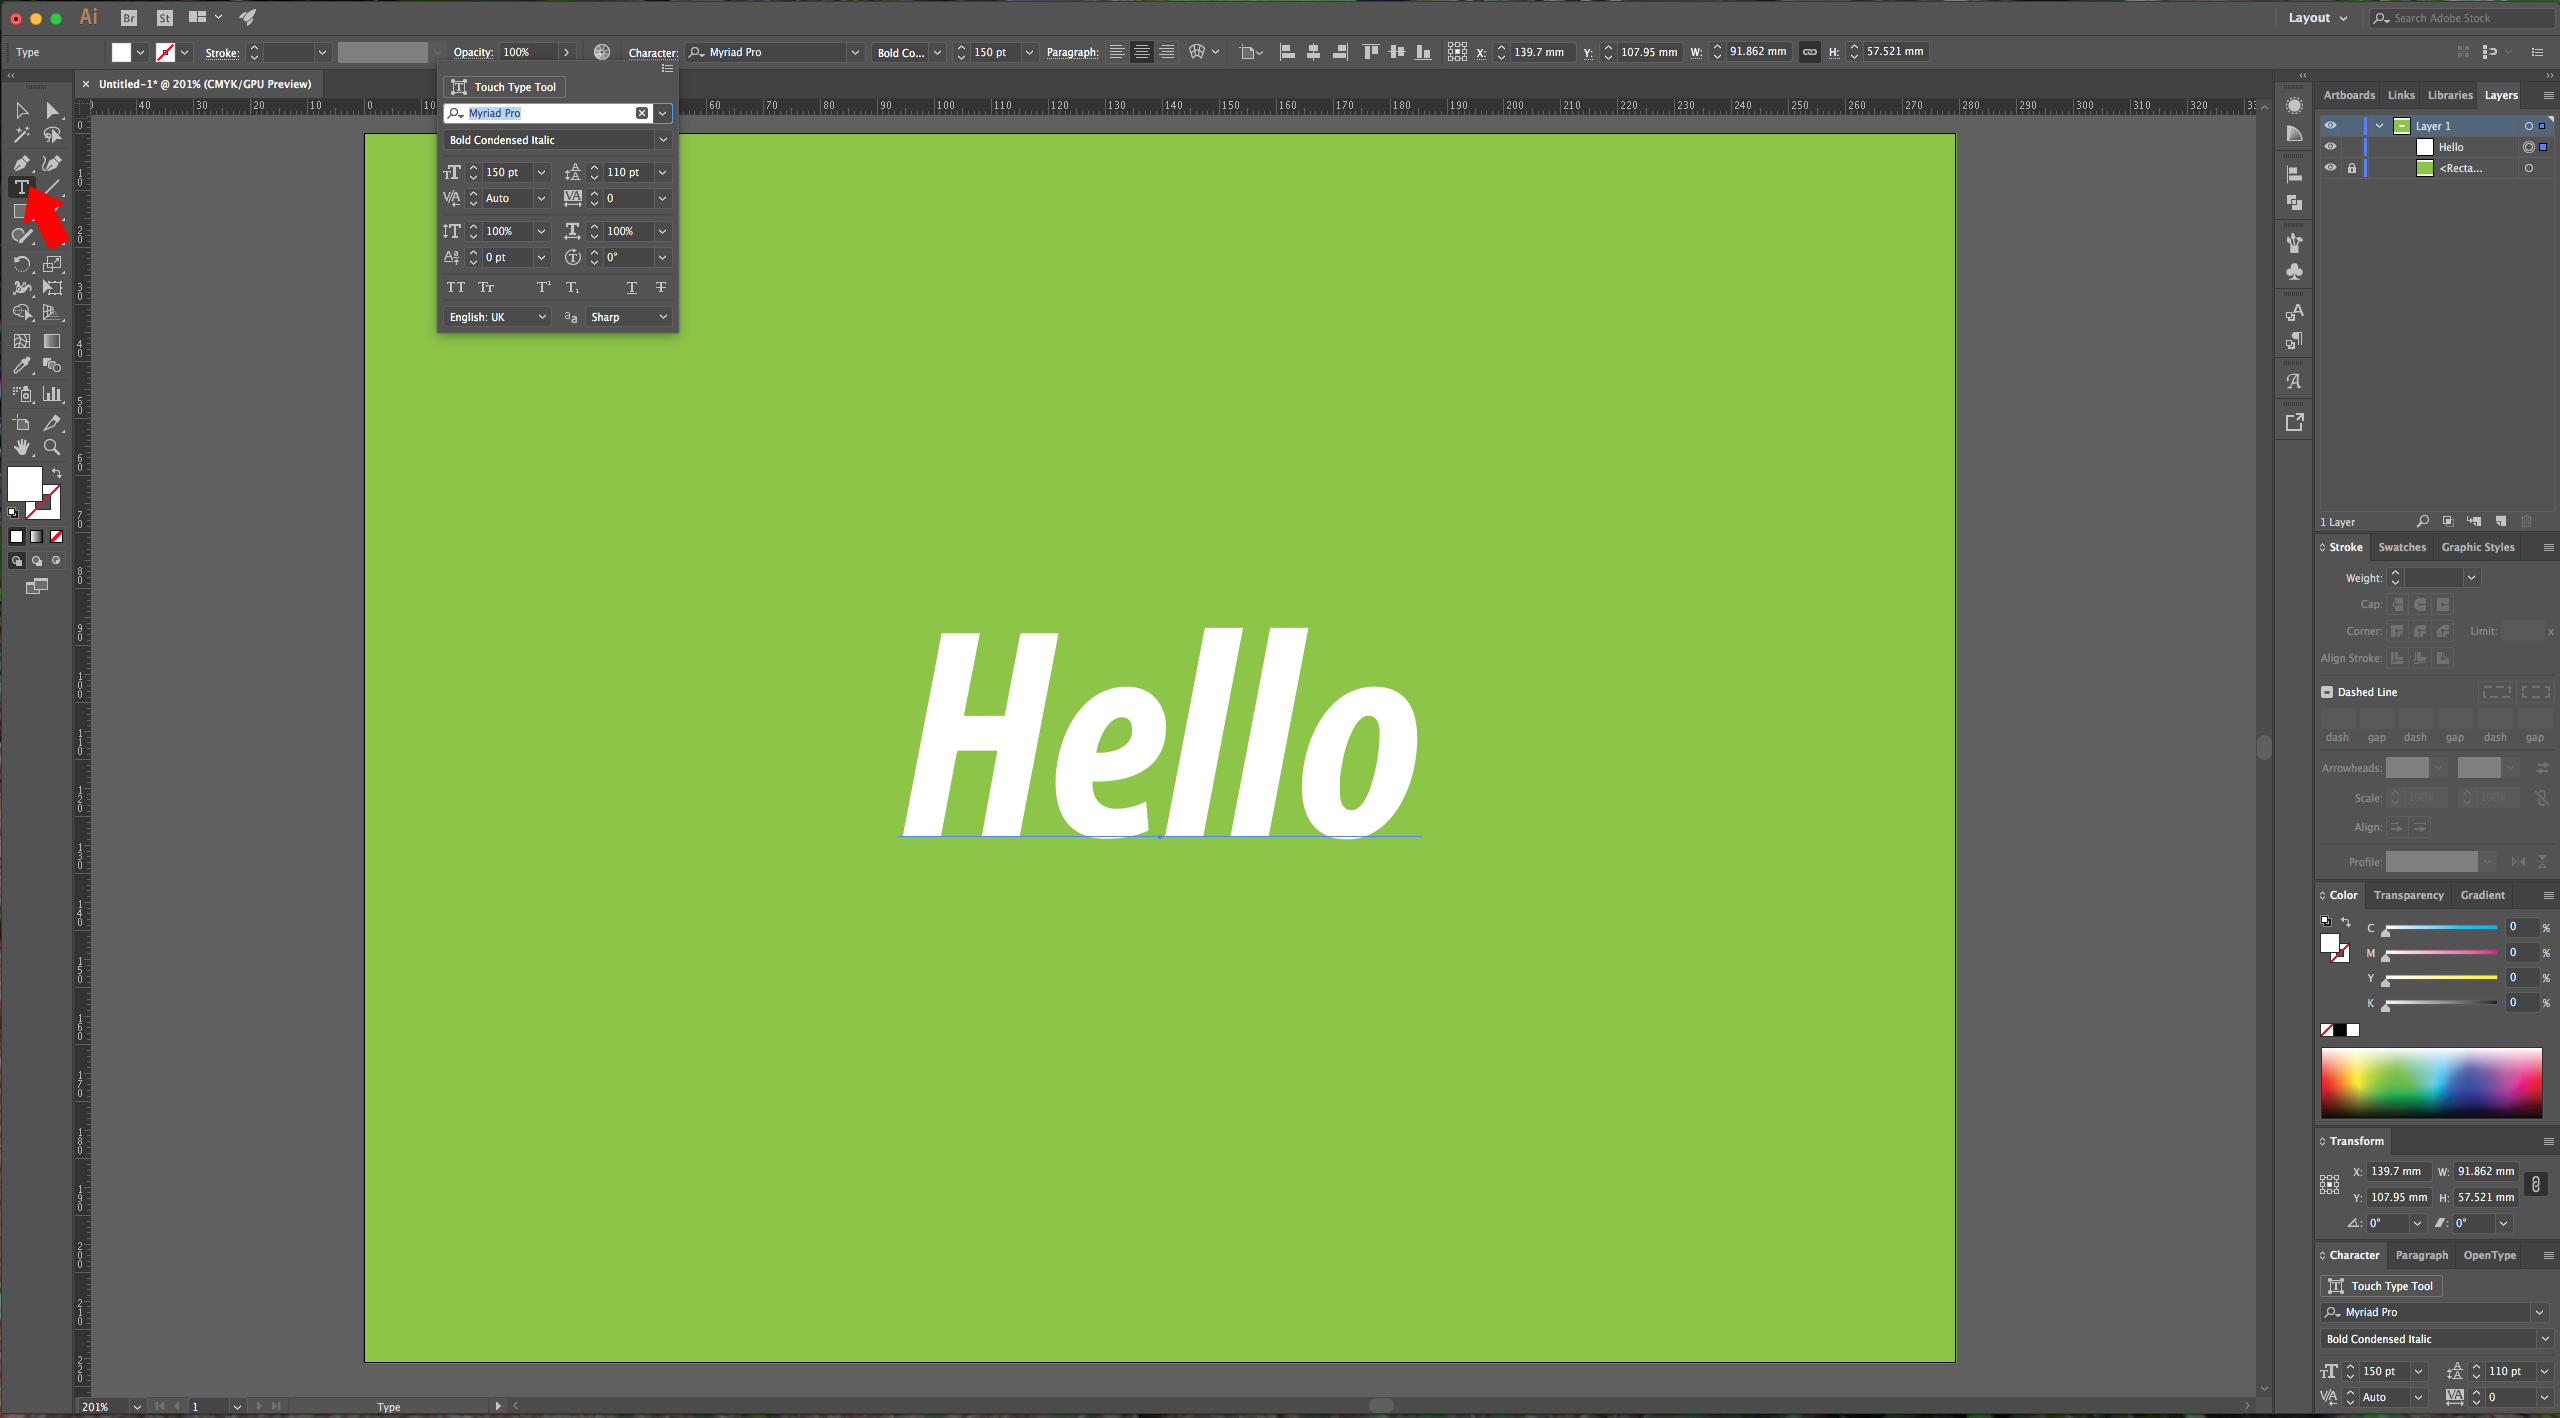
3 – Type your text or use the design you want. It is better to use a font on the heavier side, but you can use whatever you like.
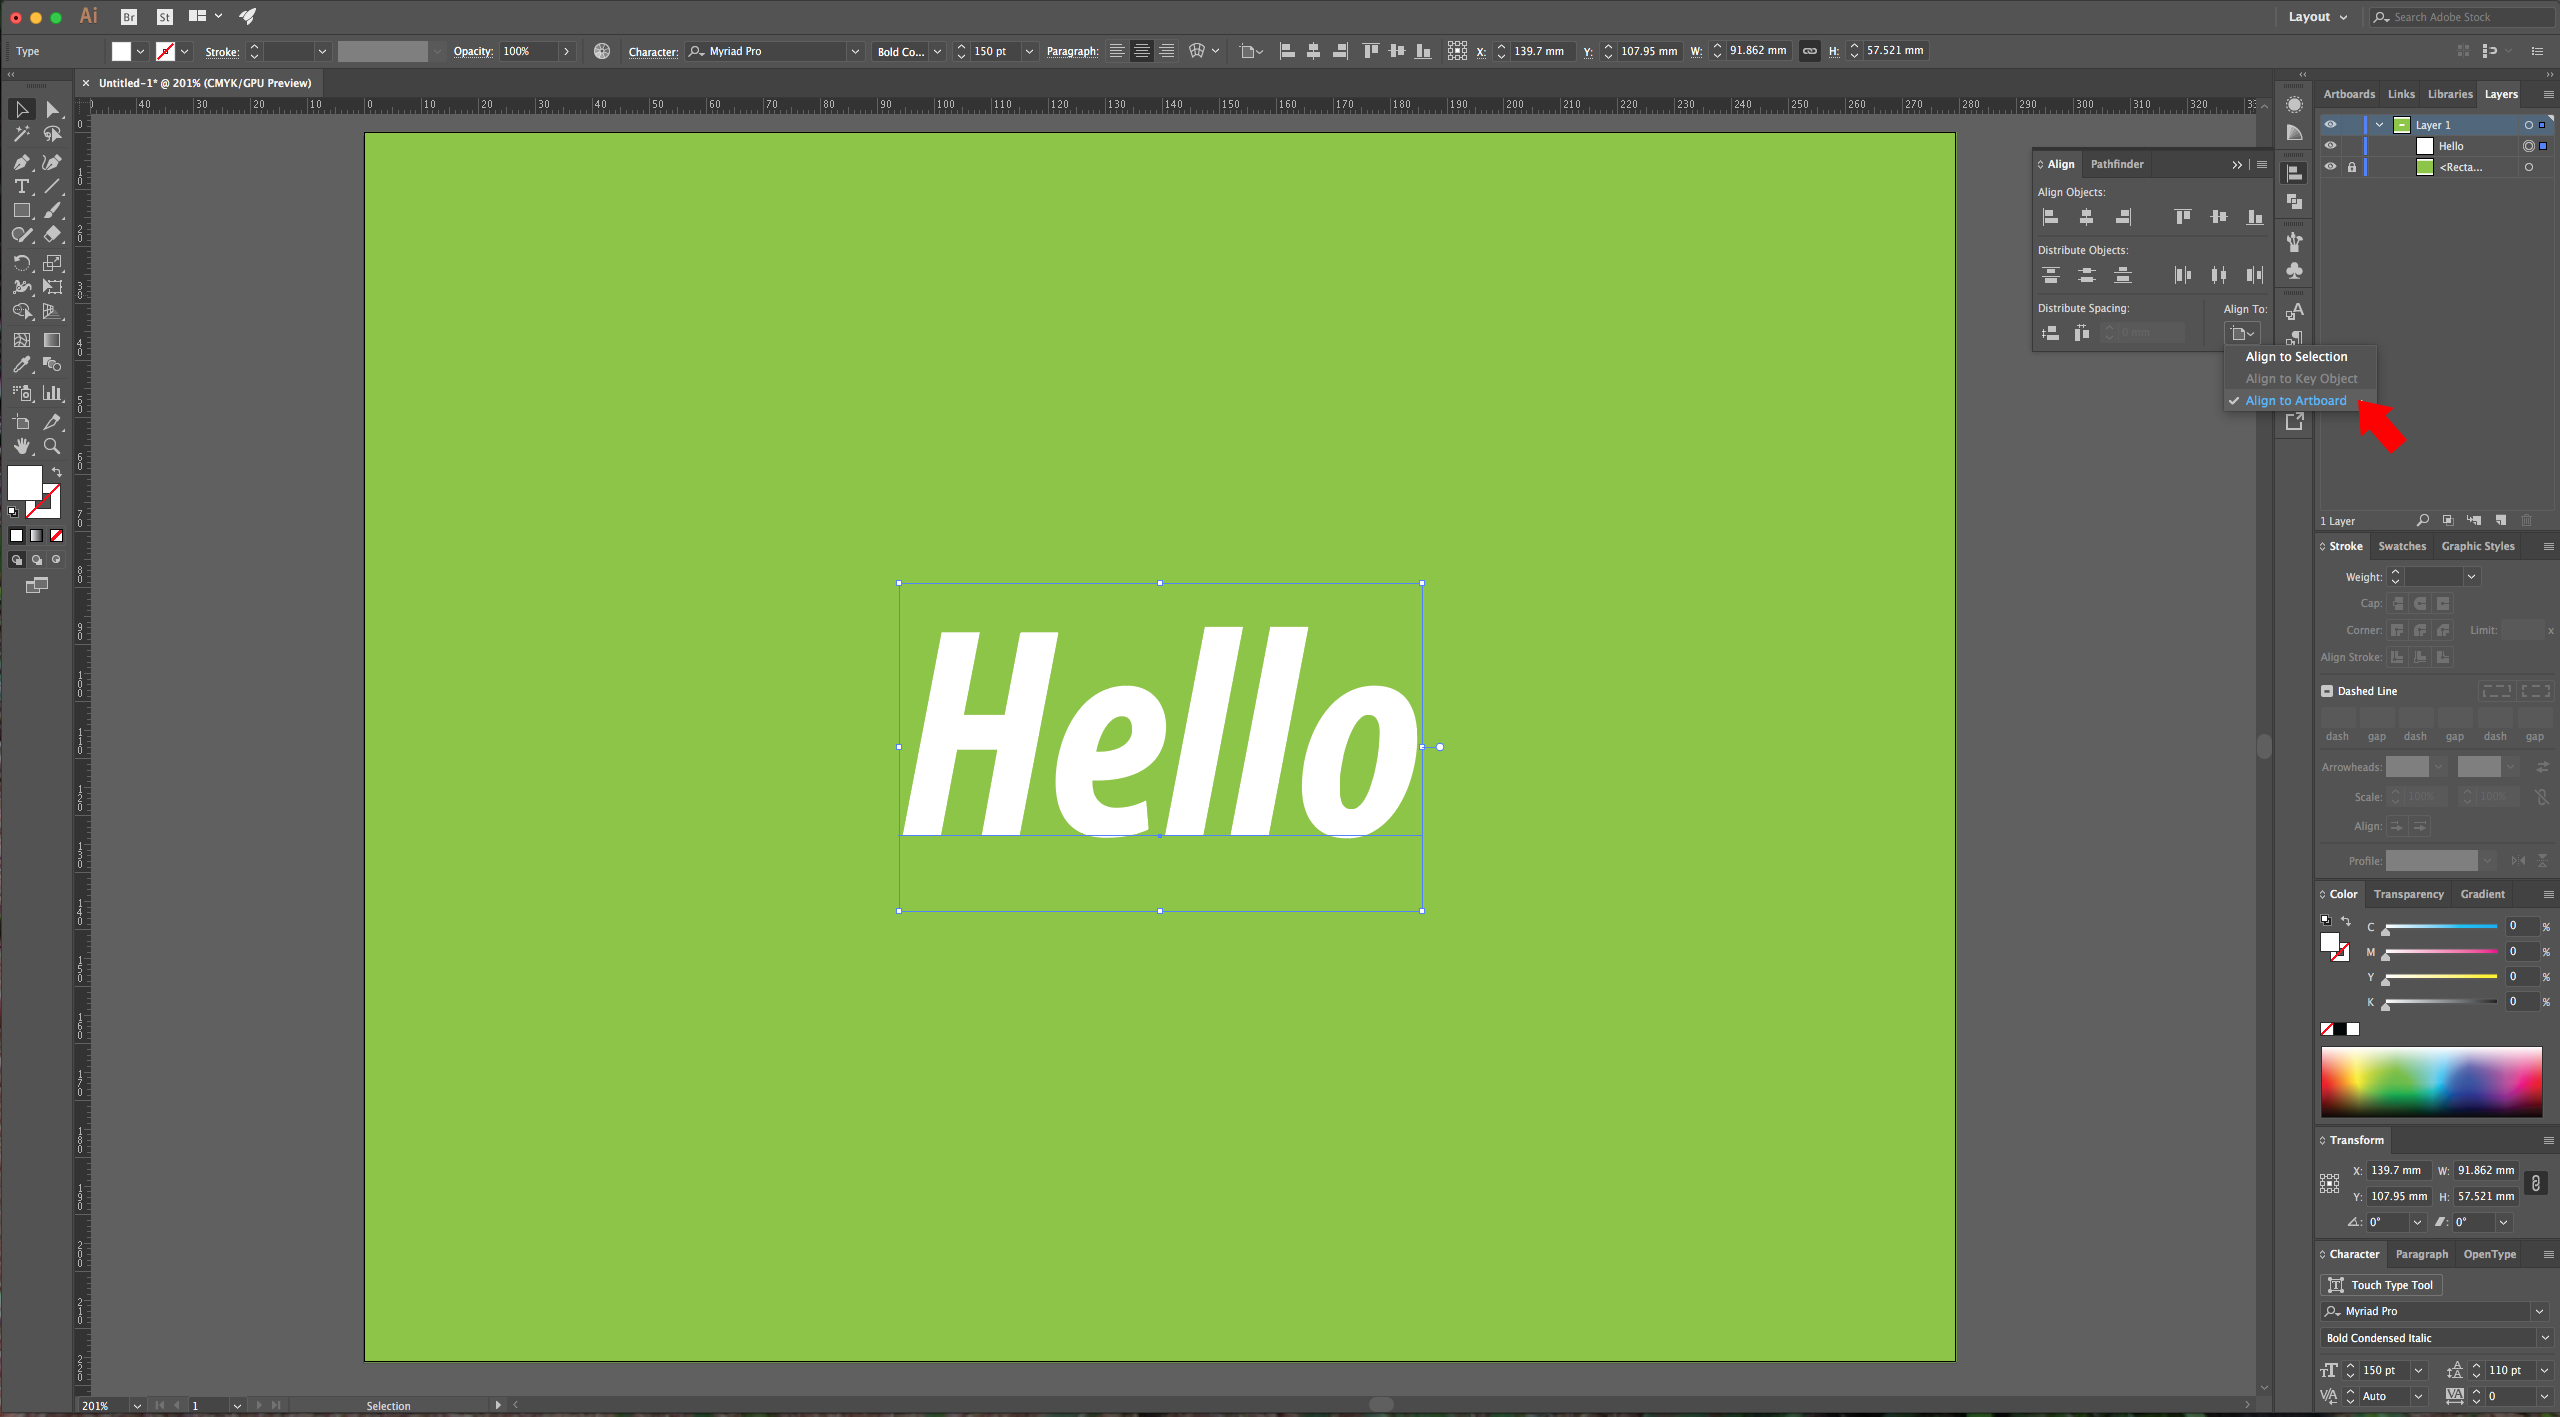
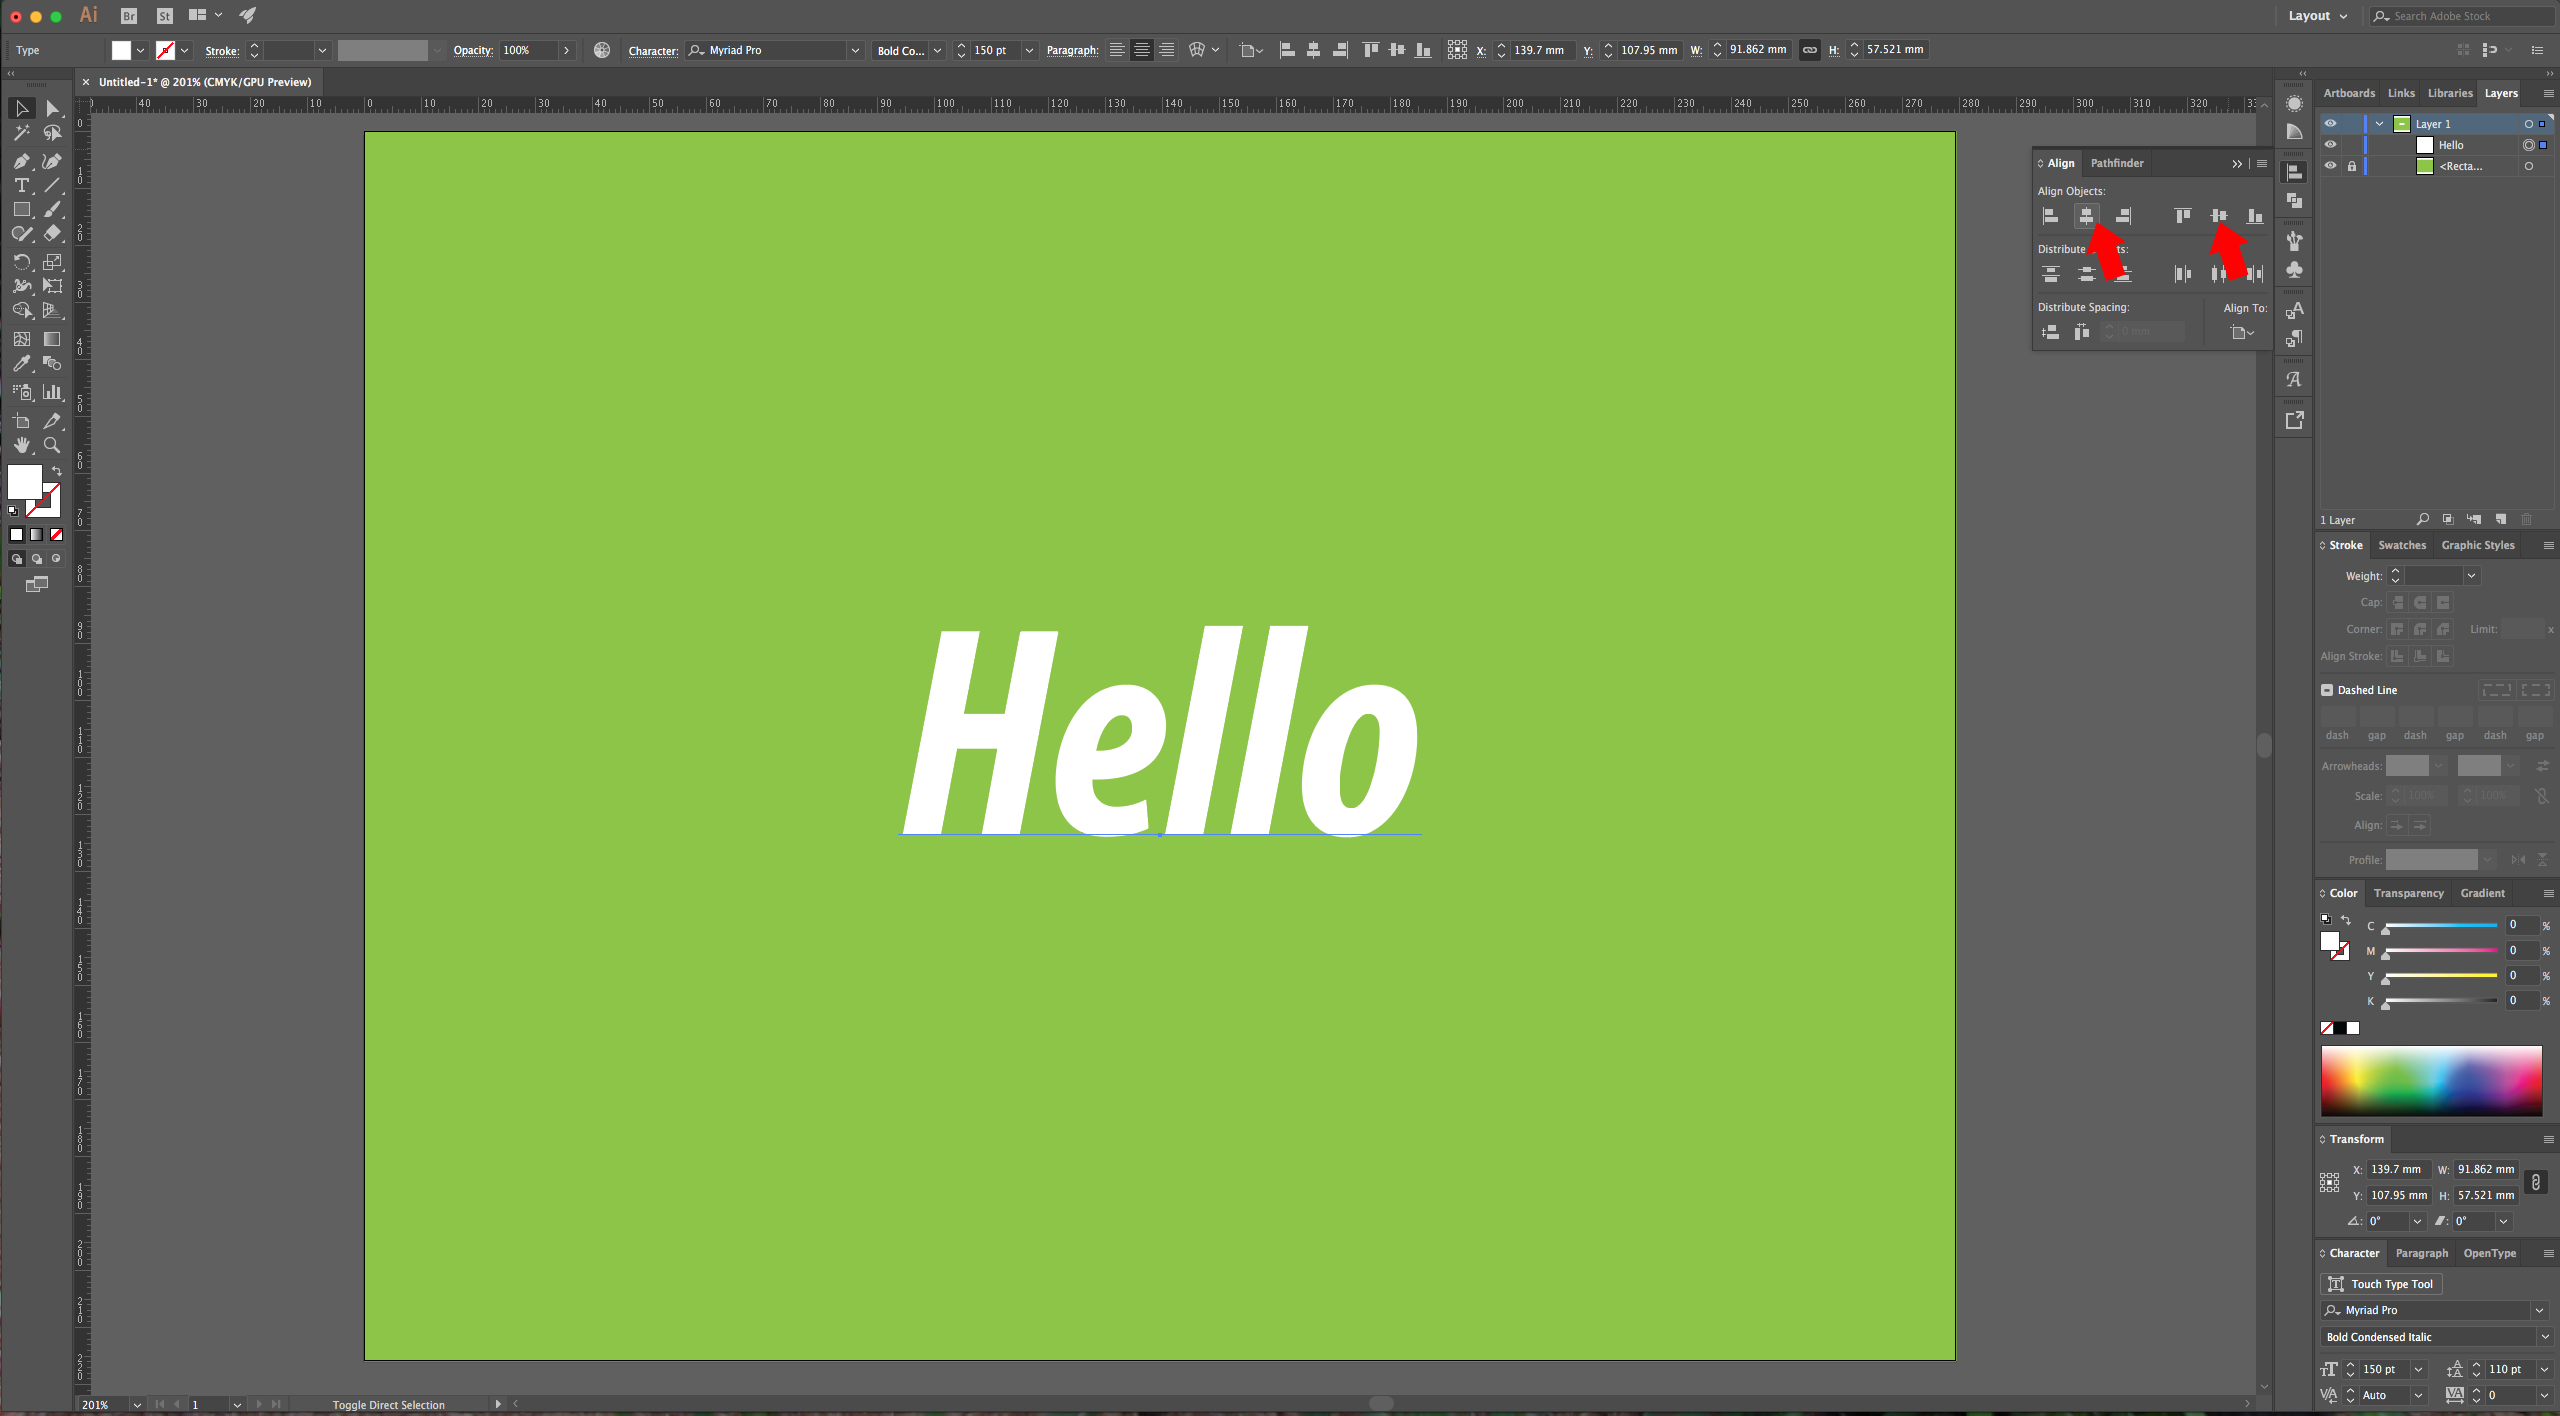
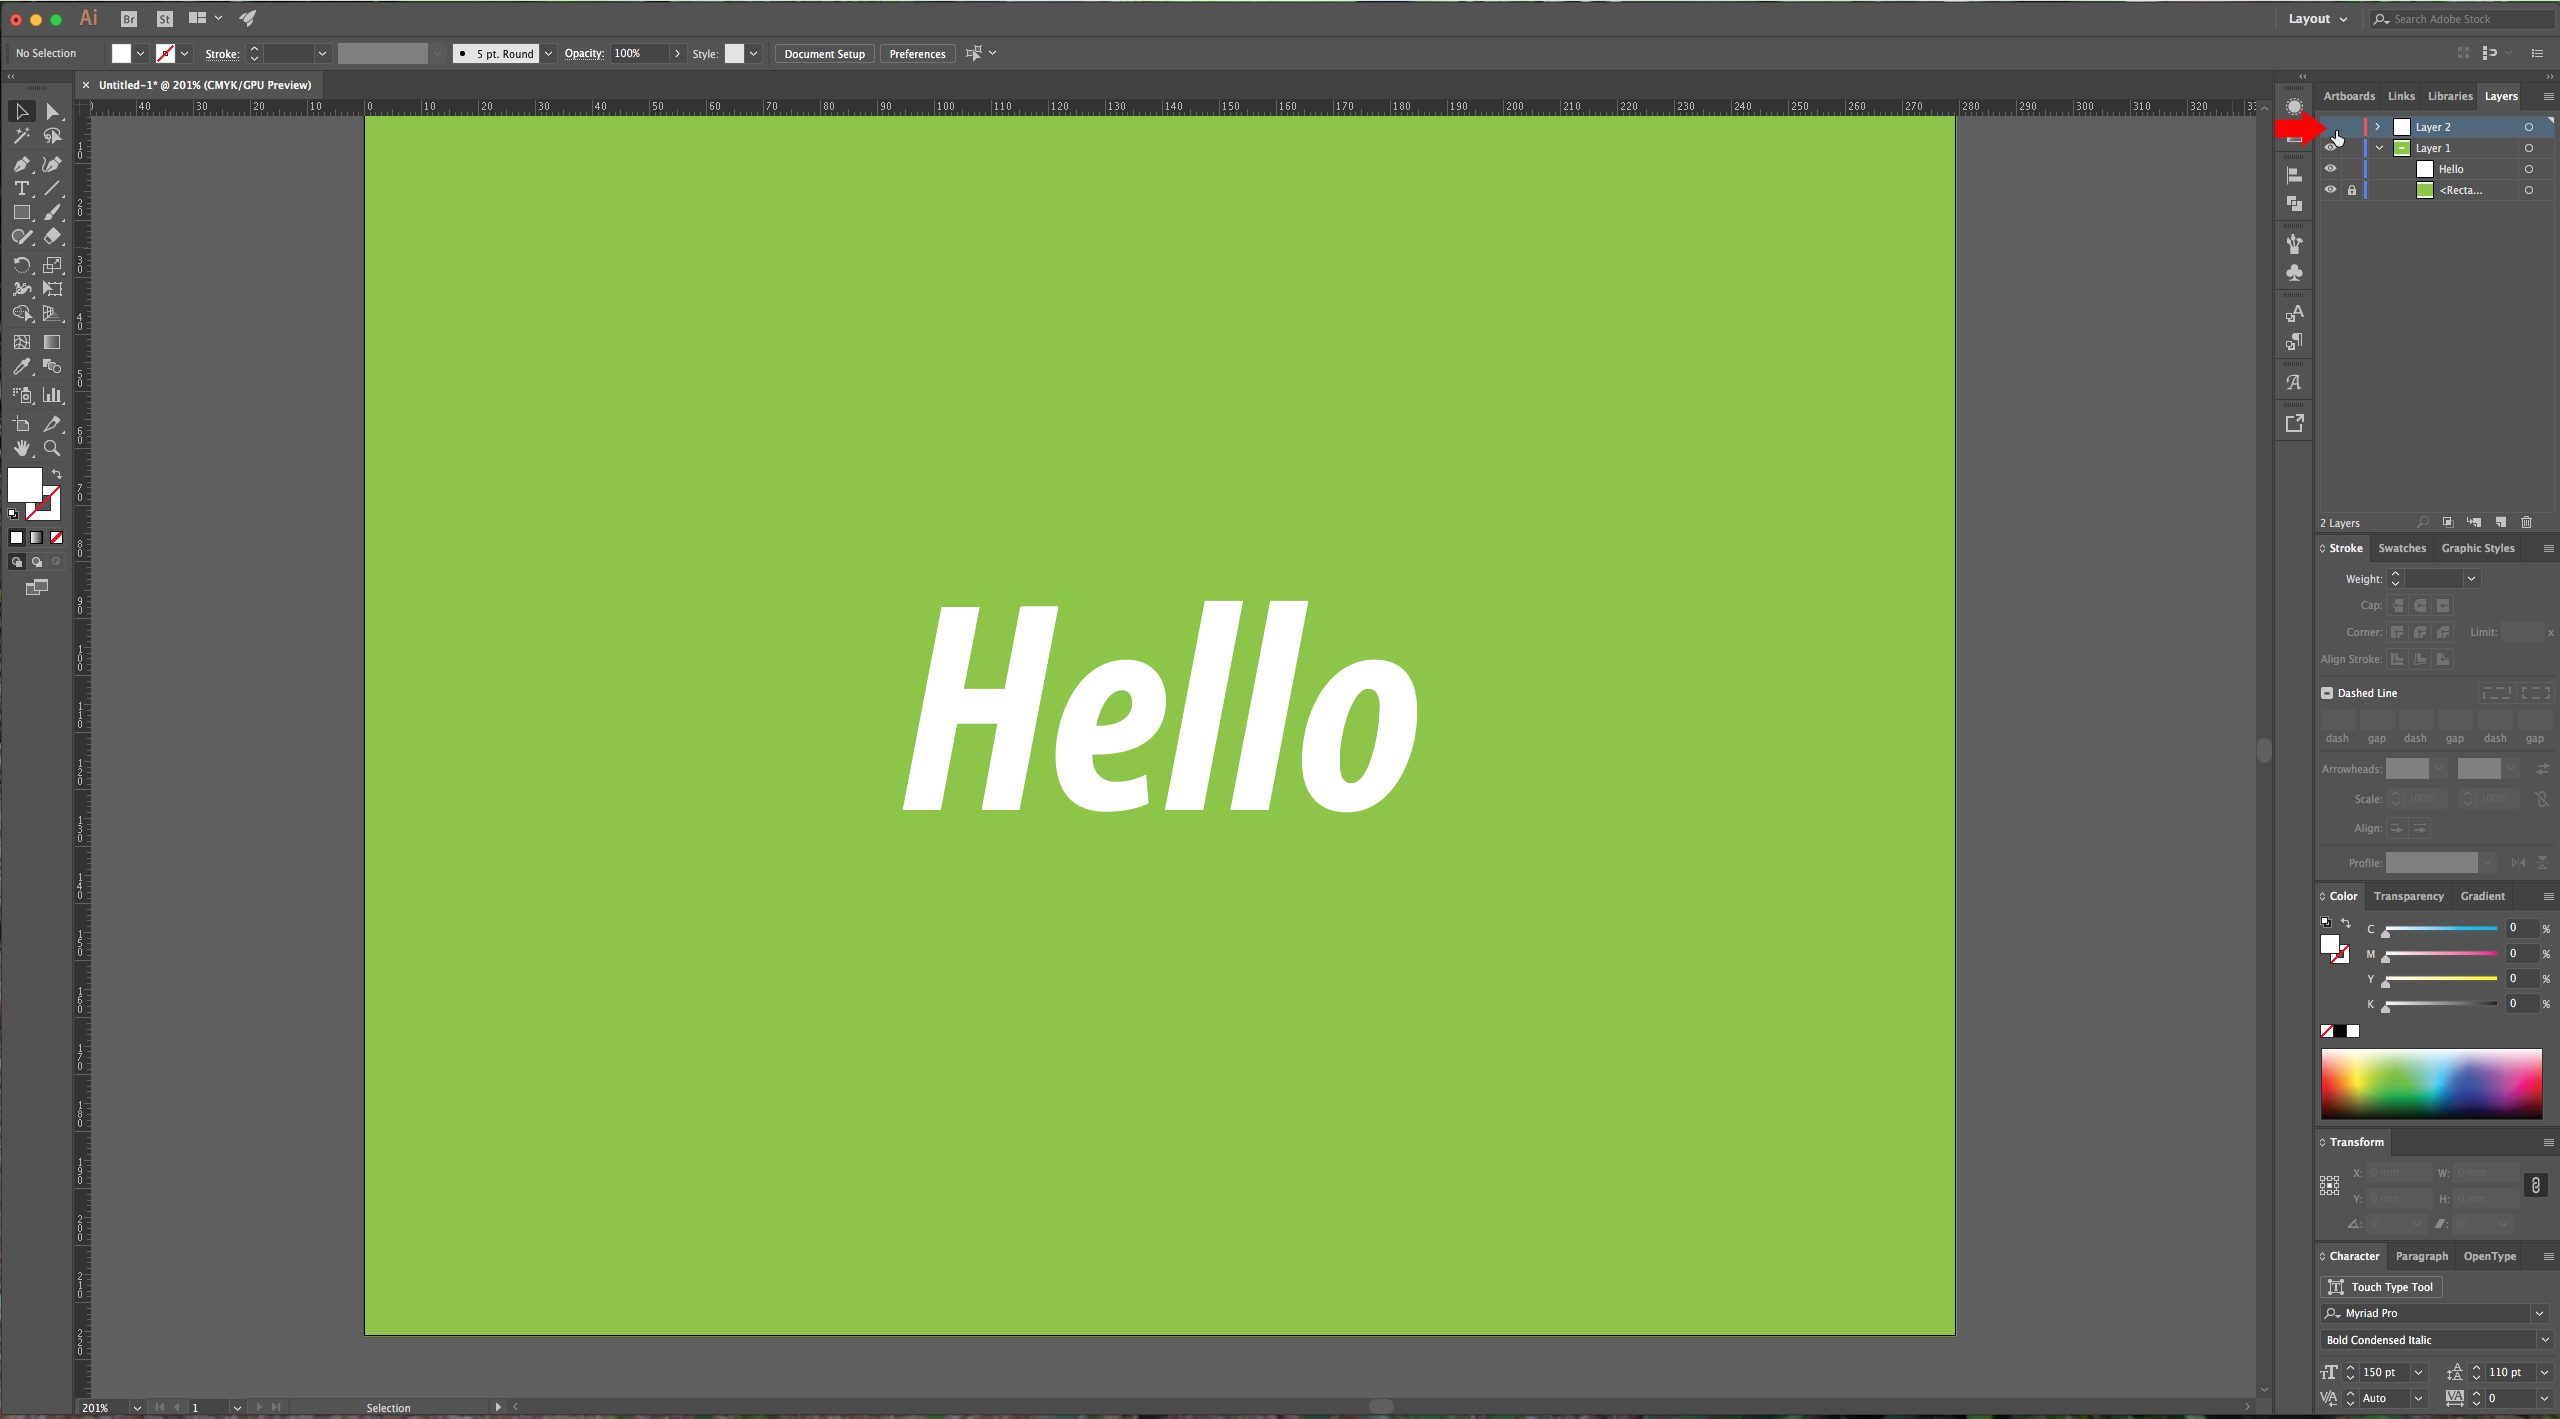
4 – To center your text, select it and go to the “Align” Panel (Window > Align), make sure you have “Align to Artboard” selected and click the “Align Object” vertical and horizontal “Center” buttons. Make a copy of your text (Command/Control + C) and paste it in place (Shift + Command/Control + V) it in another layer, then hide that layer (by clicking on the little eye icon in the “Layers” Panel) for now.
5 – For the first method we are using the “Blend Tool”. Copy your text again and “Paste it in Front” (Command/Control + F) two times. Hide the original one, make the color of your text copies black, and with the one on top selected right-click, choose Transform > Move (Shift + Command/Control + M), and use the following values:
Angle: - 45°
Distance: 100 mm
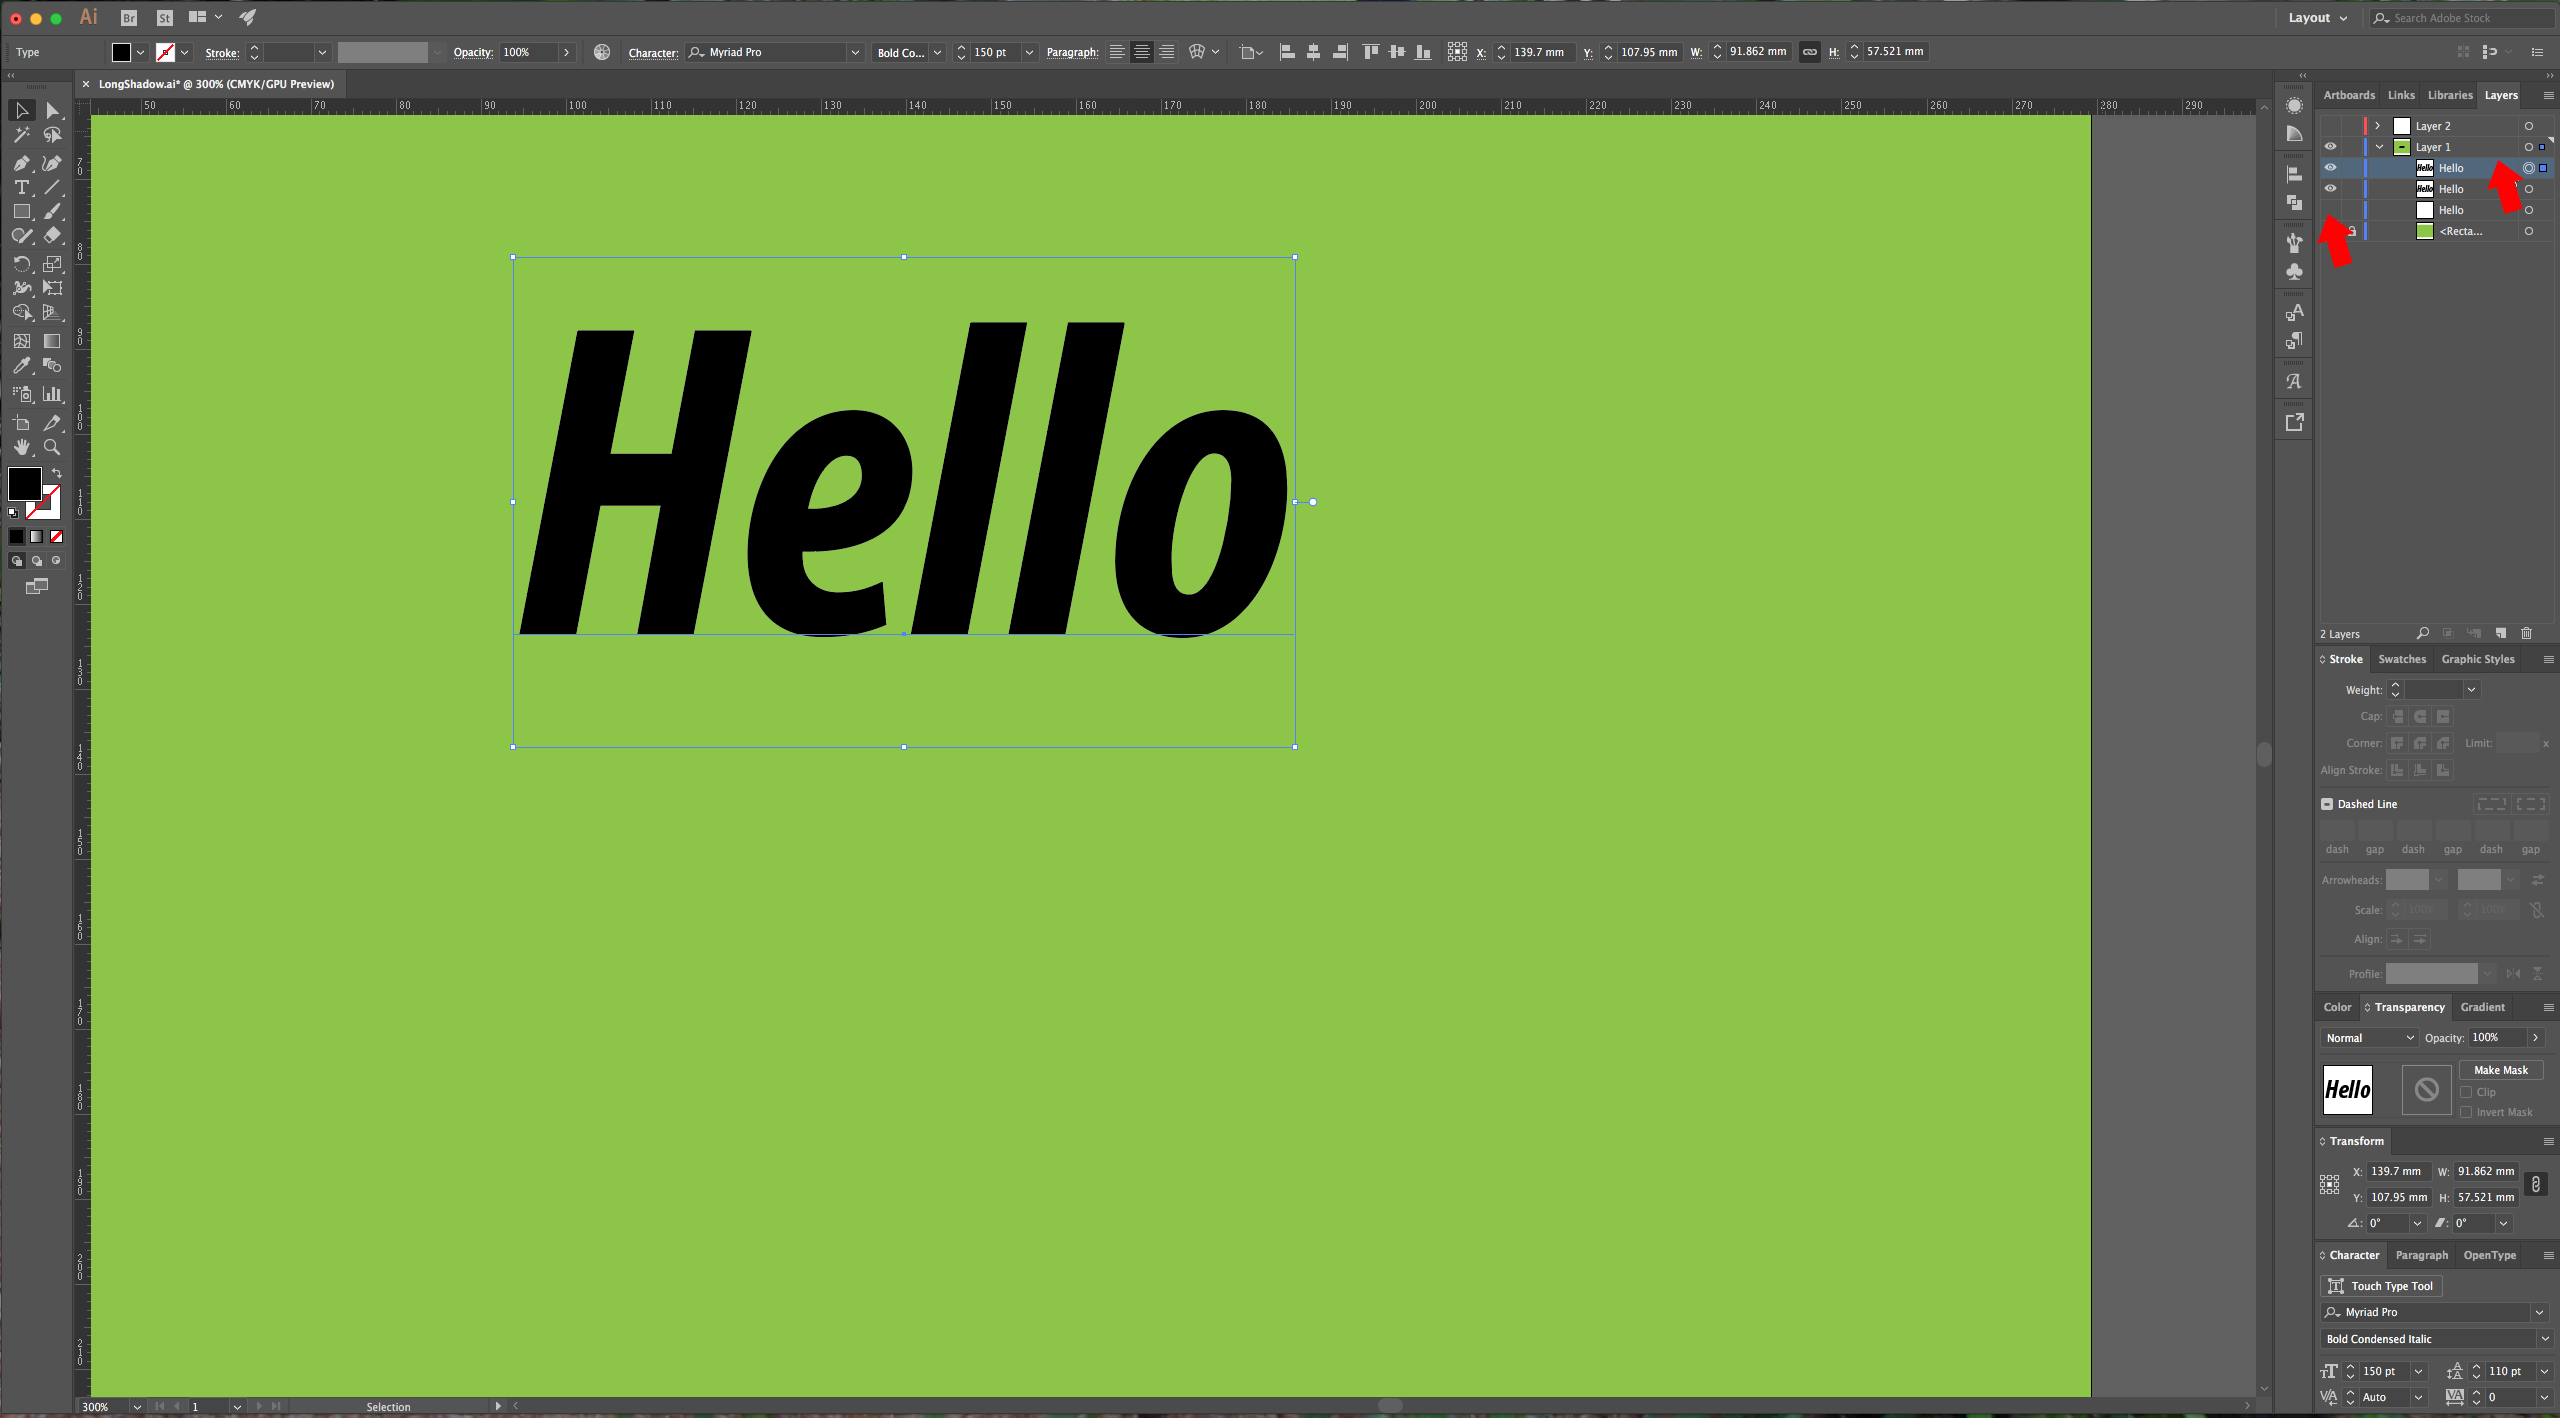
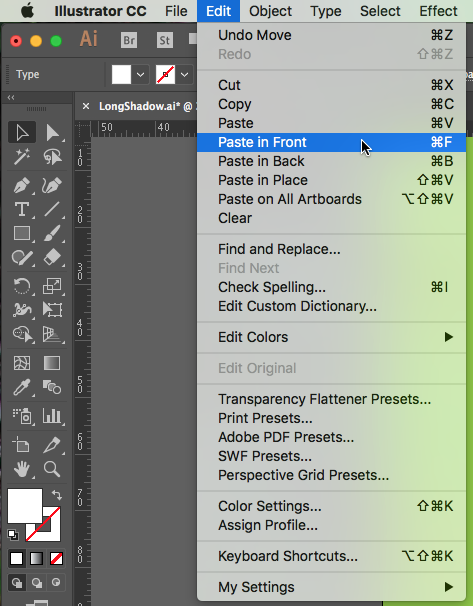
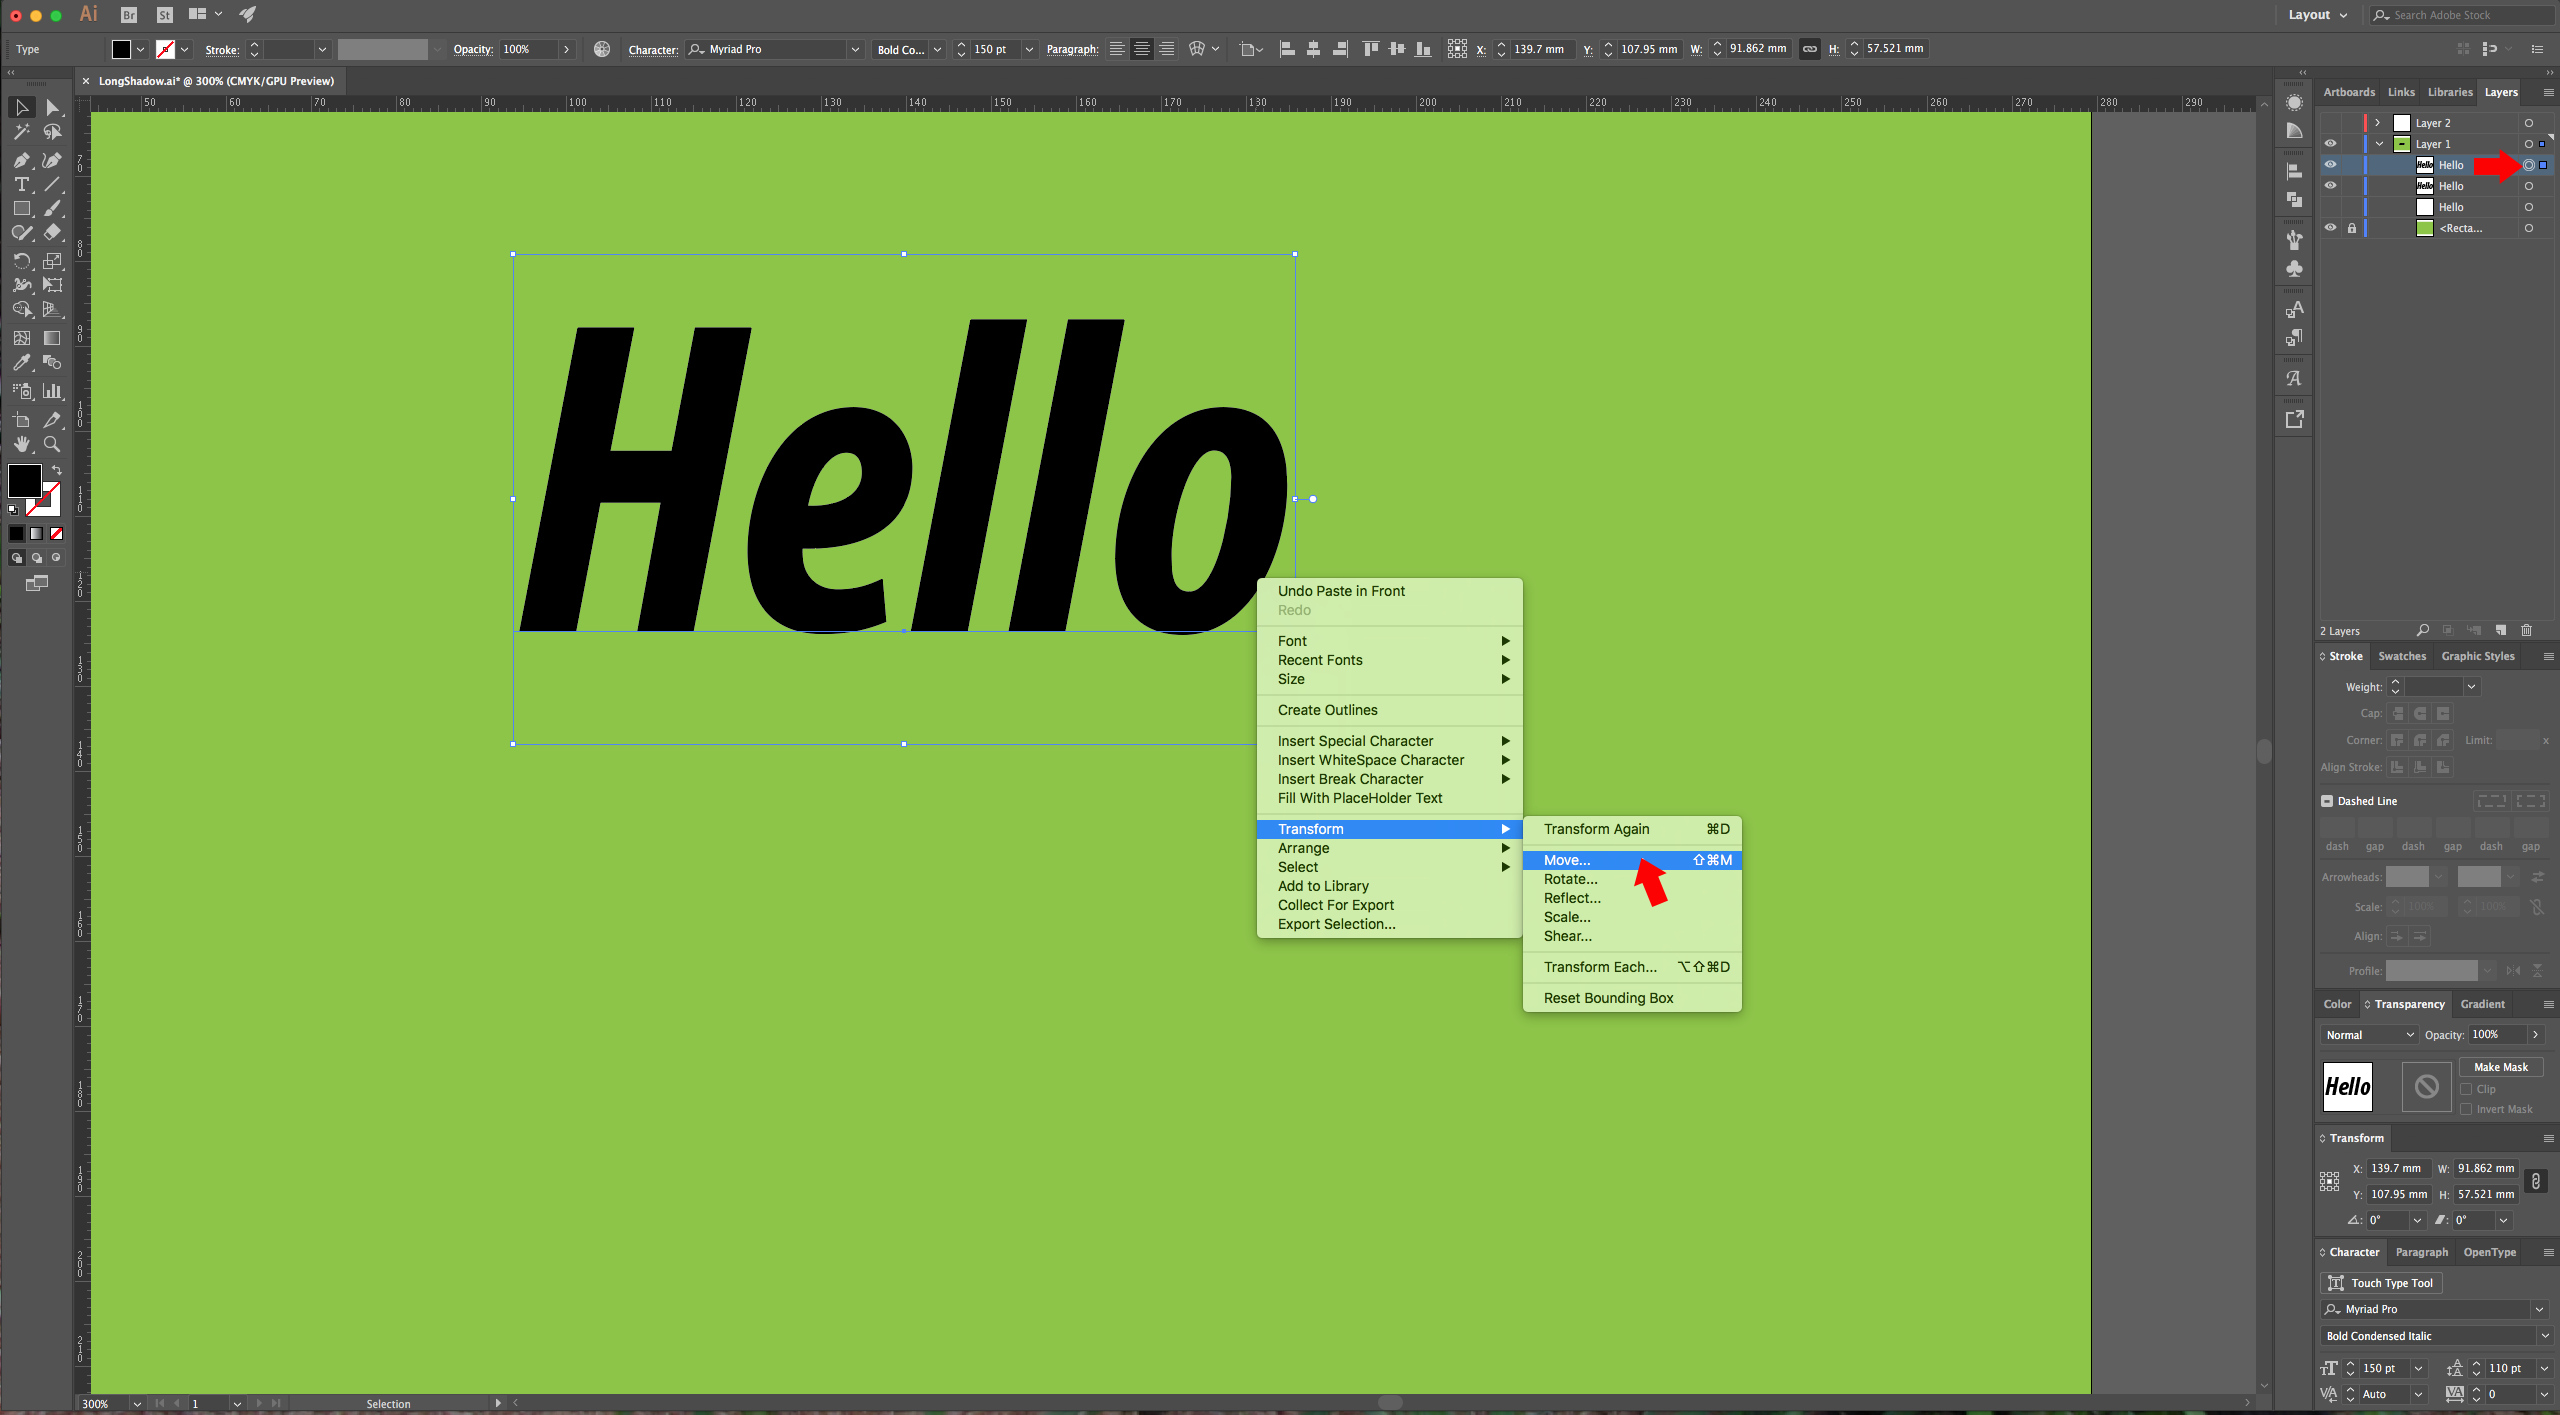
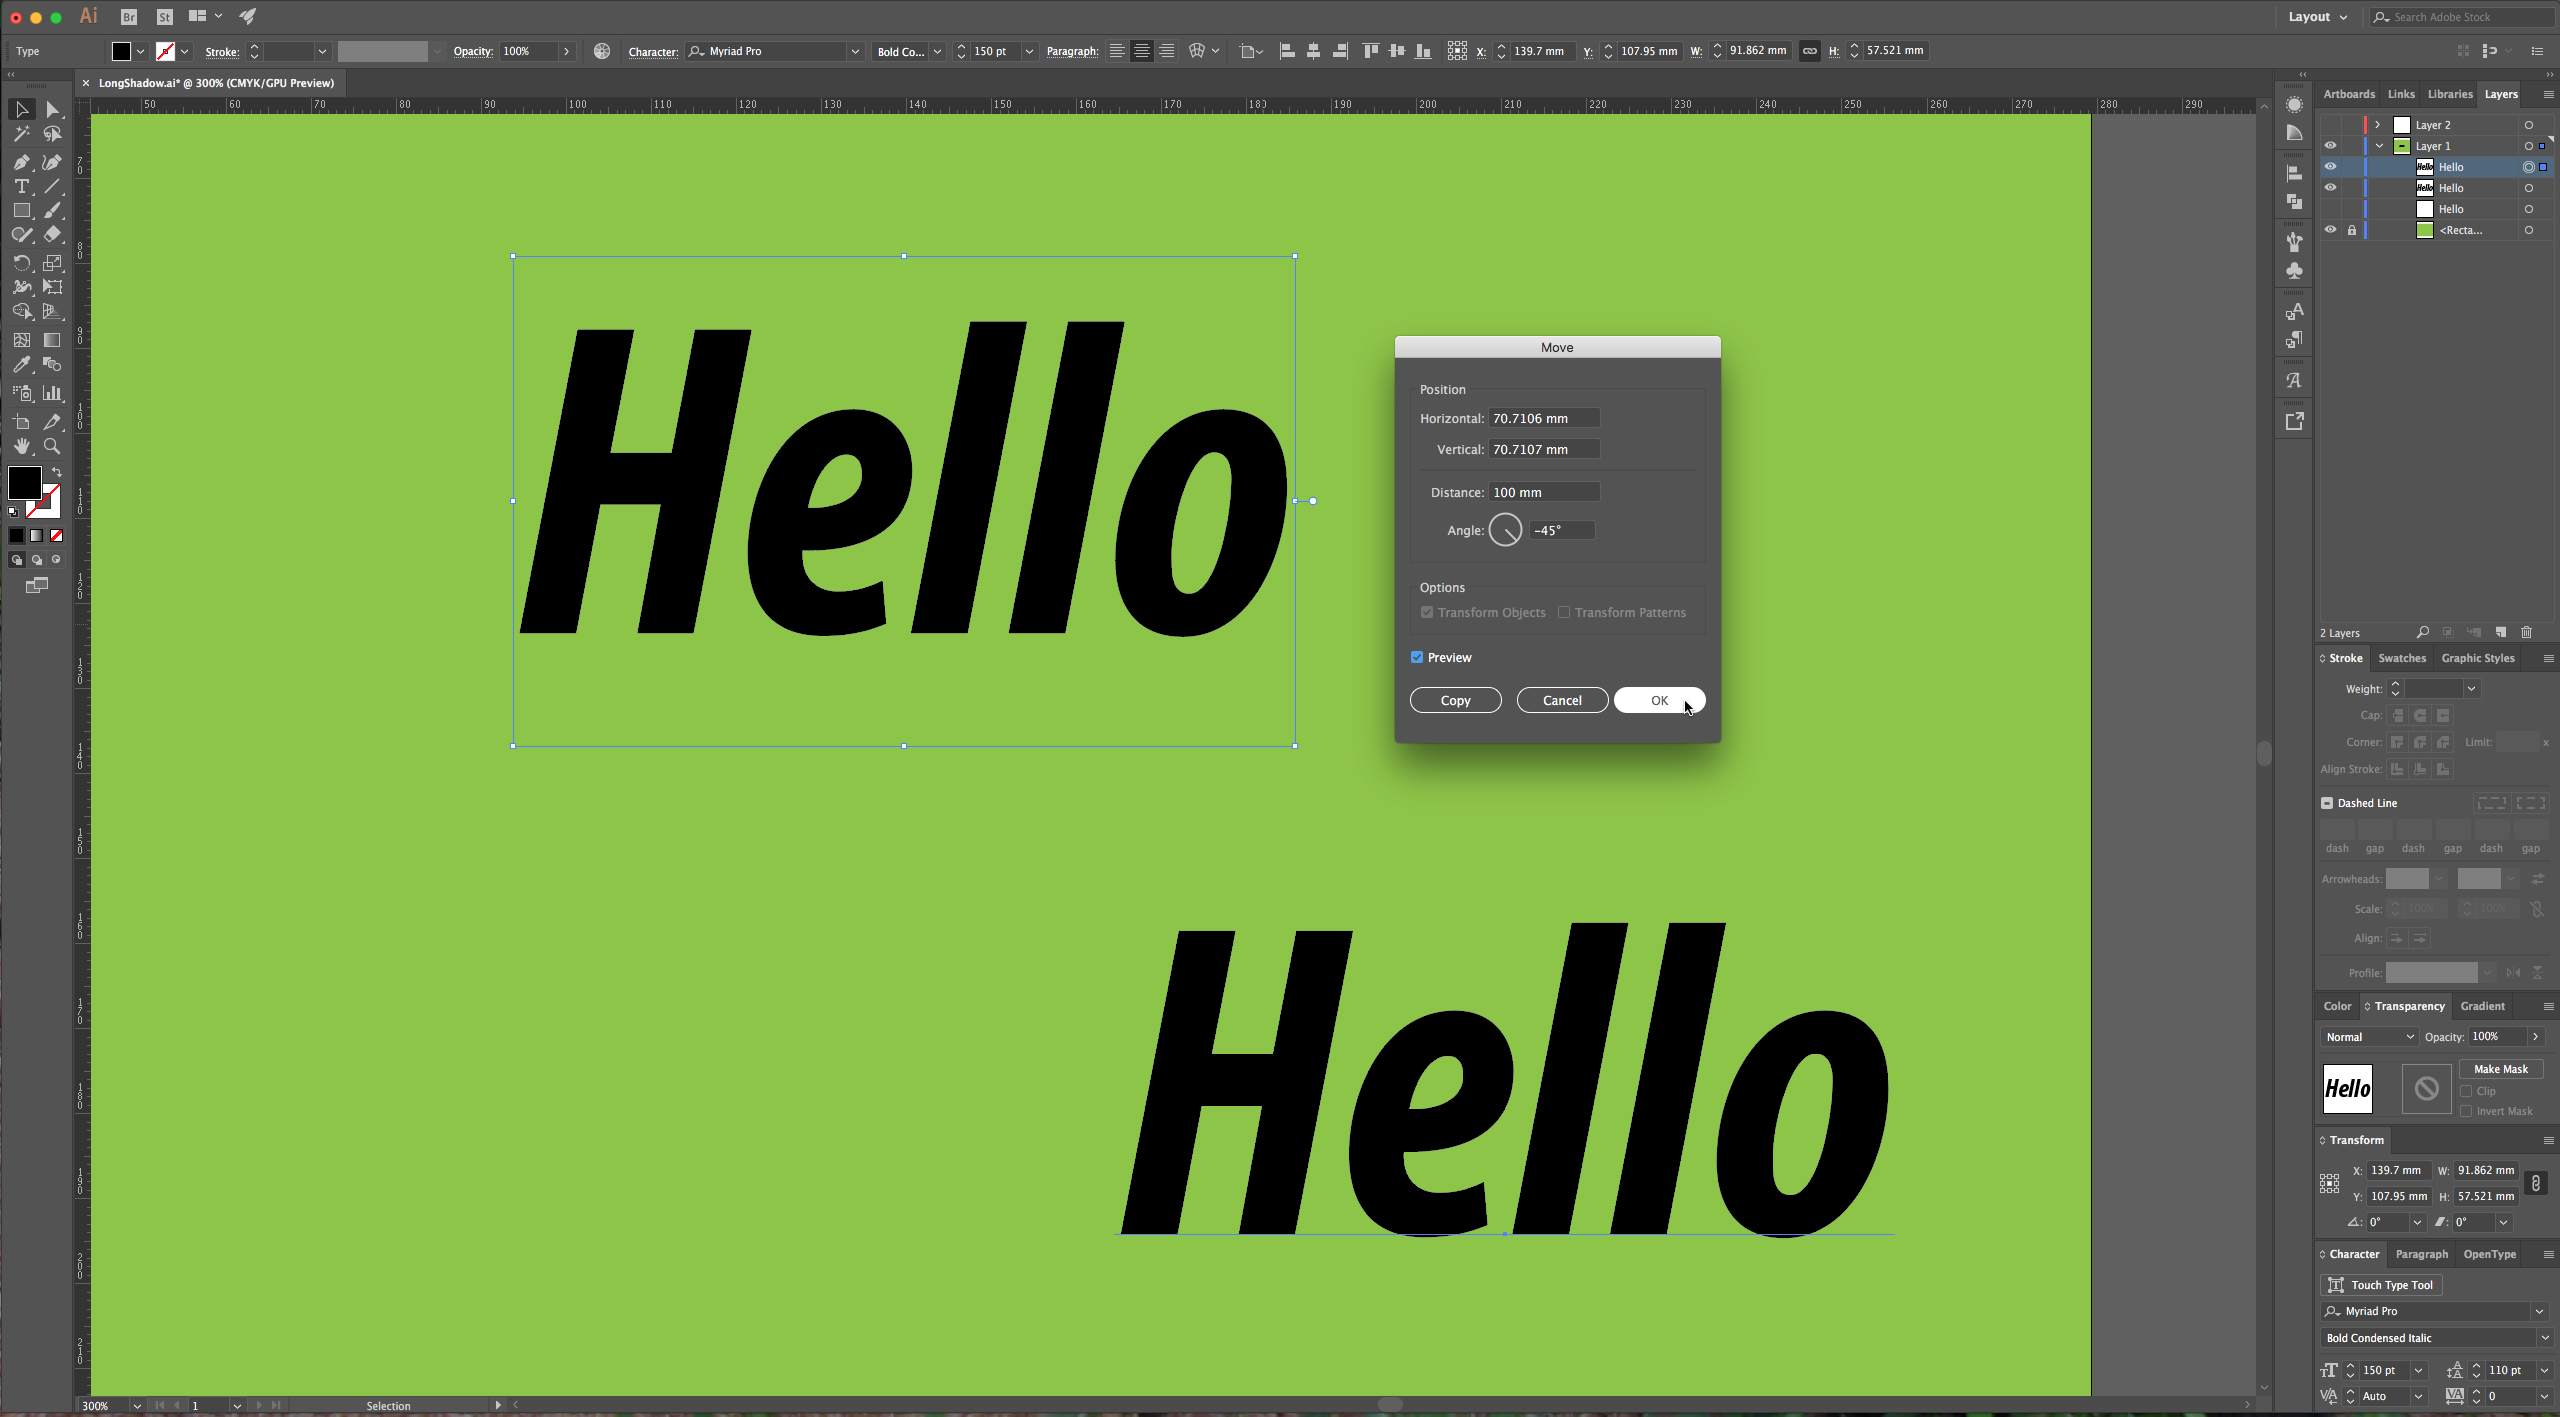
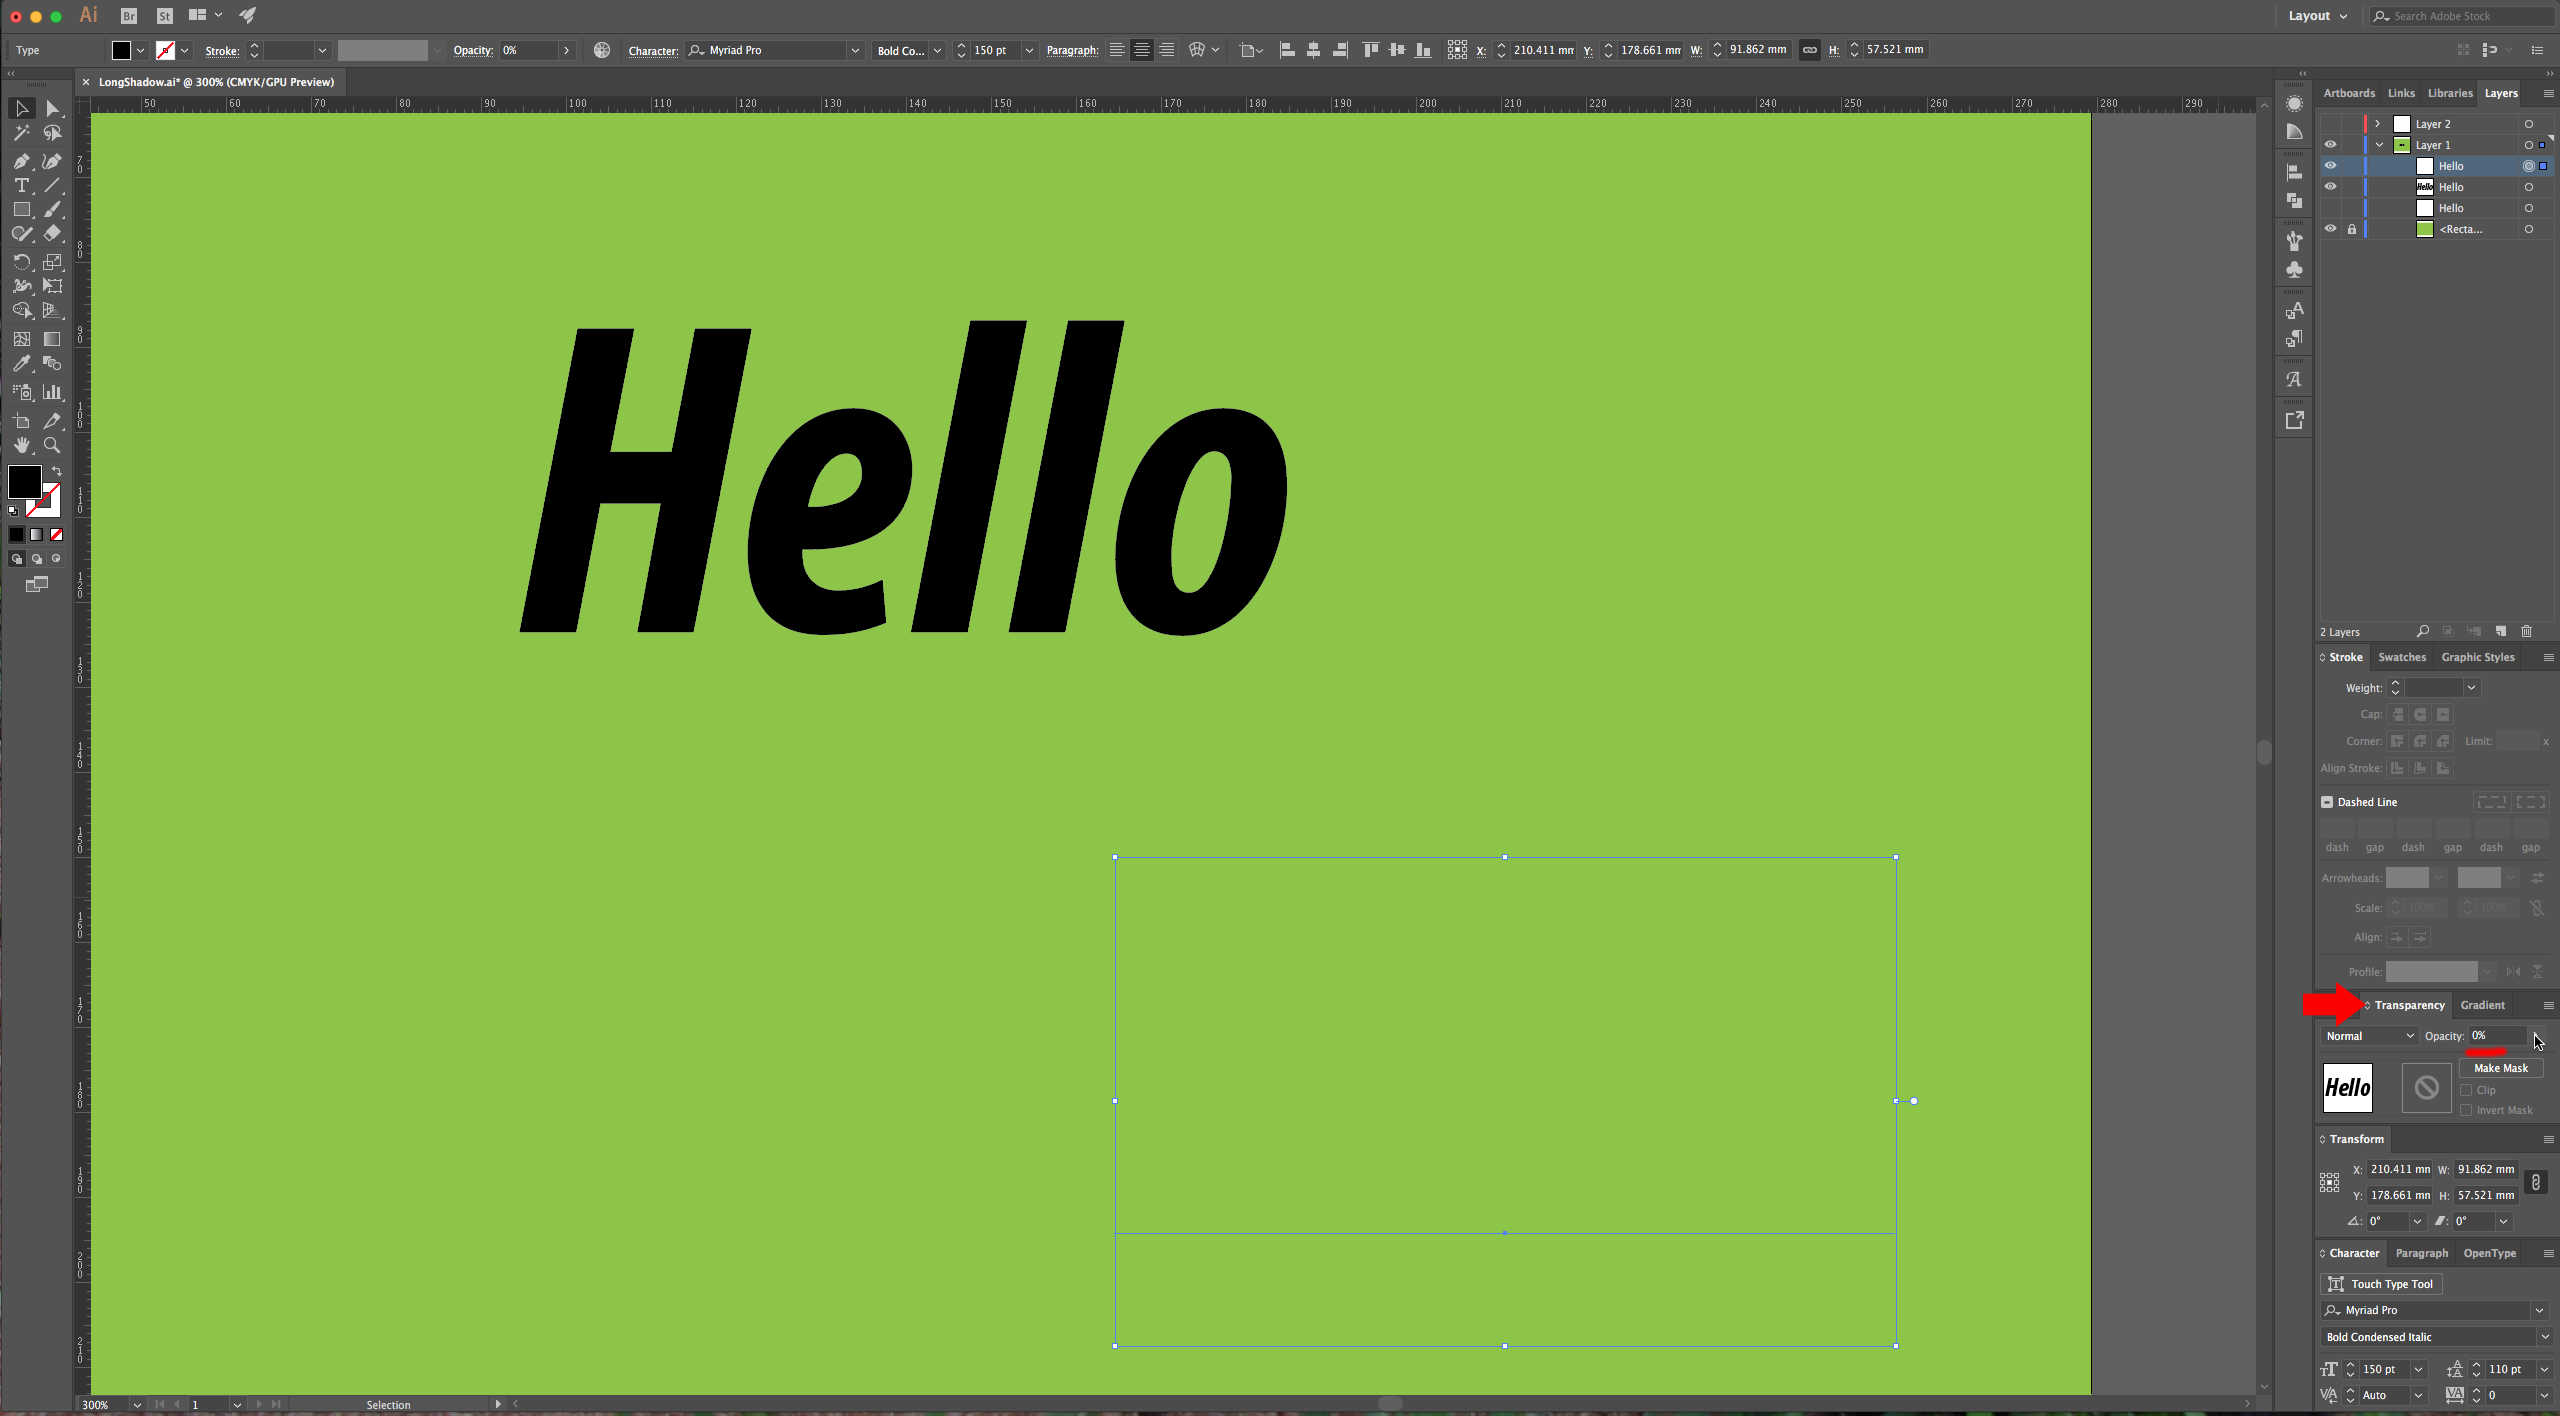
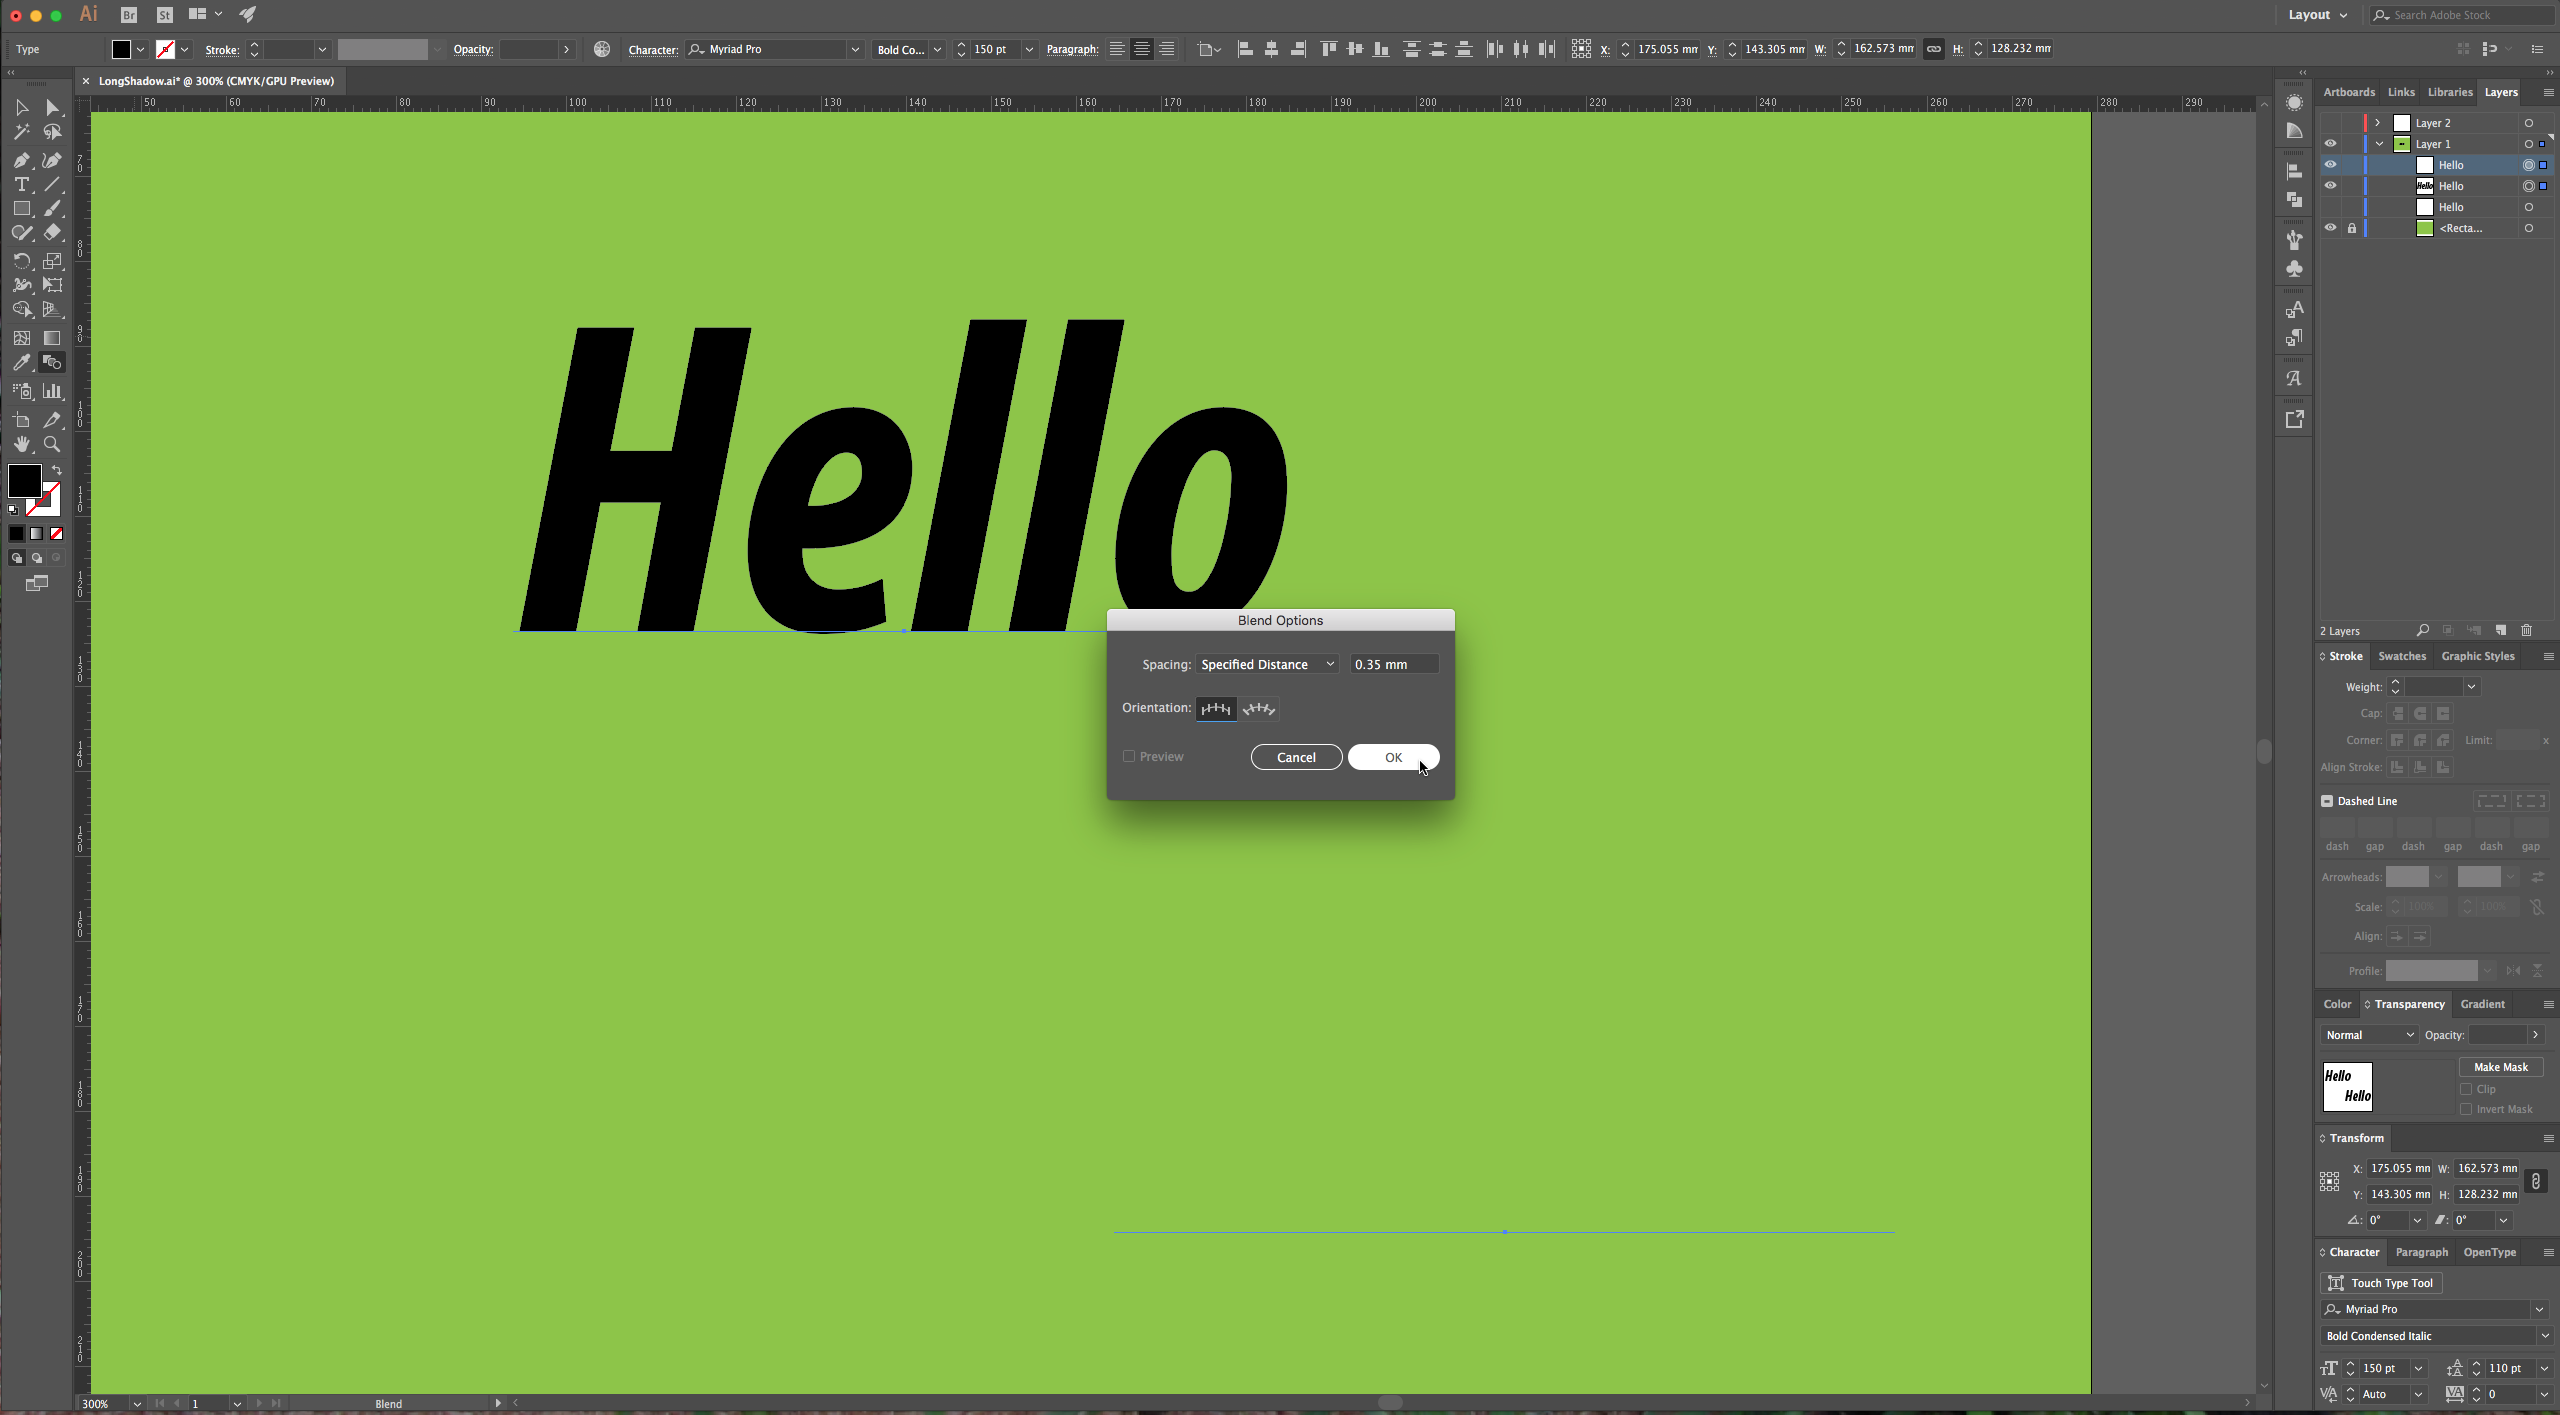
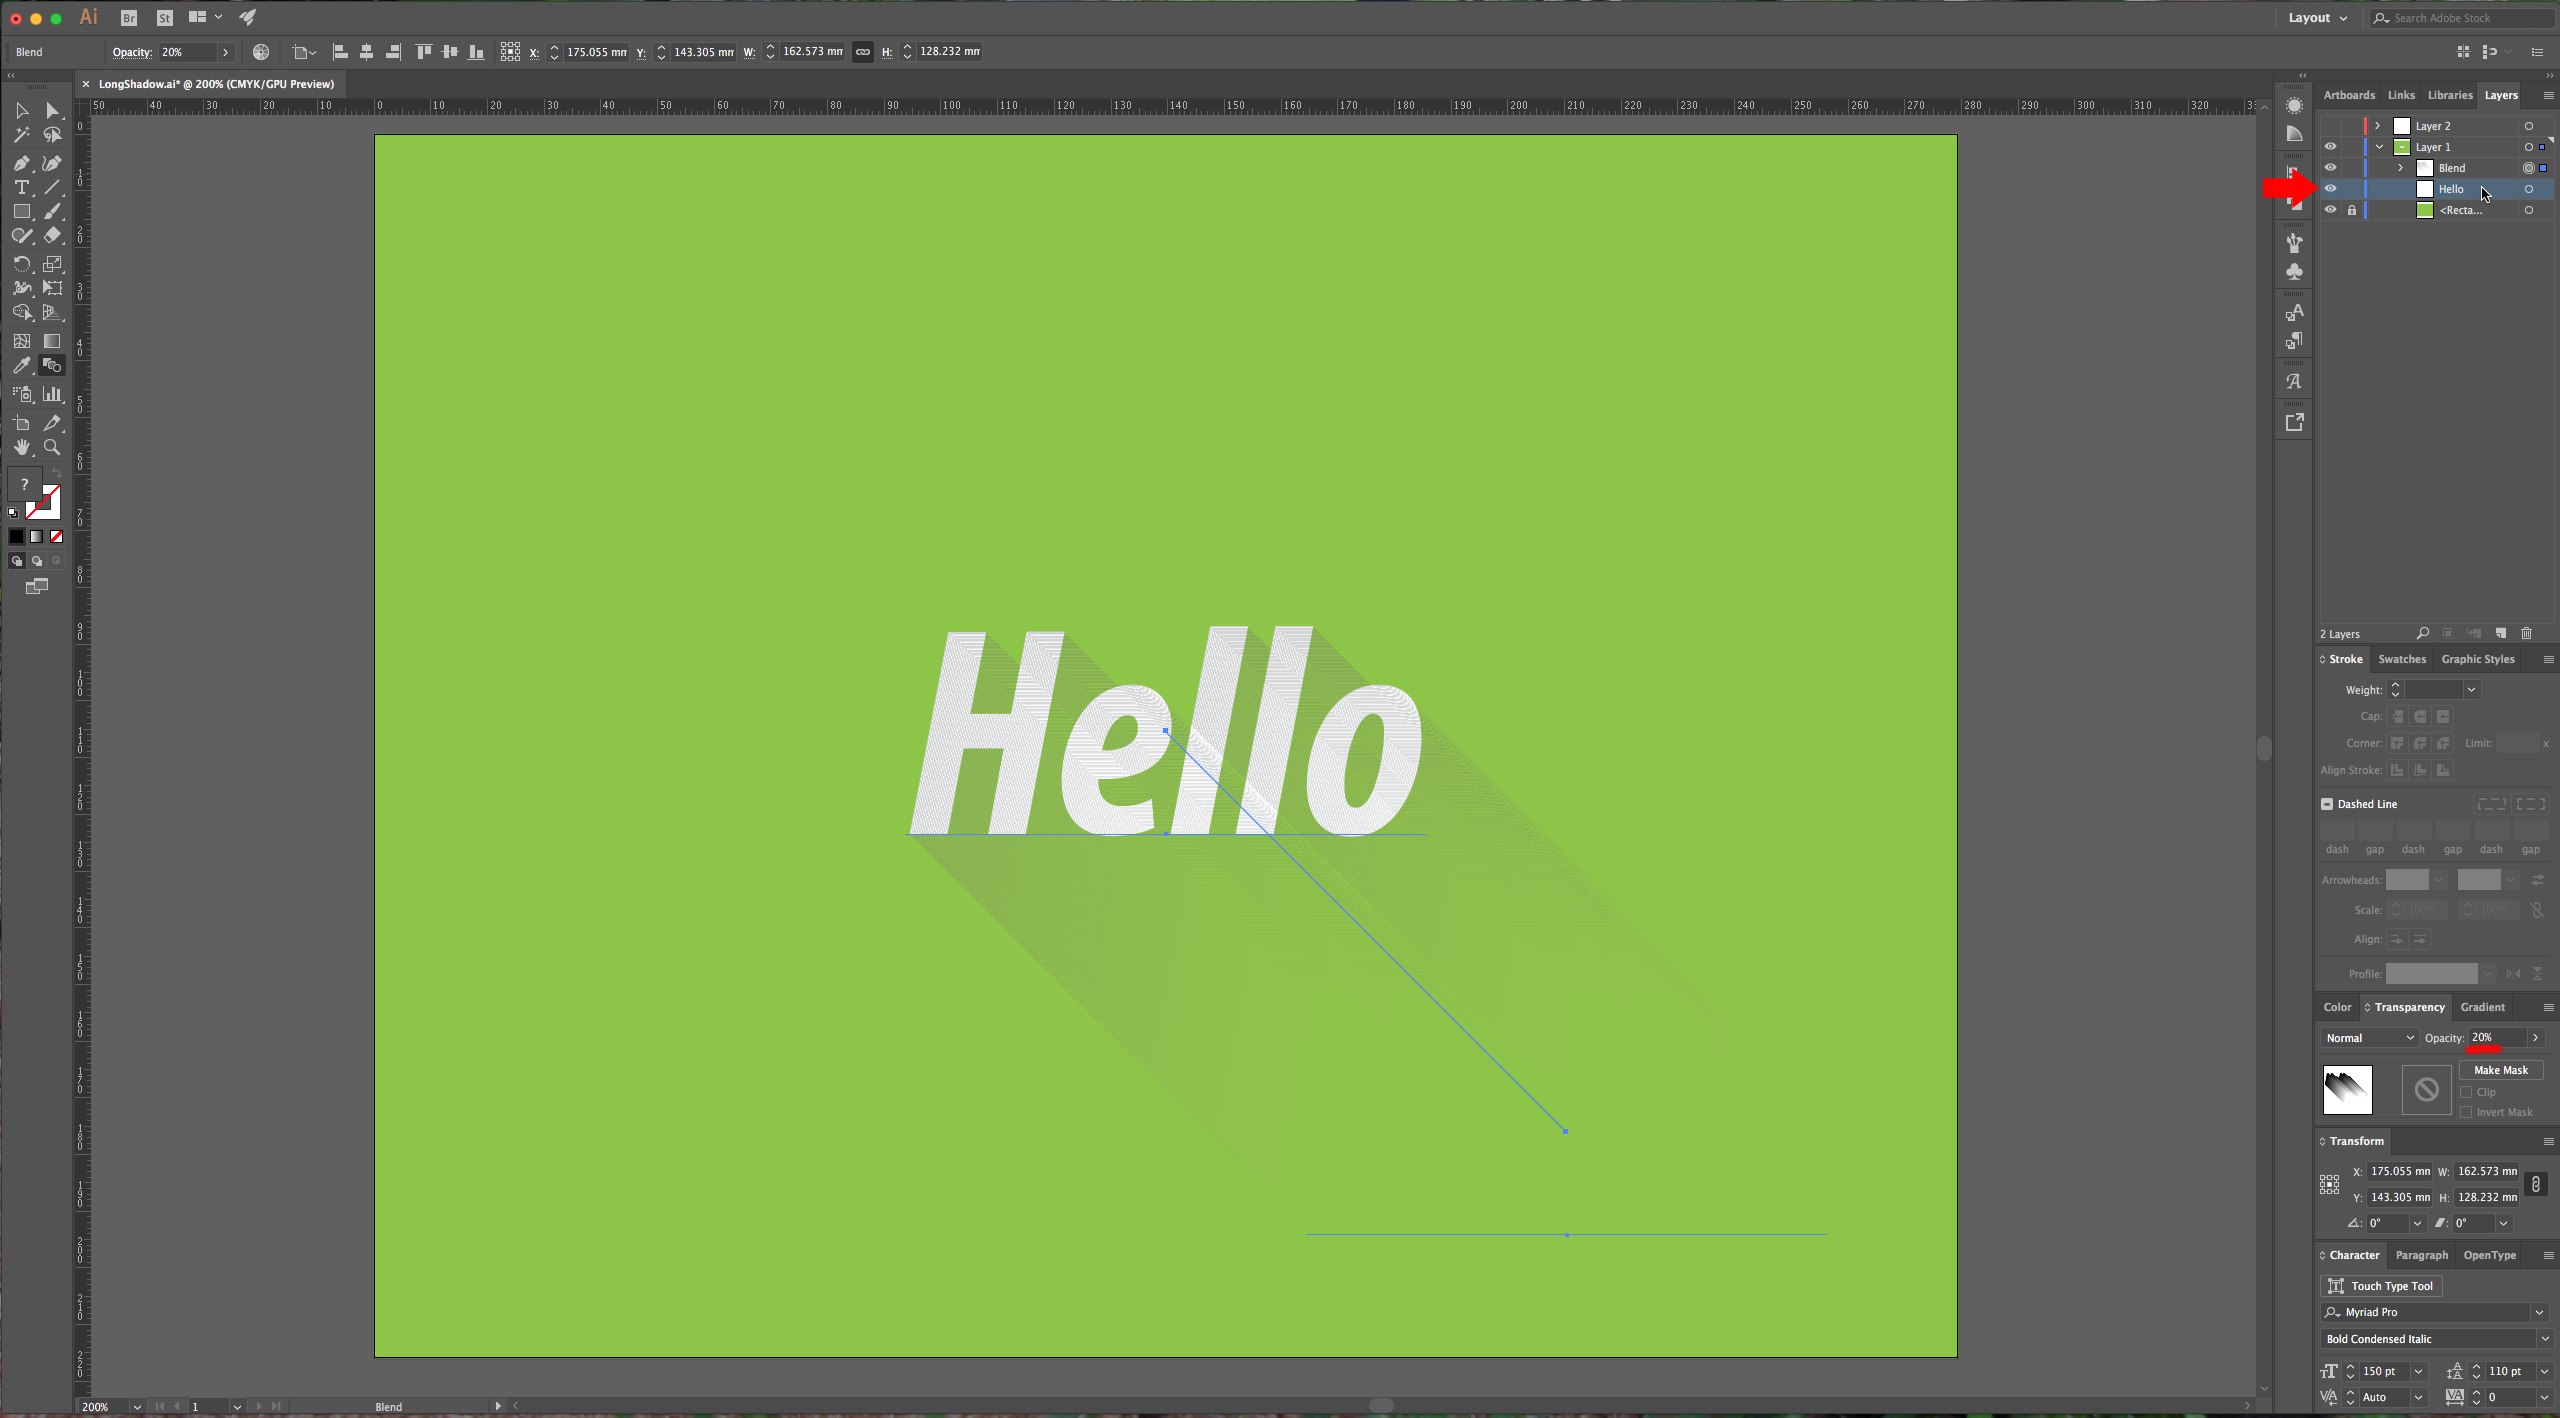
6 – Select the bottom text and in the “Transparency” Panel change the “Opacity” to 0%. Select both instances of your text, double-click on the “Blend Tool” and use “Specified Distance” for “Spacing” and a value of 0.35 mm (about 1 pixel). Then go to Object > Blend > Make, then change the “Opacity” to about 20% and make your top text visible again and move it on top of your other text.
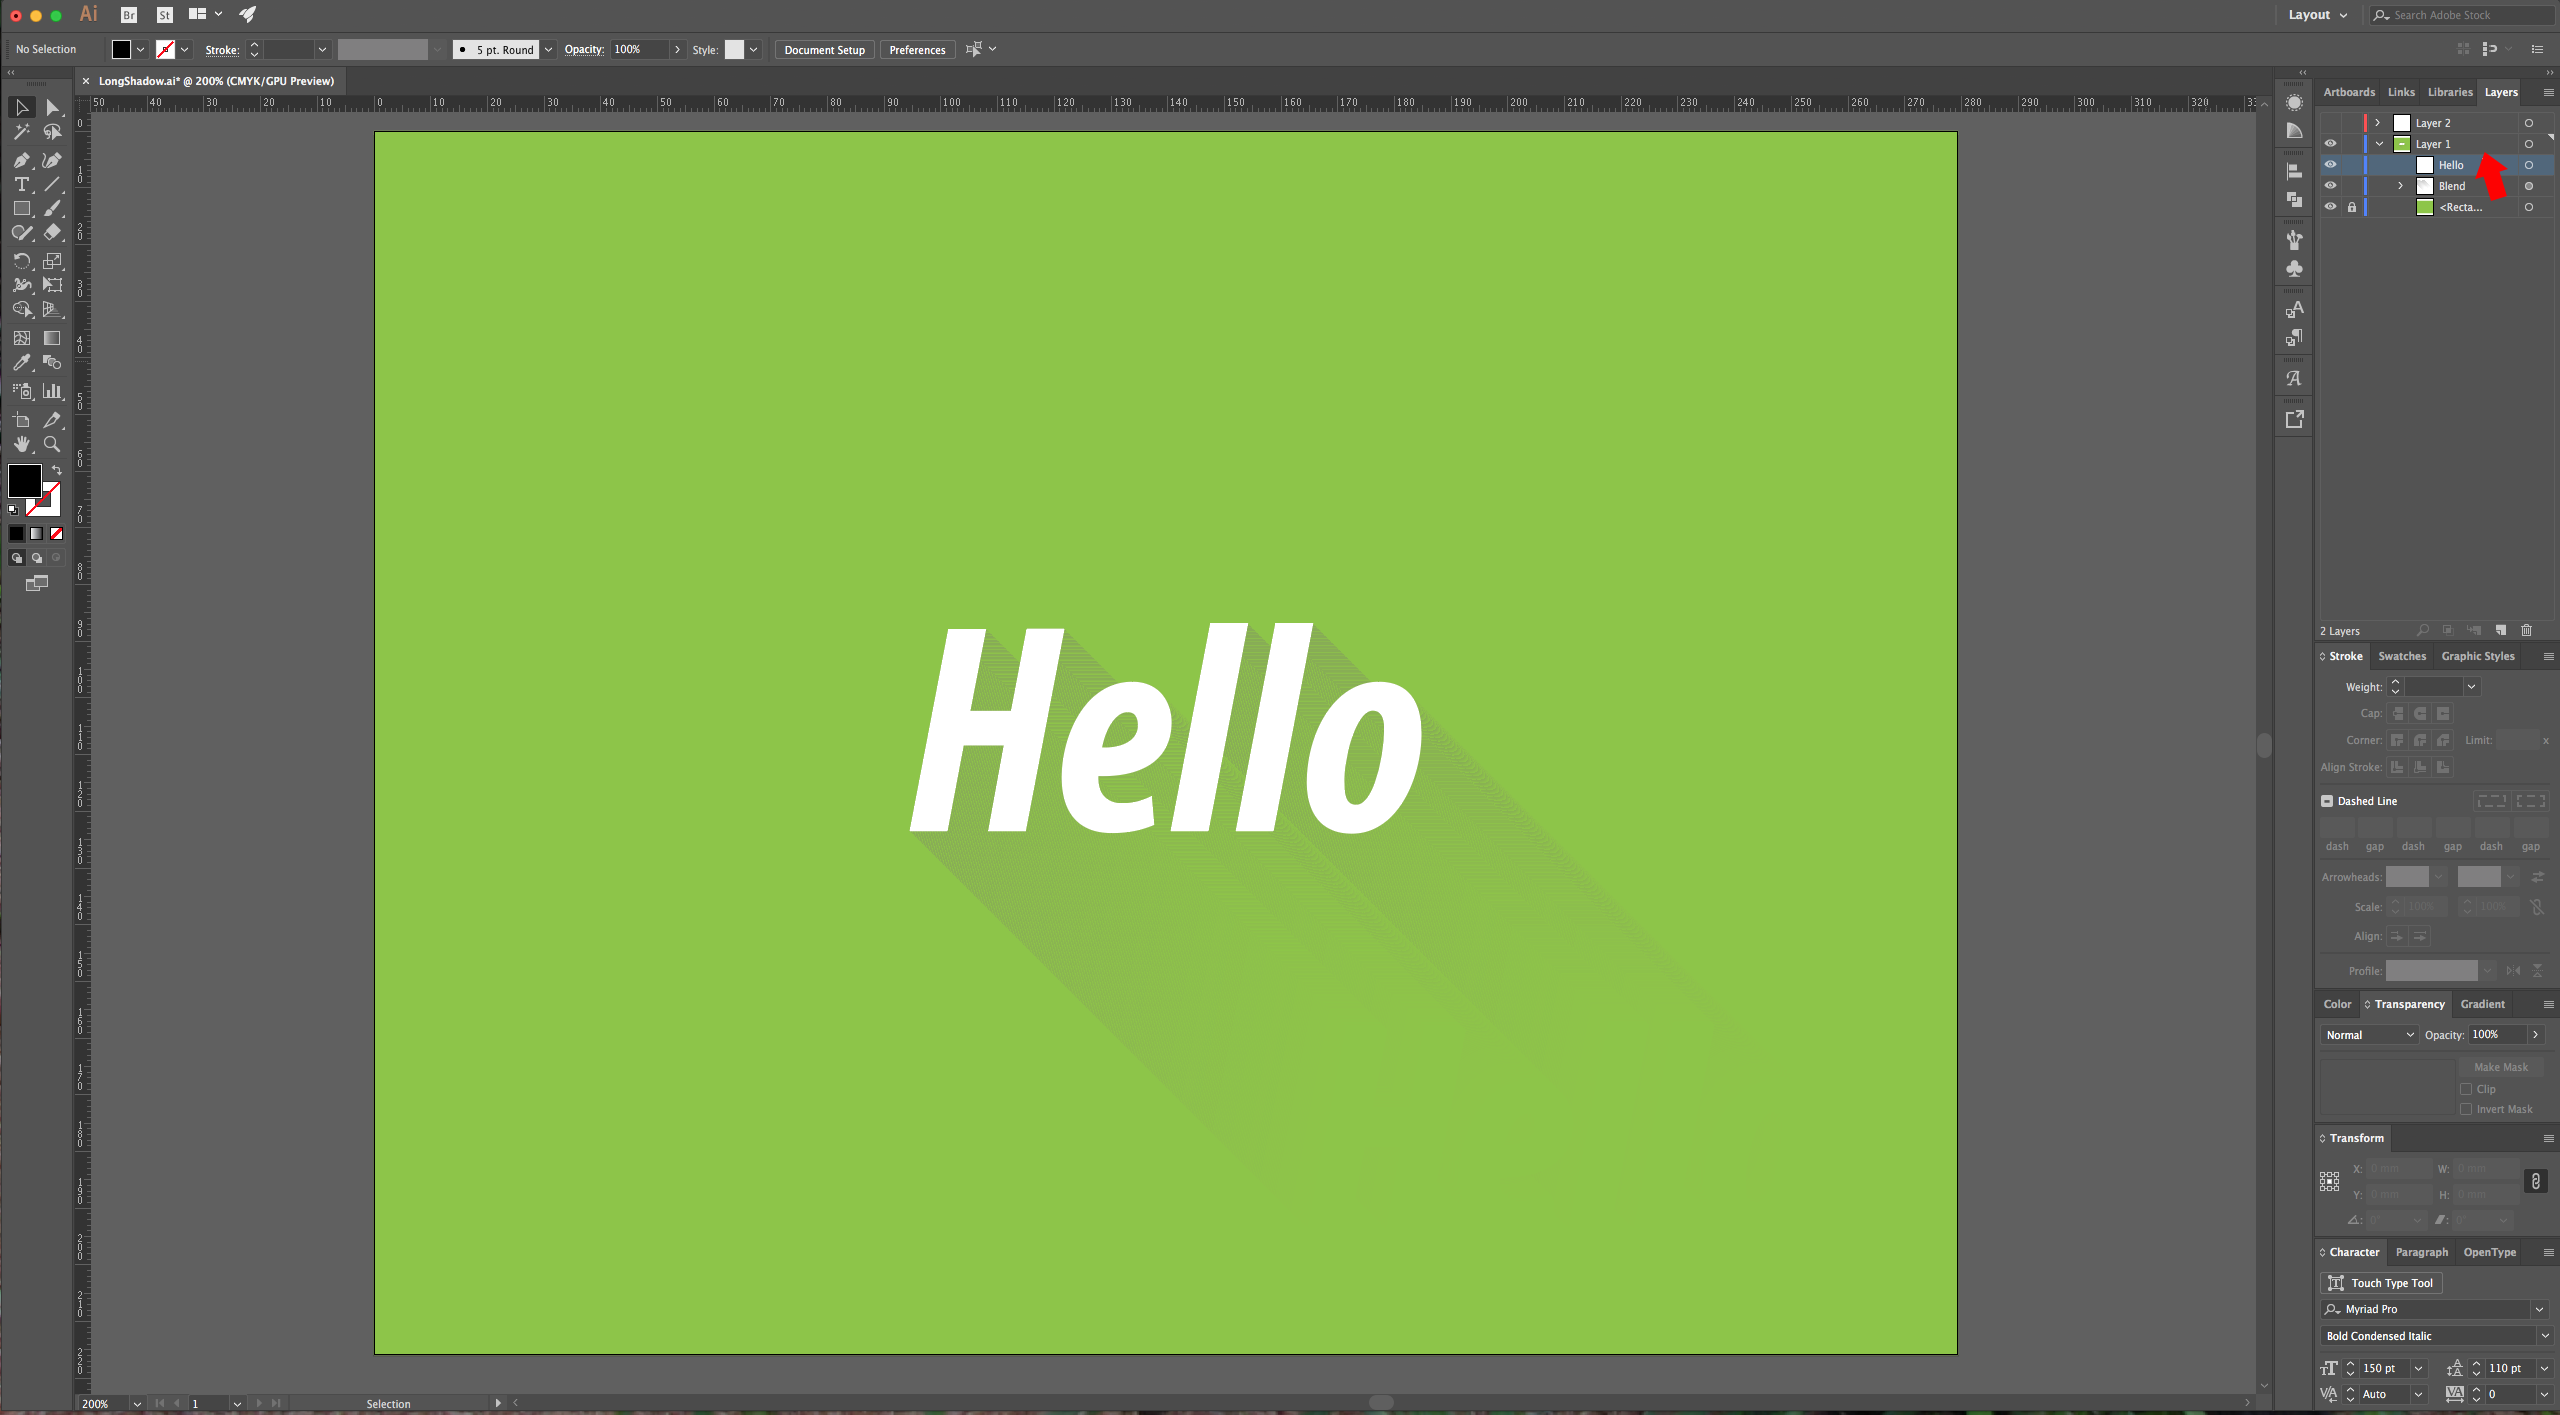
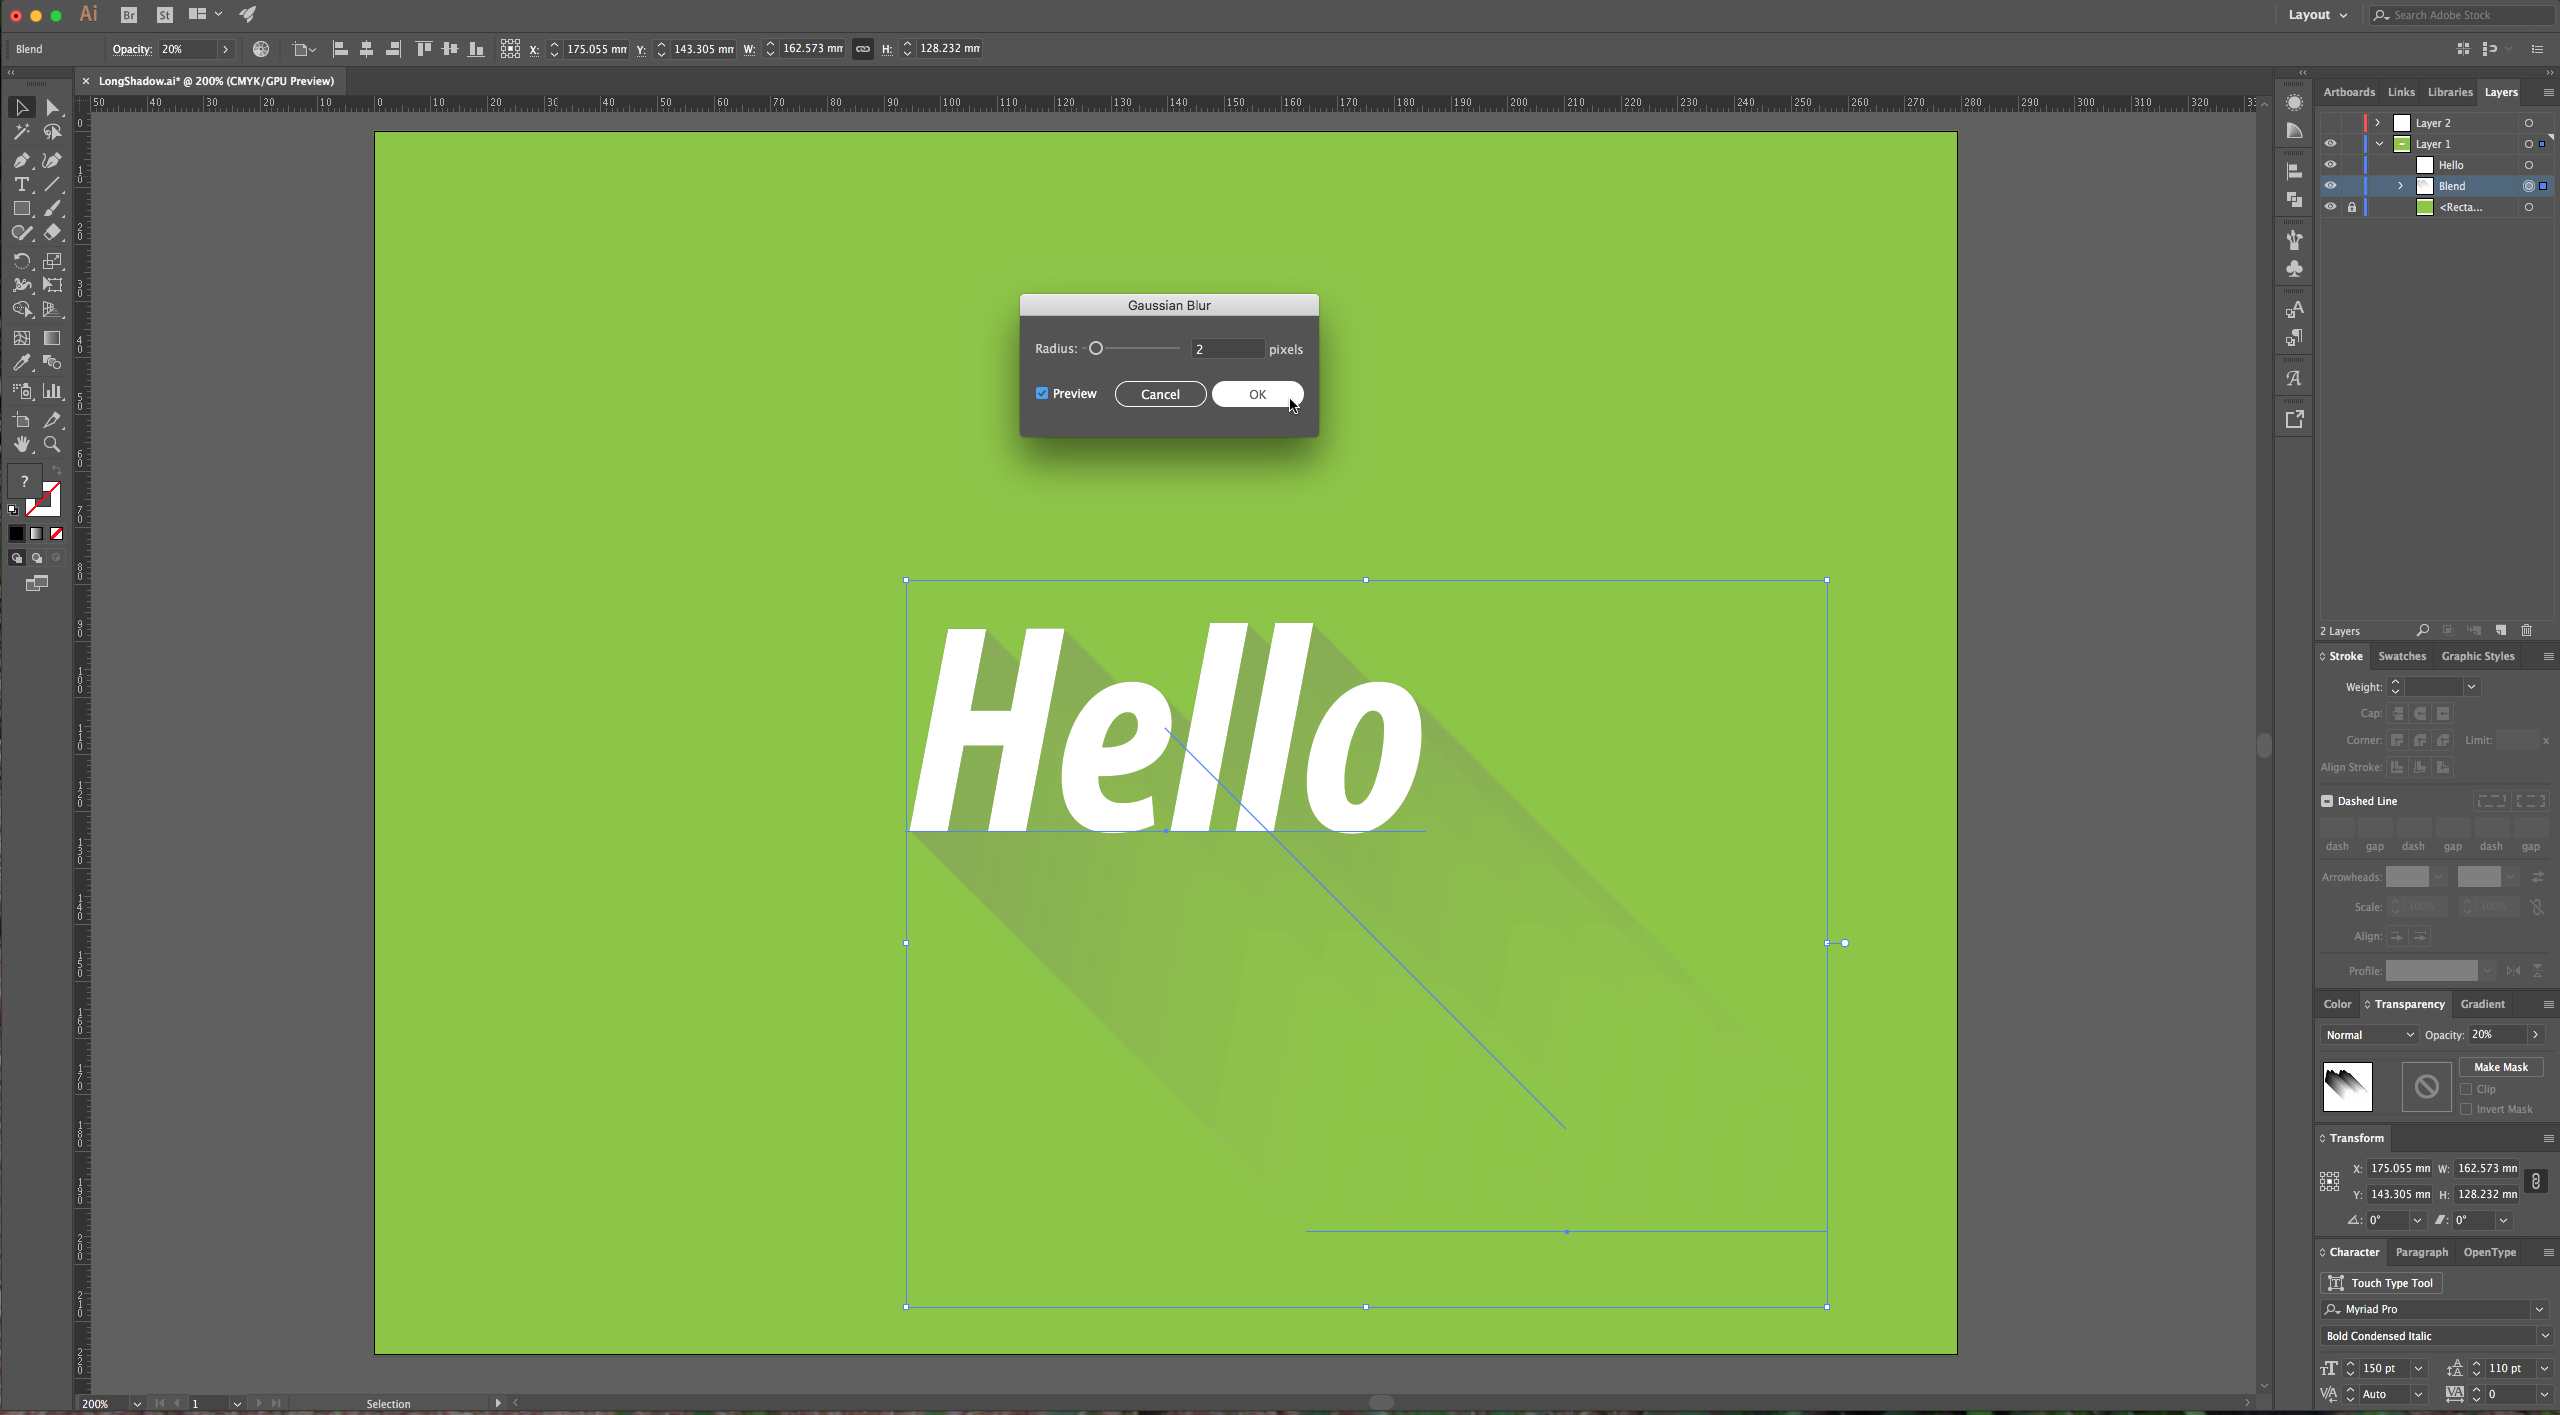
7 – If your shadow is not smooth enough, select it and go to Effects > Blur > Gaussian Blur and give the “Radius” a value of about 2 pixels.
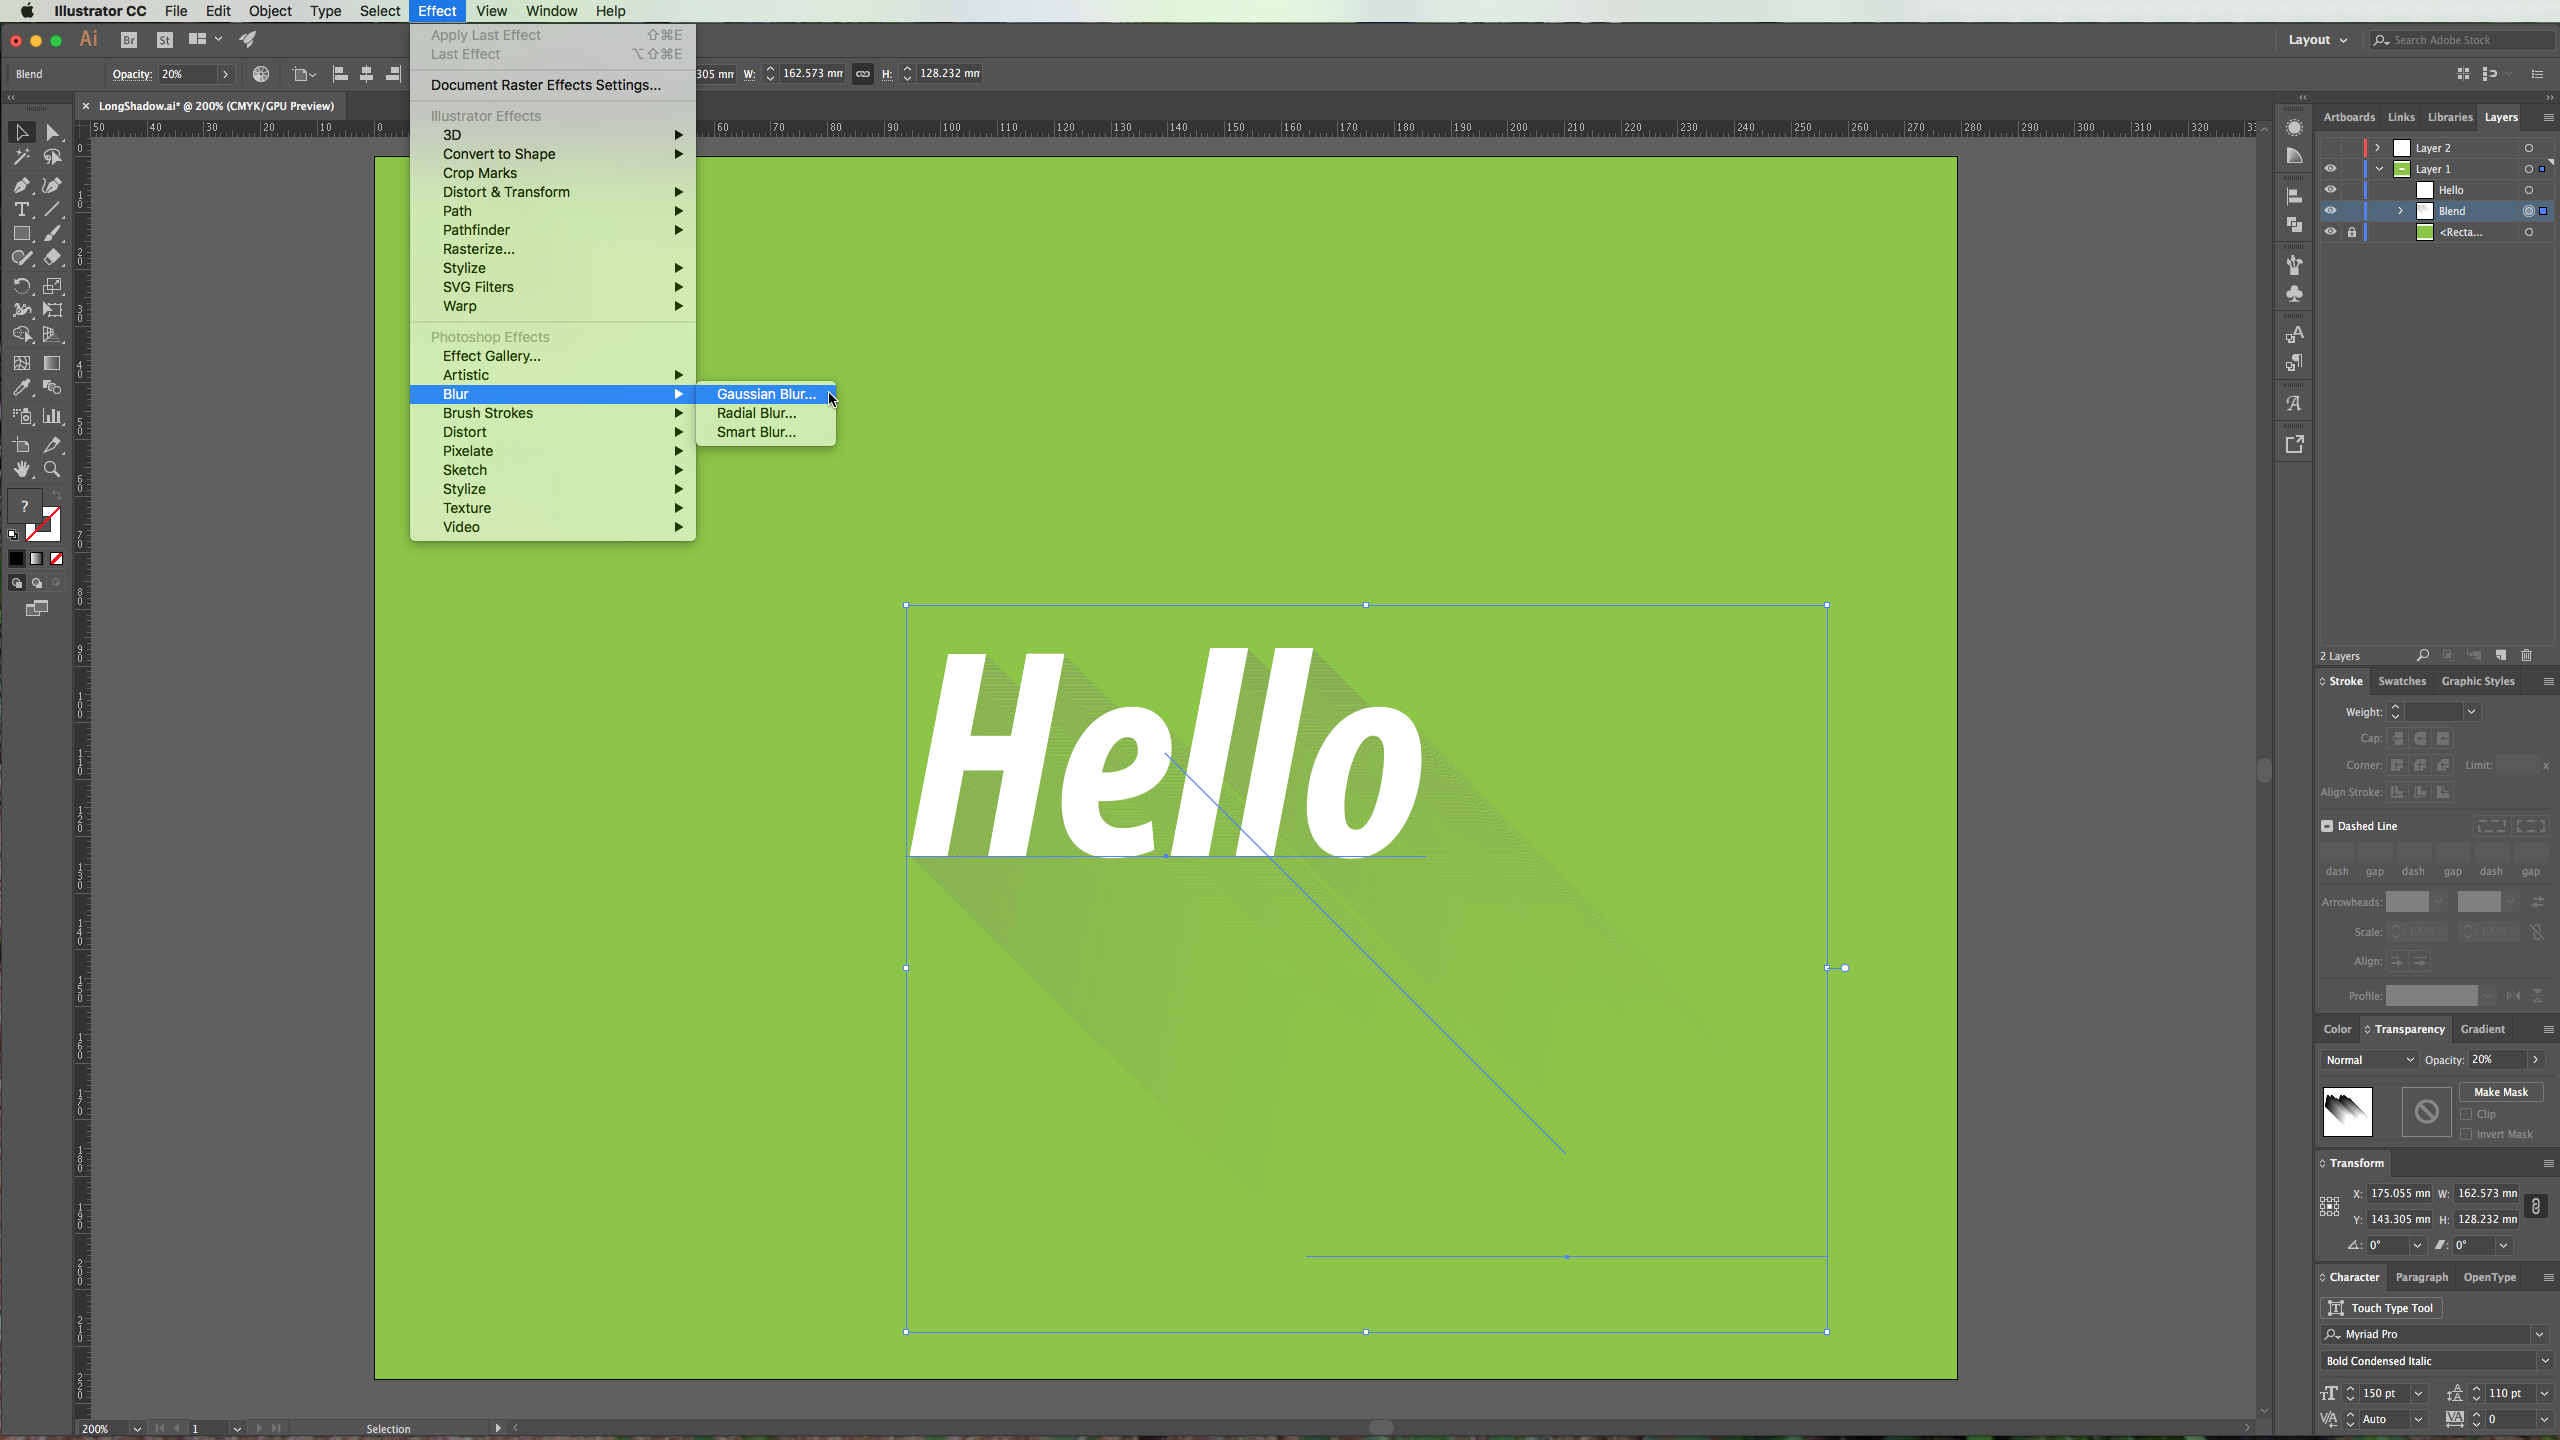
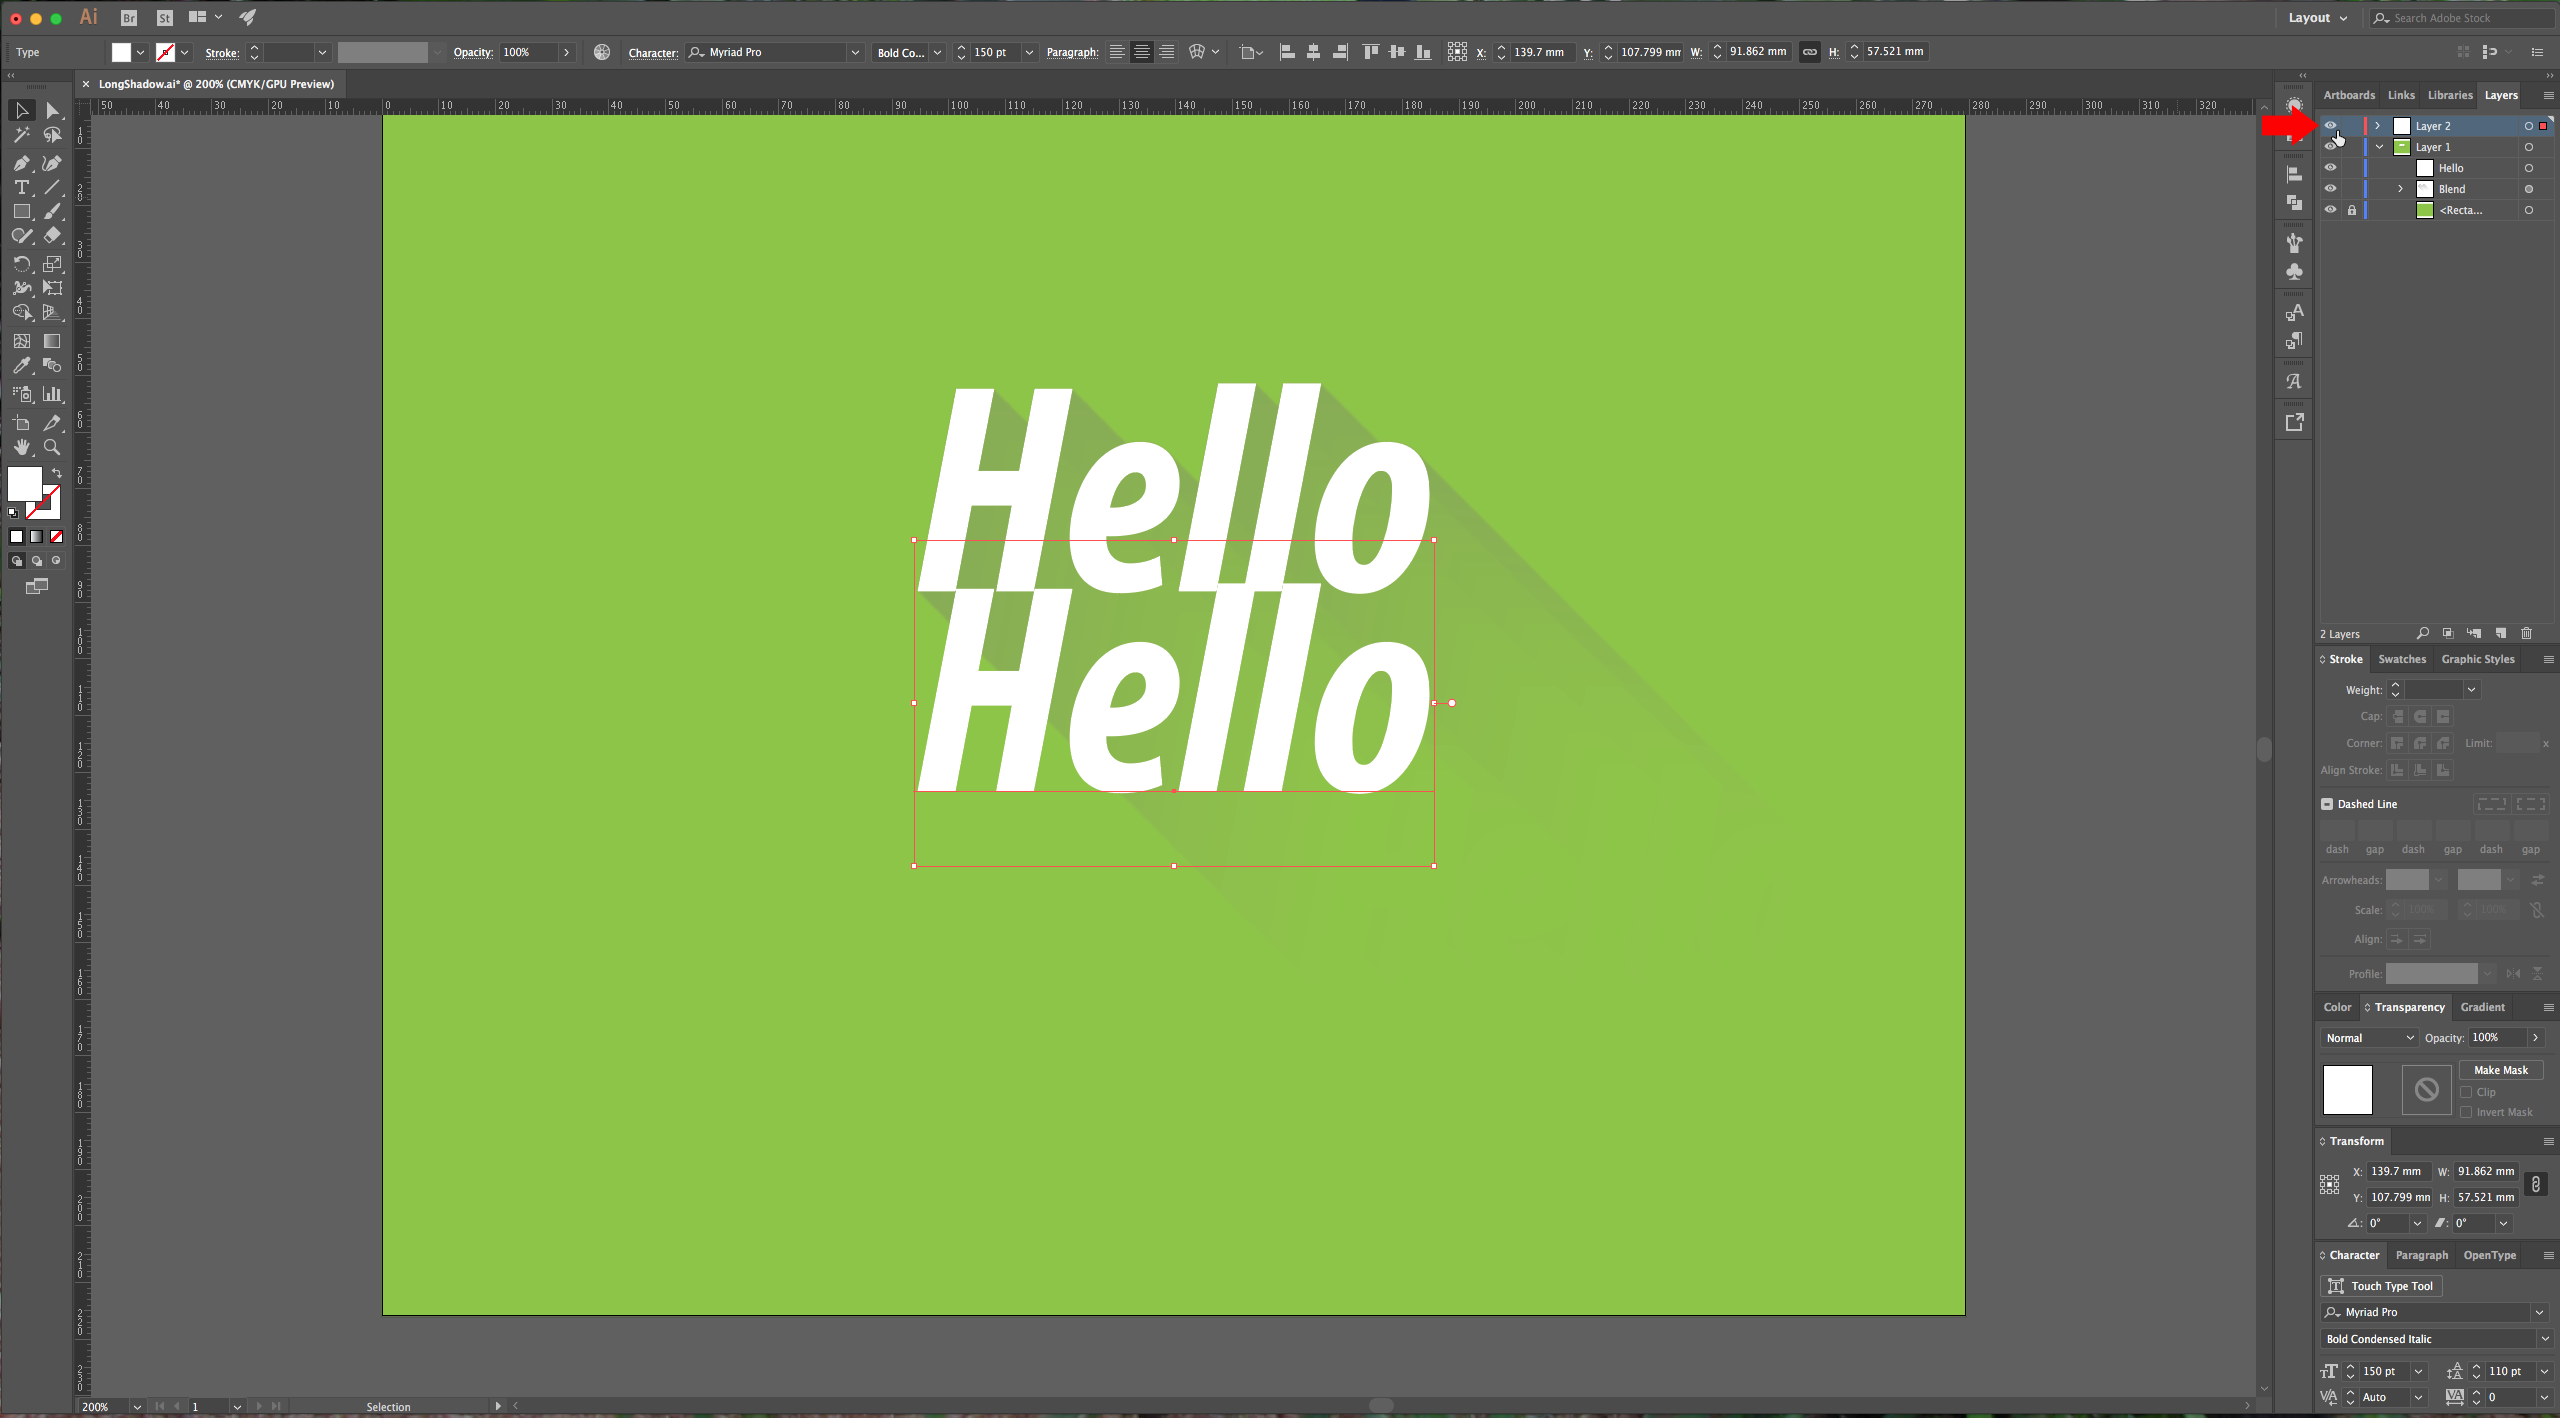
8 – For the second method, we are going to use the “Transform Effect”. Turn on the visibility of your second layer and arrange your text.
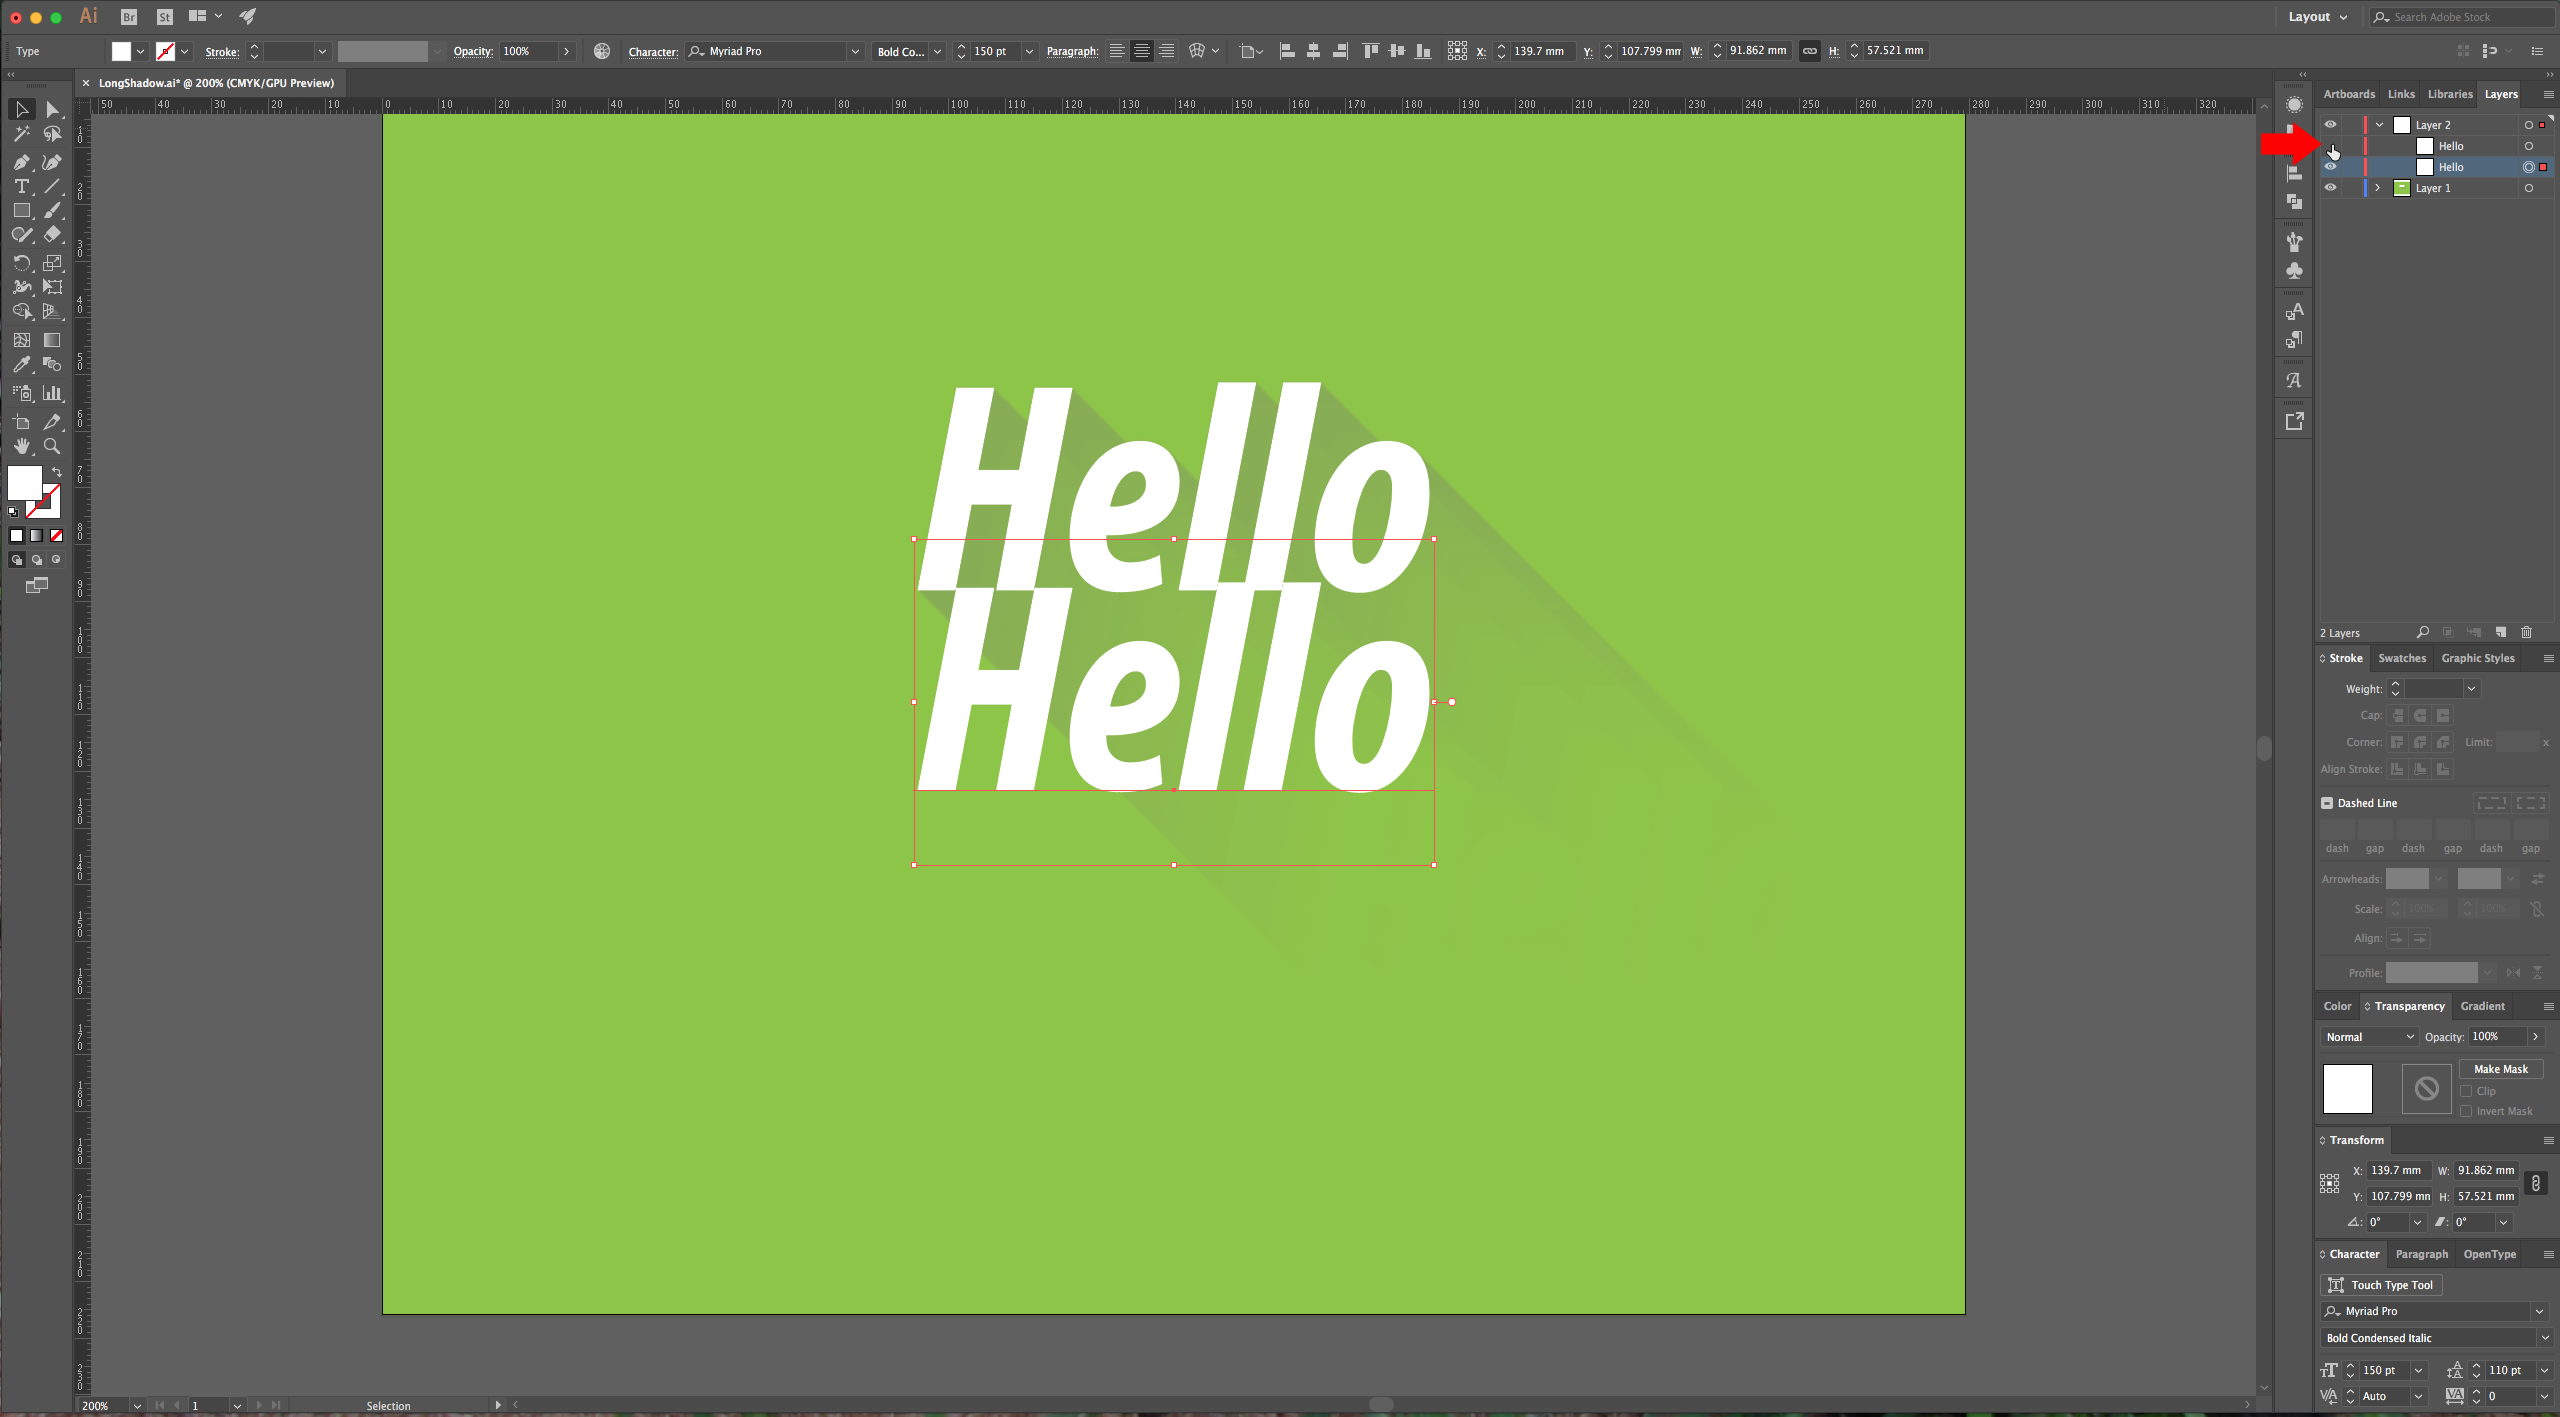
9 - Make a Copy of your text, paste it in front and hide it. Change the color of your selected text to black and then go to Effect > Distort & Transform > Transform, give “Horizontal” and “Vertical” Move a value of 0.35 mm (about 1 pixel) and in “Copies” choose a value of about 250.
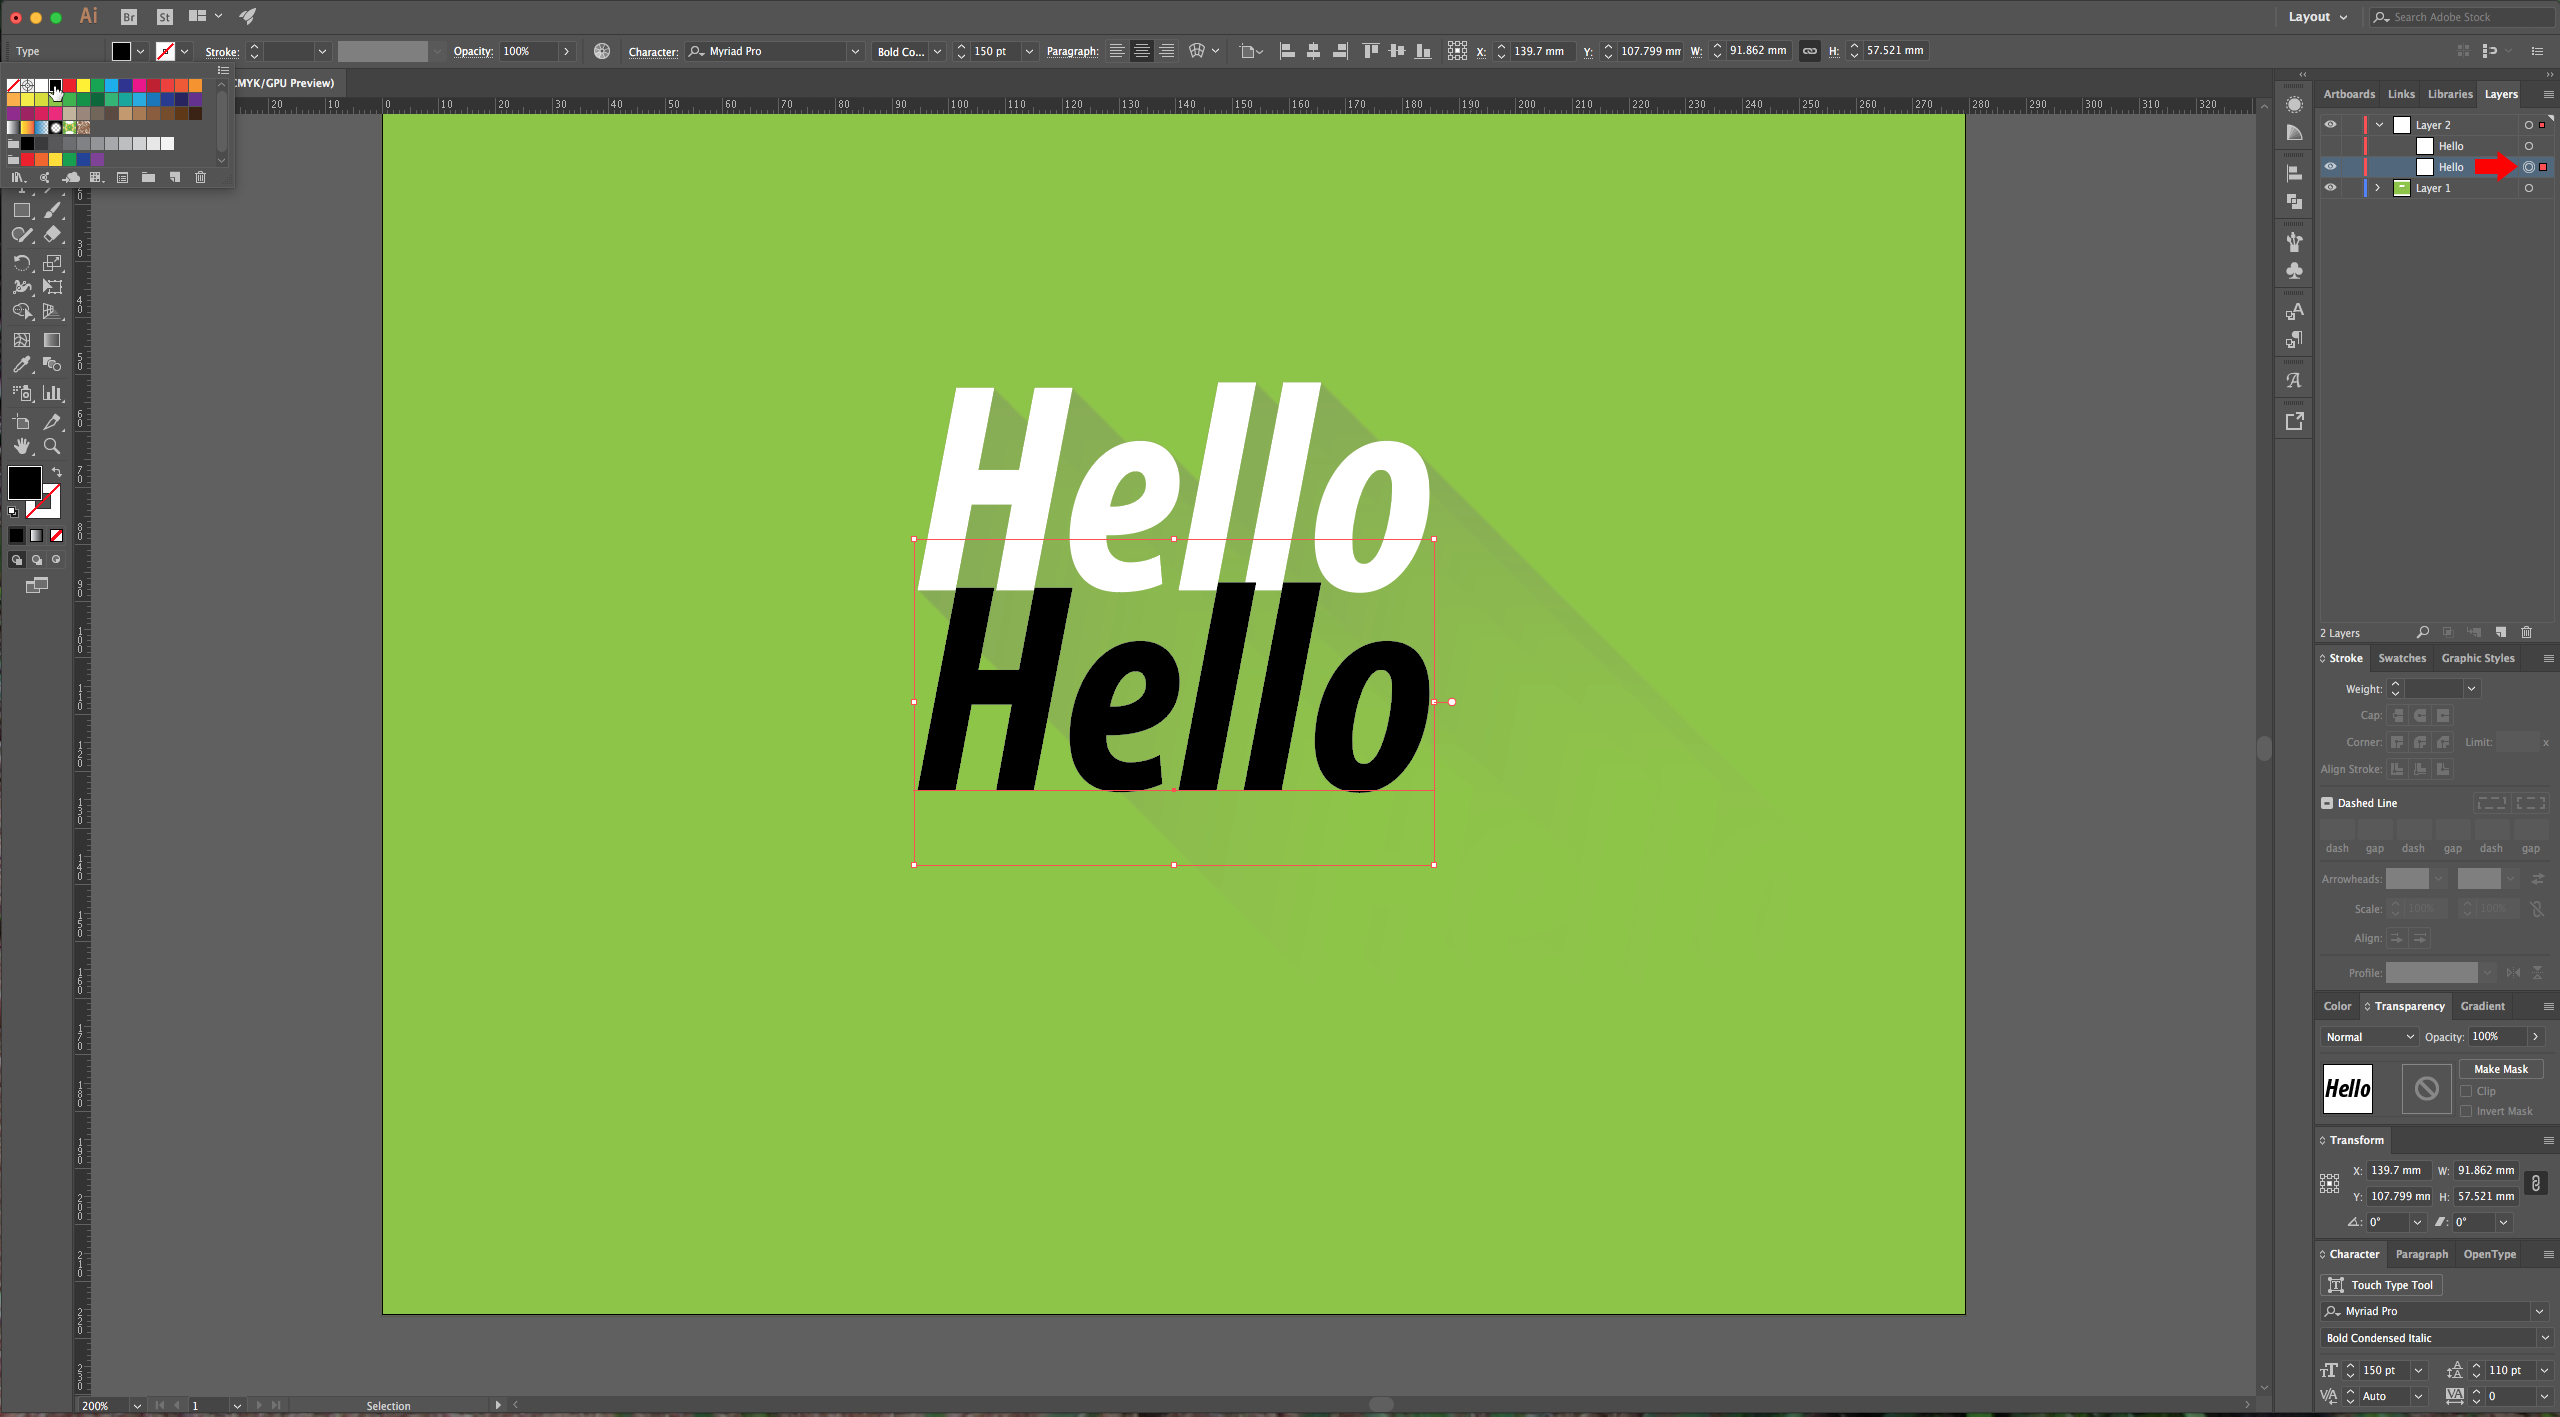
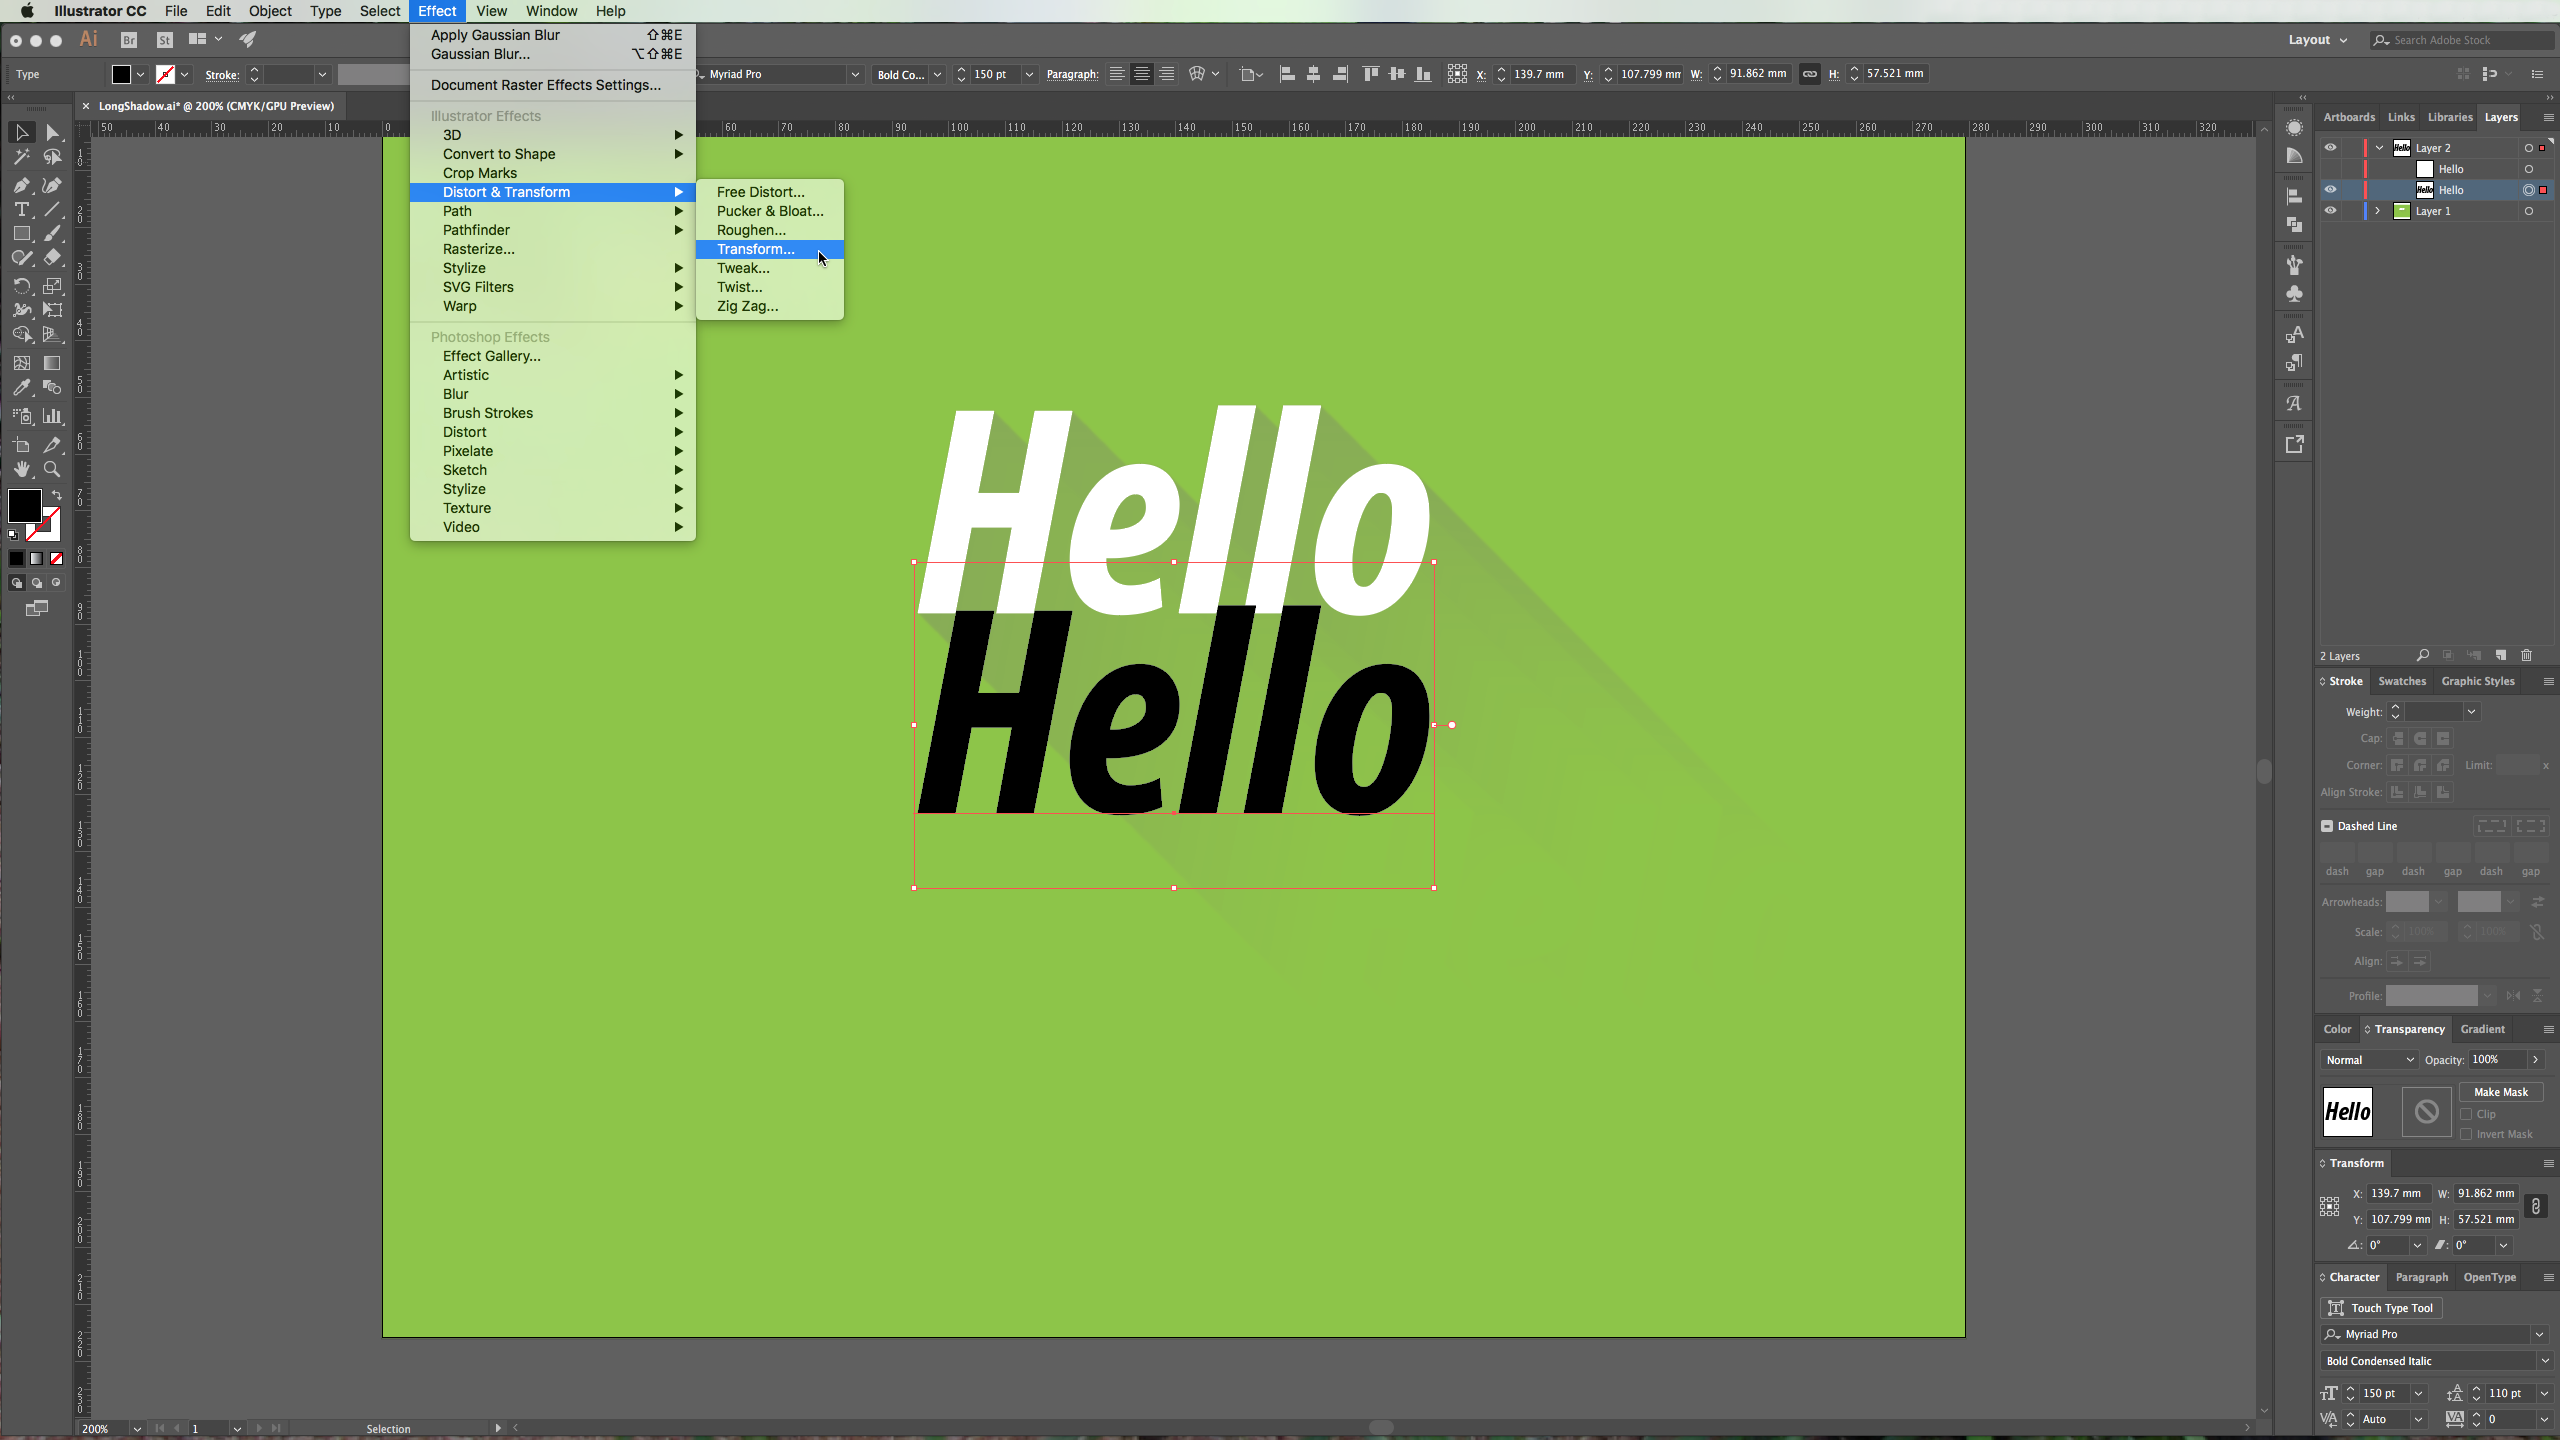
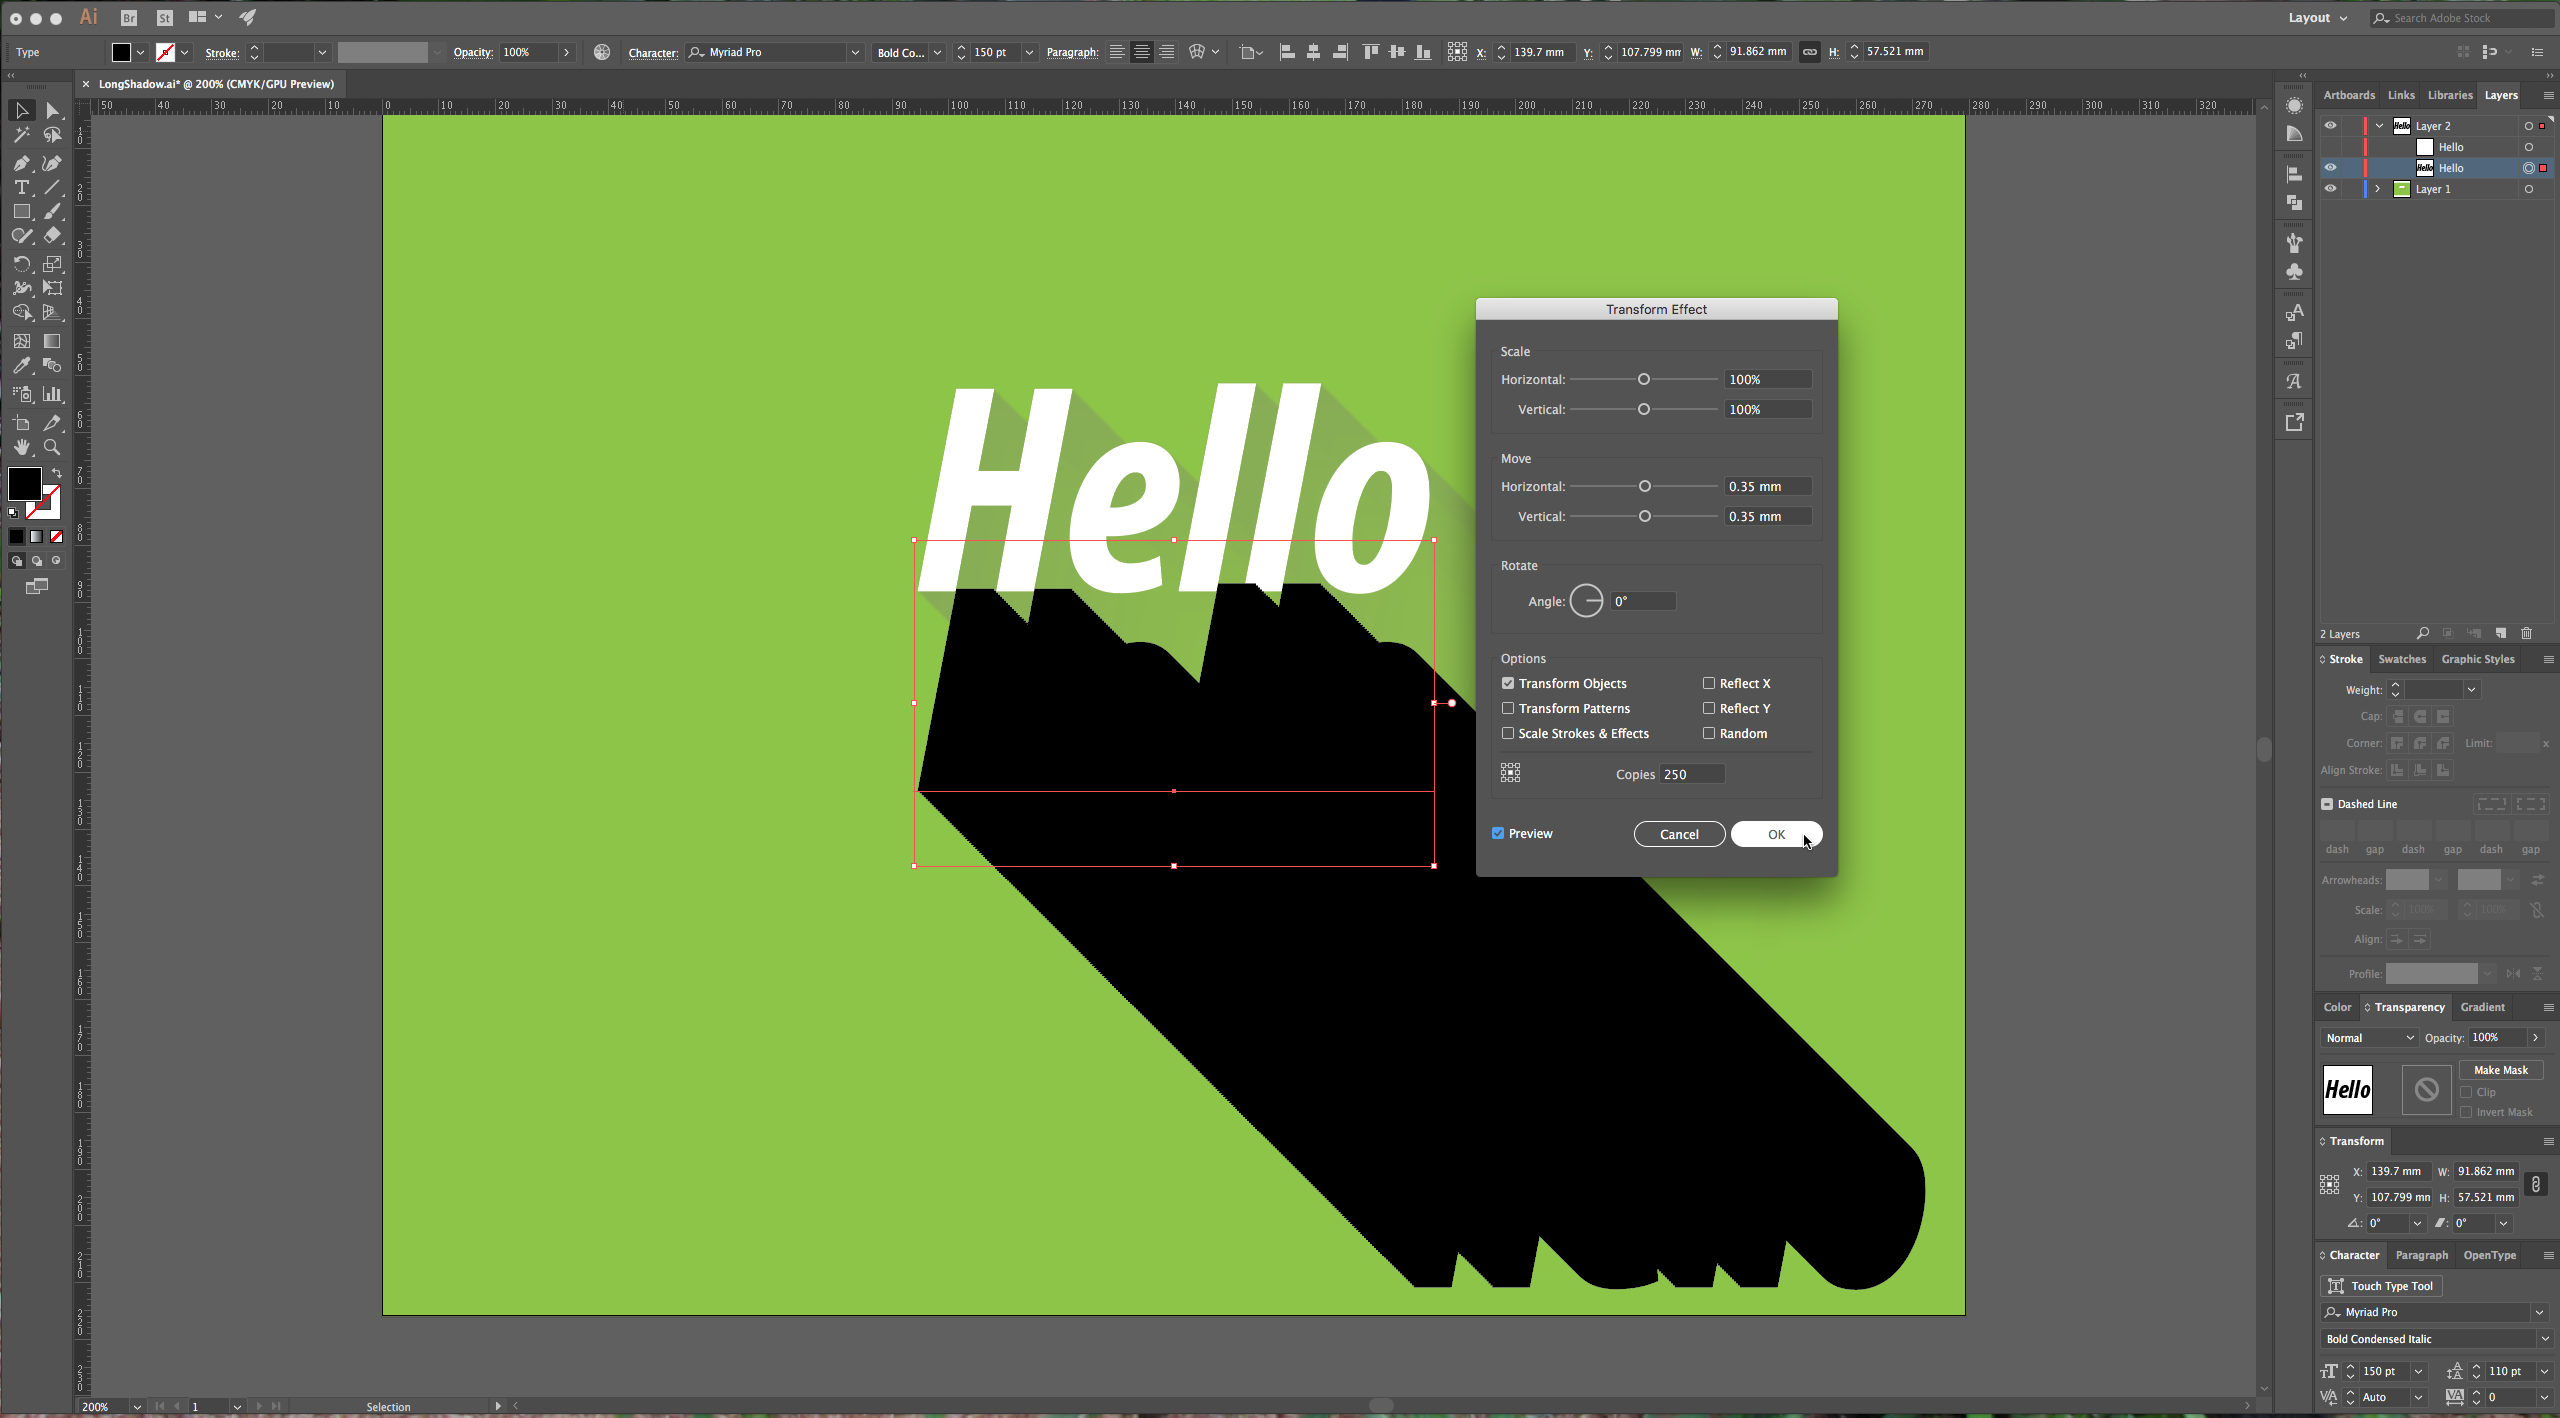
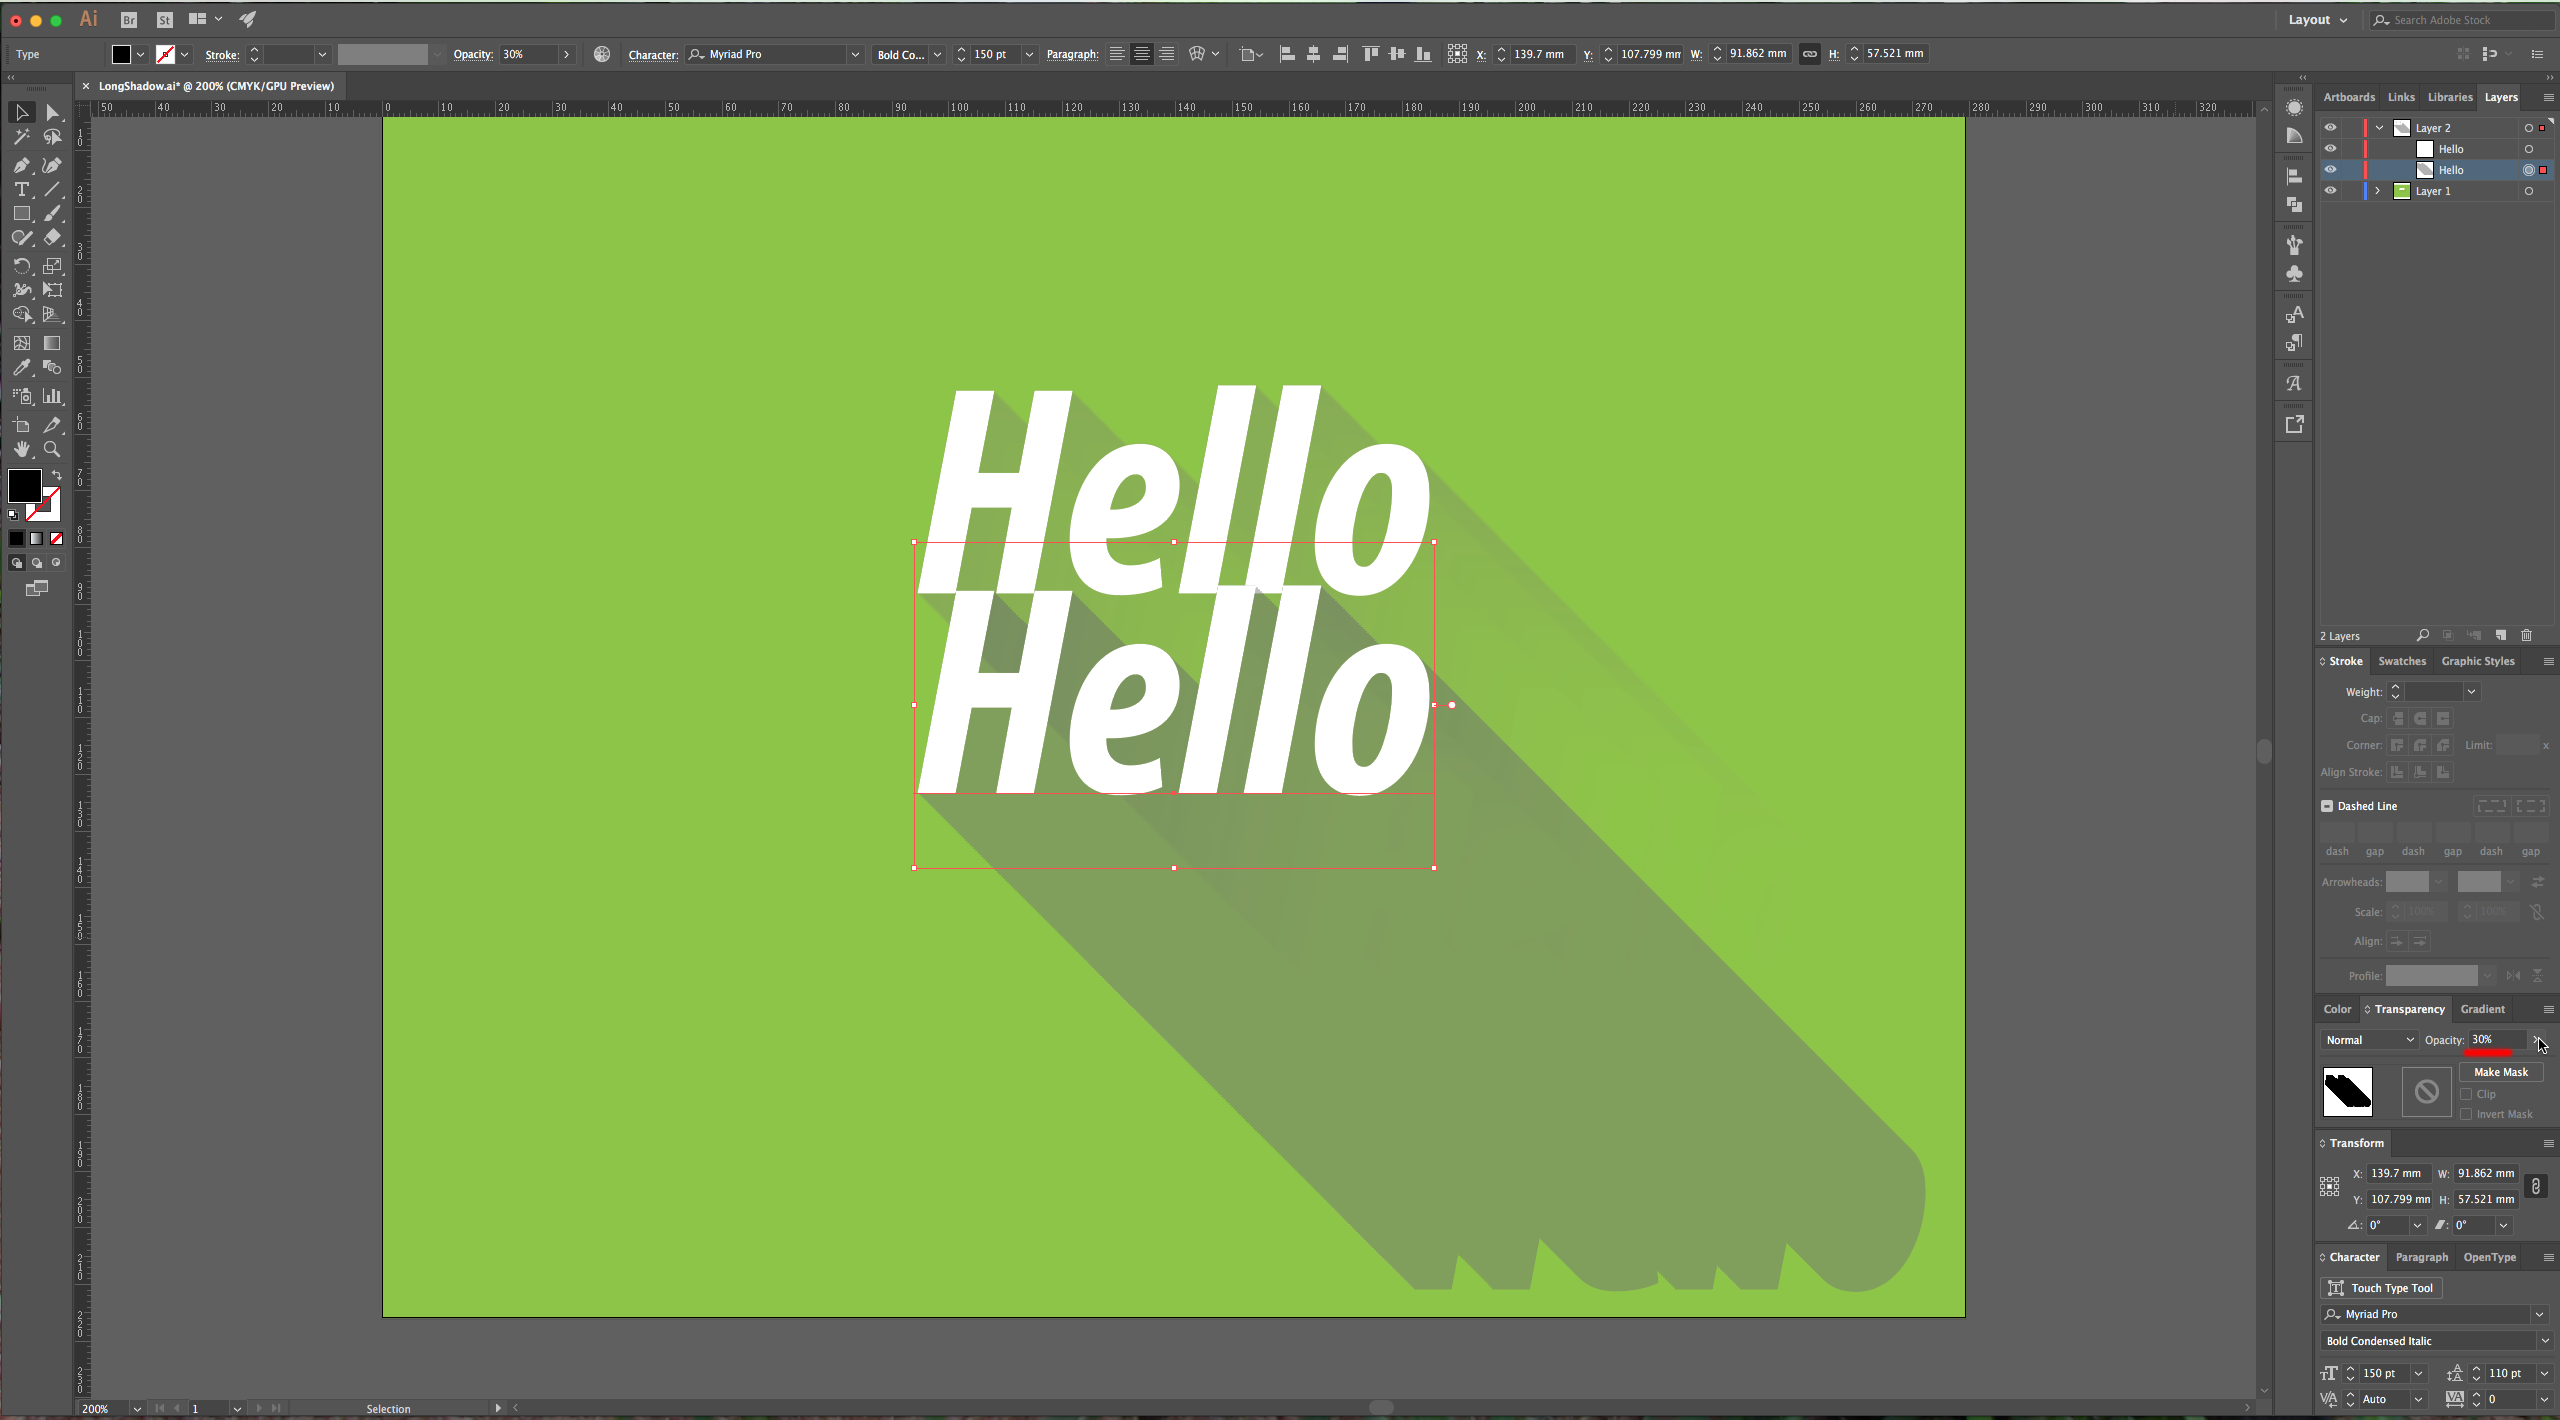
10 – Change the “Opacity” to about 30% and turn on your other text layer.
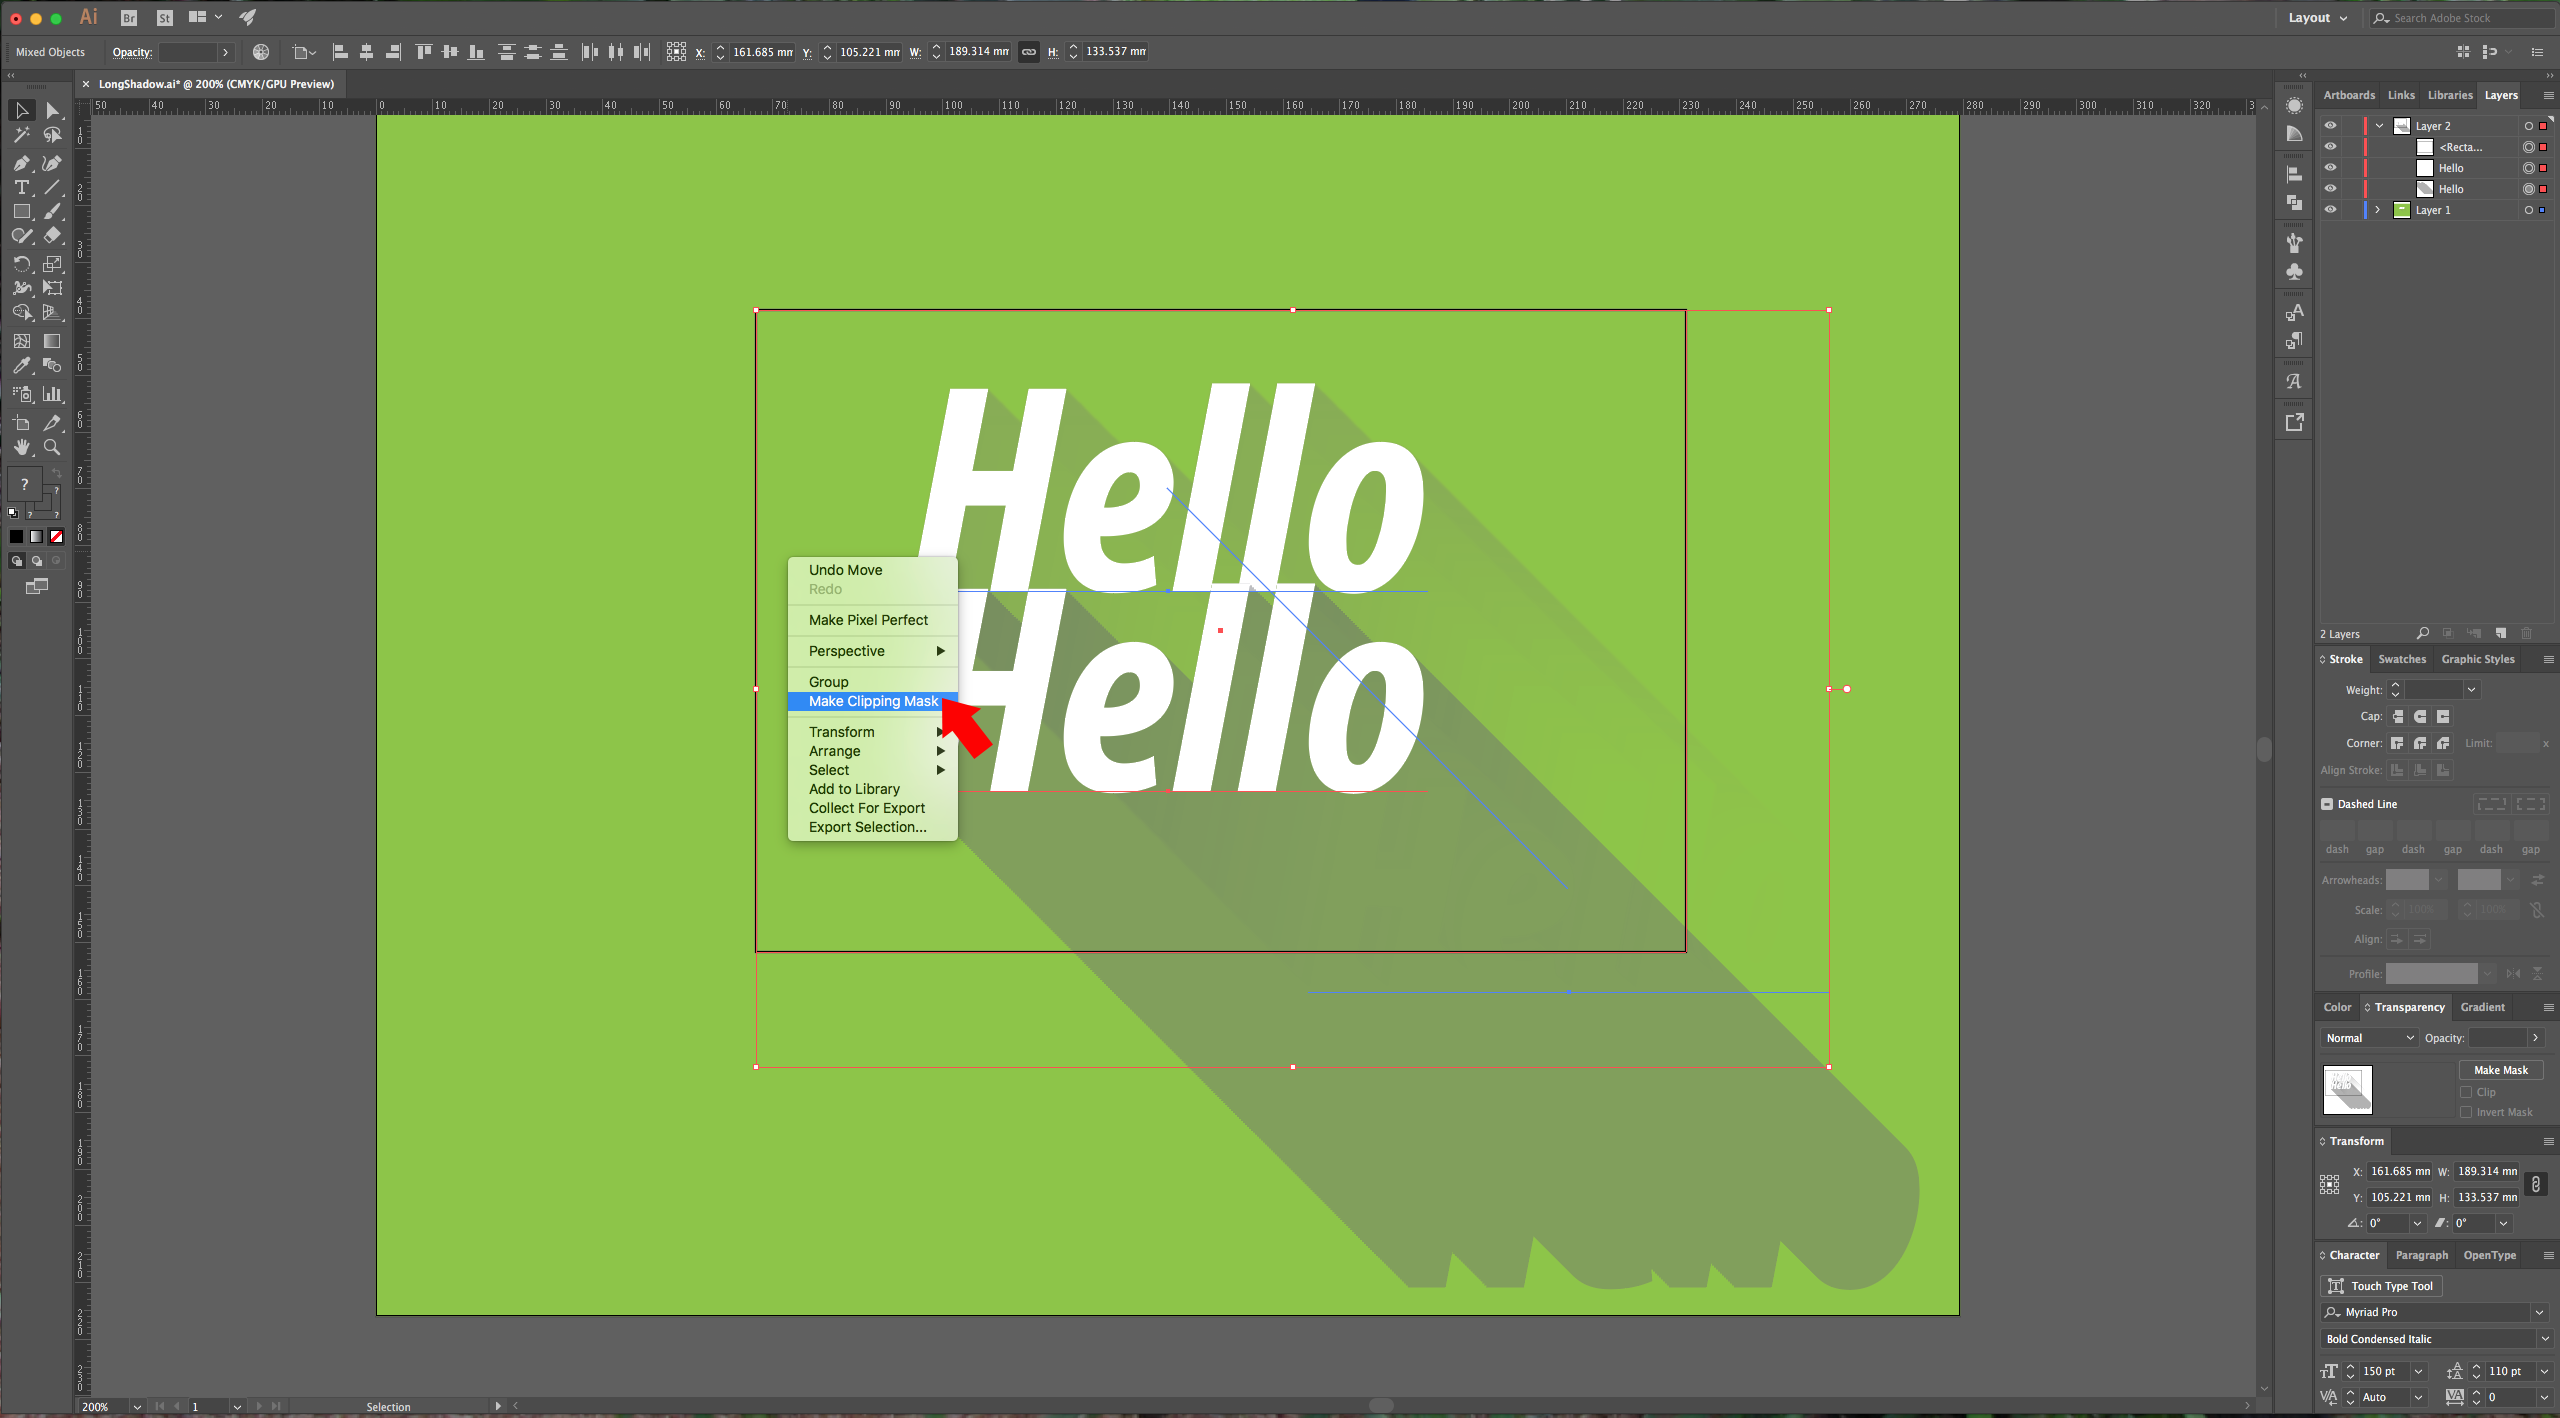
11 – To “cut” the shadow, make a rectangle using your “Rectangle Tool” (M) and place it where you want your boundaries to be. Select it together whit your text, right-click on top of your selection and choose “Make Clipping Mask” (you need to make sure that the rectangle is on top of everything).
12 – Check your work.
1 – In Illustrator, create a New Document and then using your “Rectangle Tool” (M) give your document a nice background color (you can use a gradient if you prefer).
2 – Go to the “Layers” Panel and lock it by clicking on the little square to the right of the eye icon. (You can lock the entire Layer and create a new one, or just lock the “Rectangle” and keep working on that layer.
3 – Type your text or use the design you want. It is better to use a font on the heavier side, but you can use whatever you like.
4 – To center your text, select it and go to the “Align” Panel (Window > Align), make sure you have “Align to Artboard” selected and click the “Align Object” vertical and horizontal “Center” buttons. Make a copy of your text (Command/Control + C) and paste it in place (Shift + Command/Control + V) it in another layer, then hide that layer (by clicking on the little eye icon in the “Layers” Panel) for now.
5 – For the first method we are using the “Blend Tool”. Copy your text again and “Paste it in Front” (Command/Control + F) two times. Hide the original one, make the color of your text copies black, and with the one on top selected right-click, choose Transform > Move (Shift + Command/Control + M), and use the following values:
Angle: - 45°
Distance: 100 mm
6 – Select the bottom text and in the “Transparency” Panel change the “Opacity” to 0%. Select both instances of your text, double-click on the “Blend Tool” and use “Specified Distance” for “Spacing” and a value of 0.35 mm (about 1 pixel). Then go to Object > Blend > Make, then change the “Opacity” to about 20% and make your top text visible again and move it on top of your other text.
7 – If your shadow is not smooth enough, select it and go to Effects > Blur > Gaussian Blur and give the “Radius” a value of about 2 pixels.
8 – For the second method, we are going to use the “Transform Effect”. Turn on the visibility of your second layer and arrange your text.
9 - Make a Copy of your text, paste it in front and hide it. Change the color of your selected text to black and then go to Effect > Distort & Transform > Transform, give “Horizontal” and “Vertical” Move a value of 0.35 mm (about 1 pixel) and in “Copies” choose a value of about 250.
10 – Change the “Opacity” to about 30% and turn on your other text layer.
11 – To “cut” the shadow, make a rectangle using your “Rectangle Tool” (M) and place it where you want your boundaries to be. Select it together whit your text, right-click on top of your selection and choose “Make Clipping Mask” (you need to make sure that the rectangle is on top of everything).
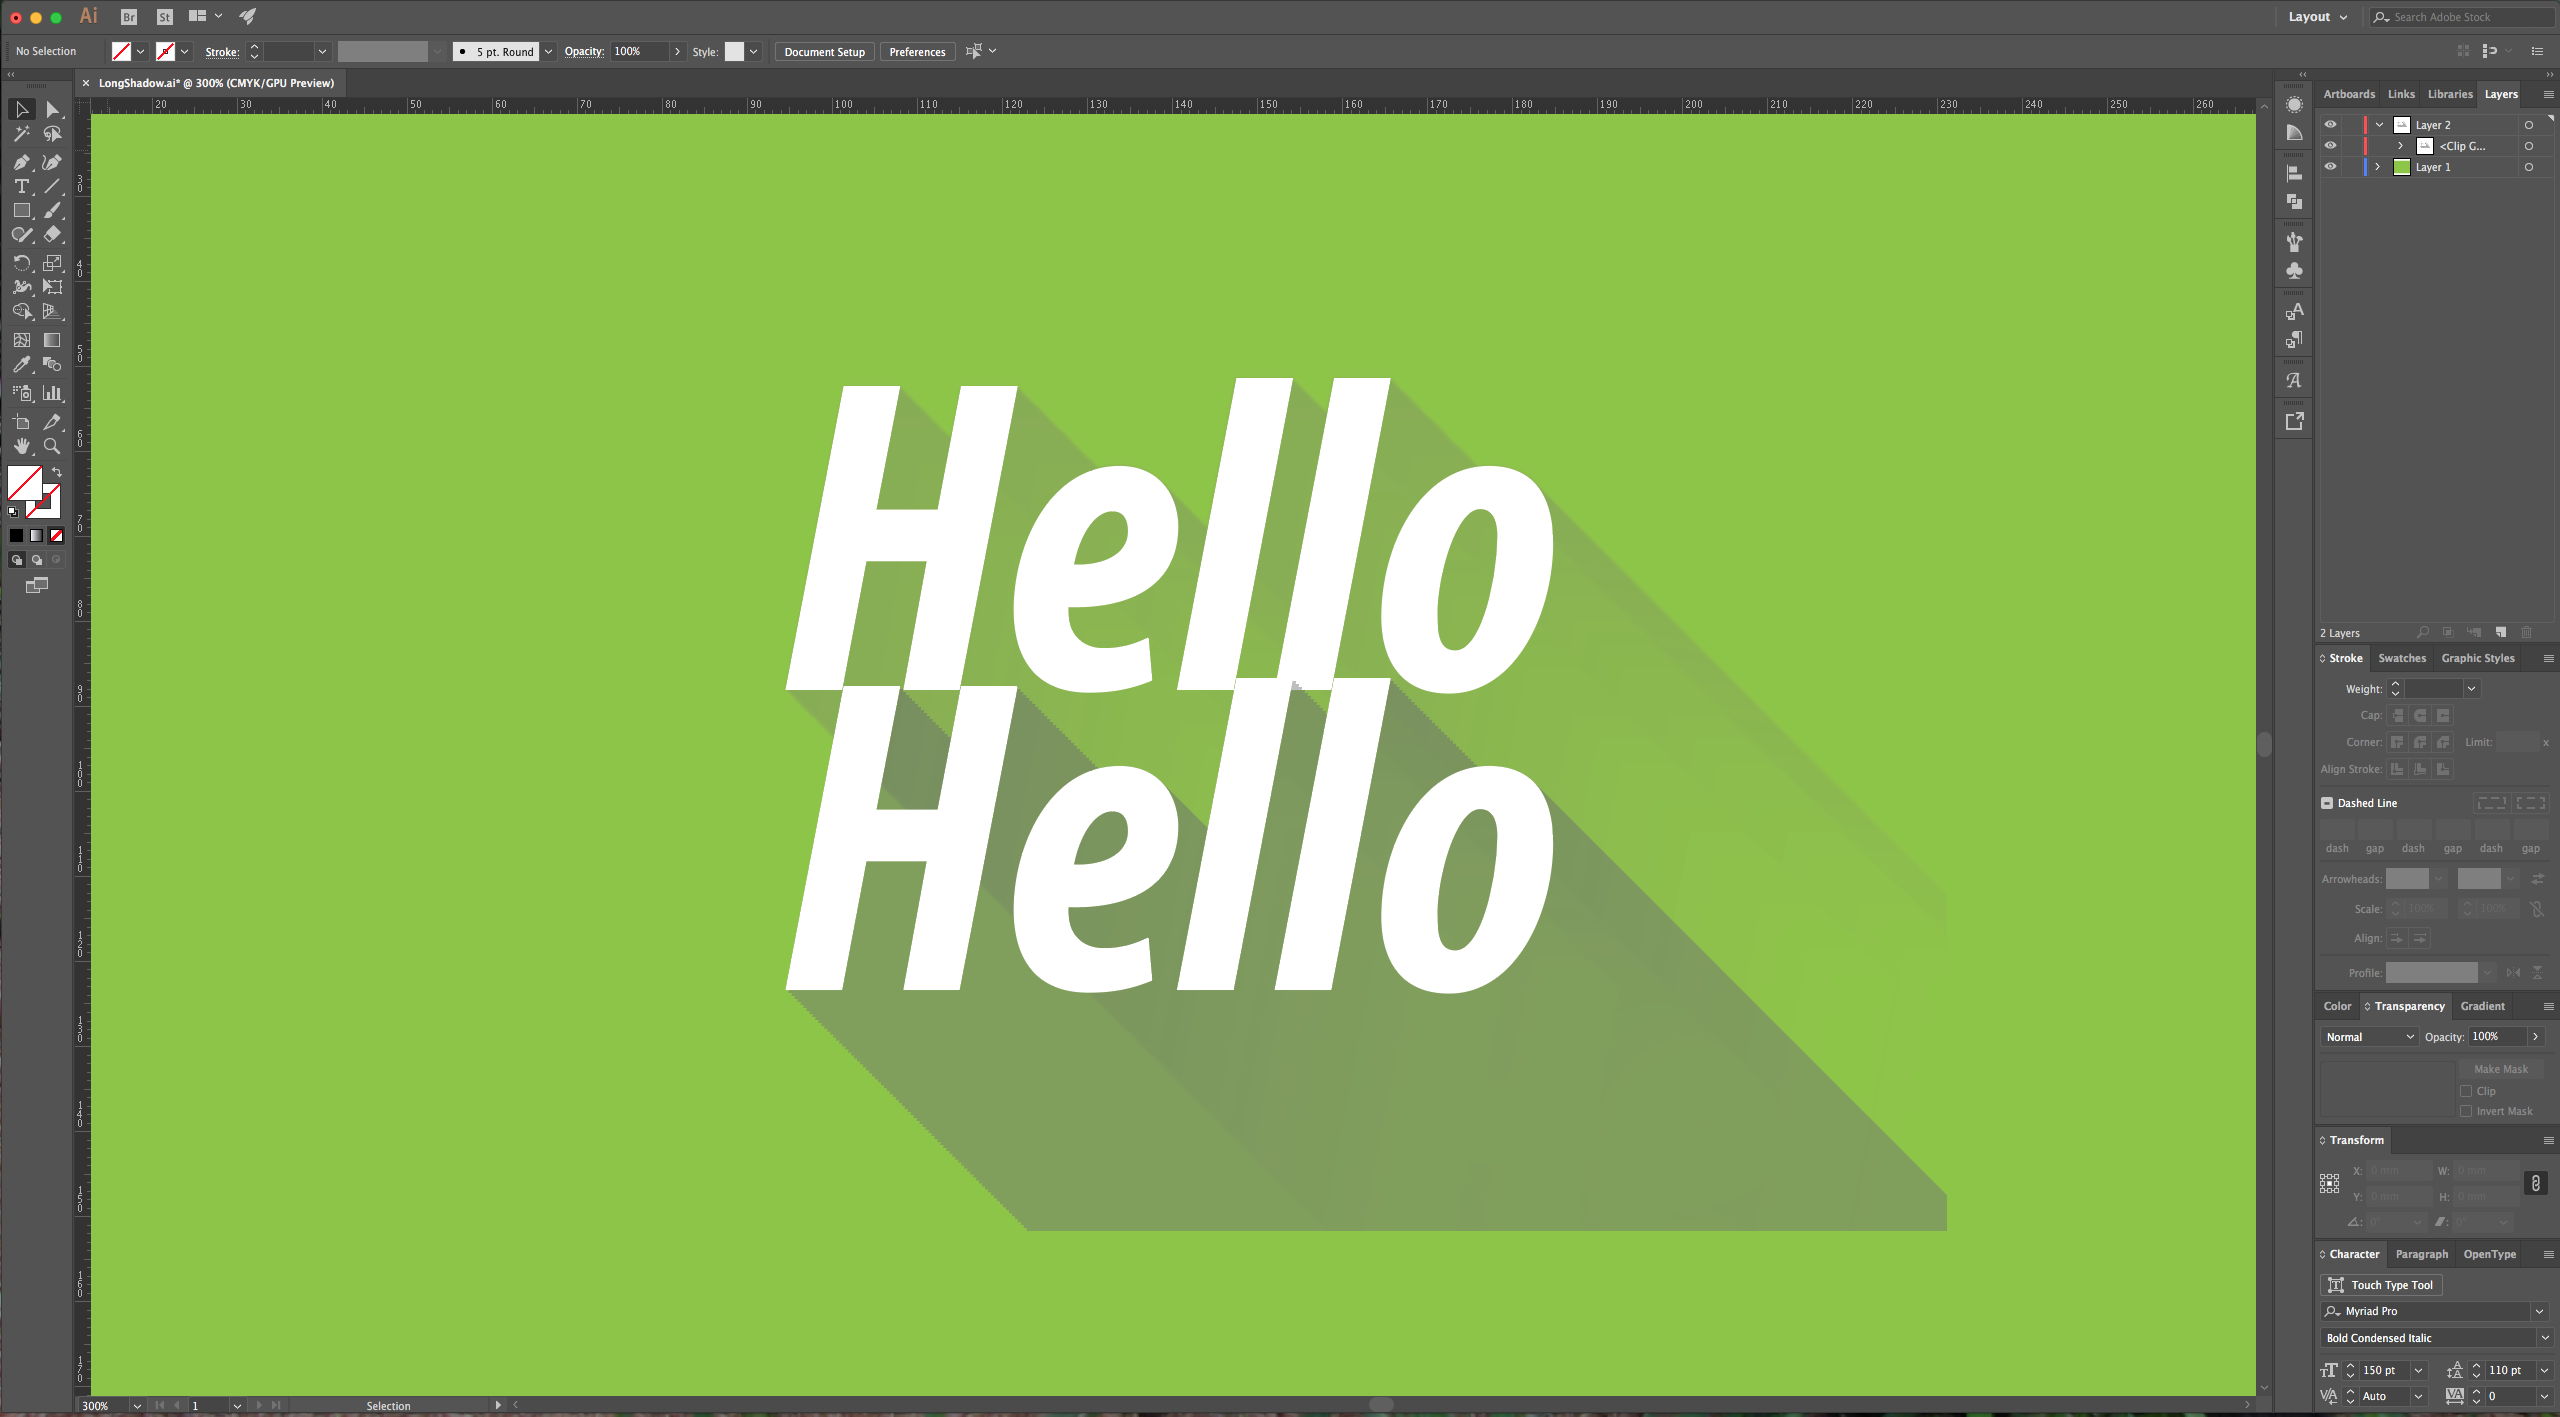
12 – Check your work.
by @lornacane
Related Tutorials
Illustrator Tutorials
Striped Shadow Text Effect in Illustrator
DesignScape Tutorials
How to Make a Long Shadow Effect in DesignScape
Learn how to create a long shadow effect in DesignScape with this tutorial.
Illustrator Tutorials
Retro Rainbow Long Shadow in Illustrator
Photoshop Tutorials
Long Shadow Effect on Text in Photoshop
Illustrator Tutorials
Create a shadow effect in Illustrator
Illustrator Tutorials
Torn Paper Effect in Illustrator
In this tutorial we show you how to create a torn paper effect in Illustrator.