By Design Bundles
Place Images Inside Text in Adobe Illustrator
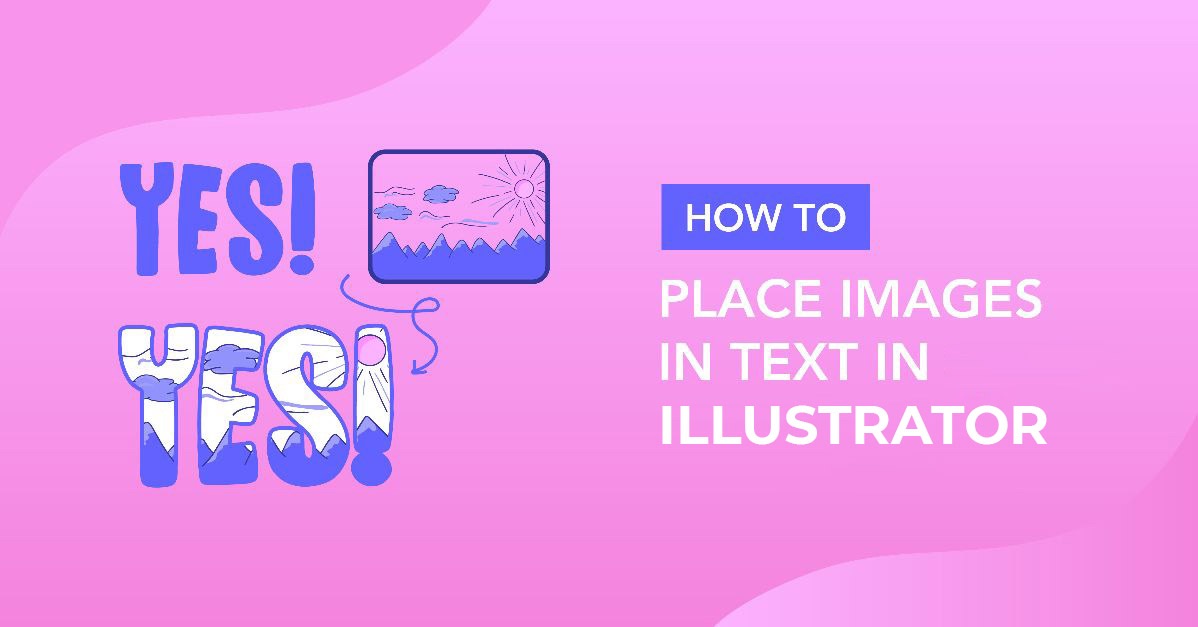
Placing images inside text is quick and easy to do in Illustrator. This typography art effect is great to use when making all kinds of gifts as it’s a great way to highlight exceptional people, vacations, places, etc.

We will be using the Helton font as it’s a nice bold sans serif font. Font Bundles has other thick bold fonts you can use instead.
If you’re more of a visual learner, we have a video you can follow instead.
Step 1 - Import, Embed and Resize Image
Drag and drop your image onto the artboard.

Select Embed in the top toolbar to store the image within this document.

Then adjust the size of your image using the Selection tool (V) and the handles on the image’s bounding box.

Step 2 - Add Text
Select the Type tool (T) from the left toolbar. Click on the artboard and type your text.

With the text selected, choose the font you want to use and change the font size if needed.

Step 3 - Remove the Text Fill Color
We want to remove the text fill color so we can see what we’re doing. Make sure the text is still selected, and click on the Fill icon in the left toolbar. Then click the small None icon below.

Step 4 - Add a Stroke to Text
Now we will add a stroke to the text. The stroke will help guide us when aligning the text on the image so we can see what parts of the image will be placed inside the text.
In the top toolbar, click the Stroke drop-down menu. Select a color that will stand out from your image.

Increase the stroke weight if needed so you can clearly see the outline of the text over the image. We selected 2 pt.

Step 5 - Adjust and Move Text
Use the Selection tool (V) and the handles on the text’s bounding box to resize the text. Hold the Shift key to constrain the width and height proportions while resizing. Then click and drag the text to where you want it on the image.

Step 6 - Create a Clipping Mask
Select the image and the text. Right-click and choose Make Clipping Mask.

Once the clipping mask has been made, the image will be clipped inside the text.
Note: you can actually place multiple images inside text at the same time. Just make sure your text is on top of all the images before making the clipping mask.

You have now finished learning how to place images inside text in Illustrator. If you found this tutorial interesting, you might enjoy creating a pop art vector image or floral typography in Illustrator.