By Design Bundles
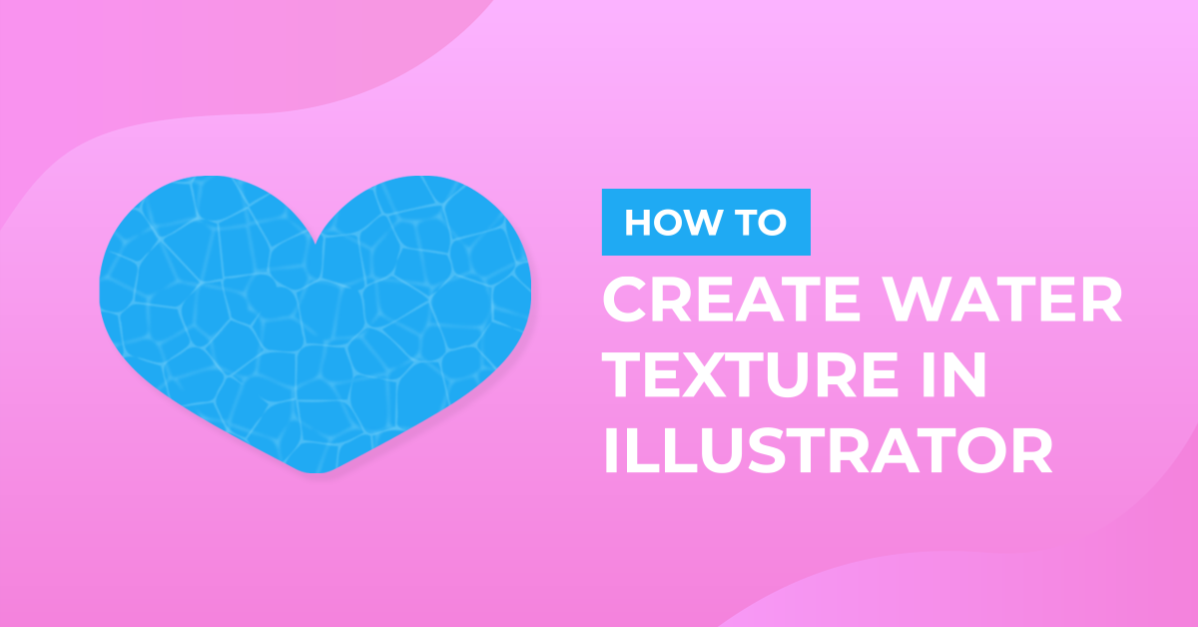
Water Texture in Illustrator
1 - In Illustrator, create a “New Document”.

2 - Select the “Rectangle Tool” (M), click inside your canvas and input a “Width” and “Height” of 15 cm. Fill it with Cyan from the “Swatches Panel”.


3 - Center it using the “Horizontal and Vertical Align Center” options on your Top Menu and make sure that “Align to Artboard” is selected. Or use the same options in the “Align Panel”.

4 - “Copy” it (Command/Control + C) and “Paste in Place” (Shift + Command/Control + V). Fill the duplicate with White.


5 - Go to the “Appearance Panel”, click on the “Effects Menu” on the Bottom-Left side of the panel and navigate to Texture > Stained Glass… Use a “Cell Size” of 46 a “Border Thickness” of 15 and a “Light Intensity” of 5.


6 - Go to Object > Expand Appearance.


7 - Then, click on the “Image Trace” button on the Top Menu (or open the “Image Trace” Panel), click “OK” if you get a Pop-Up window.


8 - Click on the small arrow to the left of the “Advanced” Tab to get more options. Choose “Black and White” Mode, check the “Ignore White” box and click the “Expand” button on the Top Menu when you are done.


9 - Go to Object > Path > Simplify and use a “Curve Precision” value of 88% and an “Angle Threshold” of 0°.


10 - Change the “Fill” color to 60% Cyan.


11 - Go to Object > Path > Offset Path and use an “Offset” of -0.05 cm. Right-click on top of the vector, choose “Ungroup” and change the “Fill” to 25% Cyan. “Group” the same color paths if needed.


12 - Duplicate the Middle Group (60% Cyan) and select the “Rotate Tool” (R), use a 90° Angle. Change the “Fill” to 40% Cyan.


13 - Check it out.

You have just learned how to create a water texture in Illustrator.