By Design Bundles
Wood Texture in Illustrator
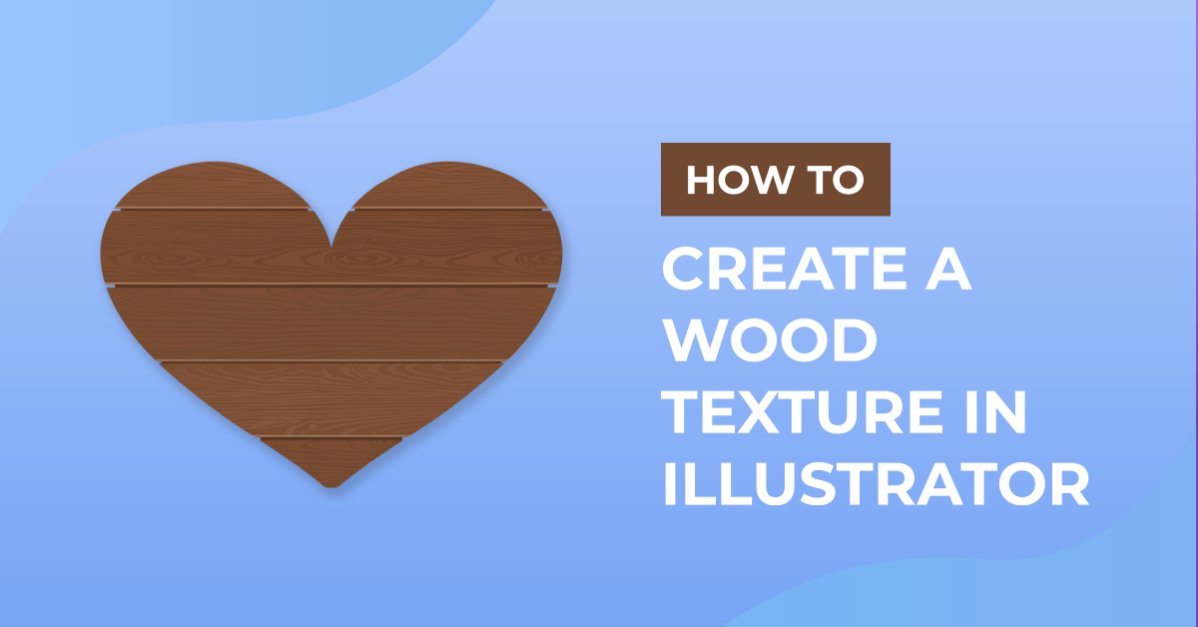
Did you know that you can create a wood texture from scratch in Illustrator? In today’s tutorial, we will show you how to do just that. Then we’ll continue on to create a pattern with the wood texture and apply it to a vector image.

You’ll want to use the wood texture pattern with vectors, such as these deer vectors from Design Bundles.
Step 1 - Make a Square With the Rectangle Tool
Select the Rectangle Tool (M).

Then click on the artboard and input the square dimensions in the Rectangle dialog. We entered 140 mm for both Width and Height.

Step 2 - Fill the Square With a Medium Brown Color
Fill the square with a medium brown and with Stroke set to none.

Step 3 - Duplicate the Square and Make It a Long Thin Rectangle
Copy (Ctrl/Cmd + C) the square and Paste in Front (Ctrl/Cmd + F). Fill it with the 40% black color swatch.
Then go to the Transform panel (Window > Transform). Disable constraining the width and height proportions by clicking the small chainlink icon to the right. When it’s disabled, it’ll have a line through the icon.
With the reference point set to the center, enter a number that's half the width of the square for the Width and a relatively small number for Height. For example, we entered 70.556 mm for the Width and 7.056 for the Height. As another example, if your square is 400 x 400 pixels, you can make your rectangle 200 px wide and 20 px tall.

Step 4 - Apply a Graphic Pen Effect to the Grey Rectangle
With the rectangle selected, click on the Effects (fx) icon at the bottom of the Appearance panel ( Window > Appearance), and go to Sketch > Graphic Pen.

Apply the following values and click OK.
- Stroke Length: 15
- Light/Dark Balance: 25
- Stroke Direction: Vertical

Step 5 - Expand Appearance on the Rectangle
Go to Object > Expand Appearance.

Step 6 - Use Image Trace on the Rectangle
Then go to Window > Image Trace.

In the Image Trace panel and under the Advanced section, use the following:
- Corners: 50%
- Noise: 1 px
- Ignore White: Checked
- Preview: Checked
Click OK.

Step 7 - Expand the Newly Created Texture
Next, click the Expand button in the Control panel at the top.

Step 8 - Make the Texture As Wide and Tall as the Square and Dark Brown
Go to the Transform panel again and change the Width and Height values to be slightly larger than the dimensions of the square. We went with 141.11 mm.

Fill the object with a darker shade of brown.

Step 9 - Duplicate the Texture and Rotate It 180°
Then Copy (Ctrl/Cmd + C) and Paste in Front (Ctrl/Cmd + F), grab one of the corner handles, and while holding the Shift key, rotate it 180°.

Step 10 - Fill the Rotated Texture With a Lighter Shade of Brown
Fill the rotated texture with a lighter shade of brown.

Step 11 - Group Both Textures Together
Select both textures and Group (Ctrl/Cmd + G) them together.

Step 12 - Use the Warp Tool on the Grouped Textures
Double-click on the Warp Tool (Shift + R) in the left toolbar.

In the Warp Tool Options dialog, use the default settings but lower the Intensity to 10%.

Select only the grouped texture, then click + drag with the Warp Tool. Go up and down and back and forth to slightly warp the texture.

Step 13 - Make a Pattern With the Textures
Select only the textures (not the square) and go to Object > Pattern > Make.

Click OK in the popup window.

Enter a name in the Pattern Options panel and set Tile Type to Grid. Use the Direct Selection Tool (A) to fix the spots on the paths where tiling occurs at the edges.

Once you are happy, click Done at the top under the document window tab.

Step 14 - Apply the Pattern to a Vector
Copy and Paste the Vector Image into the Document
Copy (Ctrl/Cmd + C) the vector you want to apply the pattern to. Then Paste (Ctrl/Cmd + V) it into your document.

Fill the Vector With a Medium Brown Color
Select it and fill it with a medium brown, just like the square before.

Add a New Fill to the Vector
Then click the small menu icon in the top right of the Appearance panel and choose Add New Fill.

Select the Wood Texture Pattern as the Fill
Select the wood texture pattern you created as the Fill.

Edit the Look of the Wood Texture and Vector
Move the Vector Around
You can move the vector around to get a better pattern placement. You can also double-click on your pattern swatch to invoke the Pattern Options panel and edit it more.

Change the Blending Mode of the Pattern Layer
Another change you can make is with the Blending Mode of the pattern layer in the Transparency panel. The following image uses the Darken Blending Mode.

And the following image uses the Luminosity Blending Mode.

Add a Drop Shadow
Now we’ll add some depth with a drop shadow. In the Appearance panel, click on the Effects (fx) icon and go to Stylize > Drop Shadow.

With the Preview checkbox marked, play around with the settings, then click OK when you like how it looks.

Your artwork is complete!

We hope you found this tutorial helpful with creating a wood texture in Illustrator and applying it to a vector. We made the wood texture brown, but wouldn’t it be fun to make it purple, green, or blue?! Go wild and make it look however you want!