By Design Bundles
How to Make an SVG in Inkscape
SVG stands for Scalable Vector Graphic where lines and points make up a design. This design can be increased or decreased in size without affecting the quality. The files can be edited at any point and used across multiple platforms. SVG files are a particular favorite when used with cutting machines.
In this tutorial we are using Delisya Script. Check out some of our other calligraphy script fonts available on Font Bundles.
If you have a JPG image that you need to convert, check out our tutorial on how to convert JPG to SVG in Inkscape.
Step 1 - Create a new design
Open Inkscape and click on New Document. On the left side panel click Create and Edit Text Objects then click anywhere on the canvas. Type out your text and change the font at the top left. Resize your text if needed.
Change the color fill and stroke to better see the overlapping areas. Click on the Object menu and then Fill and Stroke. Change the fill color and stroke.

Step 2 - Convert object to path
The design has overlapping areas. These areas will be cut when sent to a cutting machine. To prevent this we will combine the design as a single object. Be sure to finalize your text before converting to a path. Once converted the text edit options will no longer be available.
With the text selected, click on the Path menu at the top then Object to Path. Next, right click and Ungroup the design into individual objects.

Step 3 - Make a single path
To prevent issues with cutting the design needs to be made into a single path. Select all objects then click on the Path menu and click Union. The effect is similar to welding in other programs. The design is now a single path and ready for some quick editing.

Step 4 - Adjust and remove any stray nodes
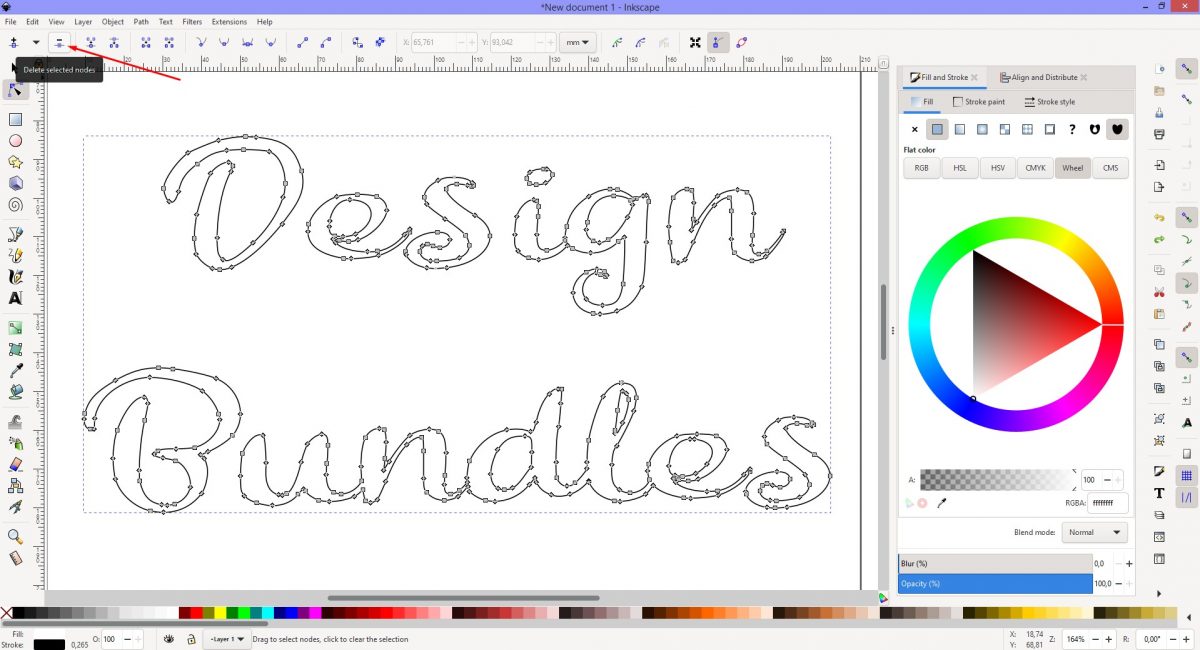
The design is ready to be saved as an SVG but it could use a little more fine tuning. We want to smooth out the font a bit further and check for stray nodes. To do this we will use Edit path by Nodes. On the left side panel click on the Edit path by Nodes tool.

Click on a node to select and adjust using the handles. The nodes can be repositioned if needed. If you find a stray node, click it then right click and Delete. Alternatively click on the Minus icon at the top left.
Step 5 - Save your design as an SVG
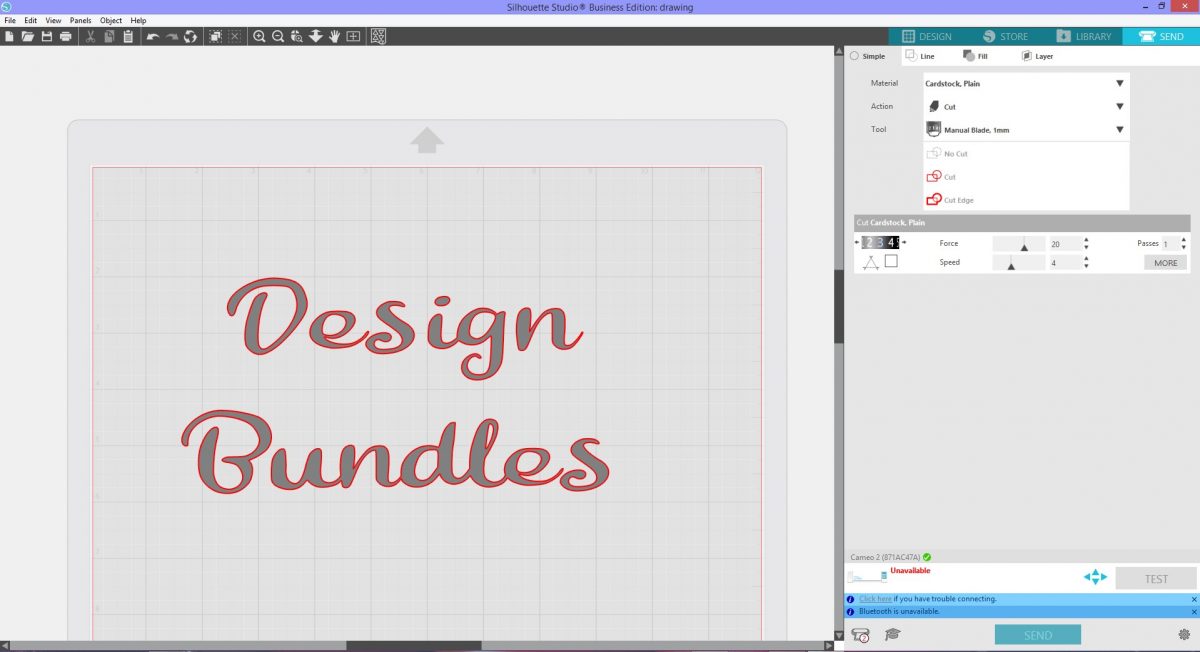
Your design is ready for cutting or editing in other programs. At the top click on File then Save As. Under Save As Type, select Plain SVG. It's generally a good idea to test out your design in other software like Silhouette Studio. There you can check if any issues are present and do test cuts.
Well done! You have just created your first SVG file in Inkscape.
We have lots of great tutorials available in Design School. Make sure to check out how to create an offset and how to curve text in Inkscape.