By Design Bundles
How to Create a Smoke Effect in Photoshop
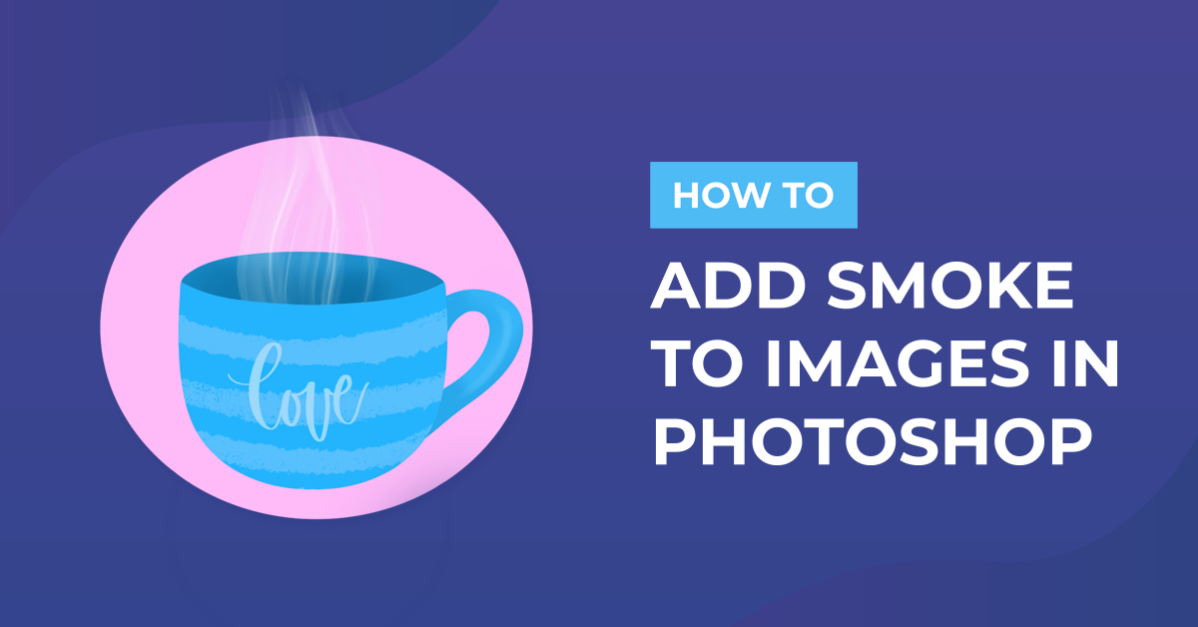
In this tutorial, we will learn how to add realistic smoke to an image in Photoshop. The smoke effect will be created by applying a smoke brush to a path. The path is then manipulated to make it more realistic.
Adding a smoke effect is useful for projects where you want to create an illusion of heat. It can also be used in creative situations.
We will be using a coffee stock photo.
Step 1 - Create a new layer
In Photoshop, open the image you chose to work with. To add the smoke, create a new layer on top.
Do this by clicking on the small button at the bottom of the Layers panel. Rename the new layer to Smoke.

Step 2 - Create a Smoke Brush
We will start by creating the brush. Select the Brush tool and use a large and soft brush. We chose a brush about 300 Px with 0% Hardness and a 50% Opacity.
Under the Brush Settings Panel make sure that Shape Dynamics, Transfer, and Smoothing are selected. In the first two tabs, Shape Dynamics and Transfer, choose Pen Pressure as Control method.

Step 3 - Create a path for the smoke
We need to make paths that mimic the smoke tendrils to apply the brush to. Select the Pen tool (P) and make sure that Path is the chosen format. With it, draw a wavy path where you want some of the smoke to be.

Step 4 - Combine the smoke brush with the path
To apply the smoke brush to the path, make sure that white is set as the Foreground color and that the Smoke layer is selected. Then, use the Path Selection tool (A) to right-click on top of the path and choose Stroke Path.

In the popup window, select Brush as the tool and check the Simulate Pressure box.

Repeat the Stroke Path command as many times as needed until the smoke looks right.

Step 5 - Add more smoke tendrils
Normally there would be several smoke tendrils. So, we need to create other paths and stroke them with the brush. To deselect the paths completely so you don’t see them, hit Esc.

You can change the brush size and/or opacity of the brush before stroking the path to achieve different results.

Continue adding paths and stroking them with the smoke brush until you are satisfied with the overall look.

Step 6 - Adjust the shape of the smoke
We need to make the smoke look less flat. Make sure that the Smoke Layer thumbnail is selected. Then click Command/Control + T to enter Free Transform.
Click on the small Warp icon on the top menu, use a 3 x 3 Grid, and move the handles to make the smoke shape look more realistic.

When you are done, hit Enter or the small checkmark button on the top menu.

Then, we will add a filter to smooth out the edges of the smoke. Go to Filter > Other > Maximum.

In the settings window, use a 7 pixels Radius and Preserve Squareness.

Step 7 - Convert to Smart Object and apply Surface Blur
To add some non-destructive effects to your smoke we will turn it into a Smart Object. Right-click on top of the smoke layer thumbnail and choose Convert to Smart Object.

To fade the smoke a bit more, we will add a blur filter. Go to Filter > Blur > Surface Blur.

Apply a Radius of 75 pixels and a Threshold of 95 pixels.

Step 8 - Add details to the Smoke
We want to add even more details to the smoke and make it less uniform. First, create a new layer on top of everything by clicking on the small button at the bottom of the Layers panel.
Create a selection of your smoke with Command/Control-click on top of the Smoke layer.

Make sure you are back on the newly created layer and, without deselecting, go to Filter > Render Clouds.

The Clouds effect should appear only inside your selection.

Change the Blending Mode of the layer to Overlay.

If you want to tweak the smoke details, you can apply the Warp Transform (Command/Control + T) to modify the newly created clouds layer. In our case, we chose to leave it as it is.
To make it more transparent, lower the Opacity of the Smoke layer to 70%.

This is how our smoking coffee cup looks!

If you liked this tutorial make sure to check out some of our other Photoshop tutorials such as changing the color of an object, replacing the sky, and perspective cropping.