By Design Bundles
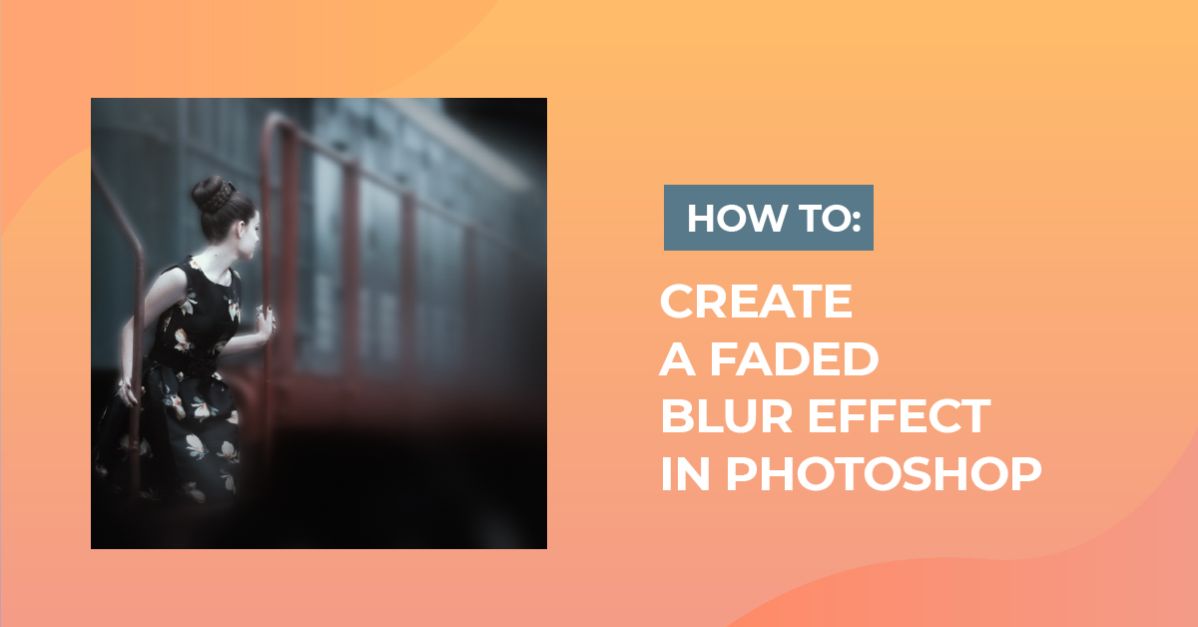
How to Create a Faded Blur Effect in Photoshop
For this tutorial we need an image to apply the effect to.
1 - In Photoshop, open the image you chose to work with.

2 - To adjust the image a bit, go to Image > Auto Contrast.


3 - “Duplicate” your layer (Command/Control + J), right-click on top of its Thumbnail and choose “Convert to Smart Object”.


4 - Go to Filter > Blur > Gaussian Blur and use a “Radius” of 130 Pixels.


5 - “Duplicate” your “Smart Object” (Command/Control + J), Hide the original one by clicking on the small eye icon to the left of its Thumbnail. Hide the “Filter” applied to the duplicate too.


6 - use the “Quick Selection Tool” (Q) with the “Add to Selection” option and a 20 px and 100% “Hardness” brush to select your subject. You candeselect unwanted portions by using “Remove from Selection” in the Top Menu.


7 - Use the “Polygonal Lasso Tool” (L) with the “Add” option to finish selecting the difficult portions .


8 - Use the “Remove from Selection” option to take care of the selection that got outside of your subject. When you are done increase the “Feather” in the “Properties Panel” a bit (we used 0.5 px). Select the “Mask” thumbnail of your “Smart Filter” and fill your selection with Black or “Foreground” Color (Alt/Option + Delete) to erase the filter from it.


9 - Turn On the “Gaussian Blur Filter” in the thumbnail, hide both bottom Layers and select the “Brush Tool” (B). Use a 20 px brush with a 50% “Hardness” and use White as “Foreground” color to clean up the edges.


10 - Double-click on the “Gaussian Blur” Thumbnail and change the “Radius” to 25 Pixels. Change the Brush Size to 60 px and the “Hardness” to 0% with a 20% “Opacity” and clean up the parts of the blurred background you think need to be a bit more visible.


11 - Turn On the bottom “Smart Object”, create a “Layer Mask” by clicking on the small button at the bottom of the “Layers Panel”.

12 - Use the “Gradient Tool” (G), choose “Foreground” to “Transparent” (make sure Black is your “Foreground”) and click and drag from the outside releasing your cursor about 1/3 into the image to fade the blurred images. Repeat a couple of times in different corners to create a fading effect.


13 - Create a “New Color Lookup Adjustment Layer” (go to the “Adjustments Panel”) and choose “Kodak 5218 Kodak 2383 (by Adobe).cube” as “3DLUT File”.


14 - Check out your work.

A faded blur effect gives a look of mystery to an image or photo. Now that you know how to use these techniques, you can even create your own illustrations and add a blur.