By Jordyn
How to Create a Rainbow Gradient in Photoshop
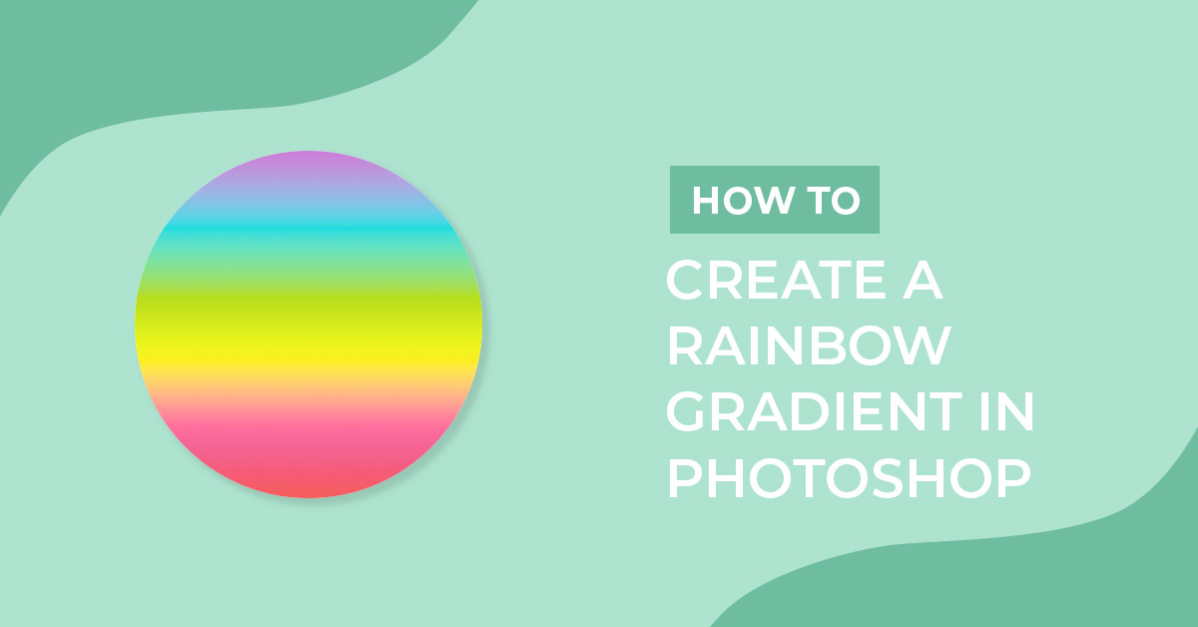
In this tutorial we will be showing you how to create a rainbow gradient to overlay onto your photos. This quick Photoshop tutorial will teach you how to make your own gradients and adjustments. But if you are short on time, check out the rainbow overlays we have right here on Design Bundles.
Today we will be using one of the diversity photos from the Plus Hub. Not a member yet? Sign up for a free month today!

Step 1: Create a Gradient Fill Layer
Head to your layers panel and click on the half-filled in circle. Then select Gradient from the pop-out menu.

This will open the Gradient Fill window.
Step 2: Open the Gradient Adjustments
Double-click on the Gradient to open up the settings. 
The Gradient Editor is now opened. Here you will find some pre-made gradient presets. You can choose from one of those if you'd like, but for our tutorial we will continue making our own.

Step 3: Edit the Gradient Colors
Double click on the bottom left square to change the color. To select our colors, we will be using the Rainbow Color Palette and the Eyedropper Tool. Once you've double-clicked on the square the Color Picker menu will open where you can input the Hex codes, pick the color, or if you hover outside of the box the eyedropper tool will allow you to click a color from your document.

Rainbow Colors We've Used:
- Red: DC312D
- Orange: E66320
- Yellow: F9ED4F
- Green: 94C33C
- Blue: 62D5D9
- Purple: 8B39A1
- Pink: DE66BD
To add more colors just click below the gradient slider and a new box will appear. Double-click and repeat the steps until you have all the colors you'd like in the gradient.
Adjust the Color Spacing:
Once you've added all the colors you want, you can adjust the spacing. For our example, we are evenly spacing them out. But you can play around with this to get it exactly how you like.

Edit the Opacity:
The two squares at the top of the gradient slider change the opacity. If your gradient faded automatically like ours, click on the top right square and change the opacity to 100.

You can then change the gradient options like the direction and scale.
- Style: Linear
- Angle: 123º
- Scale: 100%

Change Blend Mode and Opacity:
Once you have the gradient how you want it to look, now comes the fun part! Now we get to play around with the blend modes and opacity to really determine what effect we want to go for. Depending on the image chosen you may find that the modes we've used today won't work great for your image, and that's okay!

After changing the blend mode and playing with opacity levels, this is our final result.
The settings we used:
- Blend Mode: Multiply
- Opacity: 24%

We hope you enjoyed learning how to create a rainbow gradient in Photoshop today! Now that you know how to make rainbow gradients, how are you going to use them? Tell us in the comments below!