By Design Bundles
Infrared Effect in Photoshop
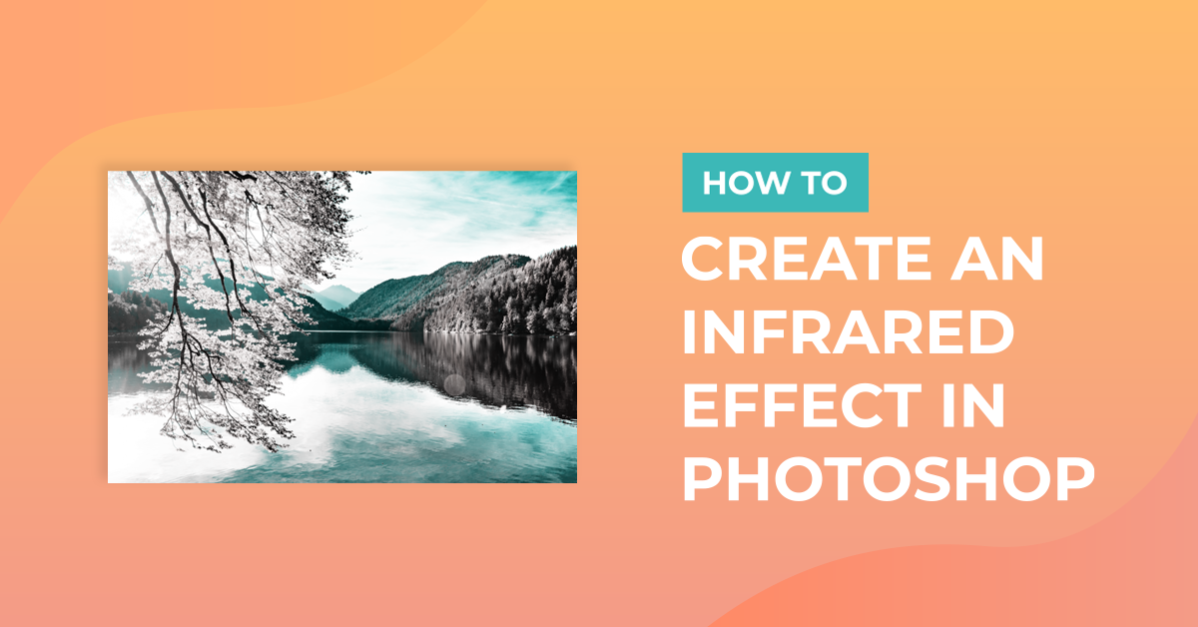
Today, we will learn how to apply a cool-looking Infrared Effect to your images with Photoshop. This effect is very popular with nature photographers as the results are quite eye-catching. We will be using a few tools in Photoshop to achieve the result.
We will make use of Adjustment Layers, Blending Modes, and Filters to mimic the results achieved by IR photography.
For this tutorial, we will use an autumn landscape photo. You can also browse through our beautiful photos of landscapes if you prefer another photo.
Step 1 - Duplicate and Invert your Image
In Photoshop, open the image you chose to work with. Then, duplicate the background layer (Command/Control + J) and name the duplicate layer Invert.

With the duplicate layer selected, go to Image > Adjustments > Invert (Command/Control + I). After inverting it, your image will look similar to a color negative.

Step 2 - Change the Blending Mode
Change the Blending Mode of the Invert layer to Color. This will add an orange-blue hue to the image.

Now, we are going to create the infrared effect in Photoshop with some adjustment layers. Adjustment layers are a non-destructive way of modifying an image without touching the original. This helps maintain overall image quality and have a starting point if you need to go back.
Step 3 - Add a Channel Mixer Adjustment Layer
To add more saturation to your image, go to the Adjustments panel. Create a new Channel Mixer adjustment layer on top of everything.
In the Red Output Channel change the Blue value to +100. Then, in the Blue Output Channel change the Red value to +100.
Leave the Green channel with its default values.

The resulting image should have more saturated colors, especially the reds and magentas.

Step 4 - Add a Hue/Saturation Adjustment Layer
Next, we need to isolate the reds and pinks then turn them into whites and/or light yellows.
Create a new Hue/Saturation adjustment layer on top of everything. Select the Reds or Magentas channel (depending on your image) and move the Saturation down until the image is almost gray.
Then, adjust the Hue until you see just a hint of yellow. Finally, adjust the rest of the channels until you are satisfied with the results.
You may need to change the values depending on the image you are using.
We used the following values:
- Reds and Blues tab: 0, 0, 0
- Yellows: -38, +43, +35
- Greens: +60, +44, +10
- Cyans: -73, 0, 0
- Magentas tab: +66, -91, 0

Step 5 - Create a Smart Object
We are going to create a merged copy then add more details to the Infrared effect. We will also add a glow with the help of a filter then adjust its blending mode and opacity.
Select all your layers and click Shift + Command/Control + Option/Alt + E to create a new merged copy of them.

Right-click on top of this copy and choose Convert to Smart Object.
Converting to smart objects allows you to apply filters and other modifications in a non-destructive fashion. It's similar to the way we use the Adjustment Layers.

Step 6 - Apply a Diffuse Glow Filter to the Smart Object Layer
Go to Filter > Filter Gallery and in the Distort tab choose Diffuse Glow. Input the following values:
- Graininess: 2
- Glow Amount: 2
- Crear Amount: 15

Remember, since you are applying the filter to a Smart Object, you can adjust its settings later on. You can do this by double-clicking on top of its thumbnail to open the filter panel.

Step 7 - Adjust the Smart Object Layer
We will be adding more contrast in this step. First, we want to change the Blending Mode of the smart object layer to Screen and the Opacity to 45%.

Next, add the contrast to the overall image. Select the Hue/Saturation layer thumbnail. Go back to the Adjustments panel and create a new Curves adjustment layer.
Click close to the curve’s first point from the bottom left and use the following values:
- Input: 70
- Output: 60
Then, click to add a point from the top right and use the following values:
- Input: 185
- Output: 195

Here’s our final result.

Step 8 - Change the Tint of the Infrared image
Next, we want to change the tint of the infrared effect. We will do this by duplicating the adjustment layers. Duplicate the Hue/Saturation adjustment layer (Command/Control + J). Hide the original one by clicking the small eye icon on the left side of the thumbnail. Then, adjust the values to achieve the desired color.
You can do the same with the Channel Mixer adjustment layer and adjust the color from there.

Here’s a side-by-side comparison of the original image and the images with the Infrared effect applied.

The Infrared Effect in Photoshop can be unpredictable while creating a unique piece of art. Each photo can have unusually creative results.
Hopefully, this tutorial brought something useful to your bag of tricks and added diversity to your work.
If you enjoyed learning about Infrared Effect in Photoshop, be sure to check out how to turn a day photo into night and how to add a light leak to an image in Photoshop.