By Design Bundles
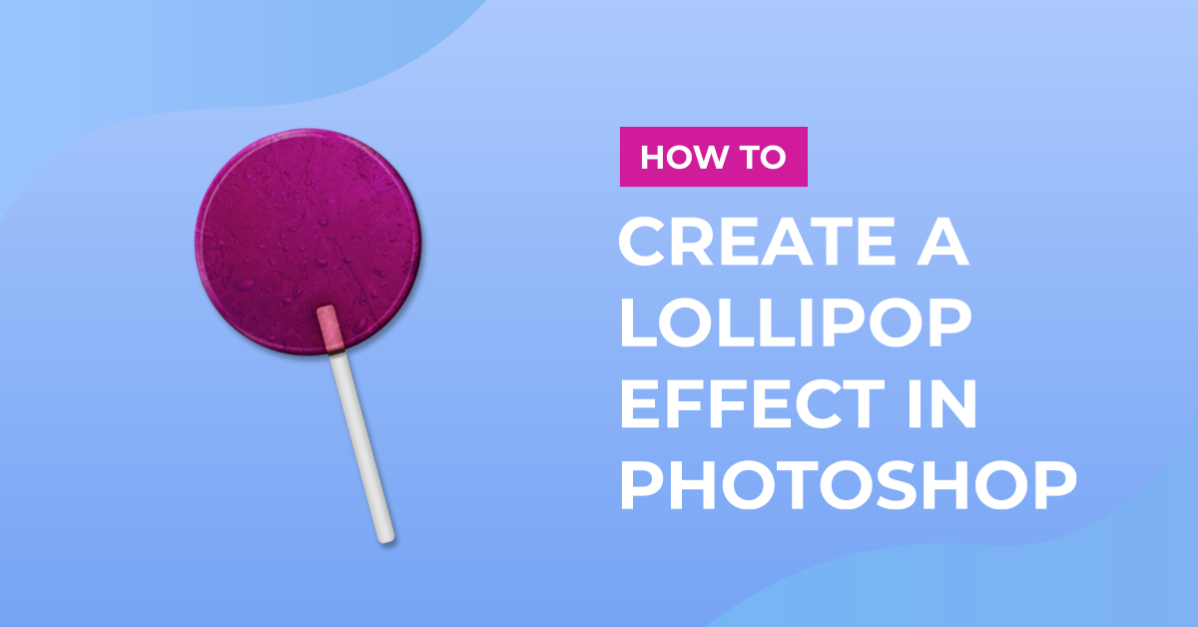
Lollypop Effect in Photoshop
For this Tutorial, we are going to use a random image as “Background” and some images or textures of Drops and/or Bubbles, Water and Dust/Scratches to add detail.
1 - In Photoshop, open the file you chose as “Background”.

2 - Select the “Ellipse Tool” (L) and draw a “Circle” in the middle of your canvas and fill it with a contrasting bright color (we used #85c441).


3 - Duplicate your Layer (Command/Control + J) and change the “Fill” of the duplicate to 0%. Place that duplicate on top of everything.

4 - Duplicate the original “Circle” twice and place those duplicates under the original. Select them both, and click on the small Folder button at the bottom of the “Layers Panel” to create a Group.


5 - Double-click on top of your original “Circle” to open the “Layer Style” Panel. In the “Bevel and Emboss” window, click on top of the “Gloss Contour Picker” square, then, click on the Small Gear Menu on the Top-Right corner and choose “Contours” to load more options. Choose “Append” if you want to keep the existing ones.


6 - Then, apply the following “Layer Styles”:
Bevel and Emboss: (Gloss Contour: Sawtooth 1)

Contour: (Ring)

Blending Options:

7 - Select the duplicate that is placed on top of everything, double-click on it and apply the following “Layer Styles:
Bevel and Emboss: (Gloss Contour: Gaussian)

Texture: (CrystalPattern)

Inner Shadow: (Gaussian)

Gradient Overlay: (Gradient: Black, White)

8 - Double-click on top of the “Group 1” thumbnail and apply the following “Layer Styles:
Blending Options:

Bevel and Emboss: (Gloss Contour: Rounded Steps)

Contour: (Gaussian)

Texture: (CrystalPattern)

Inner Shadow: (Rolling Slope - Descending)

Drop Shadow:

9 - Select the “Rounded Rectangle Tool” (U) and draw a thin rectangle that starts from about half a centimeter under the circles to almost touch the lower edge of the document. The idea is to make a “Stick” for your Lollypop. Place the Layer between the “Circles” and the “Group 1” layers.


10 -Double-click on top of the “Rounded Rectangle” thumbnail and apply the following “Layer Styles:
Stroke: (Gradient: Gary, White)

Inner Shadow: (Rounded Steps)

Gradient Overlay: (Gradient: #ffffff to #d7d7d7)

Pattern Overlay: (Pattern: Gray Granite)

Drop Shadow:

11 - Create a “New Layer”, name it “Shadow” and place it under the “Circle” layers (on top of the “Rounded Rectangle” layer). Select the “Elliptical Marquee Tool” (M) and draw a small Oval to mimic the shadow of the “Stick”. It should be placed where the “Stick” and the “Lollipop” bottom meet. Select the “Paint Bucket Tool” (B) and fill it with Black.


12 - Go to Filter > Gaussian Blur and use a value of 8 Pixels. Then lower the “Opacity” to about 40%.


13 - Open the image/pattern of “Water Bubbles” you chose and place it into your Document. Scale it to fit (use “Free Transform” (Command/Control + T) and place it where the it looks better. Change the “Blending Mode” to “Overlay” and lower the “Opacity” to 25%.


14 - Right-click on top of one of the “Circle” layers while holding the “Command/Control ) key to make a selection, then go back to the “Bubbles” layer and click on the “Add Layer Mask” button at the bottom of the “Layers Panel”.


15 - Now, open the image/pattern of “Water” you chose and place it into your Document. Scale it to fit using “Free Transform” (Command/Control + T and place it on top of your “Lollypop”.


16 - Go to Image > Adjustments > Desaturate (Shift + Command/Control + U). Make a selection of the “Circle” and then a “Mask” on the “Water” layer. Finally, change the “Blending Mode” to “Soft Light” and lower the “Opacity” to 20%.


17 - Open the image/pattern of “Dust/Scratches” you chose and place it into your Document. Scale it to fit using “Free Transform” (Command/Control + T) and place it place it on top of your “Lollypop”. Go to Image > Adjustments > Invert (Command/Control + I) and then, change the “Blending Mode” to “Linear Burn” and lower the “Opacity” to 20%.


18 - Click “Shift + Alt/Option + Command/Control + E” to create a “Stamp”. Then, convert your “Stamp” to a “Smart Object” (right-click on top of its Thumbnail and choose “Convert to Smart Object”).


19 - Go to Filter > Other > High Pass and use a “Radius” of 10.0 Pixels. Then, change the “Blending Mode” to “Soft Light”.


20 - Your “Artwork” should be similar to this.

by @lornacane