By Design Bundles
Procreate Tutorials18 min
How to Make a Procreate Texture Brush
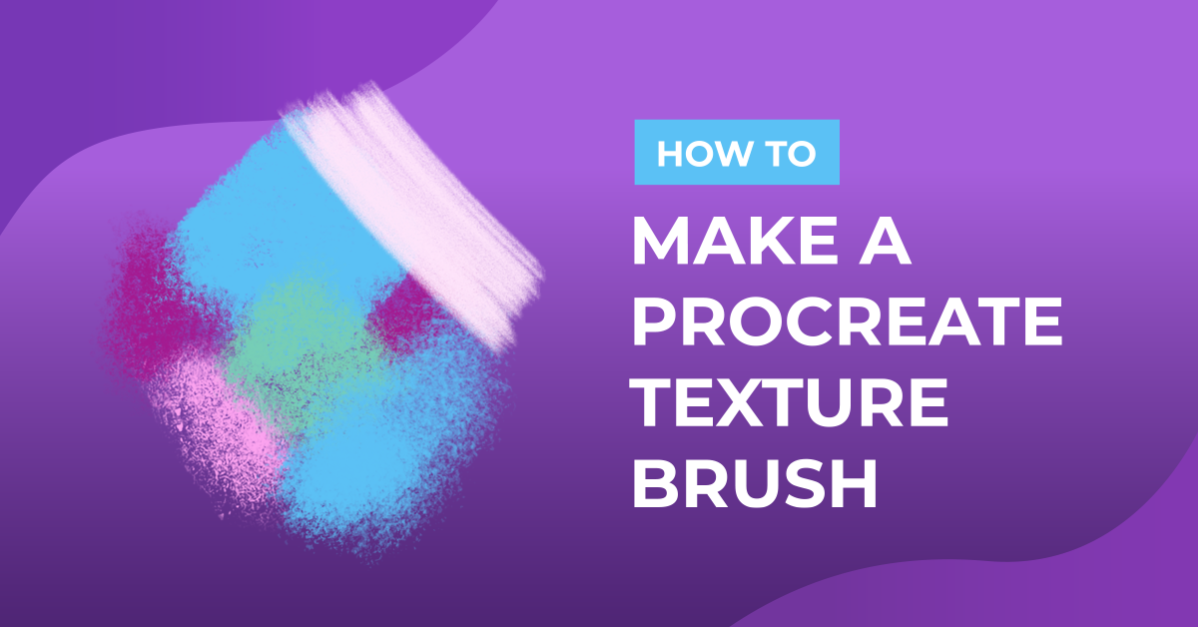
Procreate textures unlock endless possibilities when creating artwork. Not only can a texture brush be used for adding texture, but is a great time saver and can add unique patterns and backgrounds. In this tutorial, we are going to create a textured brush for Procreate. If you are short on time, check out the Procreate texture brushes available on Design Bundles!
Before we get started, make sure you have read our in-depth guide on how to make Procreate brushes. This guide will show you how to make the shape source, grain source, and more.
Please note: we are using the latest version of Procreate 5X. If you do not see the features mentioned below, ensure your Procreate is up-to-date.
We are primarily going to focus on the texture of our brush. So you can duplicate any pre-existing brush provided by Procreate. For this tutorial, I duplicated and worked on the “Monoline” brush. You can work on any brush you want, just keep in mind if you work with a brush that has a textured shape like “Blotchy” or “Chalky” your texture won’t be as prominent.
To Duplicate a brush, swipe left on the brush and select “Duplicate”. Once duplicated tap on the brush to show the “Brush Studio”.

In this “Brush Studio” the first change we are going to make is to add texture to our brush by adding a grain source. Tap on the “Grain” option in the options panel. This is where we will import the custom texture that will be applied to our brush.
Tap on the “Edit” button next to the Grain Source wording (Landscape view) if your iPad is in portrait display simply tap on the white Square in the grey bar. See the image below.

Tap on “Import”, and select “Import a photo” from the image source options list. Locate and select your texture. To invert your image simply tap on it with 2 fingers.

This is optional if you want a seamless repeat, or if you want to change the rotation, crop, or border overlap of your texture, tap on “Auto repeat”. Additional settings will display to adjust how your texture is repeated. Play around with the settings and see what works best for you and your texture. Tap on “Done” when you have finished making your edits.

The grain behavior settings are split up into two sections, Moving and Texturized. Each offers a unique way your texture will be applied to the brush. Let’s have a look at some of the settings for each.
Moving grain behavior is your texture being rolled onto your brush shape over and over again. You can consistently add strokes and build it up making the texture overlap and make it solid and opaque. There are a variety of settings you can change for the Moving Grain Behavior. Below are some of the settings you will want to change.
The amount of movement applied to your texture onto the brush. The higher the percentage.
How large or zoomed-in the texture is displayed on the stroke.
How much of your texture do you want to show on a stroke. Max depth is full texture whereas lower will show less.

Will add more or less “Whitespace” to a stroke. If you have a lot of greys or blacks in the texture you made, you could increase the brightness to have a more filled/opaque stroke.
Sets how defined do you want your texture to be on the stroke. You do not need to adjust the settings if you have a straightforward texture with solid black and white features.

Setting the Grain Behavior to texturized you can see it acts very differently to the moving grain. The best way to understand Texturized Behavior is it is imprinted and doesn’t change. Your brush strokes essentially reveal the texture and no matter how many stokes overlap it will not change.
Texturized is great for background textures like paper, chevron, patterns, etc. The 2 main settings I would change are Scale and Depth but play around with all settings offered and see how it affects the texture in the preview window.
Sets how large you want the texture to display. You can’t change this with brush size. For instance, if your Scale is set to 50%, no matter how small or big you set your brush size the texture will always show 50%.
How much of your texture do you want to show on a stroke. Max depth is full texture shown on the stroke and a lower depth will “hide” more of the texture.

There are a whole bunch of additional settings you can make to your brush in terms of how it works. But it will not change how the texture looks or works. You can only make edits to your texture by editing the Grain Behavior. You mainly need to make additional settings to “Properties” and “About this brush”. We went over these settings in our in-depth guide on making Procreate brushes.
We have arrived at the fun part of making a Procreate texture brush, testing it out. I’m going to take you through the difference in Grain Behavior and show you an example of using patterns to create unique texture brushes.
With my example image below, you can see there is a big difference between moving and textured grain behavior. Moving grain gives us a subtle texture applied to each stroke, making it perfect for illustrations.
The textured grain on the other hand gives us a very dramatic texture. Regardless of the number of strokes, color or size the texture won’t change.

As mentioned earlier textured grain behavior is perfect if you don’t want your texture to change. You can anything as your grain source to make a seamless brush texture. You could use patterns to make fun textures like plaid or leopard print.

Now have fun and create your own unique Procreate Texture Brush. If you liked this tutorial you’ll love our how to Create a Shadow Brush, make a Procreate Outline Brush and how to make a Procreate Rainbow Brush tutorial.
Before we get started, make sure you have read our in-depth guide on how to make Procreate brushes. This guide will show you how to make the shape source, grain source, and more.
Please note: we are using the latest version of Procreate 5X. If you do not see the features mentioned below, ensure your Procreate is up-to-date.
Duplicate a Brush
We are primarily going to focus on the texture of our brush. So you can duplicate any pre-existing brush provided by Procreate. For this tutorial, I duplicated and worked on the “Monoline” brush. You can work on any brush you want, just keep in mind if you work with a brush that has a textured shape like “Blotchy” or “Chalky” your texture won’t be as prominent.
To Duplicate a brush, swipe left on the brush and select “Duplicate”. Once duplicated tap on the brush to show the “Brush Studio”.
Add a Texture
In this “Brush Studio” the first change we are going to make is to add texture to our brush by adding a grain source. Tap on the “Grain” option in the options panel. This is where we will import the custom texture that will be applied to our brush.
Step 1 - Access Grain Editor
Tap on the “Edit” button next to the Grain Source wording (Landscape view) if your iPad is in portrait display simply tap on the white Square in the grey bar. See the image below.
Step 2 - Import & Invert the texture
Tap on “Import”, and select “Import a photo” from the image source options list. Locate and select your texture. To invert your image simply tap on it with 2 fingers.
Step 3 - Auto repeat
This is optional if you want a seamless repeat, or if you want to change the rotation, crop, or border overlap of your texture, tap on “Auto repeat”. Additional settings will display to adjust how your texture is repeated. Play around with the settings and see what works best for you and your texture. Tap on “Done” when you have finished making your edits.
Grain Behavior
The grain behavior settings are split up into two sections, Moving and Texturized. Each offers a unique way your texture will be applied to the brush. Let’s have a look at some of the settings for each.
Moving:
Moving grain behavior is your texture being rolled onto your brush shape over and over again. You can consistently add strokes and build it up making the texture overlap and make it solid and opaque. There are a variety of settings you can change for the Moving Grain Behavior. Below are some of the settings you will want to change.
Movement
The amount of movement applied to your texture onto the brush. The higher the percentage.
Scale & Zoom
How large or zoomed-in the texture is displayed on the stroke.
Depth
How much of your texture do you want to show on a stroke. Max depth is full texture whereas lower will show less.
Brightness
Will add more or less “Whitespace” to a stroke. If you have a lot of greys or blacks in the texture you made, you could increase the brightness to have a more filled/opaque stroke.
Contrast
Sets how defined do you want your texture to be on the stroke. You do not need to adjust the settings if you have a straightforward texture with solid black and white features.
Texturized:
Setting the Grain Behavior to texturized you can see it acts very differently to the moving grain. The best way to understand Texturized Behavior is it is imprinted and doesn’t change. Your brush strokes essentially reveal the texture and no matter how many stokes overlap it will not change.
Texturized is great for background textures like paper, chevron, patterns, etc. The 2 main settings I would change are Scale and Depth but play around with all settings offered and see how it affects the texture in the preview window.
Scale:
Sets how large you want the texture to display. You can’t change this with brush size. For instance, if your Scale is set to 50%, no matter how small or big you set your brush size the texture will always show 50%.
Depth:
How much of your texture do you want to show on a stroke. Max depth is full texture shown on the stroke and a lower depth will “hide” more of the texture.
Brush Settings
There are a whole bunch of additional settings you can make to your brush in terms of how it works. But it will not change how the texture looks or works. You can only make edits to your texture by editing the Grain Behavior. You mainly need to make additional settings to “Properties” and “About this brush”. We went over these settings in our in-depth guide on making Procreate brushes.
Testing The Brush
We have arrived at the fun part of making a Procreate texture brush, testing it out. I’m going to take you through the difference in Grain Behavior and show you an example of using patterns to create unique texture brushes.
Grain Behavior Difference:
With my example image below, you can see there is a big difference between moving and textured grain behavior. Moving grain gives us a subtle texture applied to each stroke, making it perfect for illustrations.
The textured grain on the other hand gives us a very dramatic texture. Regardless of the number of strokes, color or size the texture won’t change.
Background Brush Examples:
As mentioned earlier textured grain behavior is perfect if you don’t want your texture to change. You can anything as your grain source to make a seamless brush texture. You could use patterns to make fun textures like plaid or leopard print.
Now have fun and create your own unique Procreate Texture Brush. If you liked this tutorial you’ll love our how to Create a Shadow Brush, make a Procreate Outline Brush and how to make a Procreate Rainbow Brush tutorial.
Related Tutorials
Procreate Tutorials
How to Make a Procreate Outline Brush
Discover how to make your own Procreate Outline Brush with this tutorial.
Procreate Tutorials
How to Make a Procreate Rainbow Brush
Learn how to make a vibrant rainbow brush in Procreate in this step by step tutorial.
Procreate Tutorials
How to Combine Two Brushes to Make a Dual Brush in Procreate
In this tutorial you'll learn how to combine two brushes in Procreate to make a dual brush.
Procreate Tutorials
How to Make Procreate Brushes
Learn how to make your own Procreate Brushes in this step by step tutorial.
Procreate Tutorials
How to make Procreate Stamp Brushes
In this tutorial you'll learn how to create your own Procreate stamp brushes.
Procreate Tutorials
How to Use Procreate to Make Sublimation Designs
Learn how to create Sublimation designs then send them directly to the printer from Procreate!