By Christine Hattingh
How to Make Repeating Pattern in Procreate
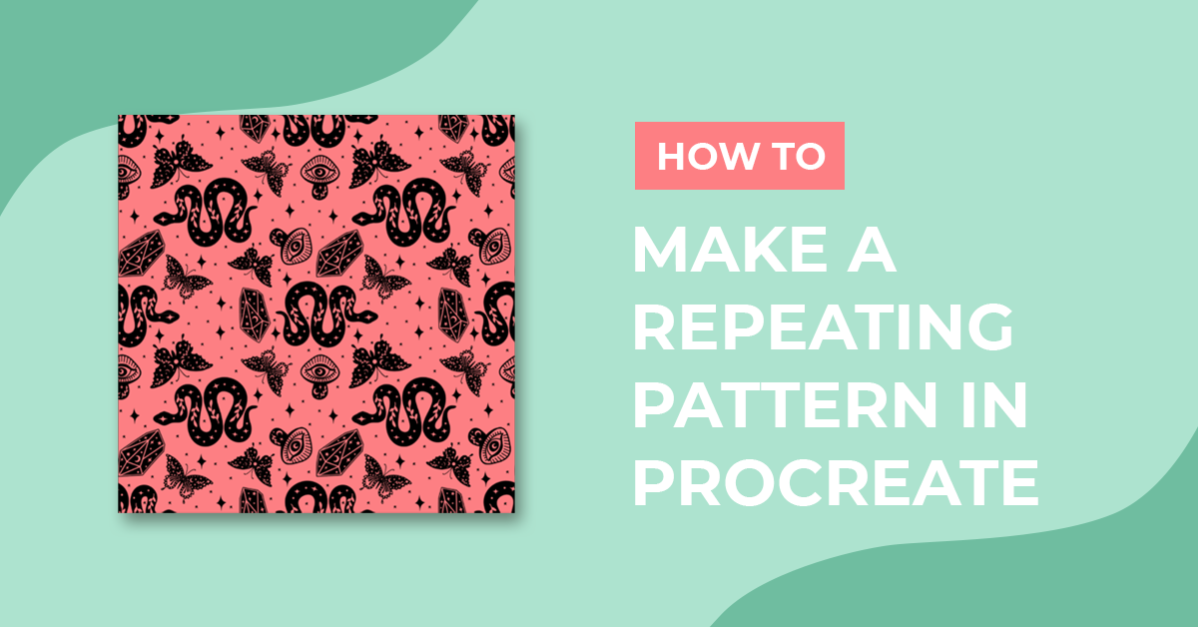
Have you ever wanted to learn how to make a repeating pattern in Procreate? Want to turn bought or made elements into fun digital paper, backgrounds, or sublimation patterns? Then this tutorial is just for you, as we take you through the steps to make a repeating pattern in Procreate.

Please note: we are using the latest version of Procreate 5X. If you do not see the features mentioned below, ensure your Procreate is up-to-date.
Step 1 - Create a Blank Square Canvas
To make a repeat pattern, we need to create a custom canvas size in Procreate. Depending on what you will use the repeat pattern for, we recommend a canvas that is at least 1500px by 1500px at 300 DPI resolution.
Step 2 - Import Elements From Files or Photos
With your canvas created, you can start adding your elements to the canvas. We downloaded and extracted this mystical SVG bundle to our iPad, and we will use the PNG file formats.
If you have elements you want to use that are in layers on a different canvas in Procreate, you can copy those over. See how you can copy multiple layers to a new canvas in Procreate to use in your repeating pattern.
To insert elements from your files or photos, go to the Actions panel (wrench icon), tap on Add,and select where your elements are stored. Then select the element to import. Repeat this process until you have added all the elements you want to use.

Step 3 - Start Making the Pattern Design
In this step, we will reference many different layer functions. We have an in-depth tutorial on how to use Procreate layers that covers merging, grouping, hiding, duplicating, etc.
Start moving your elements around on your canvas to make your pattern. Do not have any of your elements touch or go over the edges of your canvas (keep an empty space).
Tip: Create a working file (group) of copies of your unedited elements to easily grab if you made a mistake. Keep the group hidden to not interfere with the pattern.
Once you are happy with the layout, merge all your element layers, and create a new layer below it with a color fill for the background color.

Step 4 - Create Four Saved Selections
In this step, we are going to create saved selections in four areas of our pattern. This process is super handy when you want to create multiple repeating patterns.
Tip: Keep your layers tidy by grouping your pattern design and background color.
Create the Four Selection Areas
You will need a layer for each corner of the canvas at the top and bottom on the left and right sides. Create four new layers with a fill color. The color doesn’t matter.
Tip: Rename your layers each step of the way to keep track of what you have done.

Select one layer and go to the Transformation tool (mouse pointer icon). Ensure you are working with Uniform transformation and have Snapping enabled.
Resize your layer to fill one-fourth of the canvas. You will see a yellow canvas guide appear horizontally and vertically when your layer is perfectly sized to the corner. See our example below.

Repeat this process for each side of your canvas until you have a top left and right, and a bottom left and right side.
Save Your Corner Selections
Once you have resized your layers, go back into the Layers panel and select your first corner layer. Then select the Selection tool (S icon) and use Automatic selection.
Select your corner layer, which will then be highlighted in blue. In the toolbar at the bottom, tap the Save & Load option (Heart icon). In the Selections popup, tap on the plus (+) icon to save your selection to the queue.

Repeat this process for each corner layer until you have saved four selections to your queue.
Step 5 - Split and Flip Your Pattern
In this step on making repeating patterns in Procreate, you will use your saved selections to split your pattern and flip them vertically and horizontally to create the edges of your repeating pattern.
Start by duplicating your elements and background color. Then merge them to be one layer as we did below.

Load Your Selections To Split the Pattern
With your pattern layer selected, go to the Selection tool (S icon) and tap on the Save & Load (heart icon) option again. Select your saved selection from the queue. We started with Selection 1. This will automatically load the corner selection you created earlier.

Flip the Pattern Corner
Keeping the selection active, tap on the Transformation tool (cursor icon). Ensuring you still have Uniform transformation selected, flip your selection vertically and then horizontally.
Notice what was in the center of the overall pattern is now in the outer corner of the canvas. Once you have done this deselect the transformation tool.

Repeat the split and flip steps for each selection/corner until your pattern centers are on the canvas's outer corners, like our example below.

Step 6 - Fill In Your Pattern Design
After splitting and flipping your corners, you will notice there are open spaces, especially in the center. Go ahead and fill in your pattern by adding more elements or drawing designs in the open spaces.
We have a great selection of Procreate stamp brushes if you want to quickly add in filler elements.

Step 7 - Test Your Pattern
For the final step, you are going to test your pattern to make sure it has a seamless repeat. The best way to test this is to create an extra four copies of your pattern and resize them as we did when we created our four selections in Step 3.

Our pattern repeats perfectly with no issues. If you notice any gaps between your repeats, you can go back to Step 3 to see if a loaded selection was sized incorrectly.
This process may be long but worth it if you want to make a series of repeating patterns in Procreate. We hope you enjoyed this tutorial and learned some new tricks to speed up your repeating pattern process in Procreate.