By Design Bundles
How to Calibrate the Silhouette Alta Machine
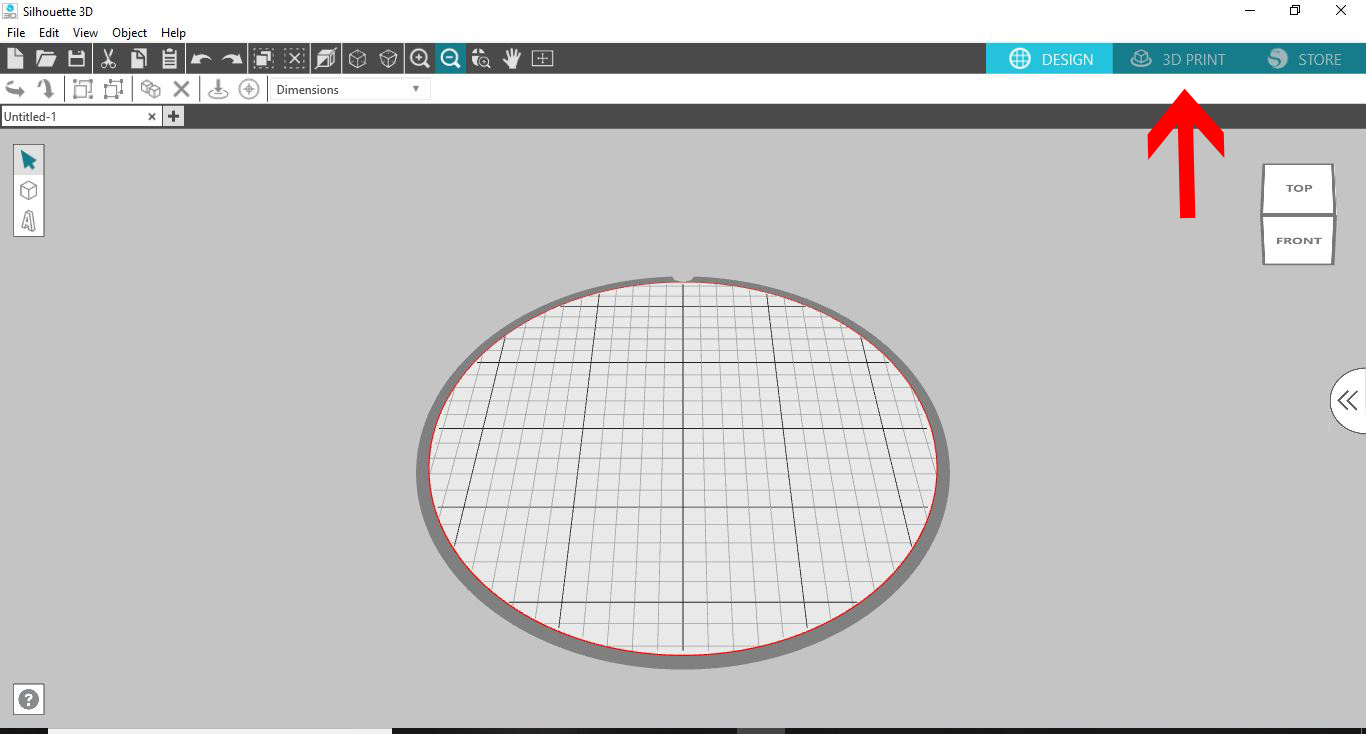
1- Open the Silhouette Alta software. Click on the 3D print icon.
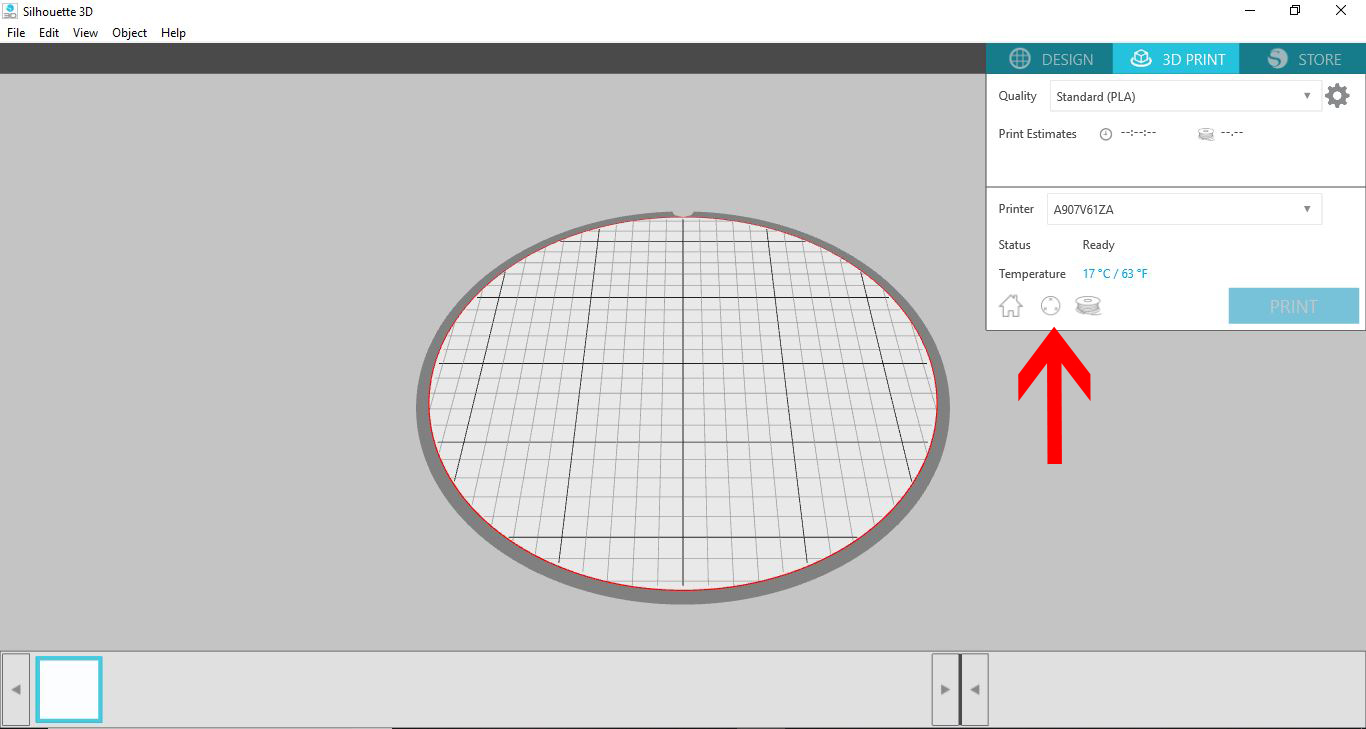
2- With the temperature below 50 degrees, click on the calibrate icon in the 3D print screen.
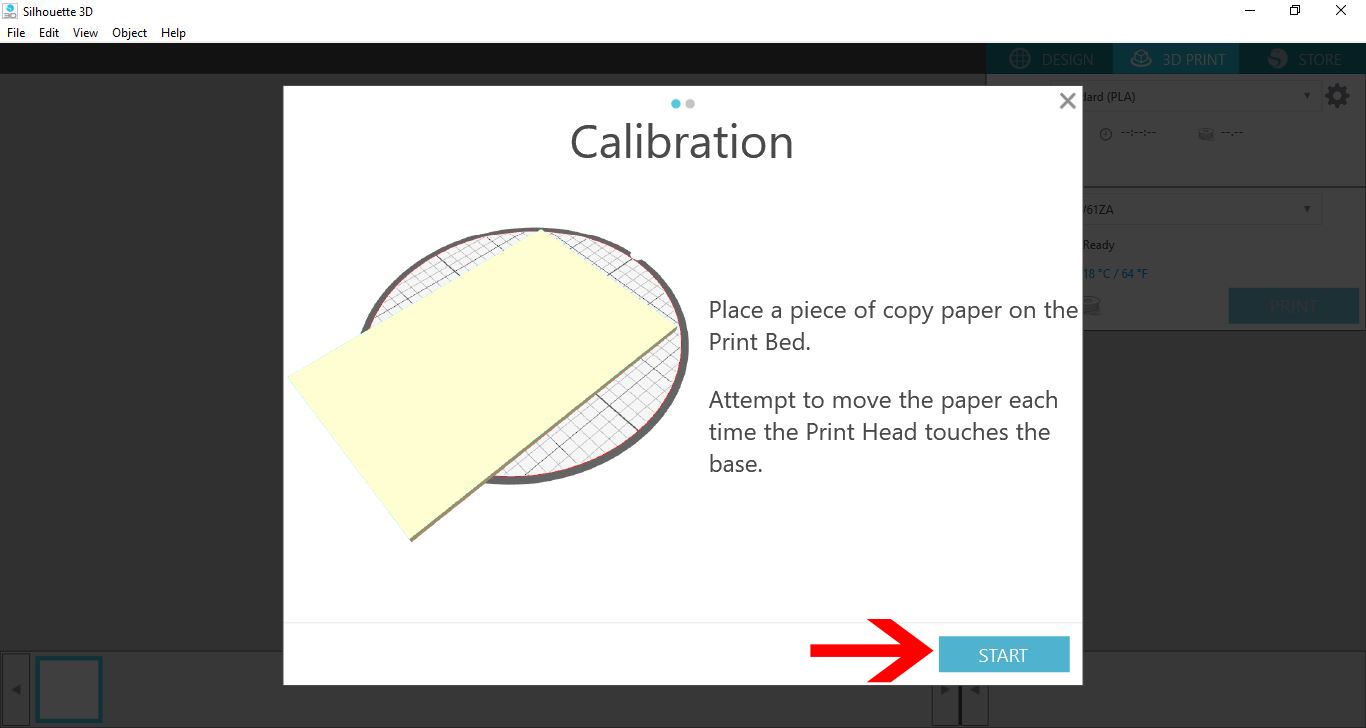
3- A new window will appear. This is the start of the calibration process. Take a piece of copy paper and cut in half, long ways. Click on start.
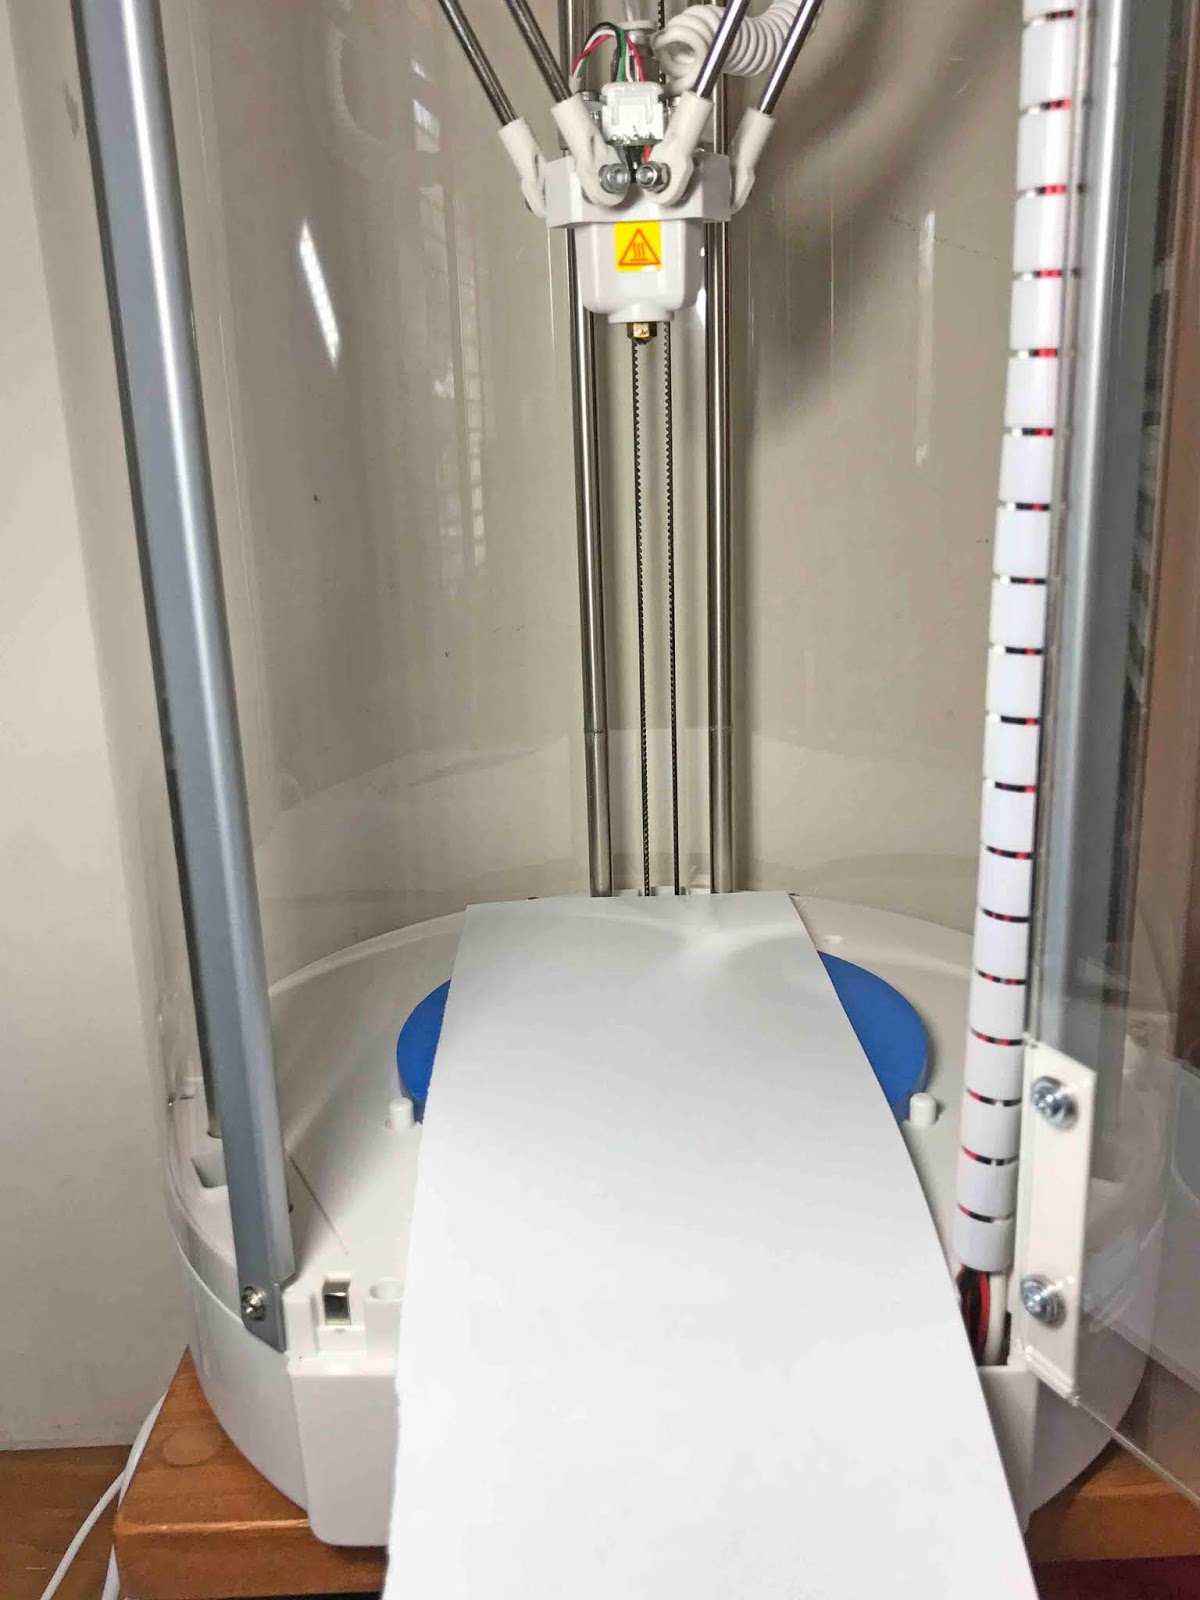
4- Place the paper on the print bed and make sure that the paper covers most of the surface area.
5- The next screen will appear. This will ask you how easy it is to move the paper at each calibration point. As the printer moves to each calibration point you can click easy, normal or hard.
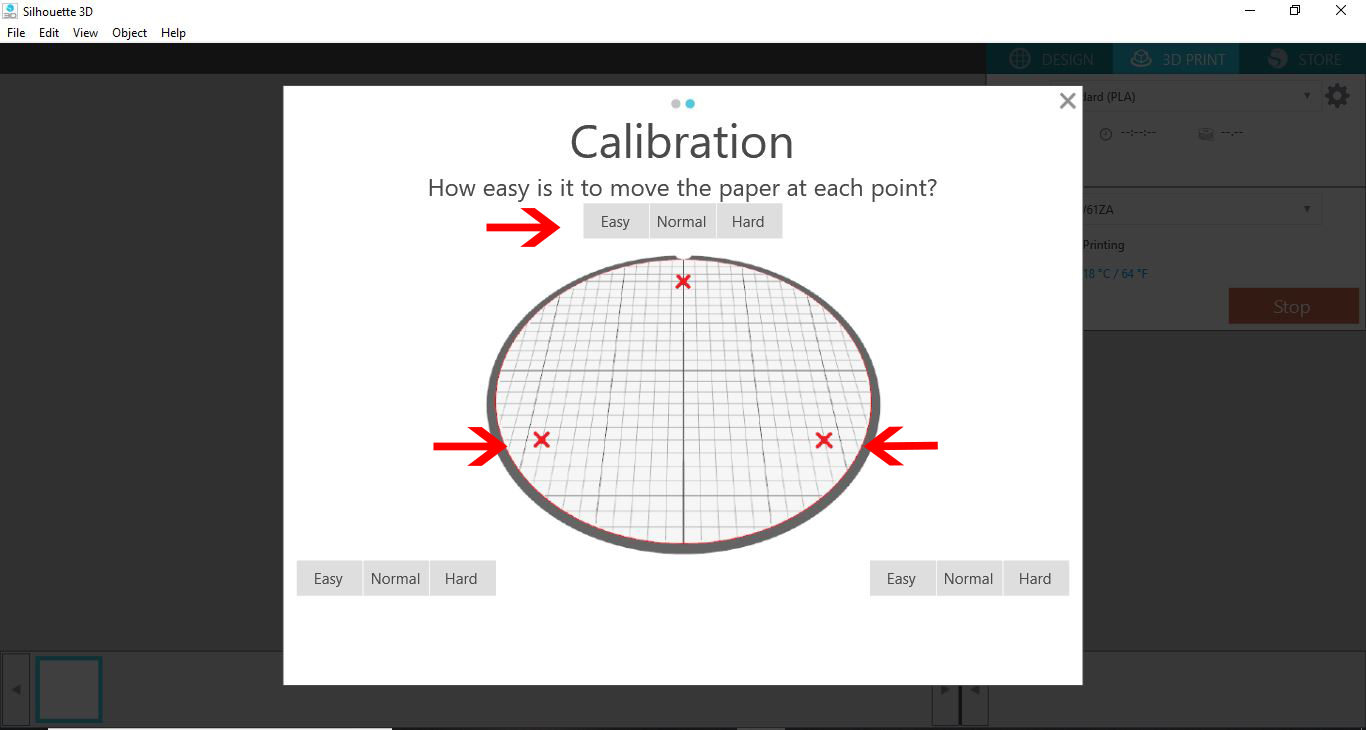
6- As the nozzle lowers to each point hold the paper with your thumb and pointy finger and see if you can pull the paper back and forth with only a small amount of friction. If The paper is really easy to remove and push back it is too easy, if it will not move or it is impossible to push the paper back with only your 2 fingers you will need to click hard. If there is only a little friction (kind of like it feeling like the nozzle is just "scratching" the paper) then you need to click normal as this point is calibrated correctly.
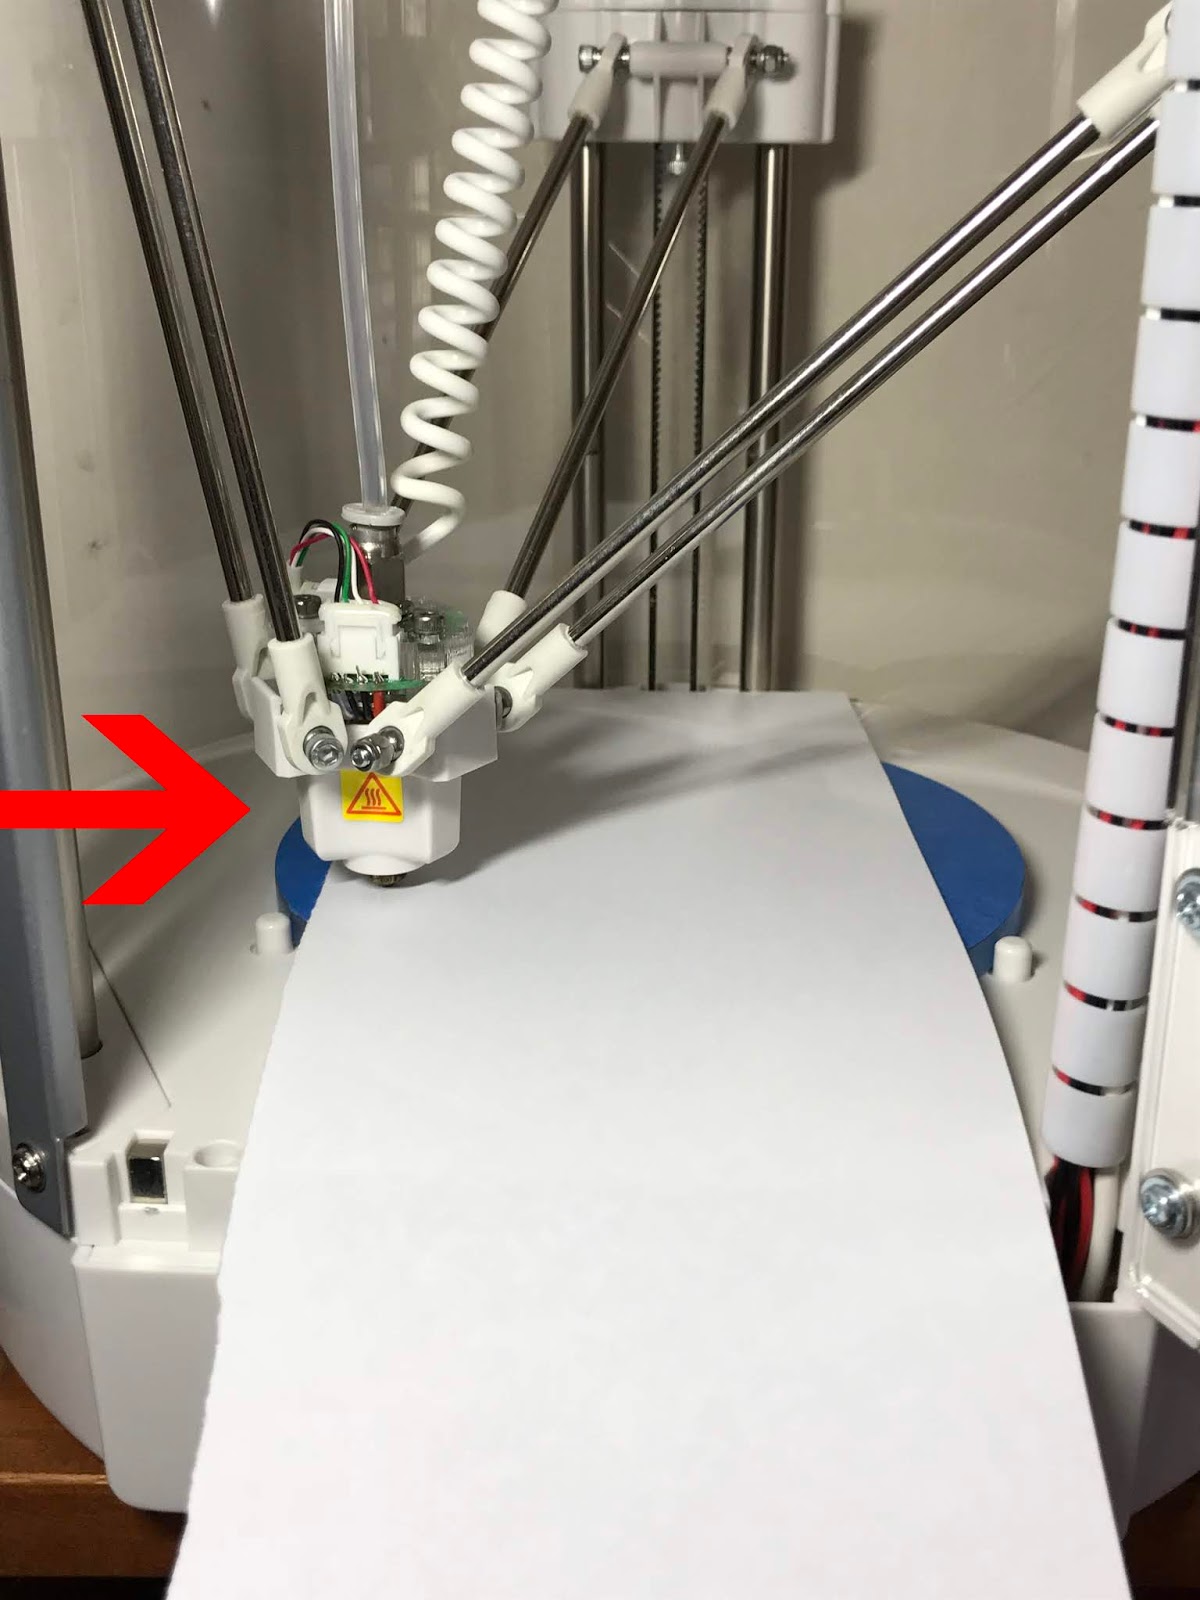
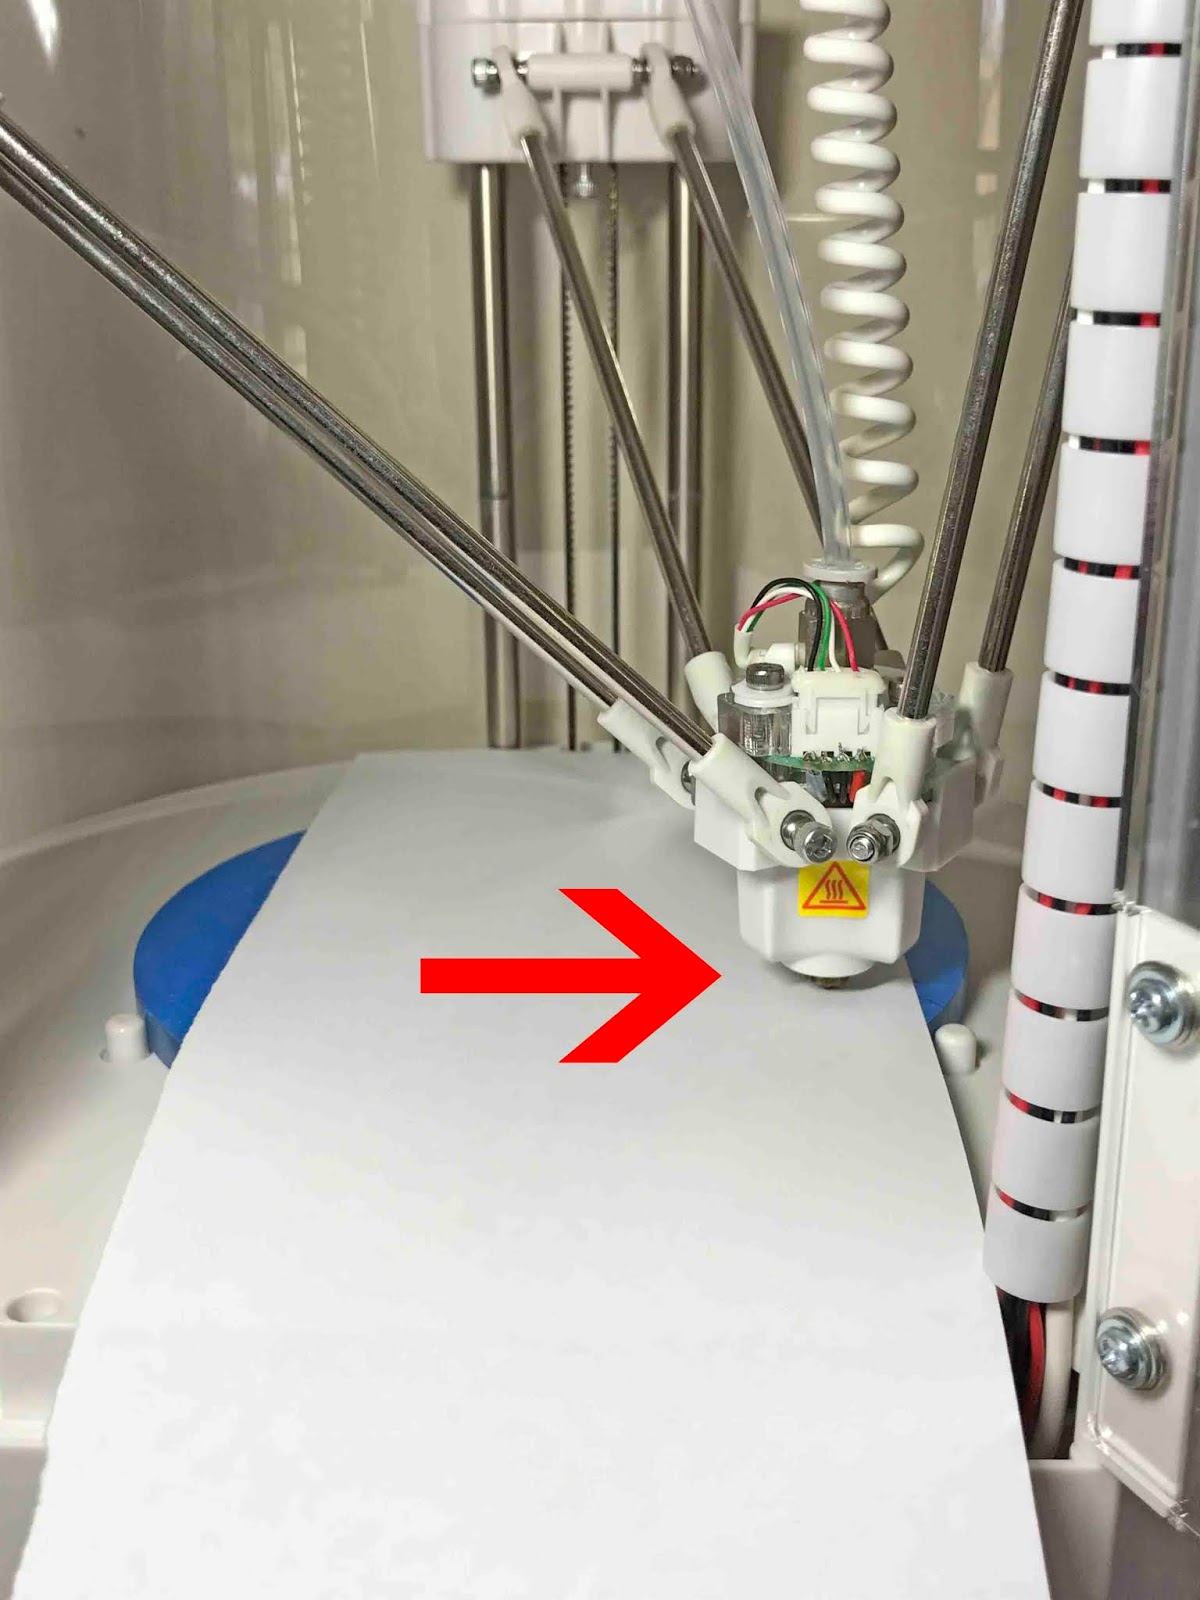

7- Once you have clicked on the calibration points on your screen, click on next.
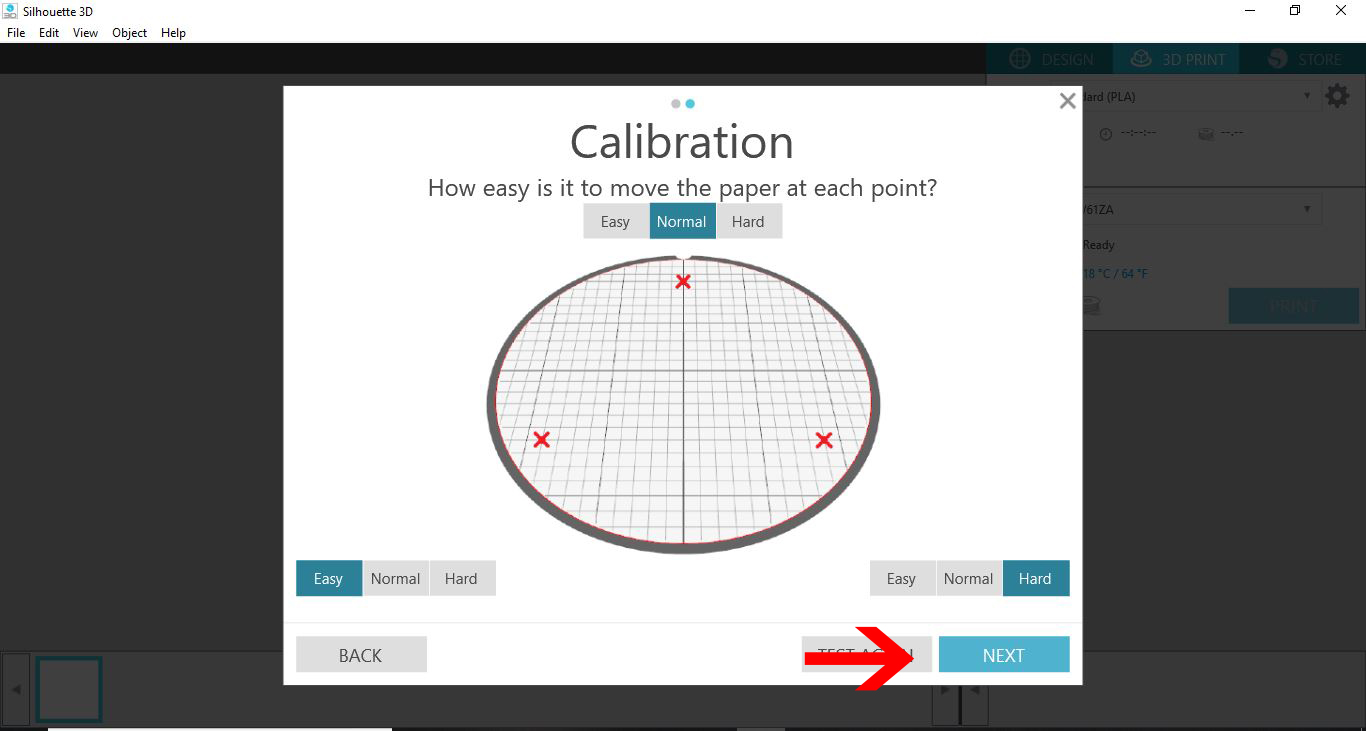
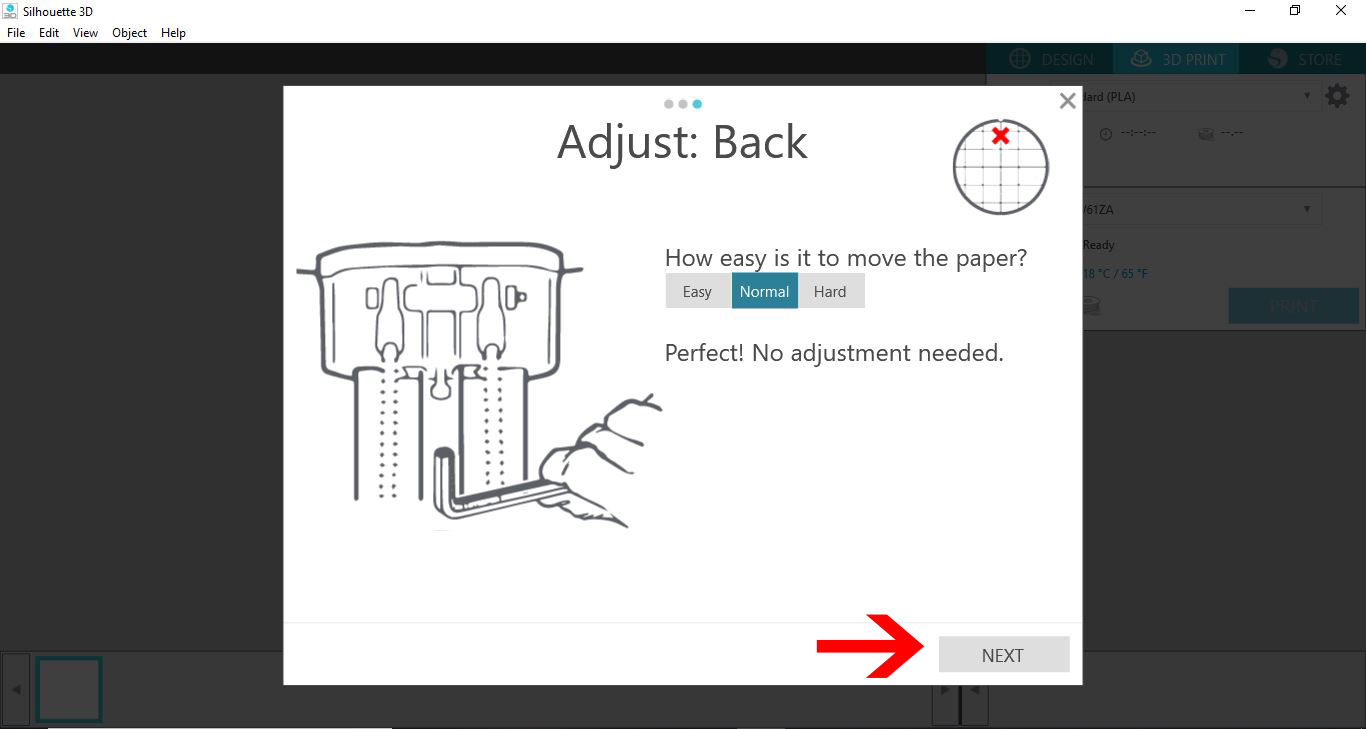
8- The screen will now show you a diagram to adjust the printer. Depending on if the nozzle is too low or high you will need to use the allen key to screw either clockwise or counter clockwise. When you stat only screw a tiny bit at a time so you do not go too far the opposite way.
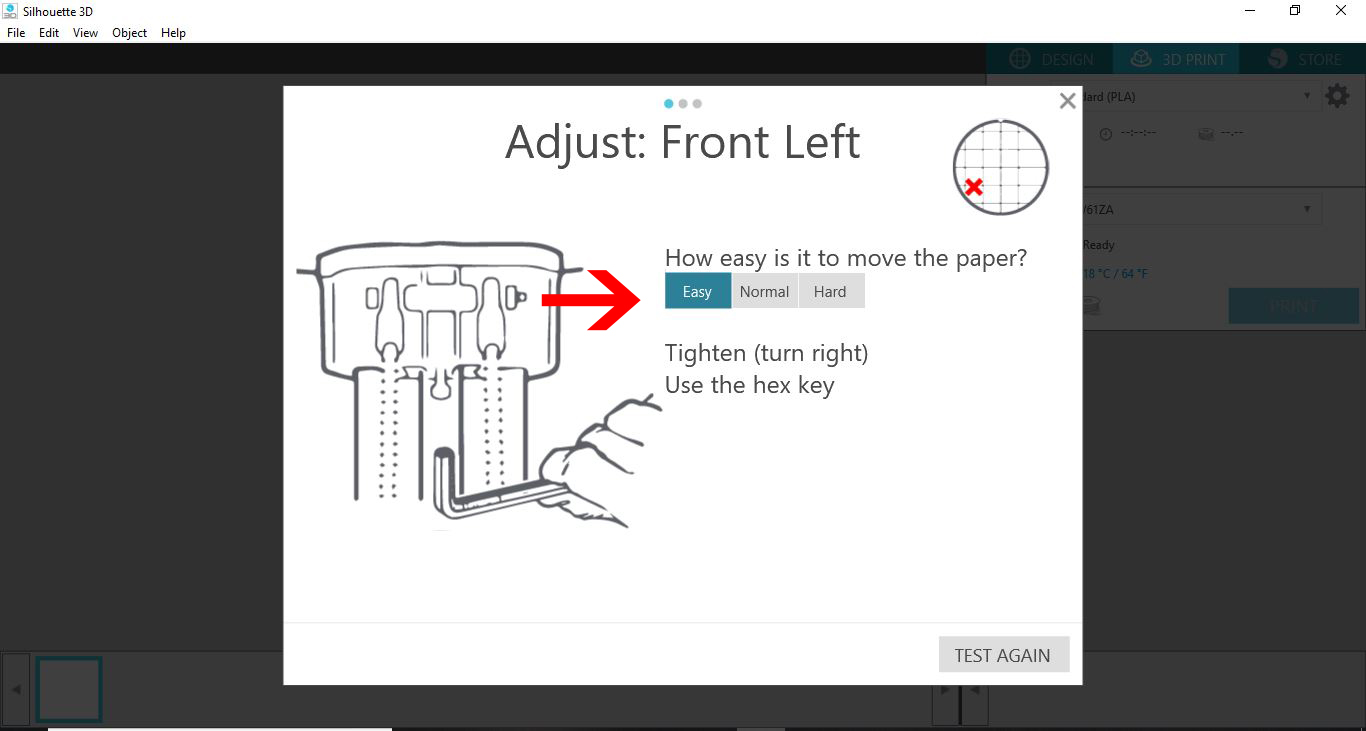
9- The screw is in an hard to get to spot so you may need to use the allen key with just 2 fingers and turn slightly.

10- Click on text again. If the paper is just right to move you can then select normal. If it still not right repeat the sequence by adjusting the screw a little more and clicking test again and repeating the process till the calibration on the first point is right.
Once correct, clicknormal then the next icon.
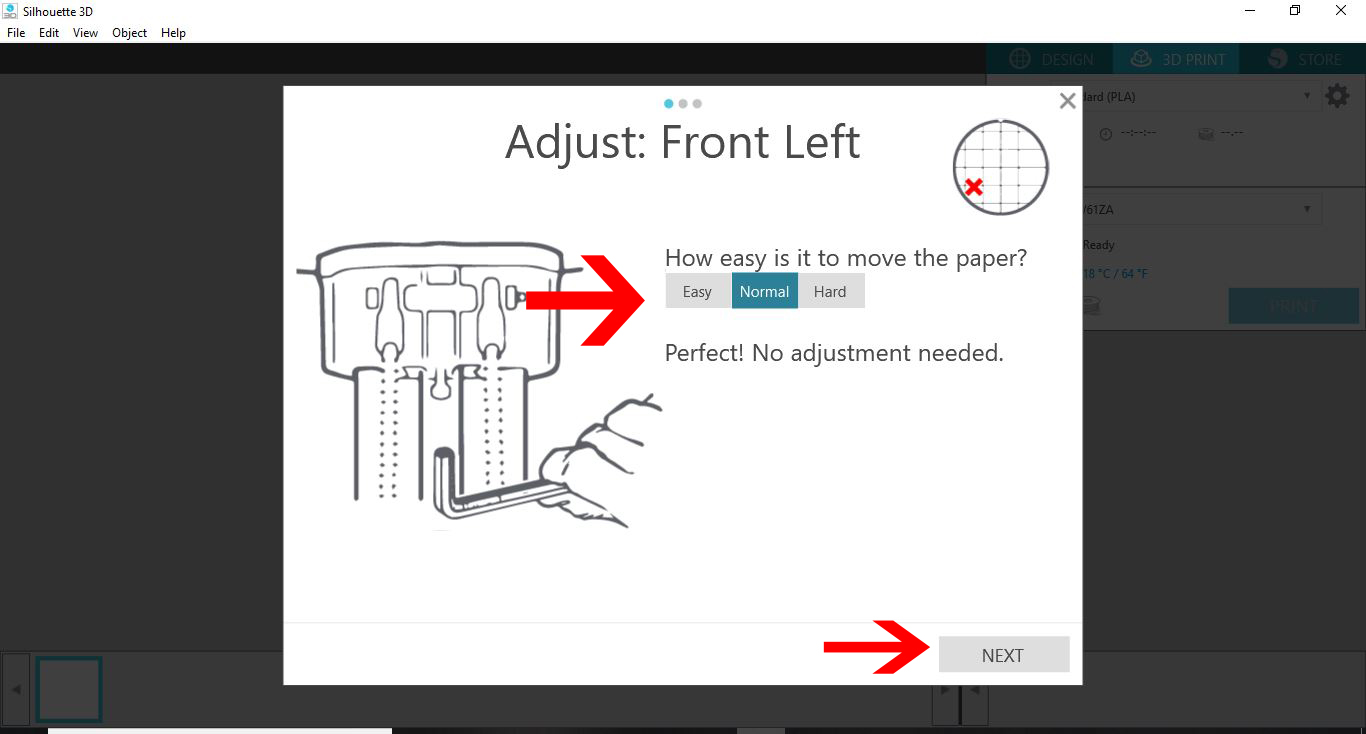
11- Repeat the above process with the next point.
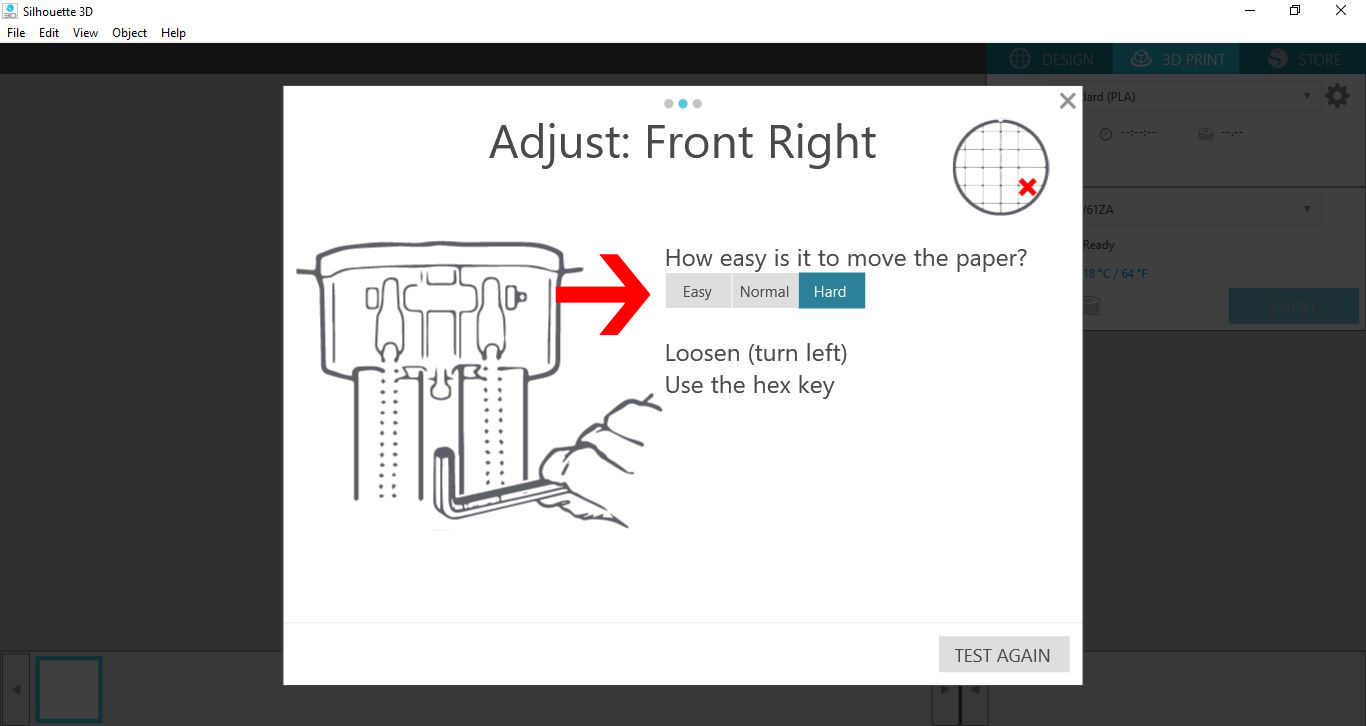
12- Again there will be a small screw you will need to turn left or right dependent on thecalibration.
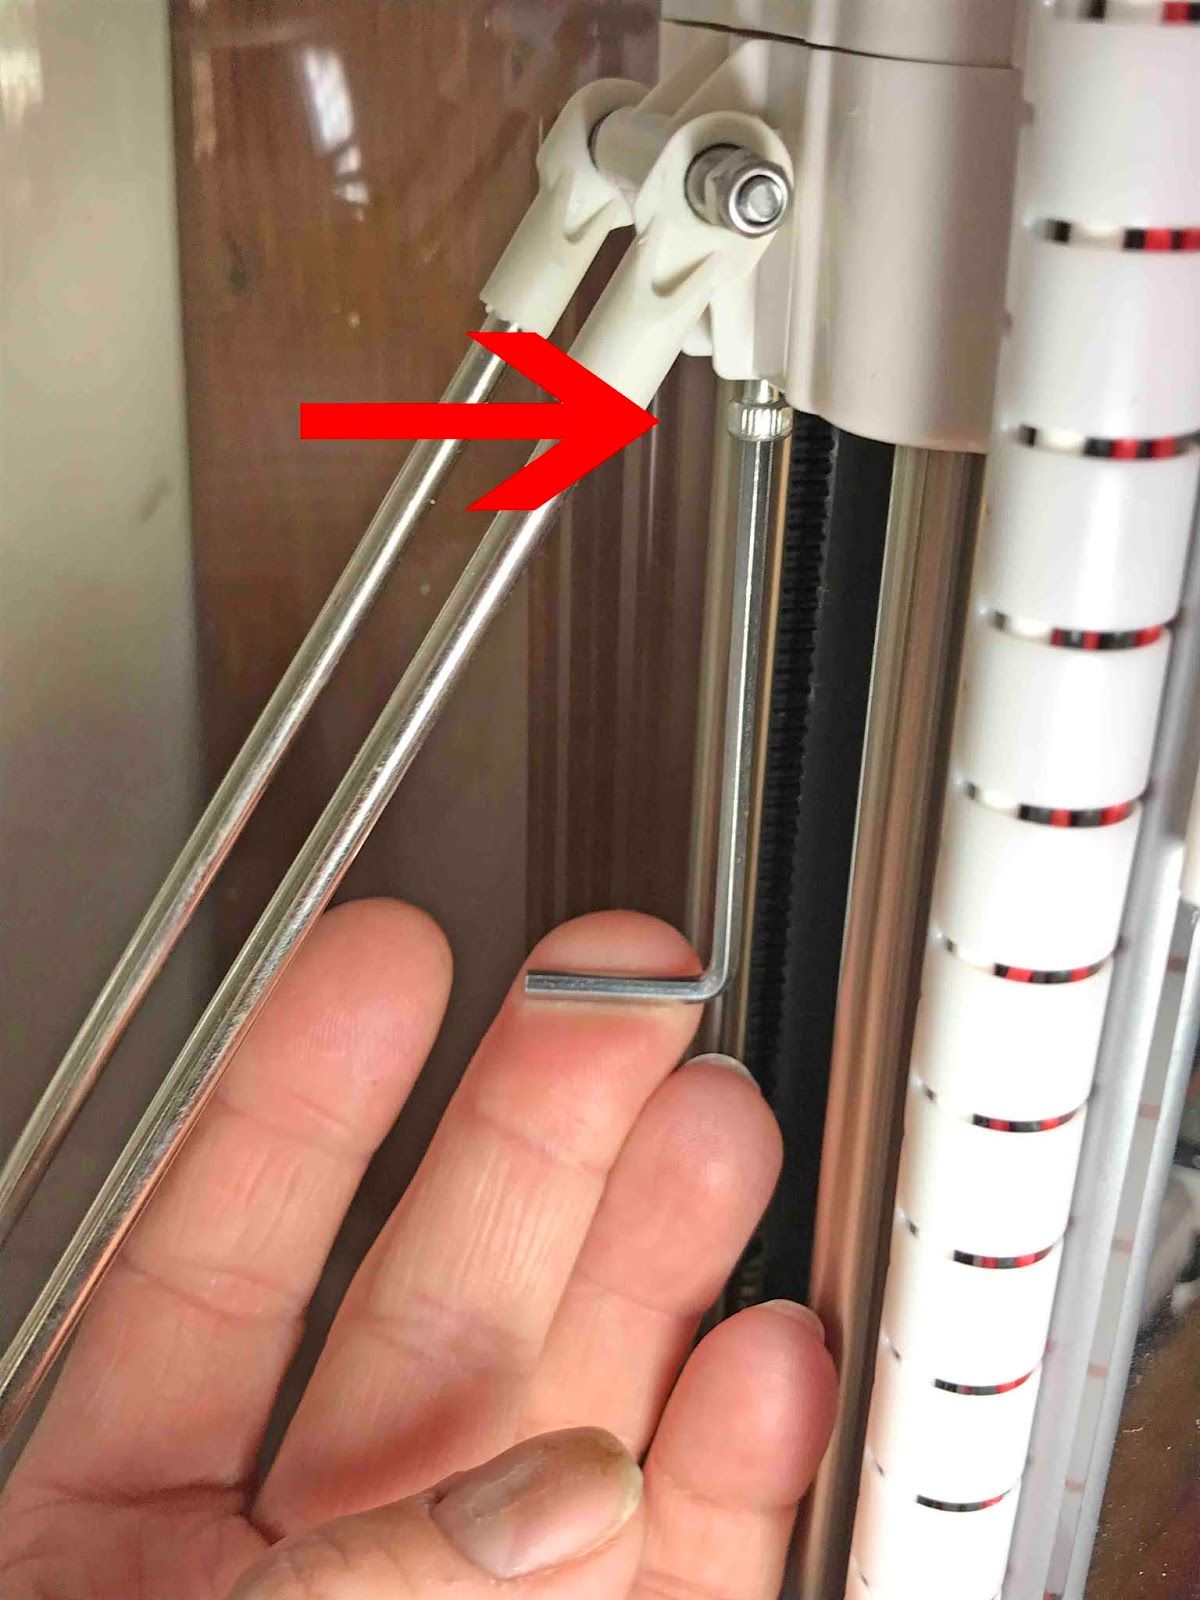
13- Once you have repeated it to get the calibration correct, click normal and then next.
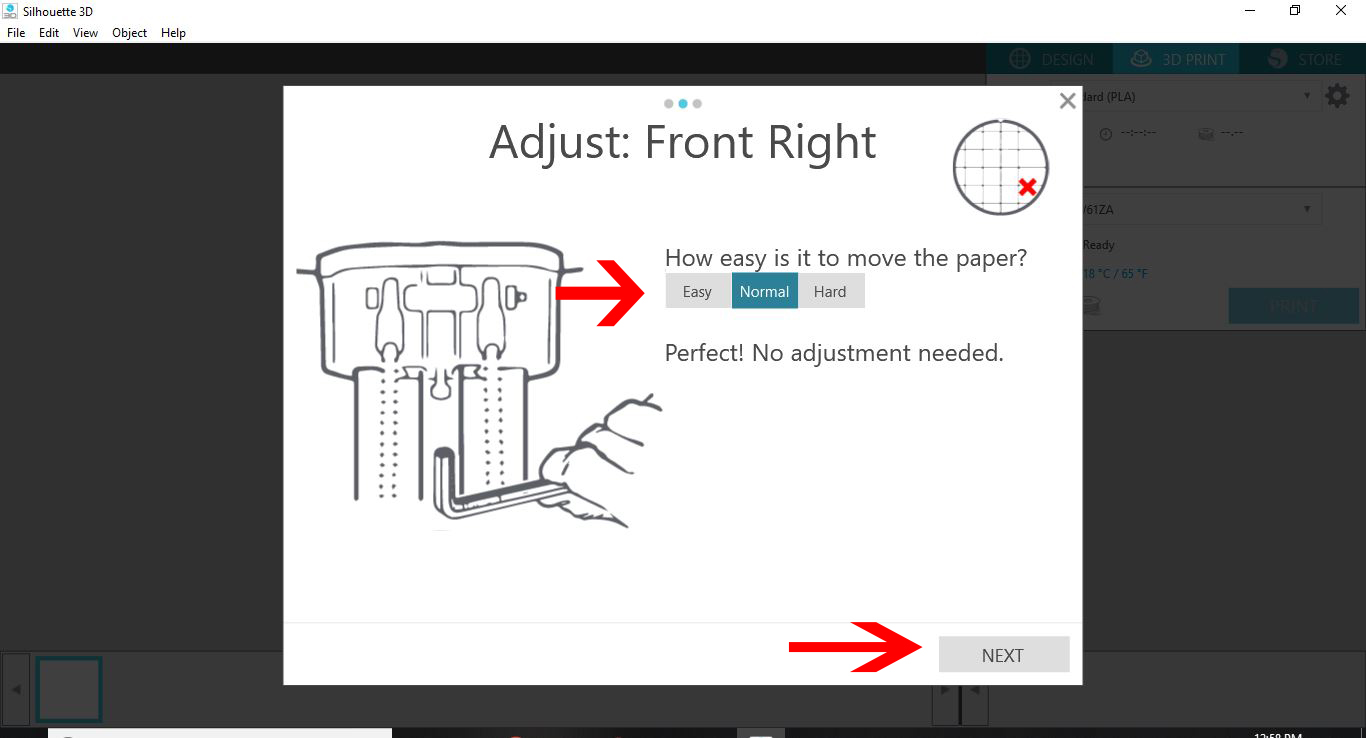
14- If you have a normal calibration to start with you will not need to do anything and just click next.
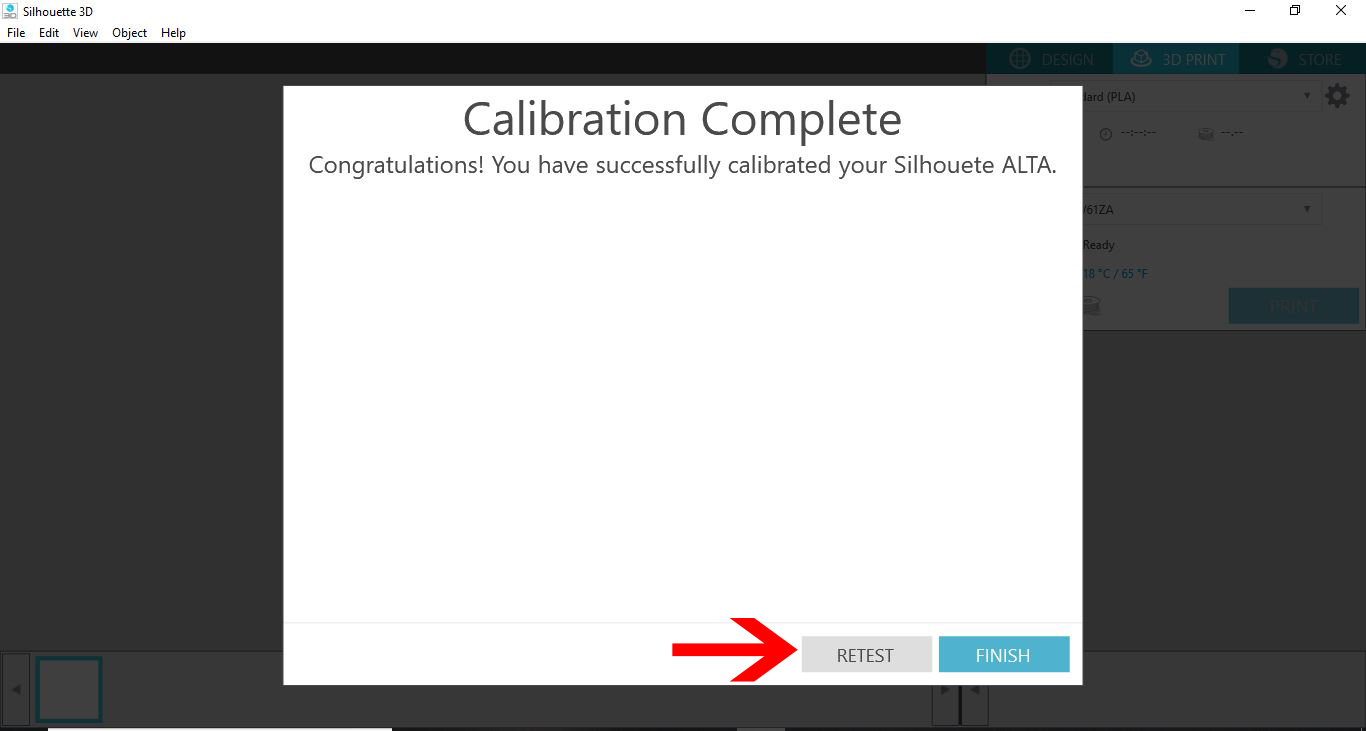
15- Your calibration is now complete.
16- It is good to note you may need to calibrate your machine weekly, depending how many hours you are printing. There is also signs when printing that your machine will need to be calibrated.
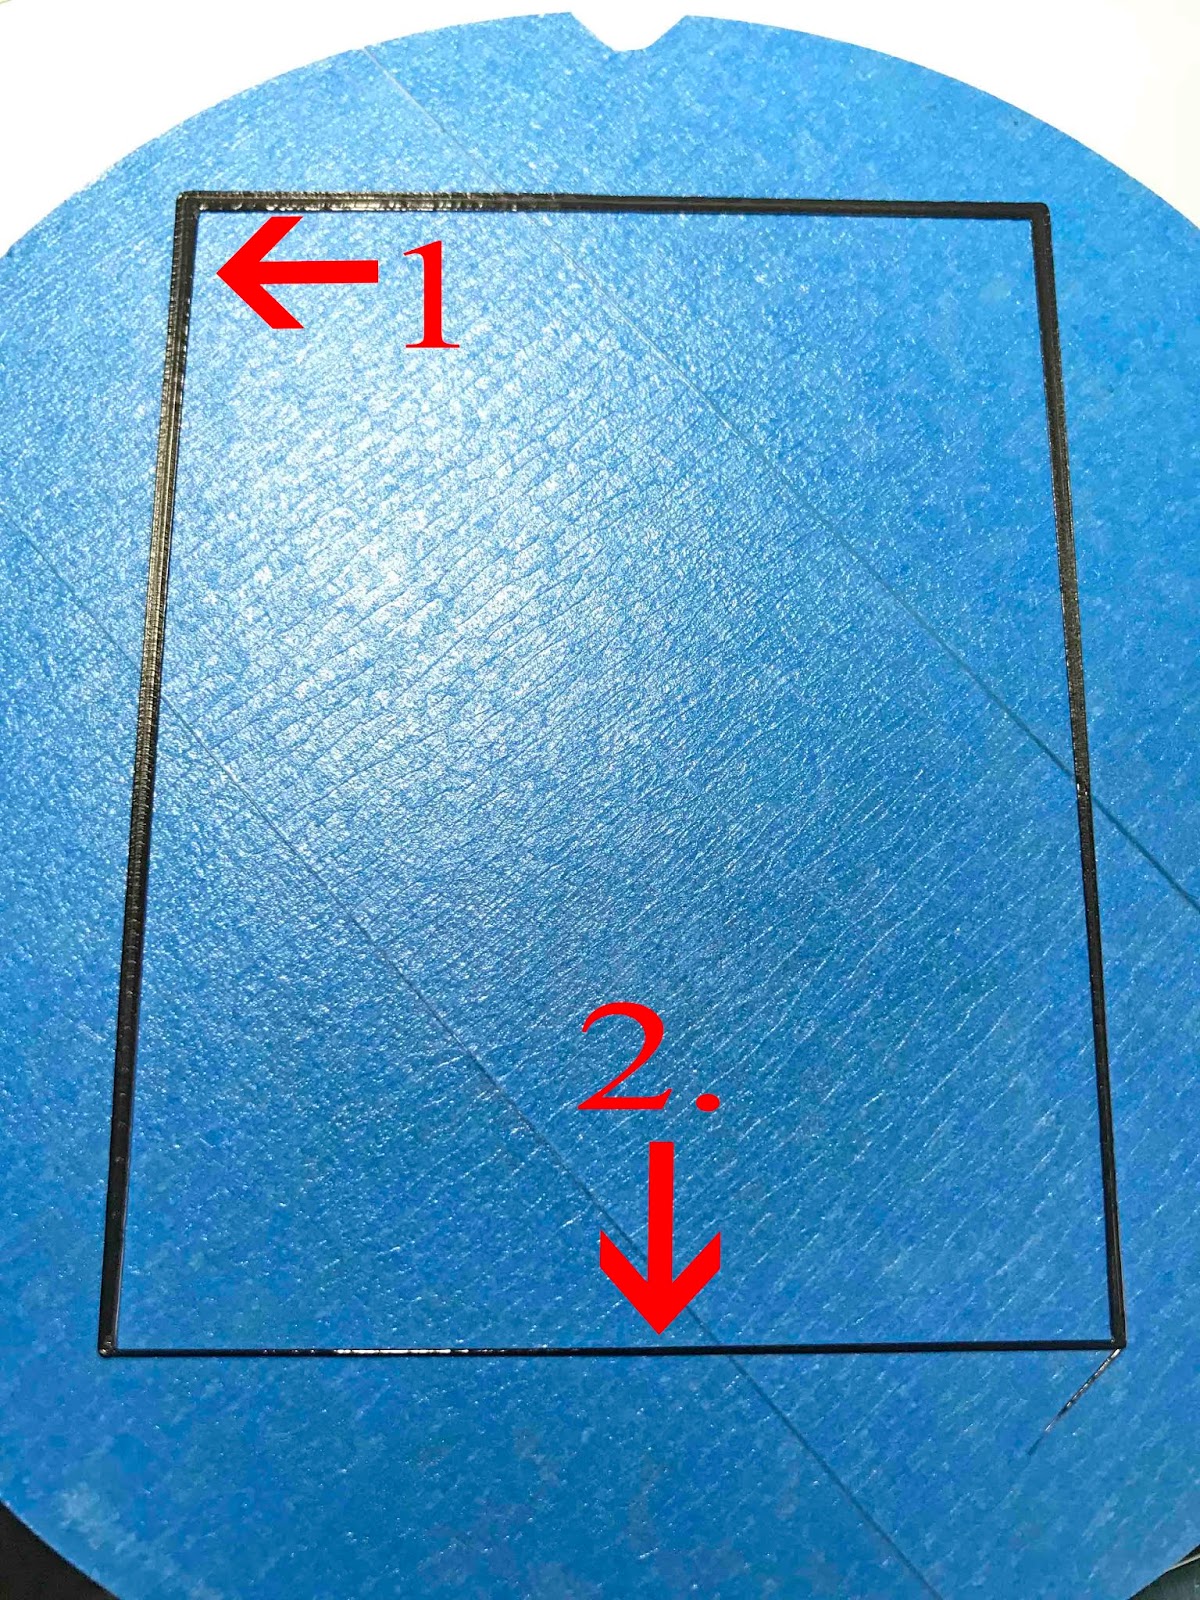
Below is a photo of a basic brim print before i calibrated my machine. As you can see the front part looks nice and thin print (2) where the back of the print looks flat and squashed(1). This is showing that the calibration may be too low at the back as it is squashing your filament(1). This can be correcting with the above calibration process to raise the nozzle slightly to stop the filament getting squashed down.
17- After calibrating the printer the brim print is now even and fine as can be seen below.