By Design Bundles
How to Use the Magnetic Floating Panels in Silhouette Studio V4
With this super quick tutorial, discover how to use the magnetic floating panels in Silhouette Studio V4. You can adjust the position of the panels, have multiple panels open at once and even snap them together. This is a useful way of customizing your work area and making things so much easier.
Step 1 - Move the Floating Panels
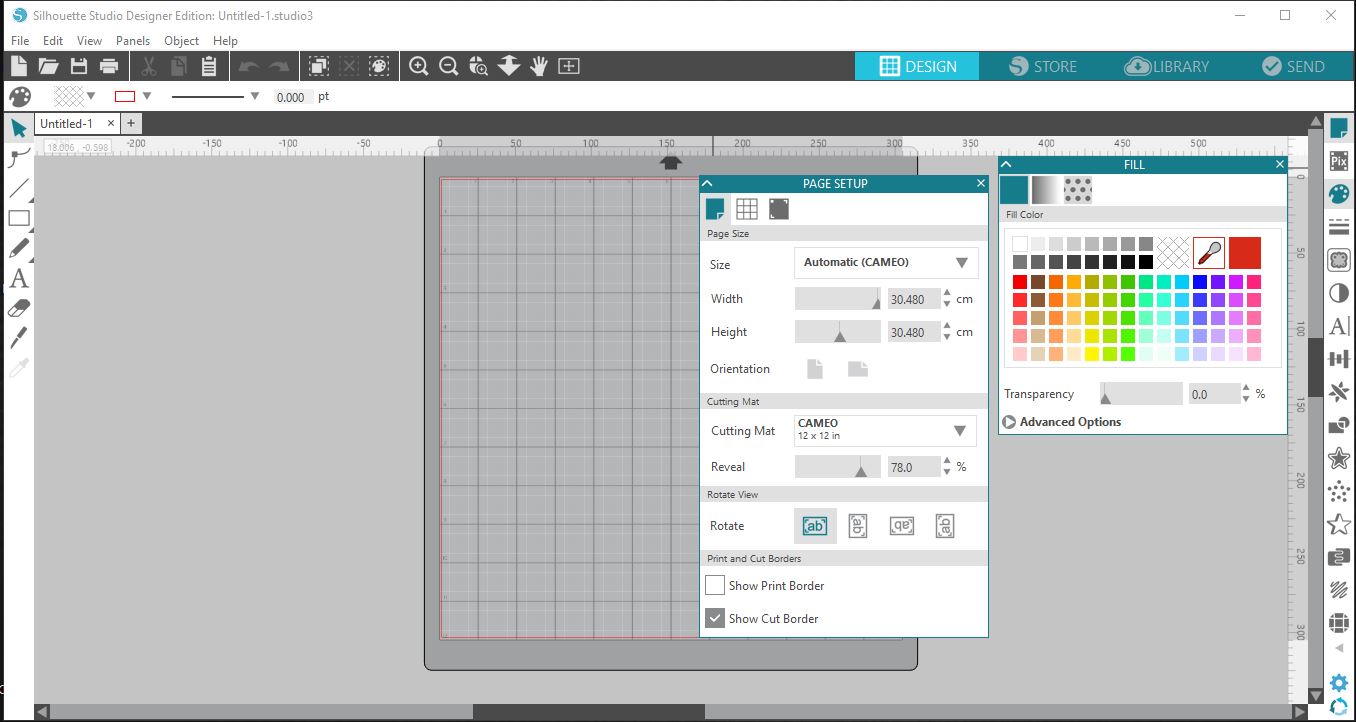
Let’s get started by opening Silhouette Studio. The Page Setup panel may open automatically but if not, the image below is what you should see.
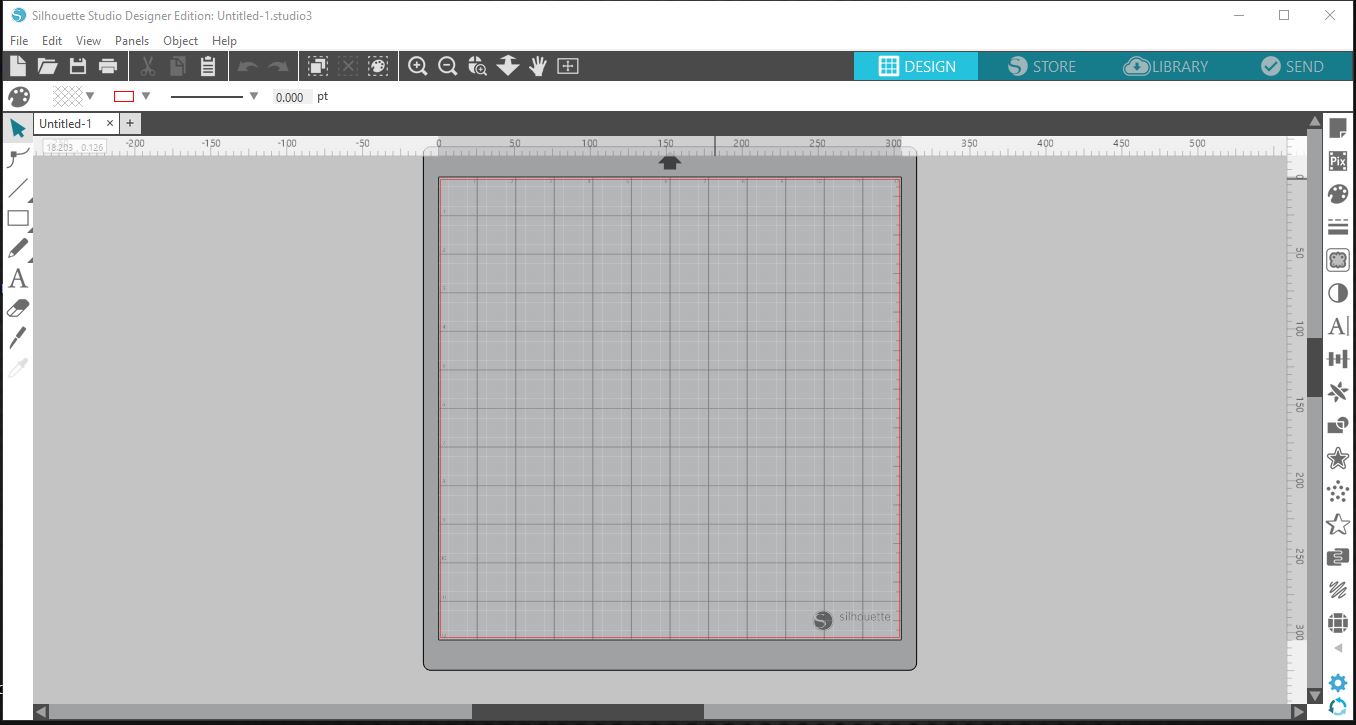
On the right side toolbar you will find all of your tool icons. When clicking on any of these icons you will be presented with a separate window or panel. This is unlike V3 where you had a drop down box.
Click on the top most icon for the Page Setup Panel. The window will open on the right side of the screen.
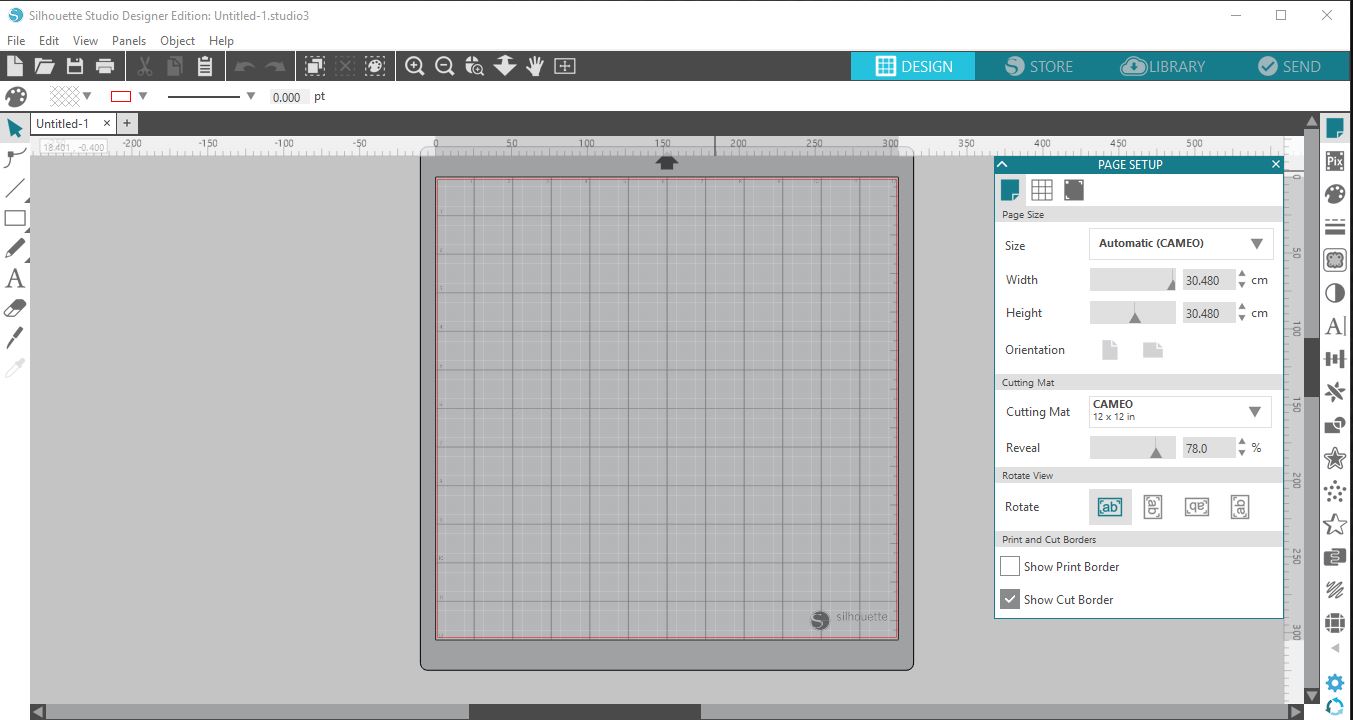
Placing your cursor over the panel name will turn it into a hand. You can then click + drag this panel anywhere on the screen.
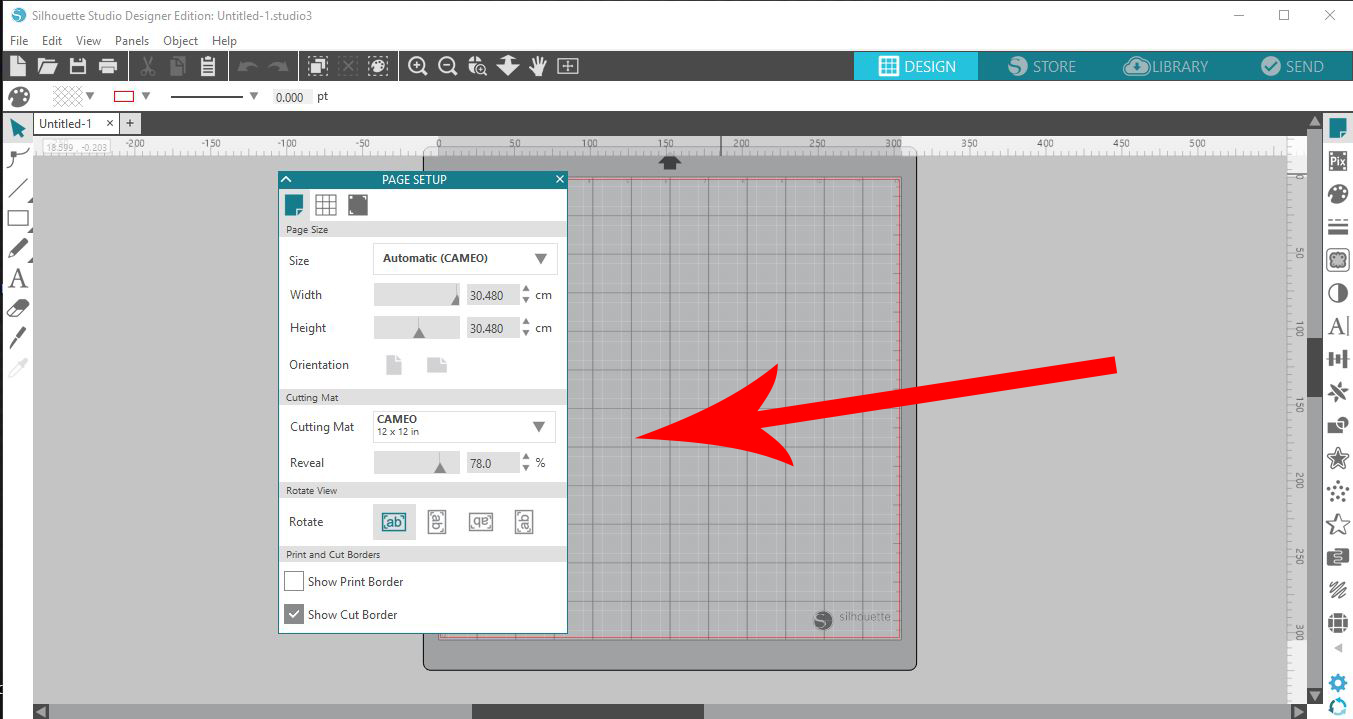
Your preferences may be set to Single Panel Mode. If so, when clicking on another icon, that selected panel may replace the current one. Now, if you want to make use of multiple panels at once, you will need to change that setting.
To do this, select the cogwheel for the Preferences bottom right of the screen. You can also go to Edit > Preferences.
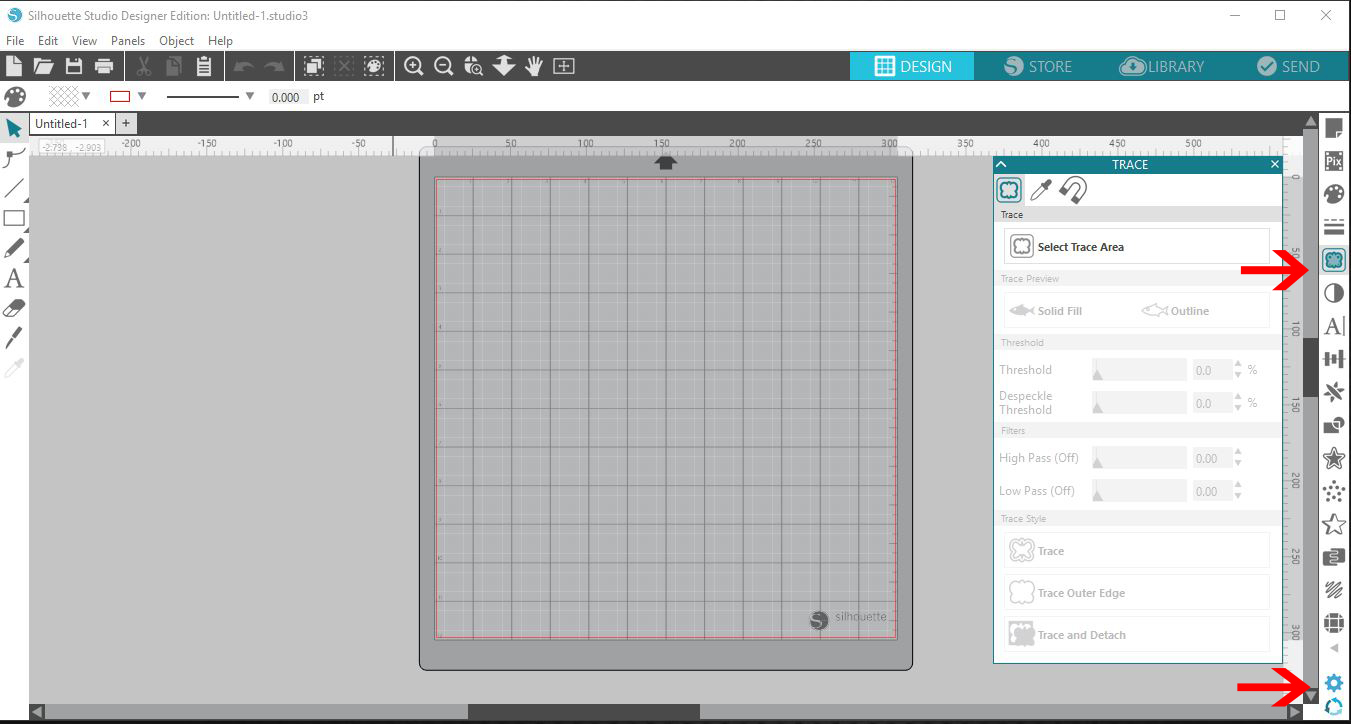
We will show you two modes that you can use.
Step 2 - Select Flexible Panel Mode
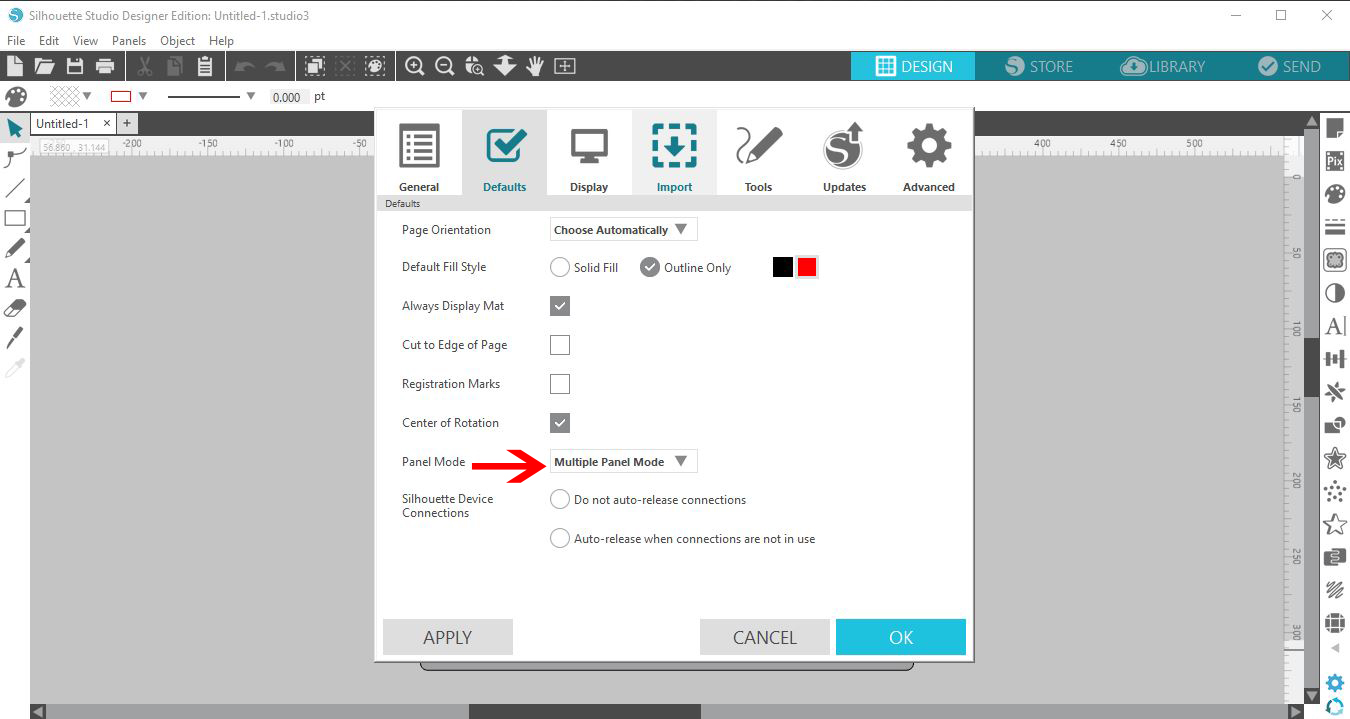
In the Preferences window, select the Defaults option.
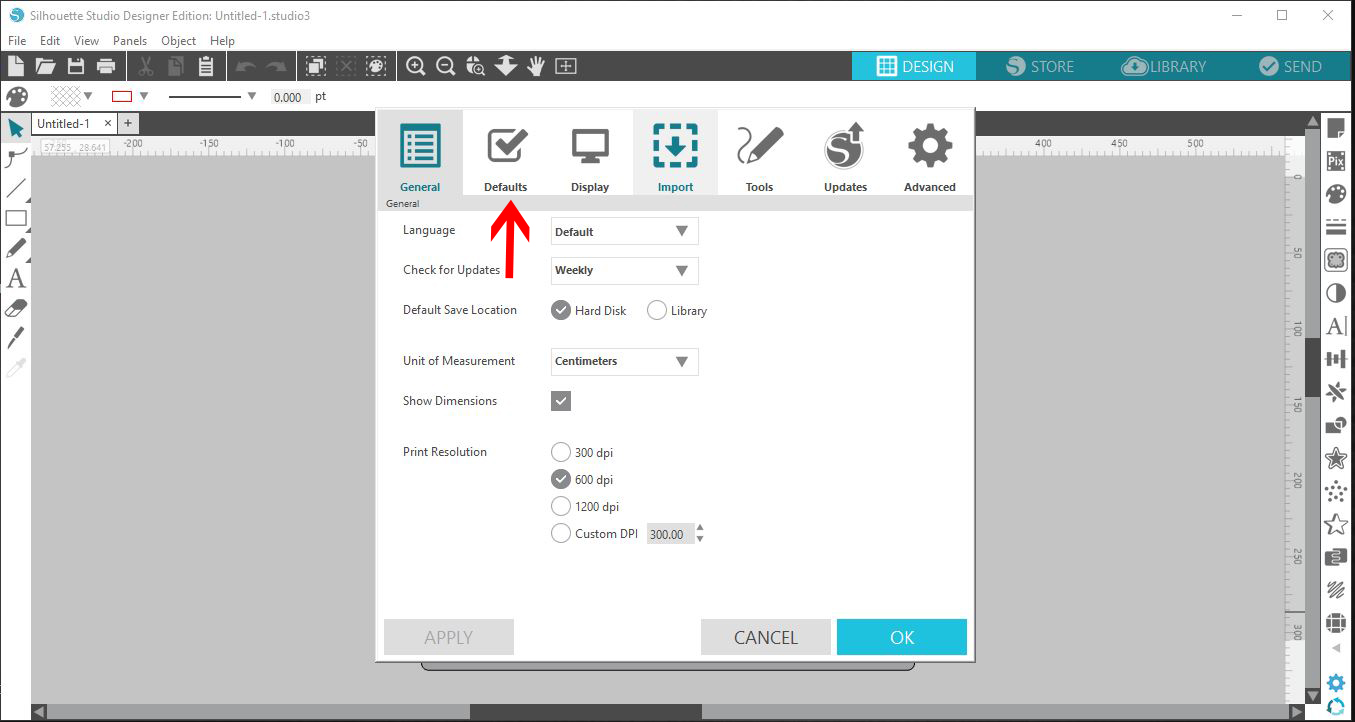
Towards the bottom of the window you will see Panel Mode. In the image below, the Single Panel Mode is selected.
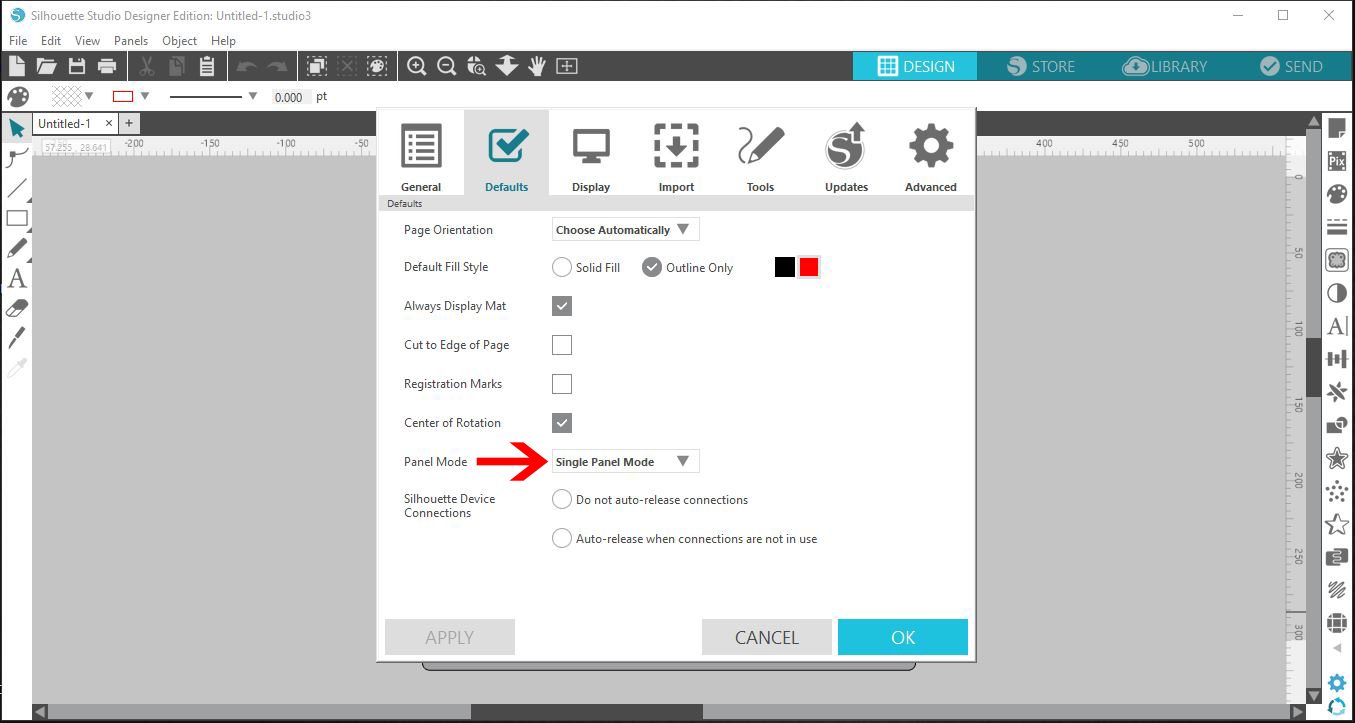
Click on the drop down menu and select Flexible Panel Mode. This mode will act in a similar way to Single Panel Mode. Each time a new icon is clicked, that panel will replace the previous one.
The only difference is that if a panel is moved out of its default position, it will remain open.
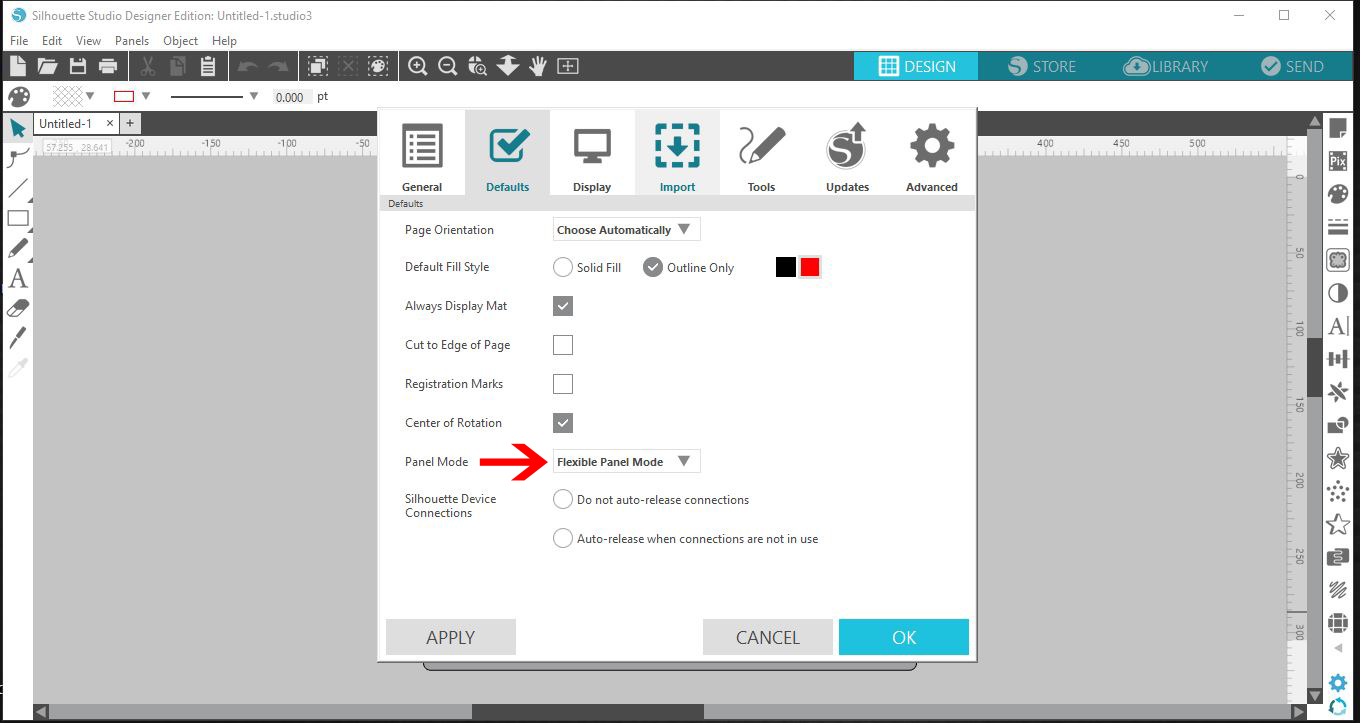
Open the Page Setup panel. Now, move this to another place on the screen. Next, click on the Fill panel. This will open in the default position as shown in the image below. Since the Page Setup panel was moved, it has not been replaced.
To keep the second panel (Fill panel) open, you need to move it to another position. If you don’t move it, clicking on another icon will replace the Fill panel.
Step 3 - Select Multiple Panel Mode
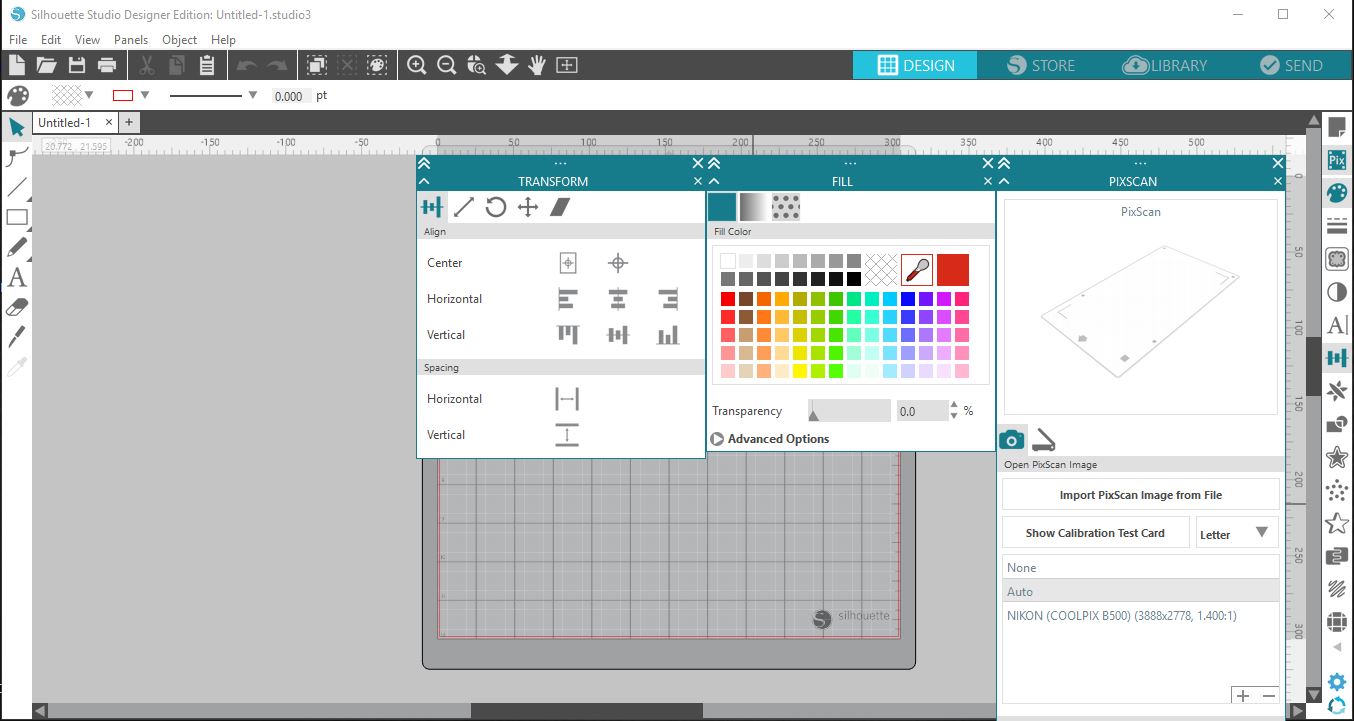
The third option, Multiple Panel Mode, keeps the panels open whether or not they are moved. As you click on a new panel, this is then snapped to the other panels that are open.
Go back to the Preferences window. Select the Multiple Panel Mode option, click on Apply then click OK.
As you click on a new panel, it then snaps to the other panels that are open. You can move them above each other to attach together. This also applies to the Flexible Panel Mode.
When panels snap together, you can individually collapse each window. Do this by clicking on the single arrow top left. To collapse all of the panels at once, click the double arrow top left.
To close individual panels, click on the “X” for that panel top right. Closing all panels at once can be done by clicking on the larger “X” top right.
Easily move grouped panels around or separate them by clicking + dragging a panel to a new position.
Being able to use the magnetic floating panels in Silhouette Studio V4 makes for greater flexibility. You can adjust the layout of your workspace to fit your needs exactly. Experiment with the options to see what works best for you.