By Design Bundles
Using the Lasso tool in Silhouette Studio
The Lasso Tool in Silhouette Studio makes selecting multiple items in a design hassle free. This is especially useful for designs where ungrouped elements are very close together. The Lasso tool is available in the Silhouette Studio (4.2) Designer Edition or higher. In our tutorial today we will go over the steps for using the Lasso Tool in Silhouette Studio.
We are using a funny camping SVG as our example, but you are welcome to browse through our camping svg section for another design.
Step 1 - Ungroup the design
Your chosen design needs to be ungrouped before using the Lasso Tool. Open your design by going to File > Open. Then, click to select the design, right click > Ungroup.

Your design will now be broken up into individual objects.

Step 2 - Use the Lasso Tool
The Lasso Tool is located on the left side toolbar. You could select each item the traditional way but that takes time. You also often end up selecting other objects you don’t want. With the Lasso Tool, you can make a specific selection. Select the Lasso Tool then click + drag your mouse around the object you want selected.
As you make the selection you will see a dashed line appear. Anything this dashed line touches will also be selected.

The first Gnome, the target selection, as well as the flame and a smoke tendril were all selected.
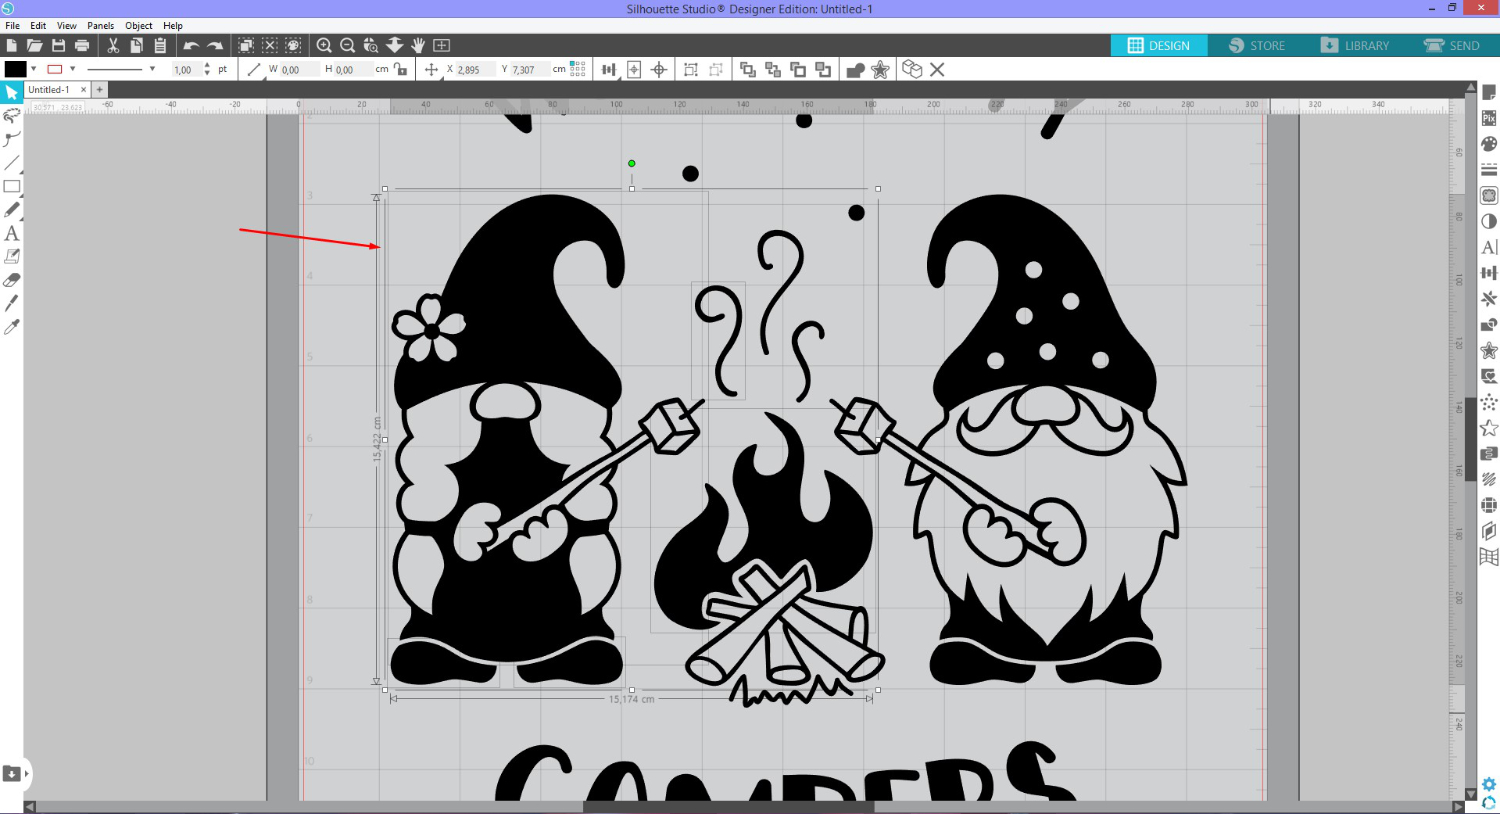
If you only wanted the first Gnome to be selected, you will need to change a setting. We will do this in the next step.
Step 3 - Change Lasso Setting to Enclosed
The Lasso Tool is set to select everything that it touches. To change this option so only objects within the dashed line are selected, we need to go to Preferences. Go to Edit > Preferences then select the Tools menu.
Here you will have a selection of tools available in Silhouette Studio. Under the Selection Tools category, click on the drop down menu next to Selection Lasso Style. Then click on Enclosed.

When making your selection with the Lasso tool, only the objects within the dashed line will be selected. Even if the dashed line touches another object, unless it’s fully enclosed in the selection, it won’t be selected.
For this example, we chose to select the second Gnome.

After making the selection, only the objects within the dashed line were selected. In this case, the second Gnome.

The Selection Lasso Style option can be changed back at any time. Just go back to Preferences > Tools and change Selection Lasso Style back to Touches.
You can use a shortcut key to toggle between Touches and Enclosed. How this works will depend on the option selected under the Preferences panel.
Say, for example, we have selected Touches as our option under the Preferences panel.
When we hold Shift and click + drag a selection, it will toggle over to Enclosed. While holding Shift, you will be able to make a selection where only the items within the dashed line are selected.
If you found this tutorial helpful, be sure to have a look at using the eraser tool, adding an outline around text and using the print bleed function in Silhouette Studio.