By Nadine Spires
How to Blur Background of Photo in DesignScape
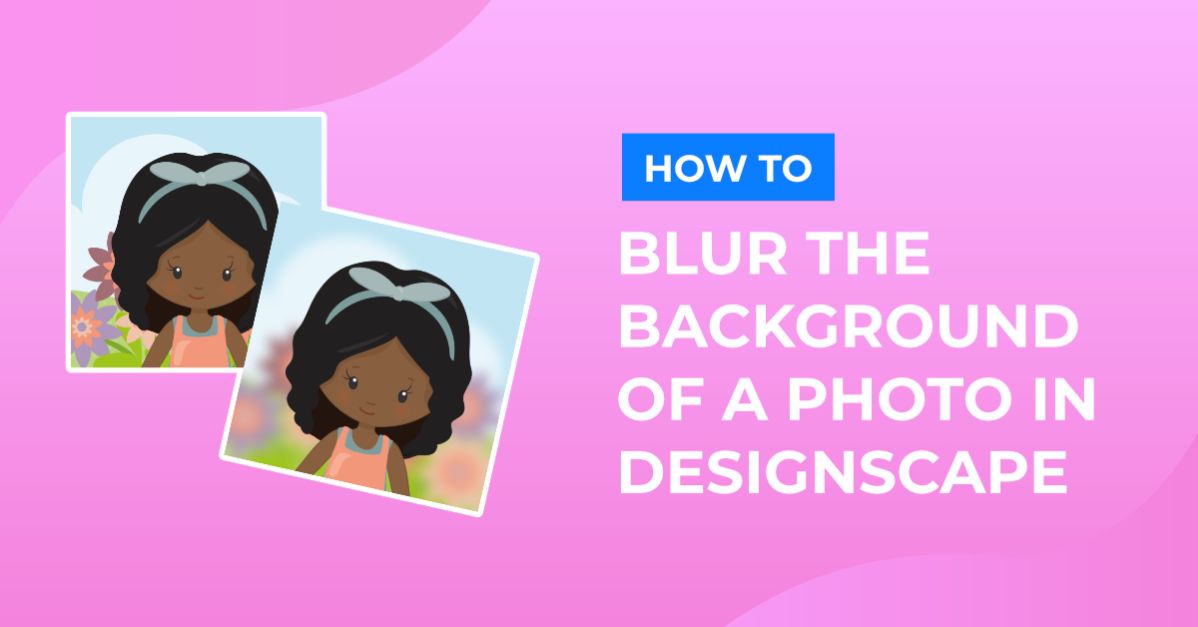
Would you like to know how to blur the background of photos in DesignScape? Then follow our tutorial as we show you how to quickly make a selection and blur a distracting background. DesignScape is an awesome browser based editing program available to Gold Plus Members. If you are not a member yet, we’ve got a free 30 Day Trial of the Gold Plus Membership. Why not sign up today?

We are going to use a girl standing in snow photo but we have a wonderful range of photos of people to choose from.
Step 1 - Create a Selection of Background
First, we are going to open our file in DesignScape, then create a selection of the background. For our photo, we want to isolate the girl and blur out the rest.
Before creating the selection, right click on the layer under the Layers Panel and select Duplicate Layer.

Use Quick Selection
On the left side toolbar place your cursor over the Selection menu. Then click + hold to open the options and select Quick Selection. At the top you can change the brush size or use the shortcut key brackets [ and ].
A larger brush selects a bigger area, so you may need to experiment here to see what works best. We set our brush to 27 px by inputting the value in the box at the top.
DesignScape will analyze the image first. Make sure that the top layer is selected, then click on the girl in the photo to create a selection. Here, a fairly good selection has been made with a single click.

Clean Up the Selection
There are a few areas on the girl’s hand that were missed. To fix this, go to the top toolbar and click the plus icon in a circle. Now click + drag to add to the selection, in this case, the girl’s hand. To remove from the selection, click on the minus icon.

You can further clean up the selection by clicking on Refine at the top toolbar. A new window will appear. Here you can also learn more about refining the selection by clicking on the Tutorial button top right.
We chose to save this selection as a Raster Mask applied to the layer, then clicked on OK.

You will be taken back to the main screen. You will not see any changes, but we need to hide the bottom layer by clicking on the eye icon.

Edit the Mask Further if Needed
In some cases, the Refine option doesn’t give the result you want. You can carry on to edit the mask by simply holding Alt + clicking on the mask thumbnail. You will now get a black and white image.
Using the Brush Tool on the left side toolbar, click on the white or black color box lower to the bottom. White will reveal while black will conceal and you can toggle between both with the “X” shortcut.
You can now paint where needed. Click back on the mask thumbnail to exit the mask view.

Step 2 - Add a Blur Adjustment Layer
We are now going to add a blur adjustment layer to the background. Make sure the bottom layer is visible again by clicking on the eye icon. Then right click > Duplicate Layer. The new duplicate should sit above the bottom layer. Double click on the layer name and rename Blur.
Copy and Expand Selection
We want to copy the selection we created for the mask and create a clearance around the girl. Go to the mask thumbnail and Ctrl + click on it to make the selection active. Click back on the Blur layer, then go to Select > Modify > Expand.

In the Expand Window input a value of about 15px then click OK.
Use Content Aware Fill
We are going to use the Content Aware fill option to remove the girl in the selection. This will help reduce any halo issues we may have and give a better blur around the girl.
Go to Edit > Fill and in the Fill window select Content Aware. We left the settings as is but ticked the box for Preserve Transparency then clicked OK.

Add a Gaussian Blur Adjustment
You won’t be able to see anything visibly change. But, if you look at the Layers Panel, you will see the girl has been removed from the layer.
With the Blur layer still selected, go to Filter > Blur > Gaussian Blur.

In the Gaussian Blur window, select the desired Radius. We chose 60px to bring focus to the girl and blur the background nicely.

You don’t need to make the blur this extreme. You can adjust to what works best for your image.
Now that our image is ready, we can save it by going to File > Export as > JPG. Name your file and save to a location. Here is the final result of adding a blur to the background.

There you go, you have successfully added a blur to the background of a photo in DesignScape. We created a nice clean selection and used Content Aware to prevent possibly halo issues. The focus is now completely on the subject while keeping your image looking great.