By Nadine Spires
How to Draw a Kiwi Fruit
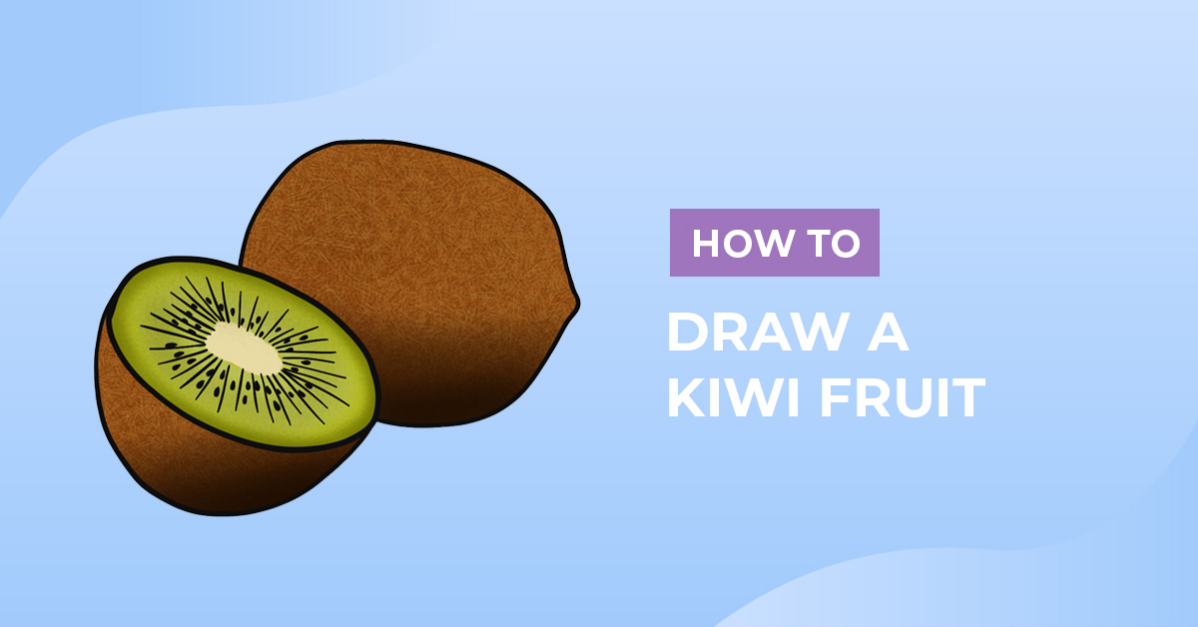
Kiwi be friends? In this tutorial, we will take you through the steps on how to draw a kiwi fruit. Today's subject matter is a sweet and citrusy fruit. Green on the inside with a fuzzy brown peel, this delicious fruit is great for line art or a life drawing.
Our easy to follow drawing guide will show you how to sketch the basic shapes, add details, color and texture.

These simple drawing exercises are a great way to improve your drawing skills. Before we begin, gather your drawing supplies together. You will need a medium to make sketches, outline, and add color to your design.
Our tutorials can be used with any medium including software like Procreate or Photoshop. For this tutorial, we will use the Procreate app. To create our rough sketches and add texture, we will use this versatile Procreate brush set.
If you want to learn how to draw other fruit, check out how to draw a lemon or draw a pineapple for more fruity fun.
Step 1 - Create Rough Sketches of Your Kiwi Fruit
To get started, let us roughly sketch the base shapes that make up our kiwi fruit drawing. We recommend using a medium like a pencil, that you can easily remove for your rough sketches.
Sketch the Main Basic Shapes
For our first basic shape, roughly sketch two ovals. One oval should be on the right and slightly angled to the left.

Draw the second oval shape a little lower on the left, overlapping the right oval. Angle this second shape to the right. See our example sketch below.

Create the Kiwi Fruit Half
Next, we are going to create a halved kiwi fruit. On the left oval shape, sketch a smaller, narrower oval in the center. Angle this in the opposite direction to the larger oval shape.

On the halved kiwi fruit, define the shape by rounding the bottom curve. For the first oval shape on the right, slightly square off the shape on the top side. Then add a bump on the end of the oval. See our example below for a visual guide.

Step 2 - Outline Your Rough Kiwi Fruit Sketch
Using a more permanent medium, begin outlining your rough sketches. Remember to only outline the sketch lines that you want to keep. Once you are done outlining your kiwi fruit, go ahead and remove your rough sketches.

Step 3 - Create the Kiwi Fruit Center Detail
In this step, we are going to create the center detail on our halved kiwi fruit.
Grab your sketch medium from Step 1 and sketch a rough, uneven circle in the center. Then, draw lines leading out from the center of the circle. Draw these lines all the way around the circle. Add dots between each line for the seeds.

Switch back to your permanent medium, then outline the lines and seeds. You can leave the outline for the center circle or draw it in, this depends entirely on you.

Step 4 - Add Texture And Color To The Kiwi Fruit
For our final step, we are going to add color and texture to our design. For the fruit color palette, we chose a light yellow, green, dark green, brown and dark brown.
Add the Base Color
Start by adding your base colors to the drawing. For the halved kiwi fruit, add light yellow to the center, and green for the inside of the fruit. Then, add the brown color to the kiwi fruit peel.

Create the Texture
Let's add a fuzzy texture to our kiwi fruit peel. First, add a darker green to the inner rim of the halved kiwi fruit for contrast.
Create the fuzzy texture with the hatching method using light and dark shades of brown. Alternatively, you can use the cross hair stamp from the Procreate brush set to quickly create texture.

To complete our drawing, we added some shading and shadows. This was placed on the lower parts as well as beneath the fruit, using a very dark brown color.

There you go, you have just completed your Kiwi fruit drawing! Experiment with your drawing skills and create slices at different angles. You can even use your fruit drawings to make cute cards and stickers for your friends and family. We hope you enjoyed following along with this fruity tutorial and drawing a kiwi fruit with us.