By Christine Hattingh
How to Draw an Hourglass
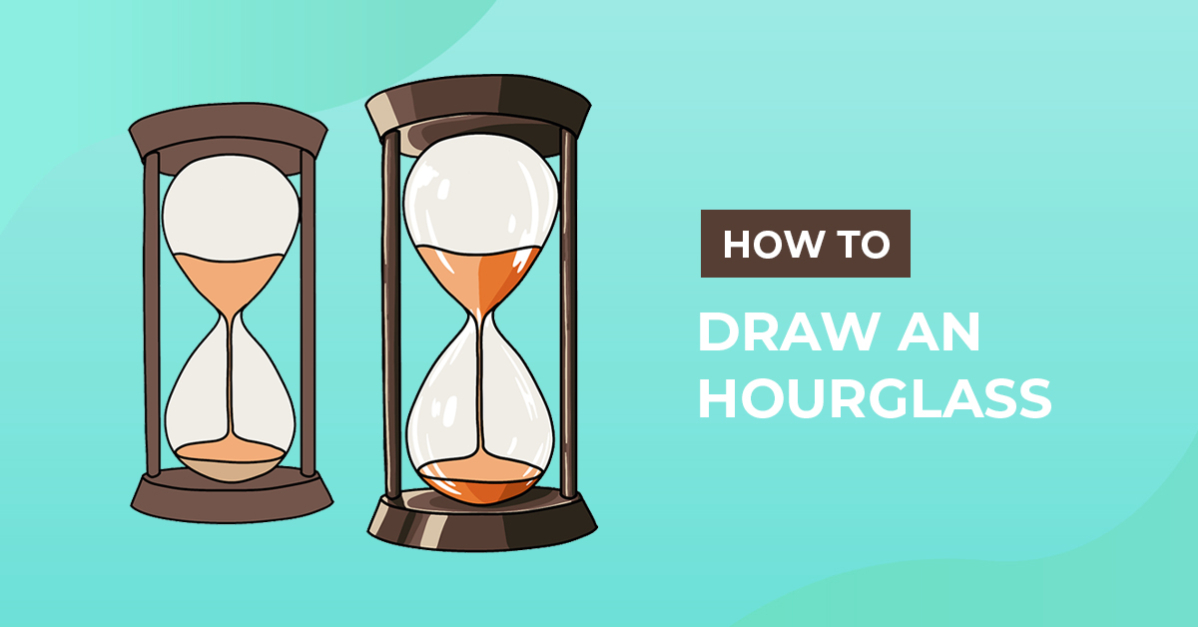
In today’s timeless tutorial, you can learn how to draw an hourglass. First appearing in Europe in the eighth century, an hourglass is an early device for measuring intervals of time. For this drawing exercise, we take you through the steps to sketch, outline and apply color to your illustration. Use your hourglass drawing for all types of crafts and projects, such as stickers, cards, t-shirt prints, or time management clipart.

Before you start this tutorial, gather all the supplies you want to use for your drawing. You can use any type of medium from pencils and pastels to digital apps like Photoshop. For our drawing lesson, we are using Procreate along with these Ink Procreate brushes.
Step 1 - Create Rough Sketches of your Hourglass
With a pencil or light color of your drawing medium, we are going to sketch basic shapes to create our hourglass sketch. You can copy our example sketches as we go along or add your own creative touch.
Create the Glass Shape
In the center of your drawing space, create the glass center shape of your hourglass that the sand is in. Roughly sketch a long vertical oval that narrows on both sides in the middle. Alternatively, sketch an infinity symbol and widen the center to achieve the same shape.

Create the Stand
Next, create a stand for the hourglass clipart. Begin drawing a horizontal oval at the top and bottom of your glass center. Make sure the ovals are wider than the glass center. See our example sketch below.

Create dimension and add shape to the stand by drawing a short line on either end with a curved line to close it off, as we did below.

Create the support posts, by drawing two rectangles on both sides.

Add the Sand
Inside your glass center shape, add the sand. You can use our image below as a guide. Draw a horizontal wavy line in the top half. Then, from the center sketch a narrow line going down for the flowing sand. Lastly, sketch an oval at the bottom for your sand pile.

Step 2 - Outline your Hourglass Rough Sketch
Let's define and make our outlines permanent using a lining medium to trace over our rough sketches. Some areas of your sketch will overlap, so be sure to pay close attention to which lines you want to trace.
For your lining, you can use any dark or permanent supply, such as a pen, marker, or black color medium.

Start defining the center shape and sand. Once you have lined the center, trace the rest of your hourglass outline. When you are done, remove your rough sketches.

Step 3 - Add Color to your Hourglass
With your outlines done, swap over to your color mediums. For our hourglass color palette, we are using many shades to create dimension and add detail. You can use any style of coloring with your color palette combination.
Add the Base Color
Start by adding your base colors. We used an off-white color for our glass, orange for the sand, and brown for the stand.

Add Shadows
Using darker shades of your base color, add shadows. We added shadows mostly on the right side of our drawing, starting with the lightest shade color and ending with our darkest brown.

Add Highlights
Using white or a light color add some highlights to your hourglass. On our glass center, we followed the curve of the hourglass shape when adding highlights.

And just like that, you have created an easy hourglass drawing. Your time drawing will be perfect for projects like stickers for your day planner, vintage clipart, or creating time management games.
Had fun drawing with us today? Learn to draw other objects by visiting our drawing tutorials collection. We can't wait to have you join our next drawing adventure.