By Christine Hattingh
How to Draw an Owl
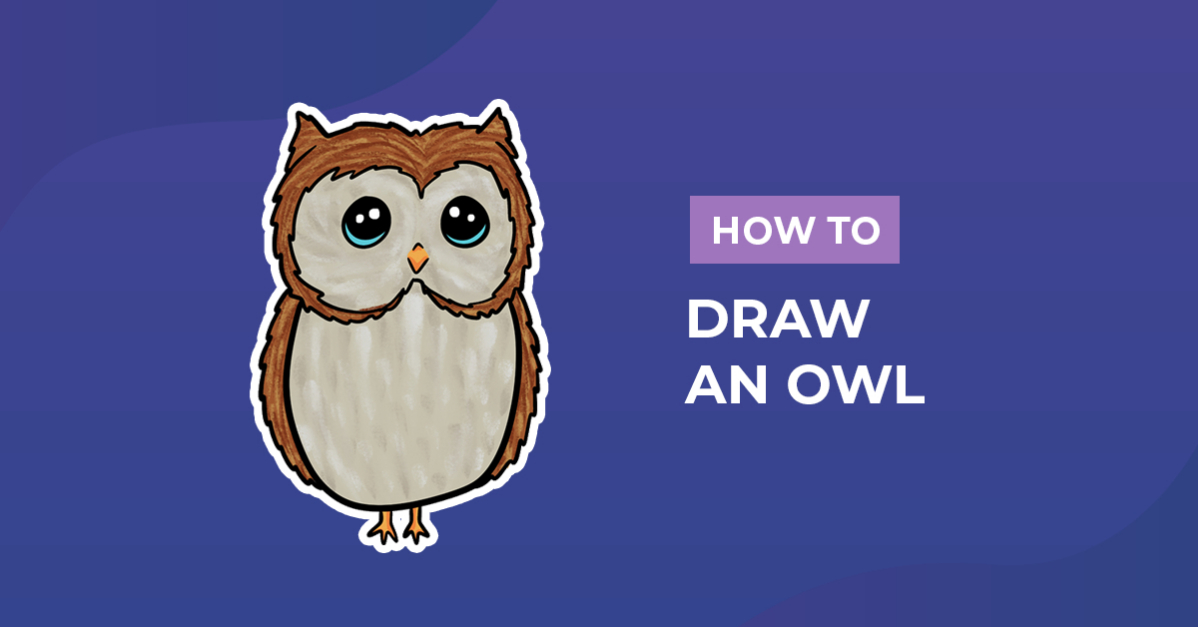
In today’s drawing exercise we are going to take you step-by-step through how to draw an owl. You will begin with basic sketches, then move on to adding color and texture. Use your owl clipart to create all types of animal projects, like nursery décor, educational stickers, and sublimated t-shirts. Come along and let us show you how to create your very own owl illustrations.

For your bird drawing, get your sketching and color mediums ready. Use any medium you have on hand, such as traditional mediums and digital drawing programs. We are using Procreate and this versatile procreate brush kit to sketch, color, and add texture to our illustration.
You can also browse through our brilliant selection of owl clipart for all your project ideas.
Looking for other animal drawing exercises to add to your owl art? Check out our drawing guide on how to draw a cow or learn how to draw a red panda. We know you will love following along with these drawing lessons too.
Step 1 - Create the Head of your Owl
Begin your owl sketches by creating the head shape. In this first step, you will shape the head, add ears, eyes, and a beak. Use a removable or light-colored sketching medium that you can cover up when lining or adding color.
Create the Head Shape
Create the head shape by sketching two ovals next to each other. Our ovals partly overlap at the top.

Add the Face and Ears
At the top of the head, on either side, add a triangle for the ears. Draw the face shape of your owl smaller than the head and place it towards the bottom of the head shape.

Add the Face Details
You can now sketch the eyes and beak. Place two large circles with a gap between them in the center of the two head ovals for the eyes. Below the eyes, in the center, draw a lowercase "V" to make the beak.

Continue adding detail to the eyes. Draw a curved line on the bottom of each eye with two small circles at the top. Lastly, add a small upside-down "V" shape above the beak.

Step 2 - Create the Body of Your Owl
With the head sketched, begin adding the body, wings, and feet. Continue using the same sketching medium from before. Alternatively, skip this step and move on to step three to create outlines of an owl face without a body.
Create the Body
Below the head, sketch an oval to create the body. Our body is slightly narrower than the head and almost double the height of the head.

Add the Wings
On either side of the body add the wings. We kept it minimal by drawing a curved line on either side to create our wings.

Add the Feet
Below the body, two lines for the first leg. Leave a small gap and draw the second leg. At the end of each leg create the toes by drawing three rounded shapes.

Step 3 - Outline Your Rough Owl Sketch
For the third step, we are going to use Procreate ink brushes to create the outlines. You can use any outline tool like a black marker to trace over your rough sketches.
Looking at our outline below, you will notice that we added jagged edges for the feathers and a solid line for the body. This will create textured detailing of feathers on your bird illustration.

After outlining the main shape, trace the remaining details of your illustration. Fill the pupil of the eye, leaving the small circular highlights white as seen in red below.

Step 4 - Add Color to your Owl
It’s time to add some color and shading detail to your owl. Bird illustrations can be colored with whatever you have on hand. For our color palette, we are using brown and light brown on the head and body. Add yellow and orange to the bird's beak, and feet to create depth.

Complete your illustration by adding lighter and darker stripes all over the head and body. We create a soft feathered detail using our textured brush and the Procreate smudge tool.

You did a fantastic job following along with our owl drawing guide. With many cute and funny ideas, your bird clipart can be used to create anything your imagination comes up with. Love owls and want to add more choices to your digital library? Be sure to have a look at the amazing owl SVG designs on Design Bundles to spark your creativity.