By Design Bundles
Creating patterns using shapes in Illustrator
1 - Open Adobe Illustrator.
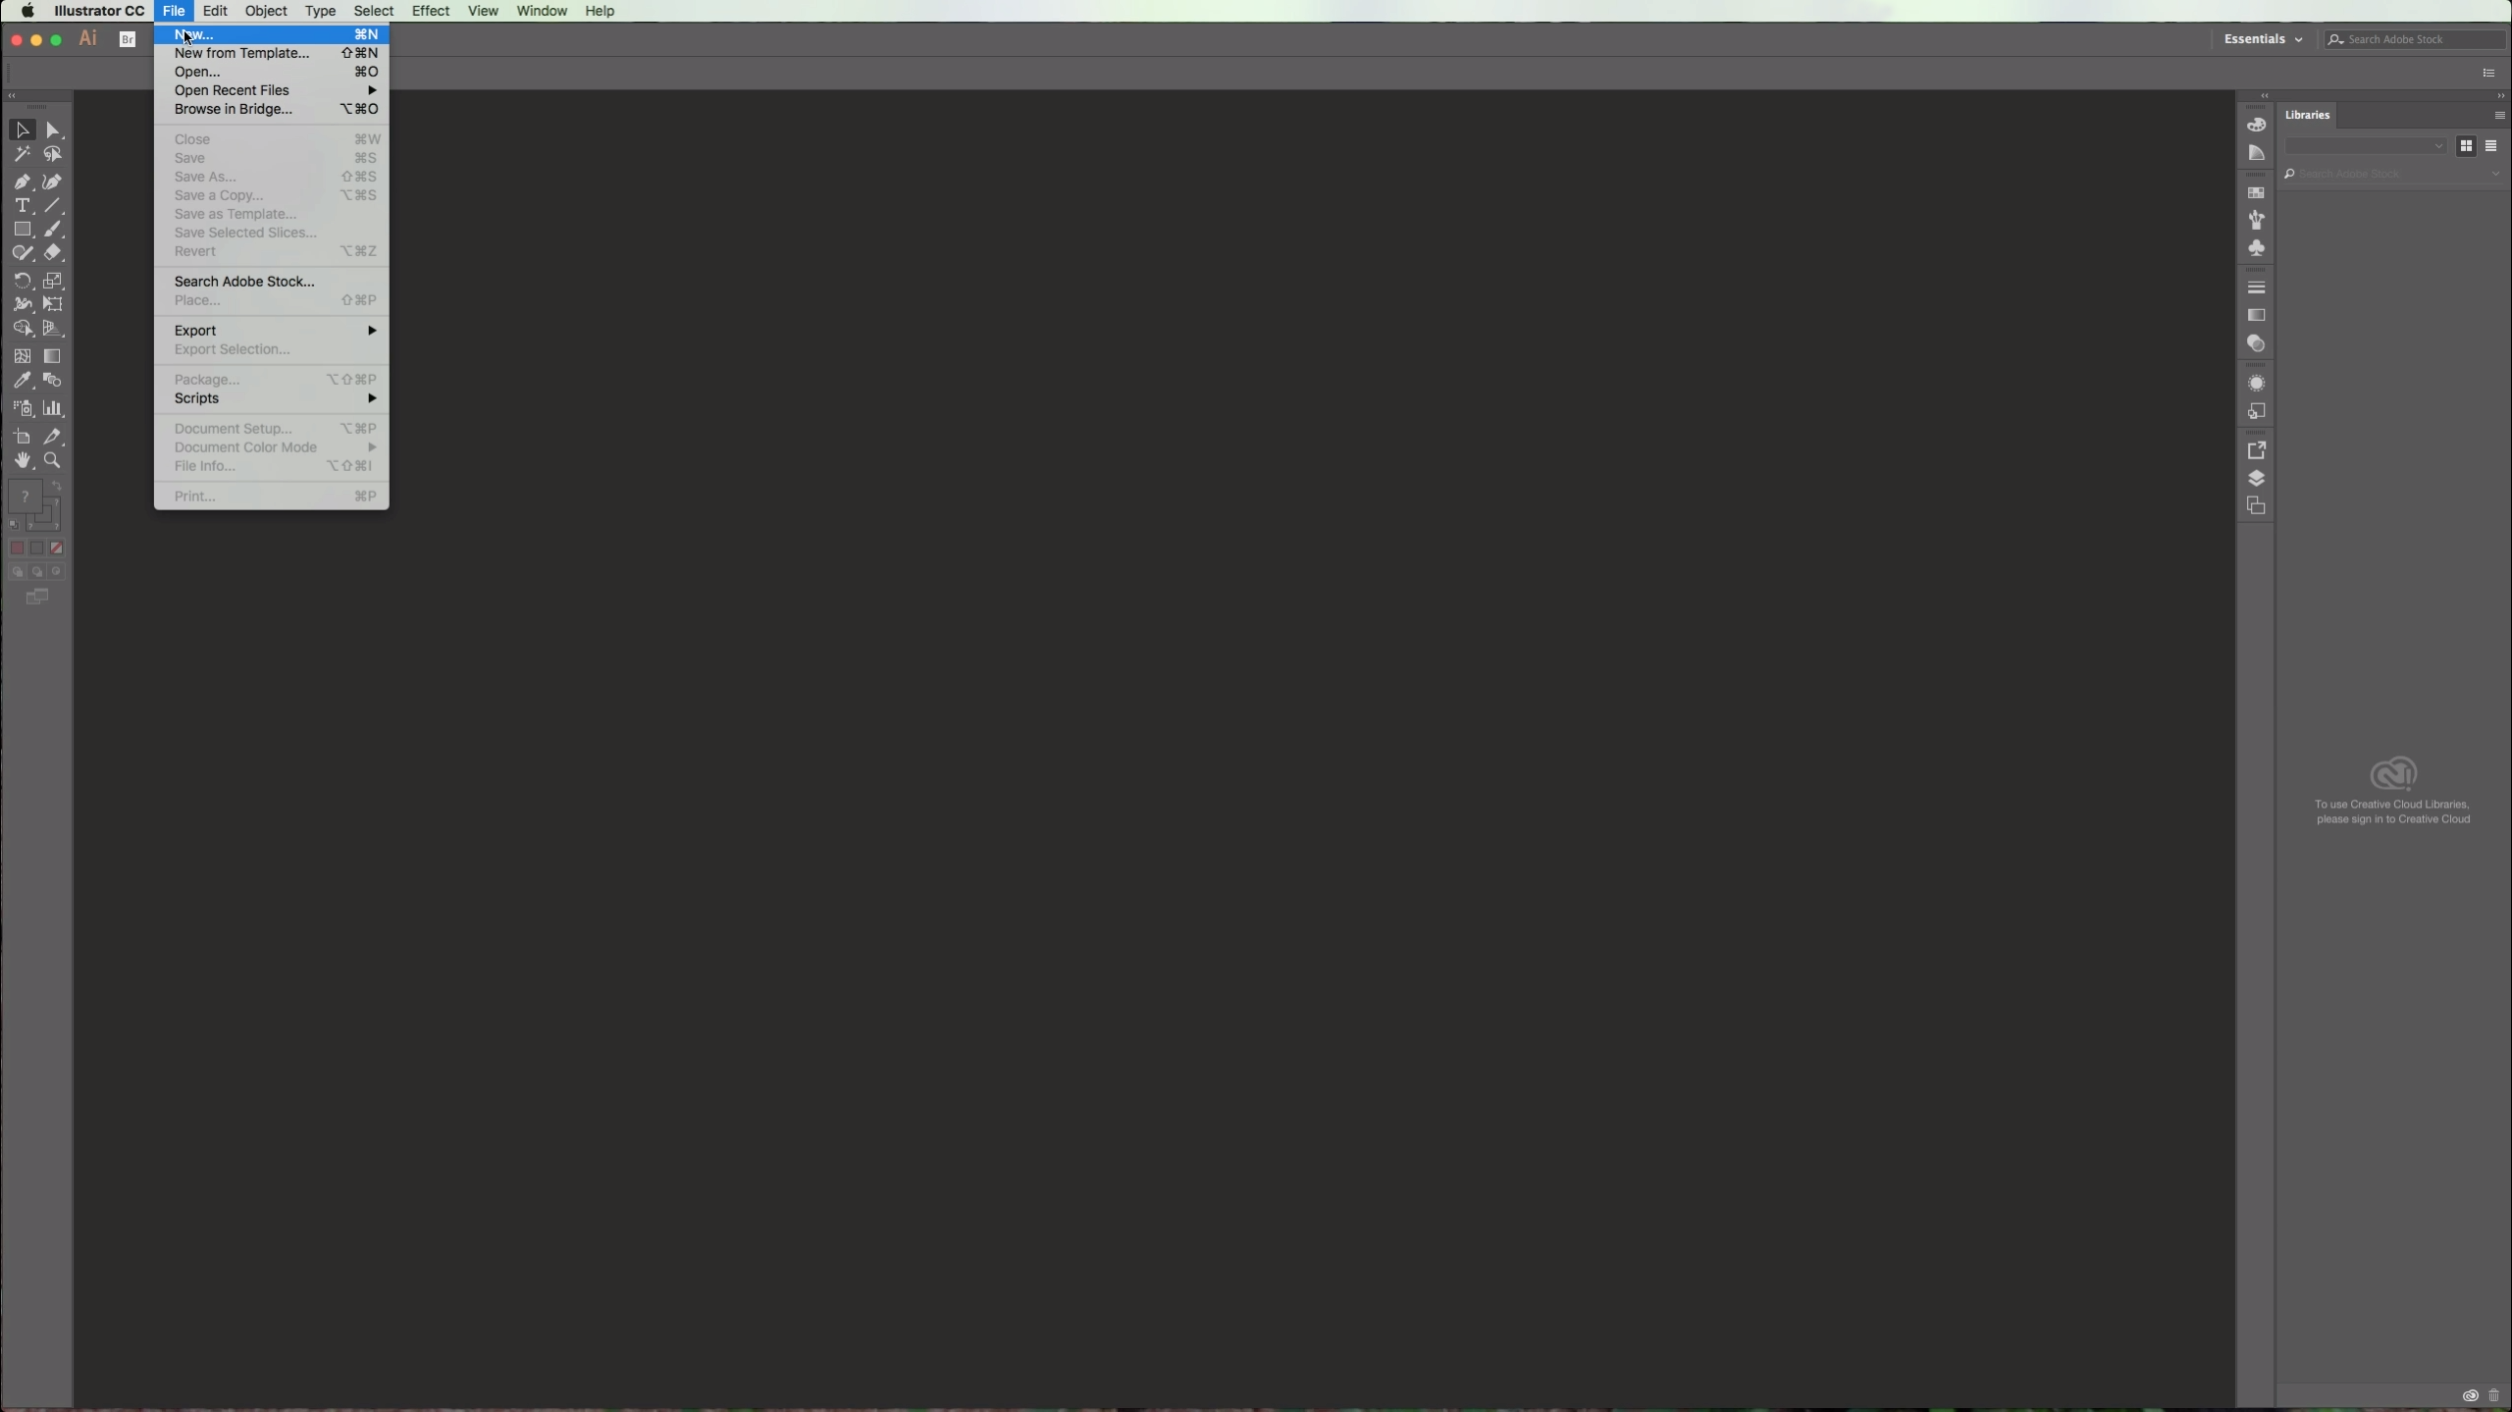
2 - Create a New Document or open an existing one.
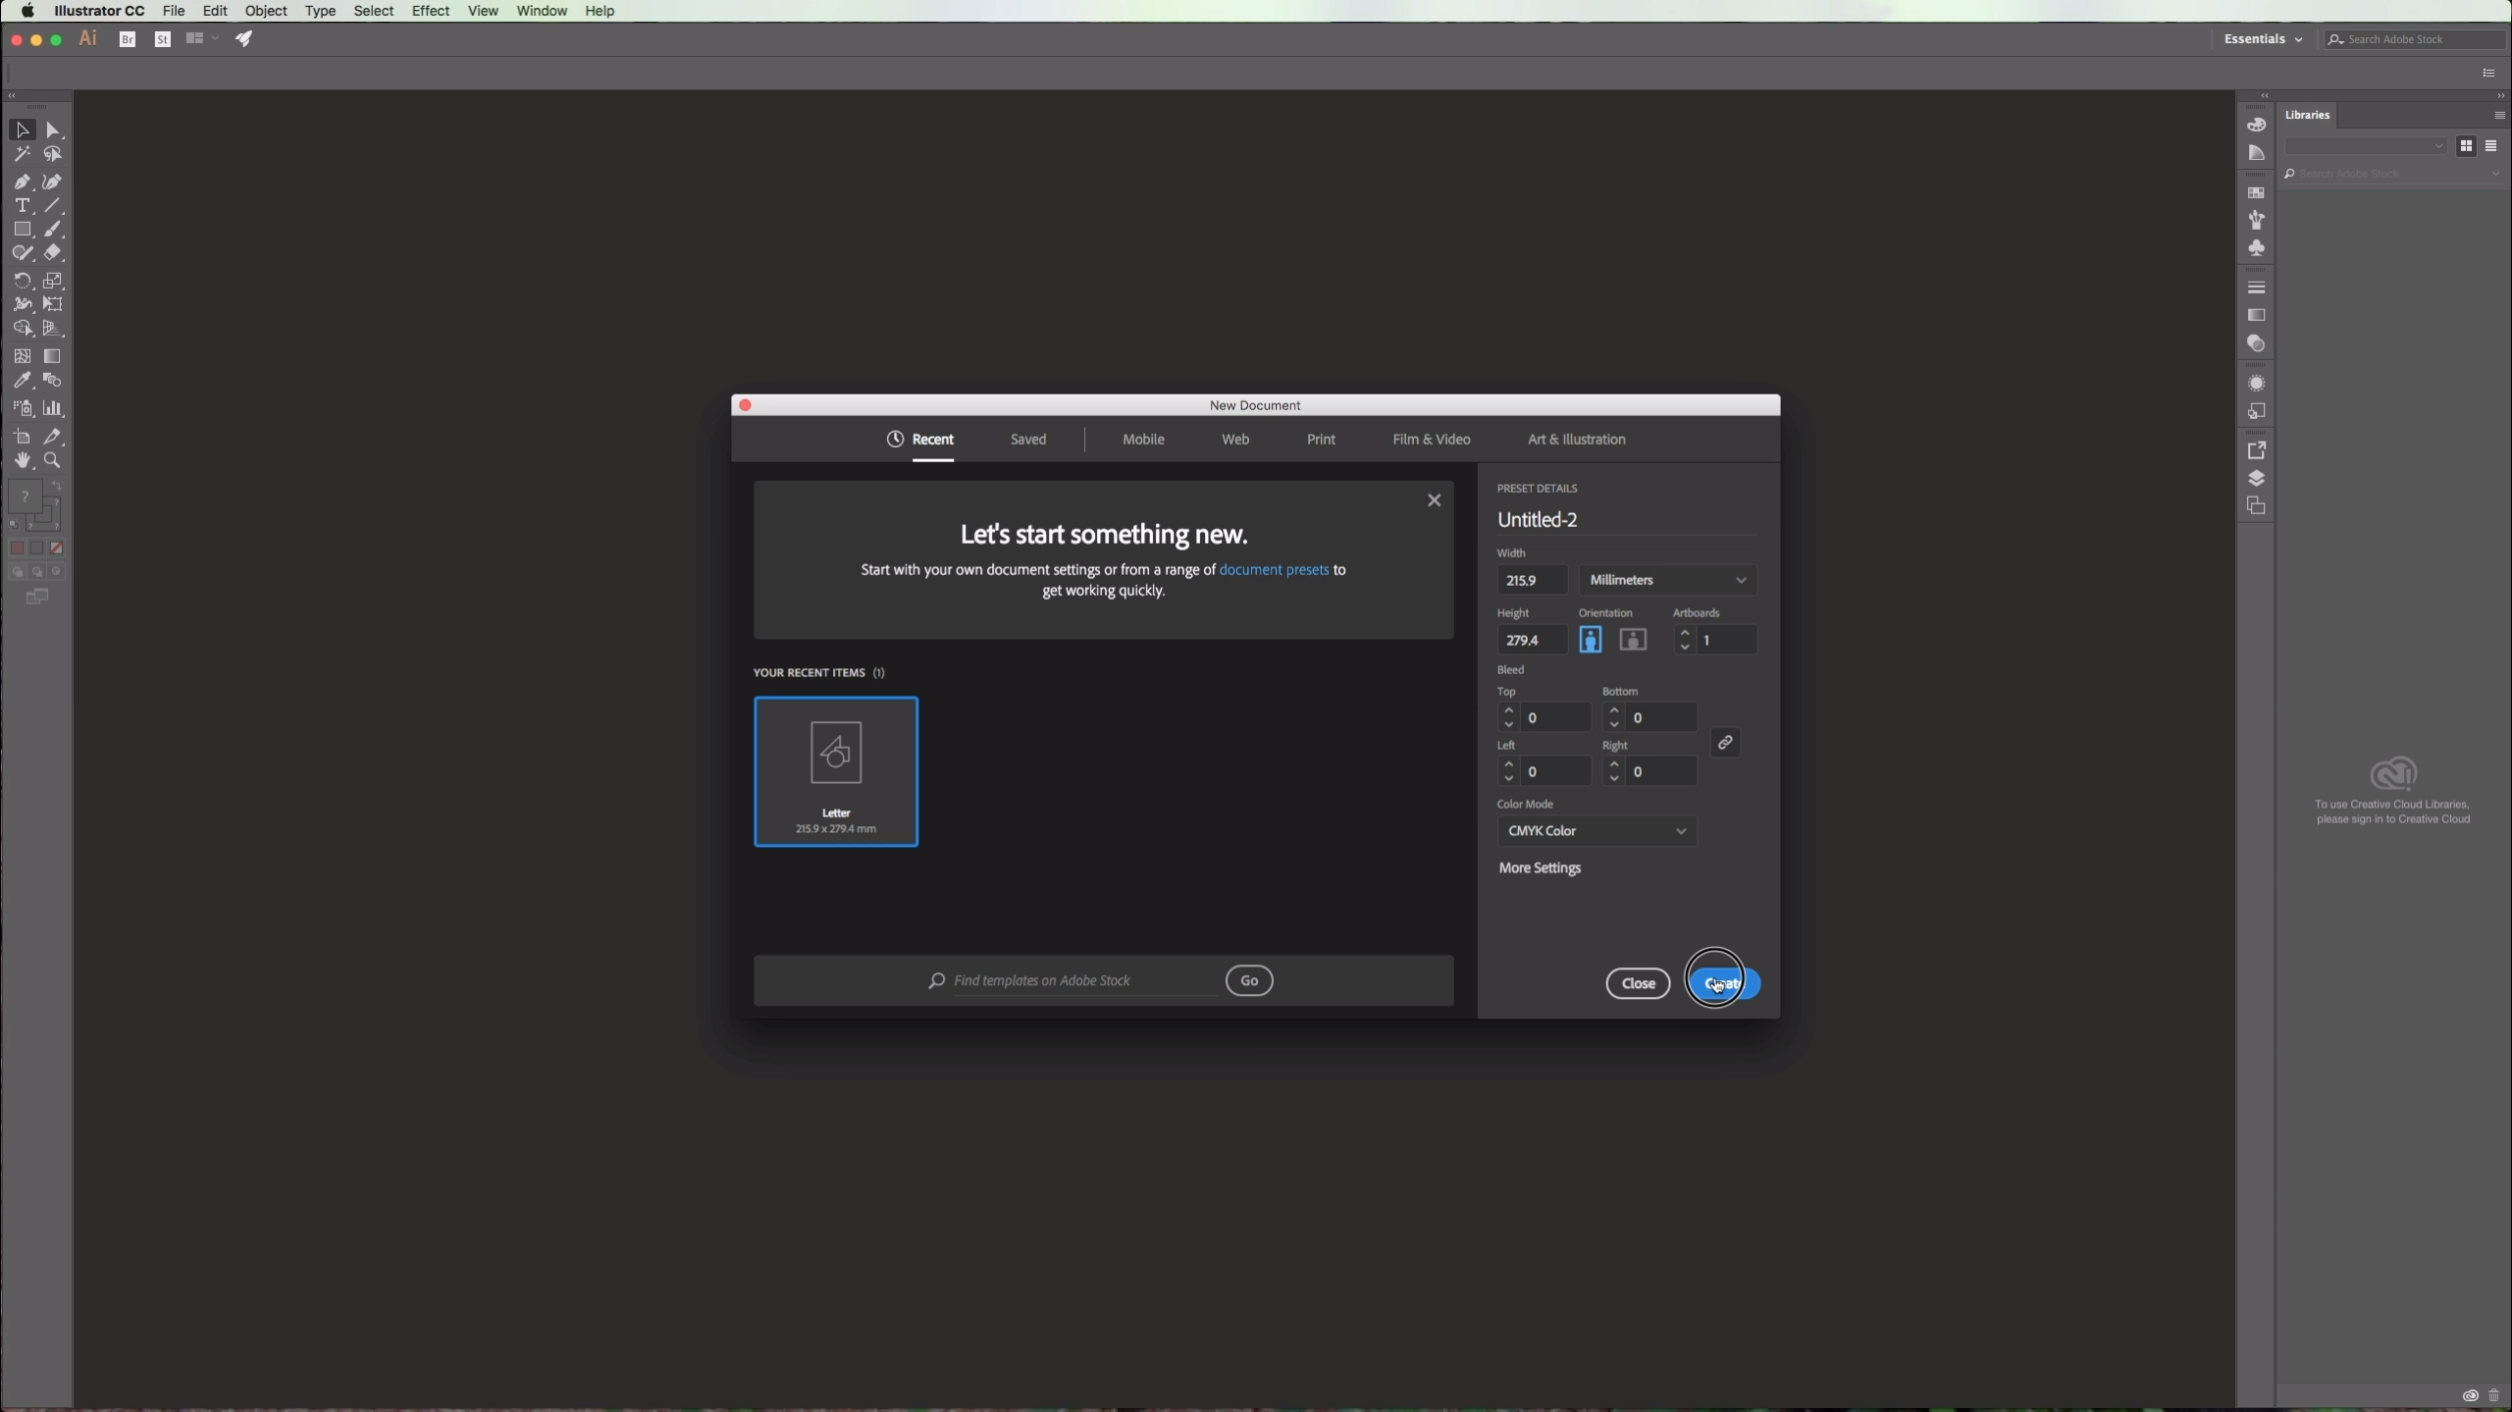
3 - (Optional) Go to View > Rulers > Show Rulers or click Command/Control + R to turn on page rulers.
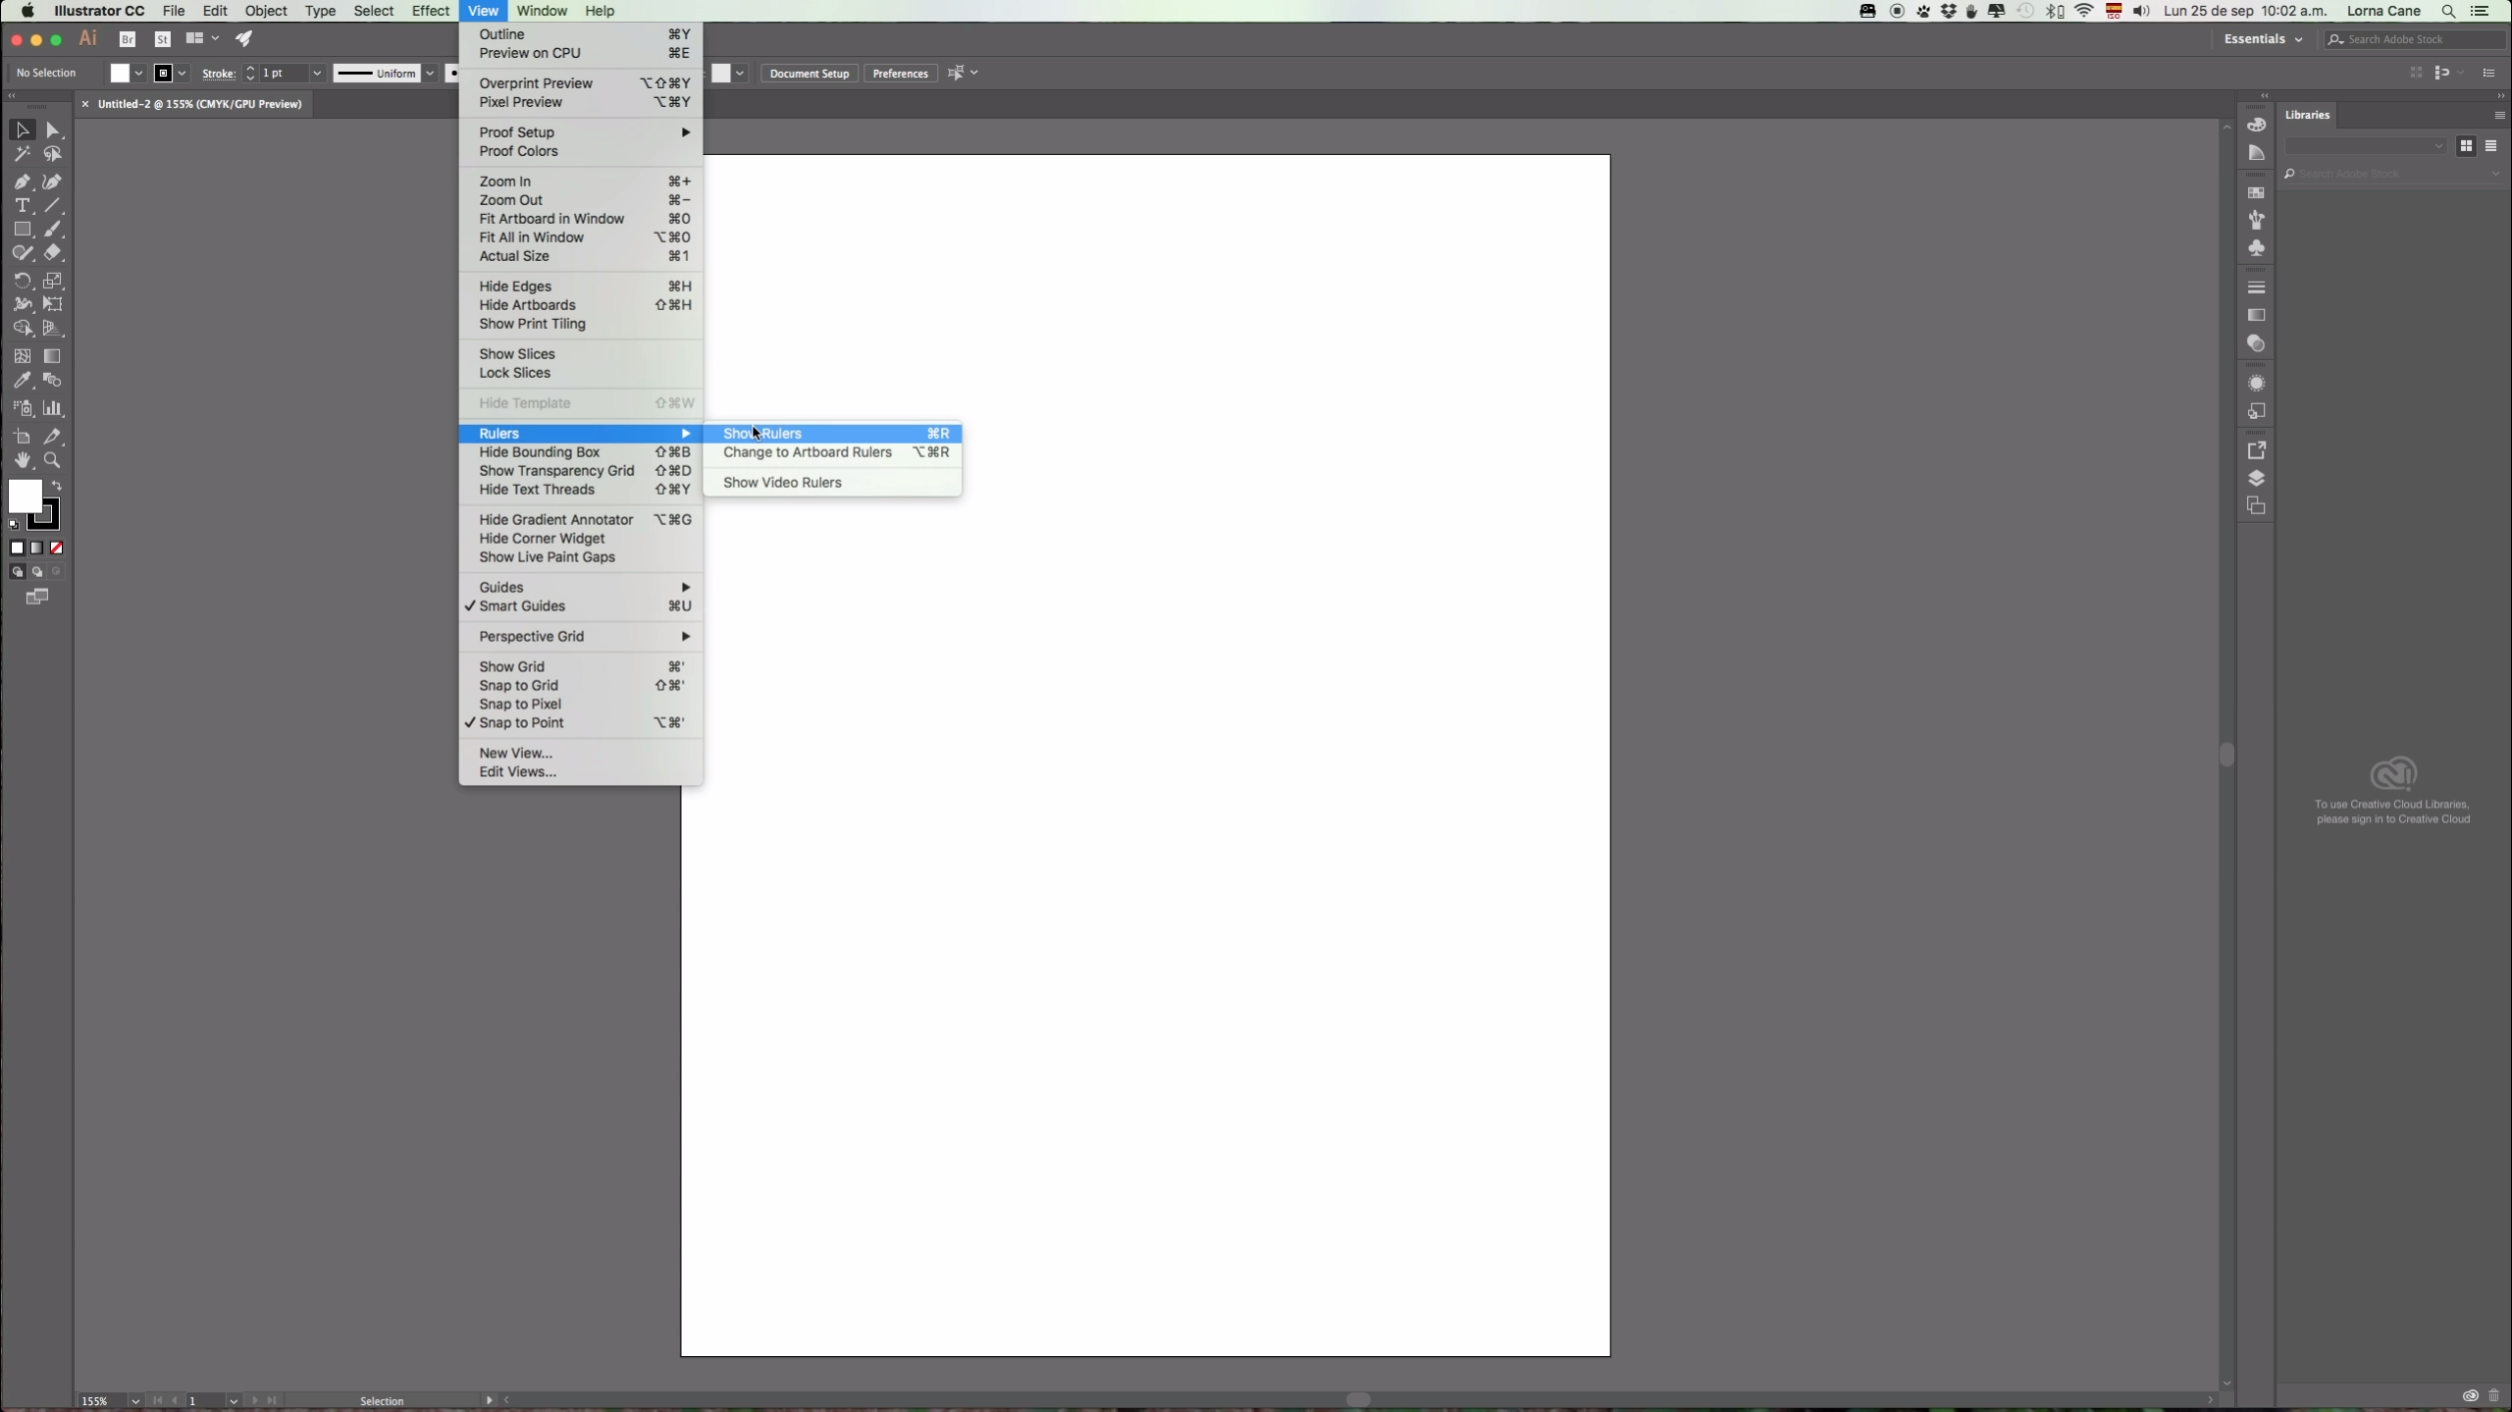
3a - (Optional) Click and drag on the rulers to place a Guide on your desired position (In this case we placed it 1 centimeter from the top). Repeat with the vertical ruler. (Go to View > Guides and make sure that "Lock Guides" is selected so you won't select and/or move your guides by mistake).
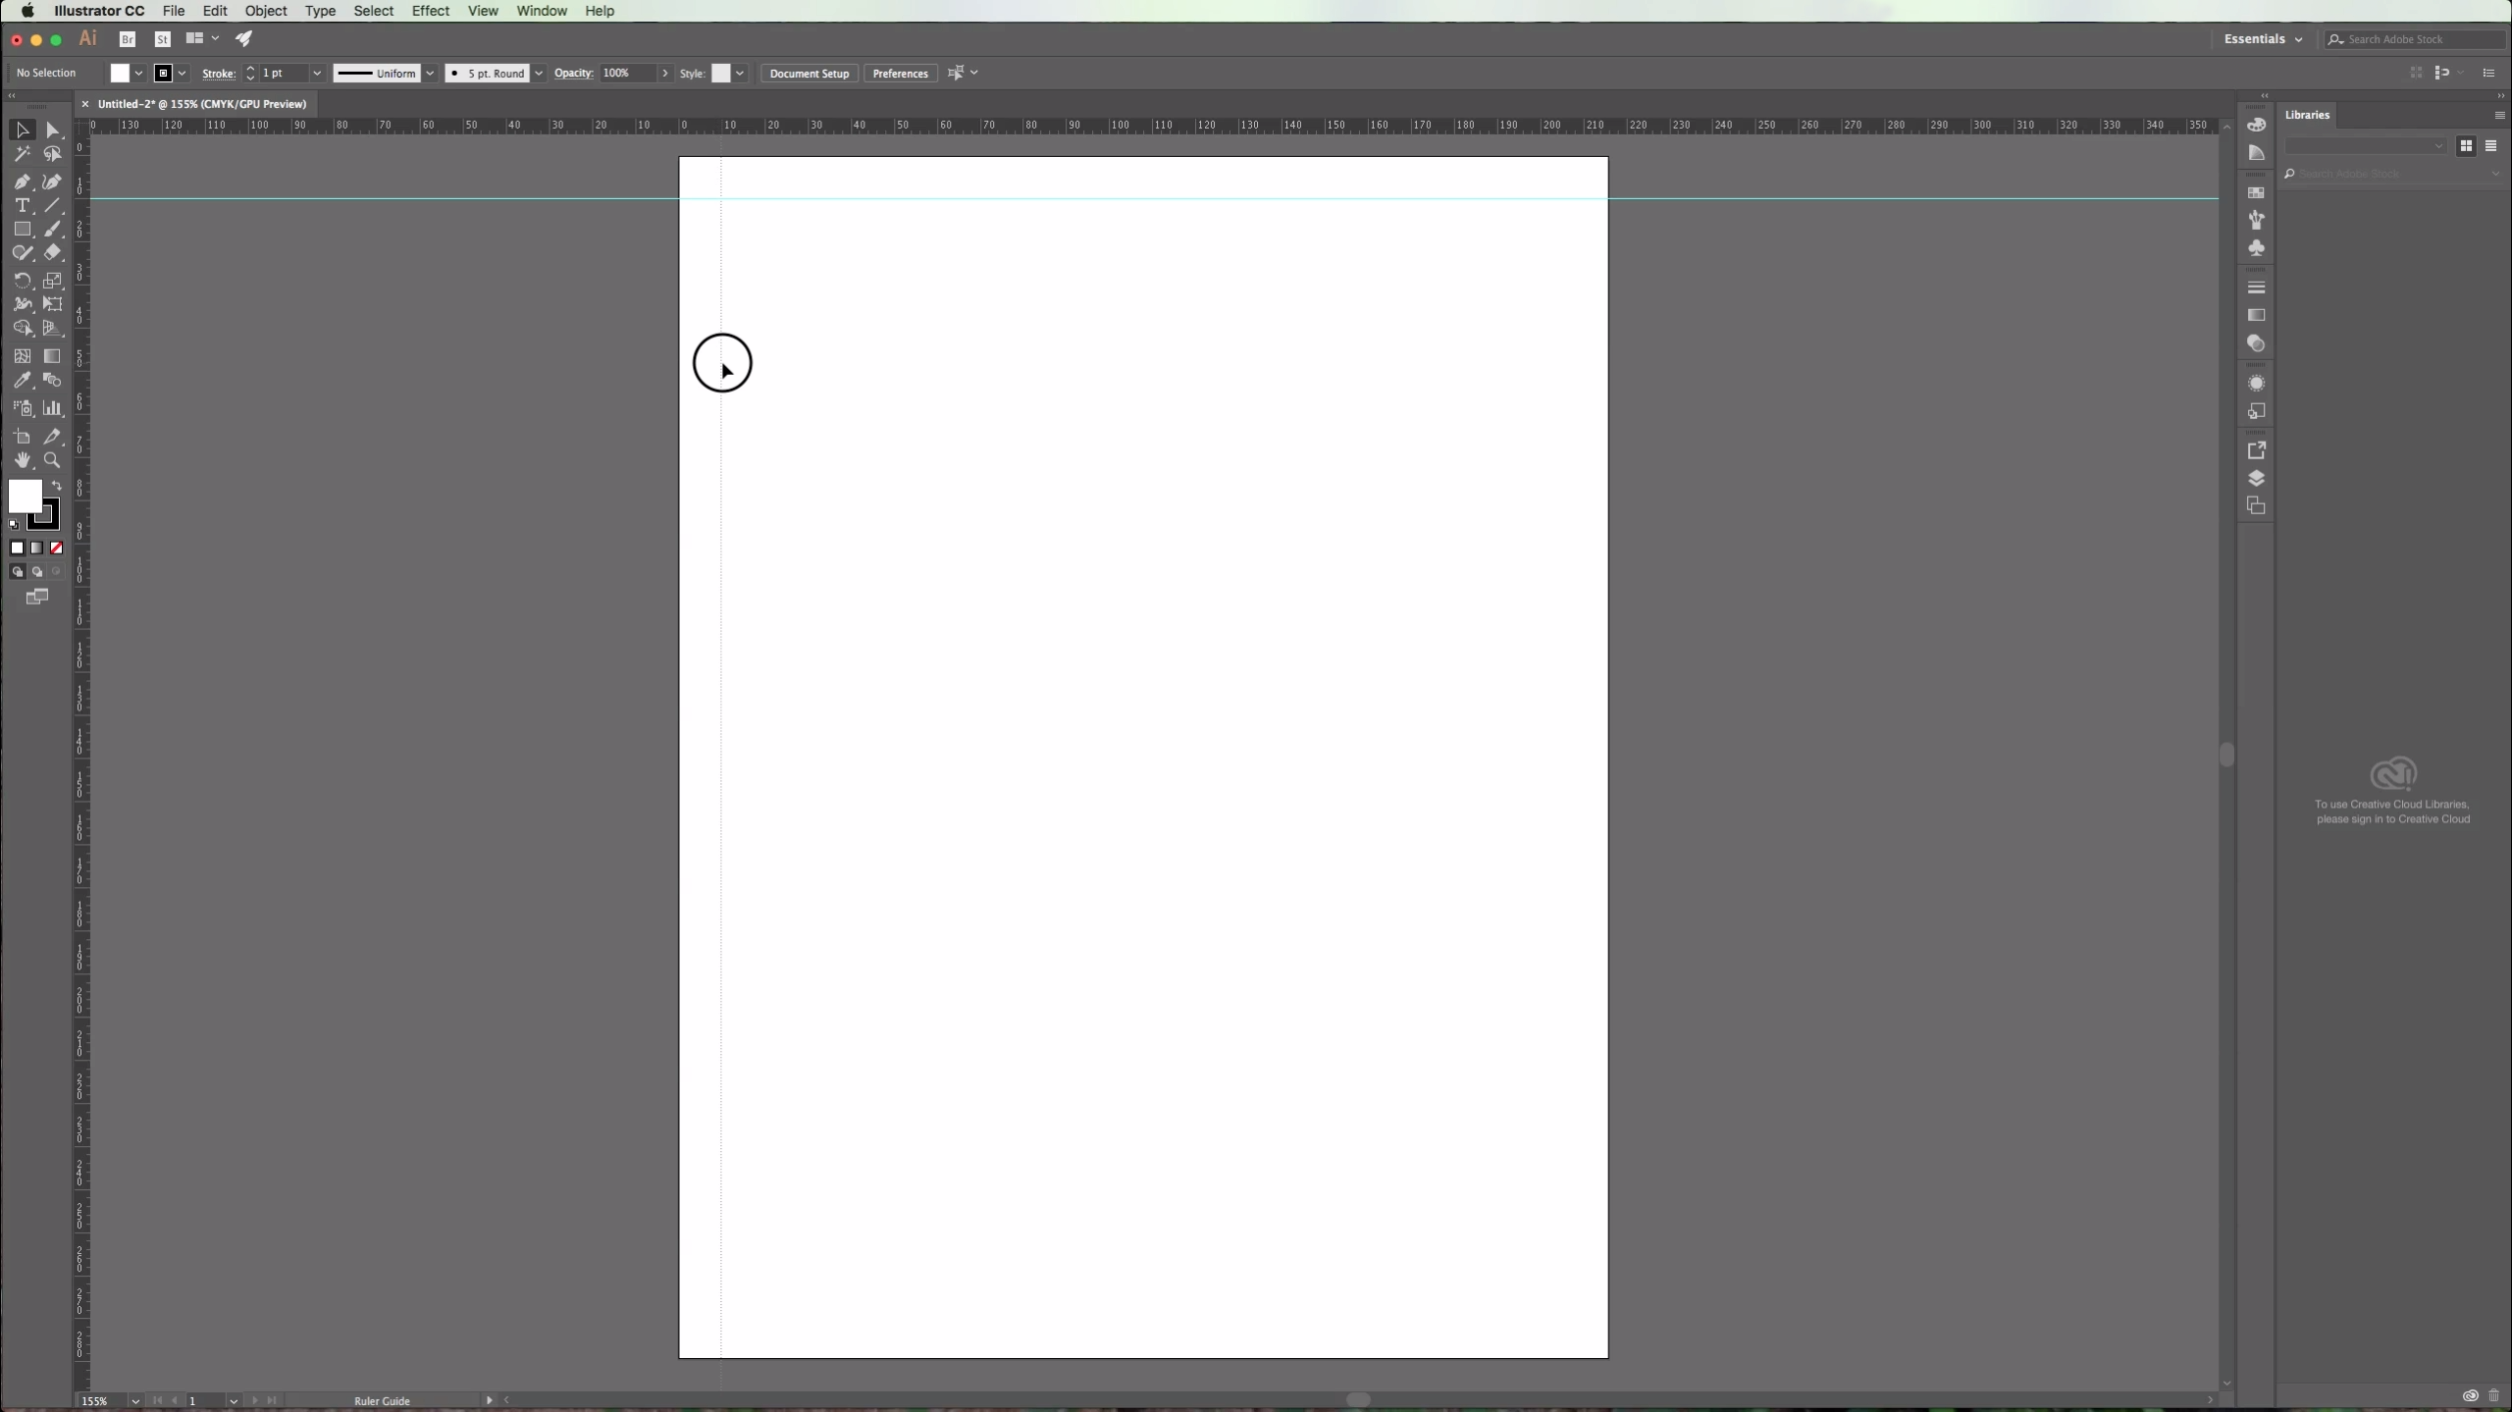
3b -(Optional) If you want to modify or delete your guides you will need to "Unlock Guides" or "Clear Guides" in order to do it.
4 - Choose the "Rectangle Tool" from the Toolbox and draw a square by clicking the "Shift" key while pulling the cursor down and right to make it's sides even.
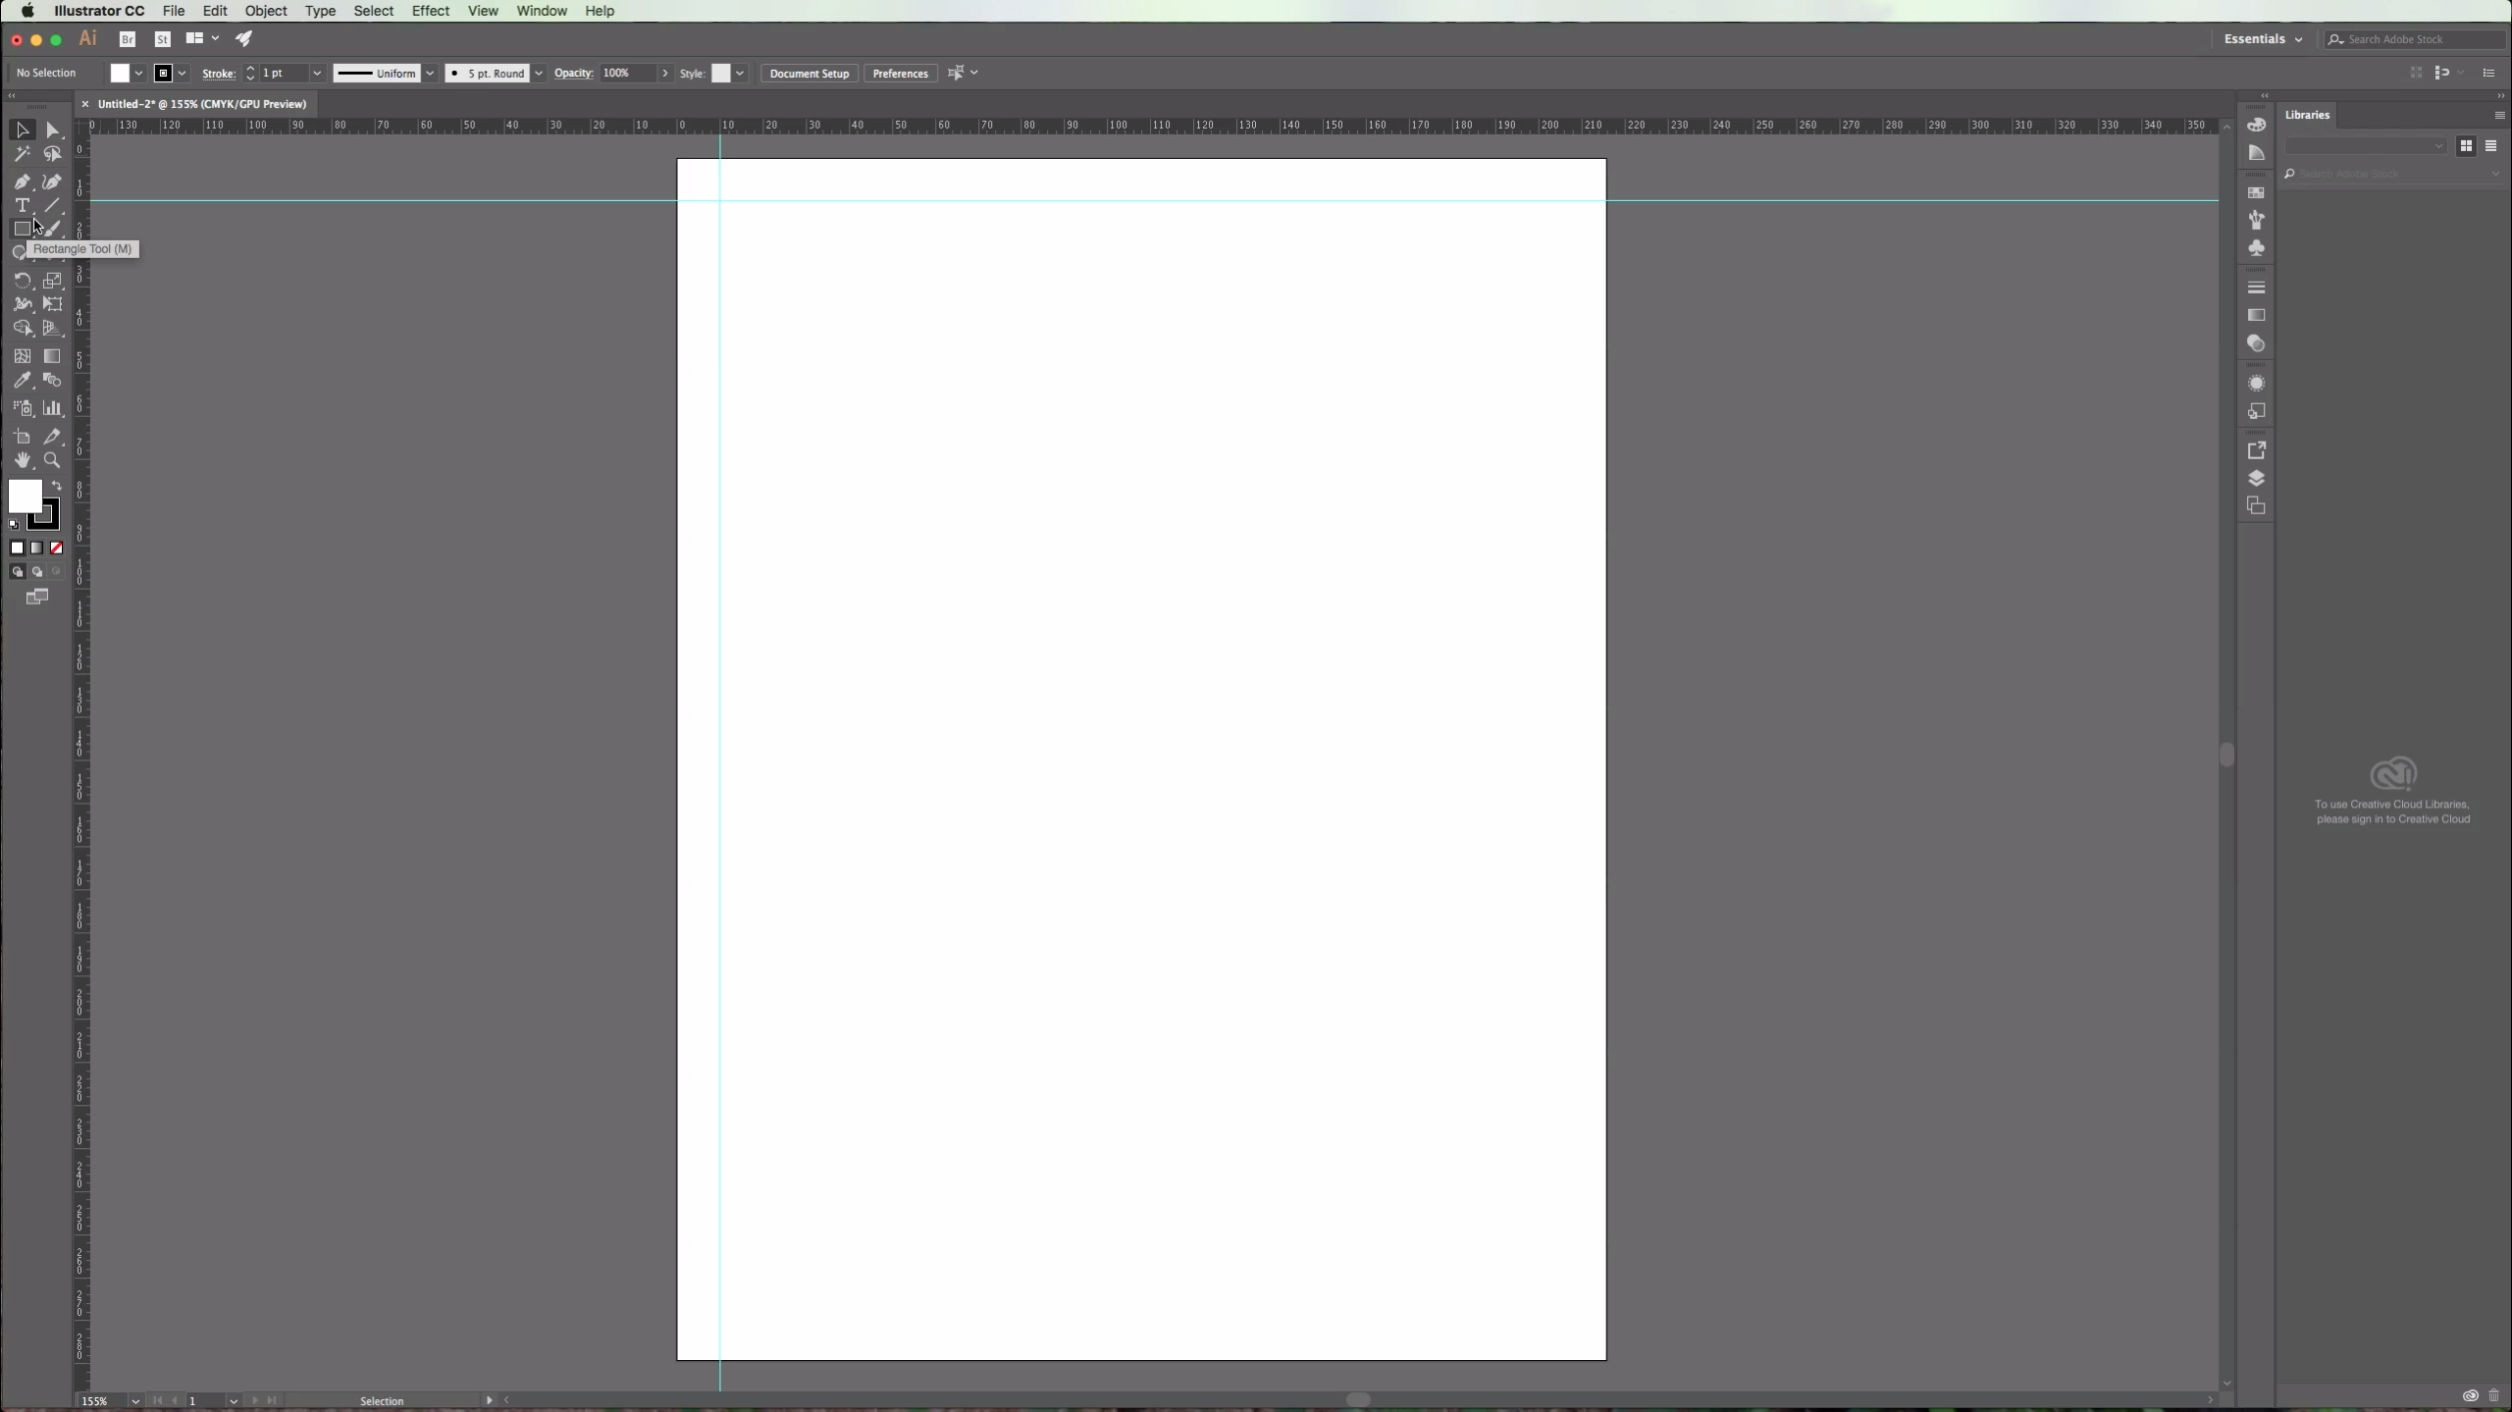
5 - You can change the default "Fill" and "Stroke" colors in the Toolbox.
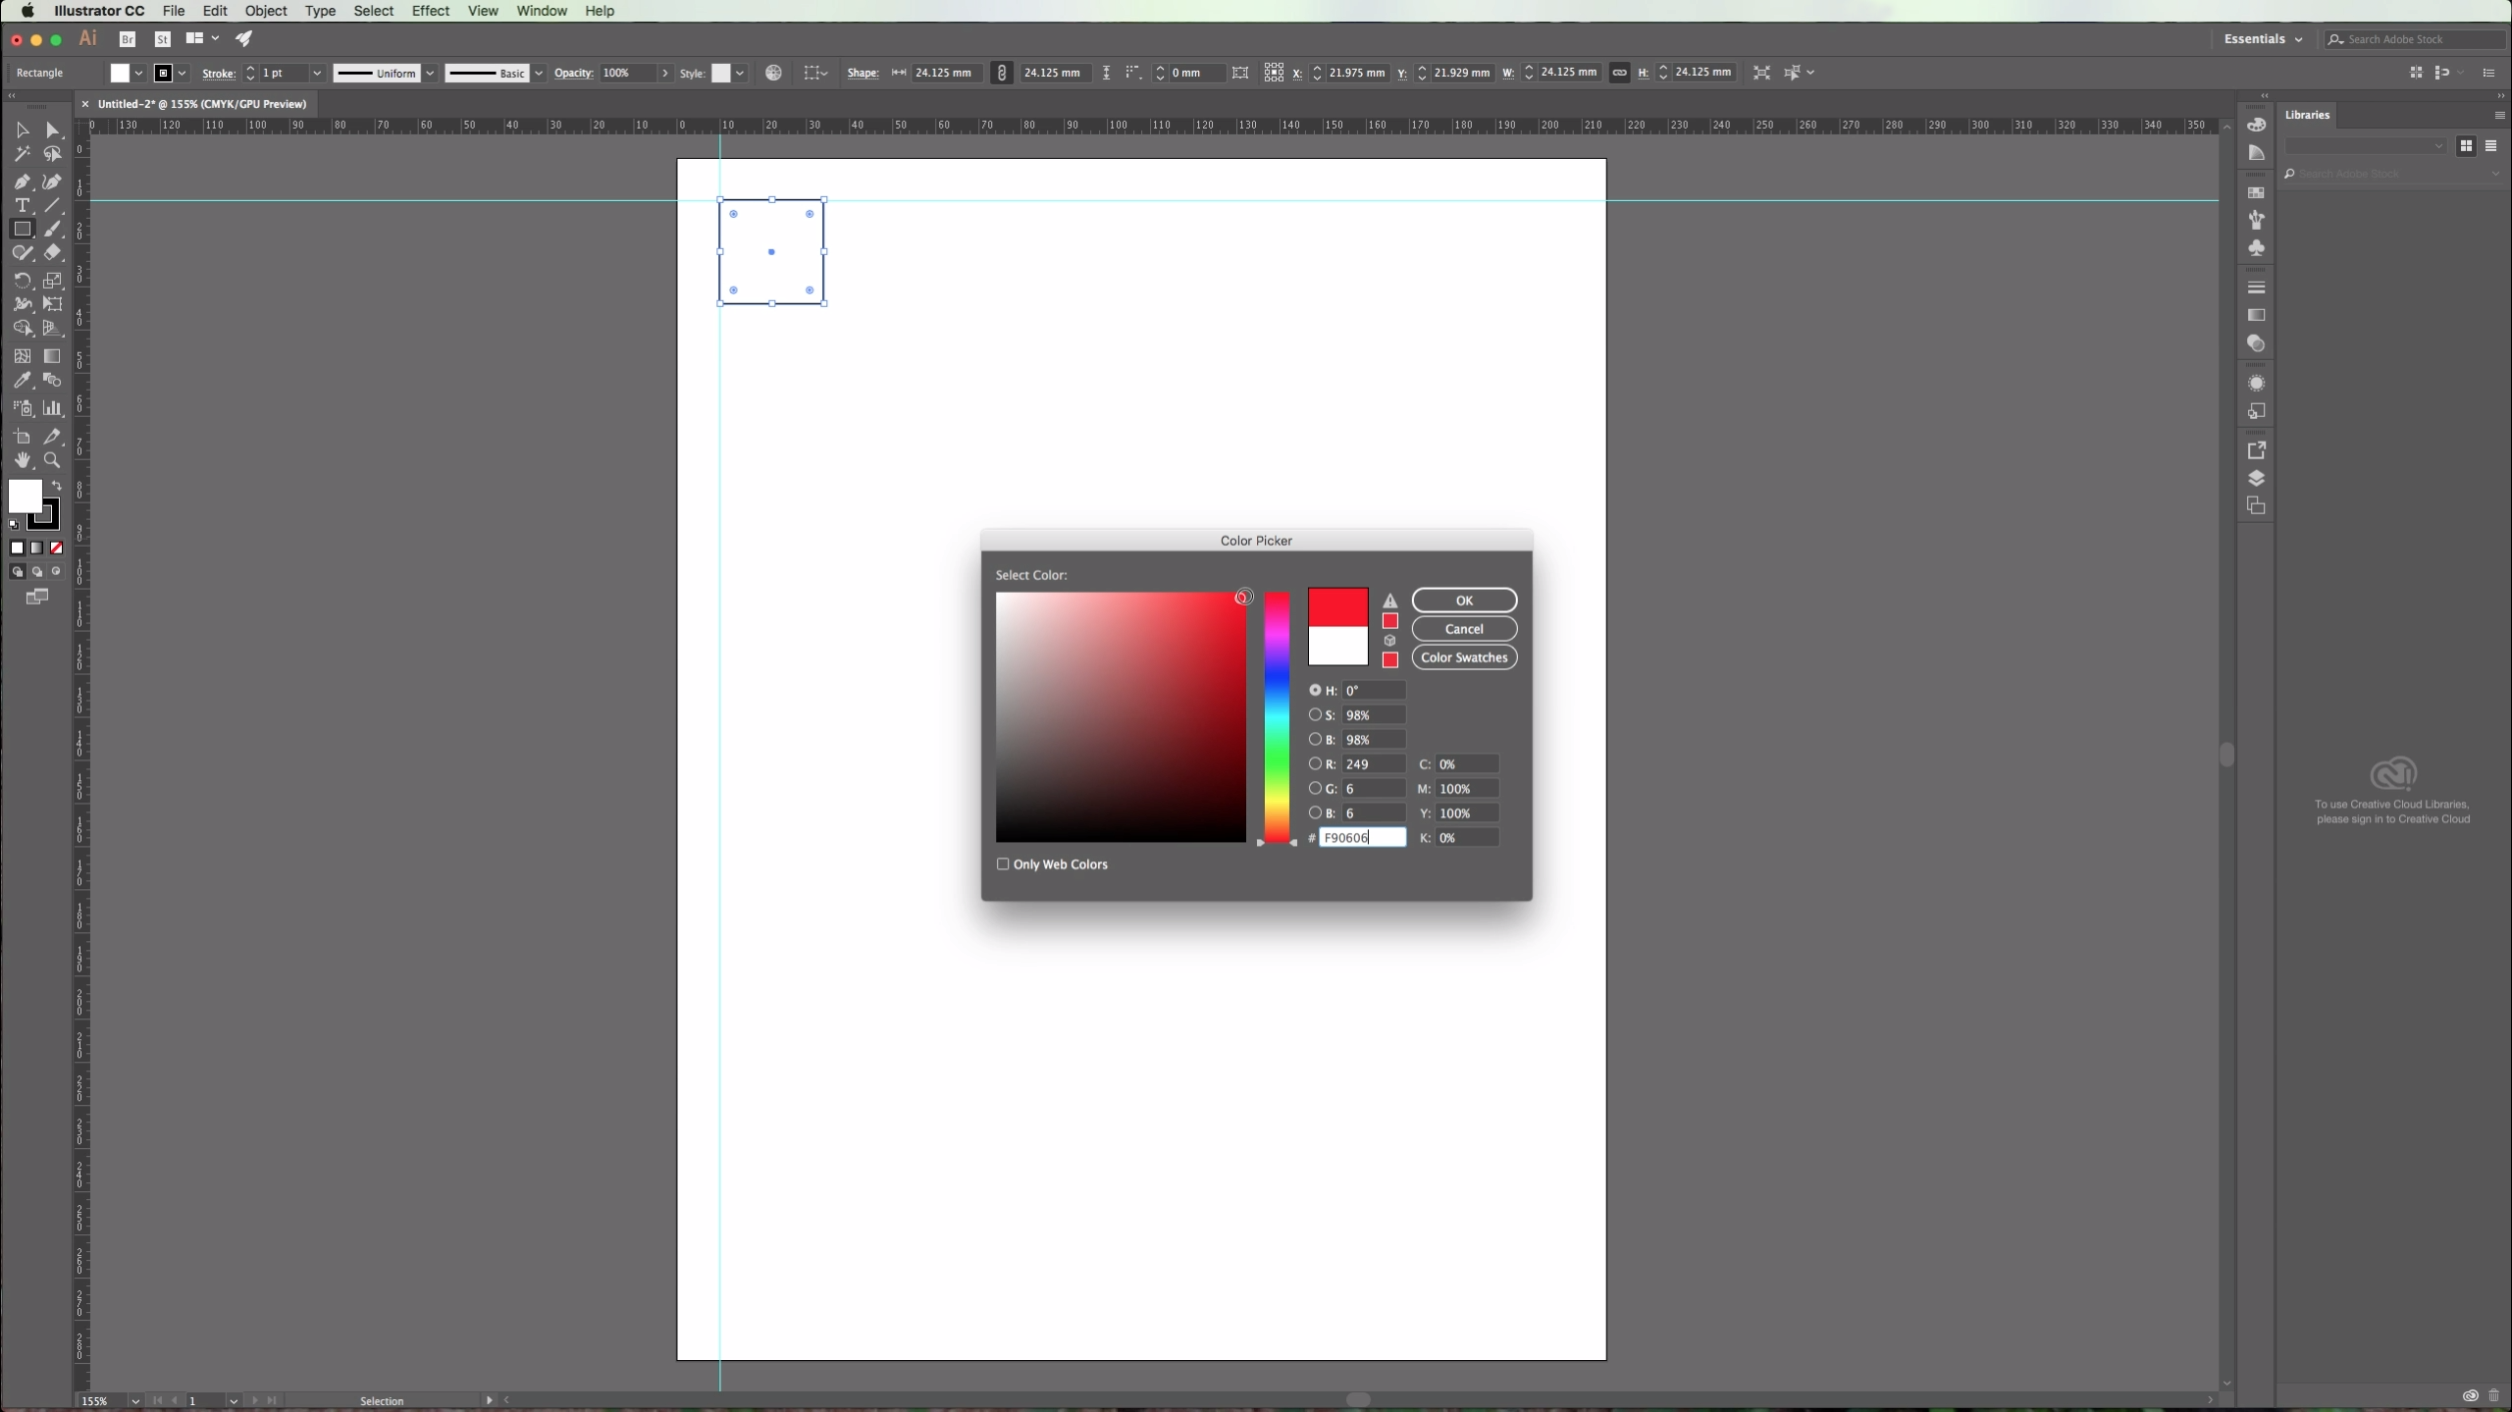
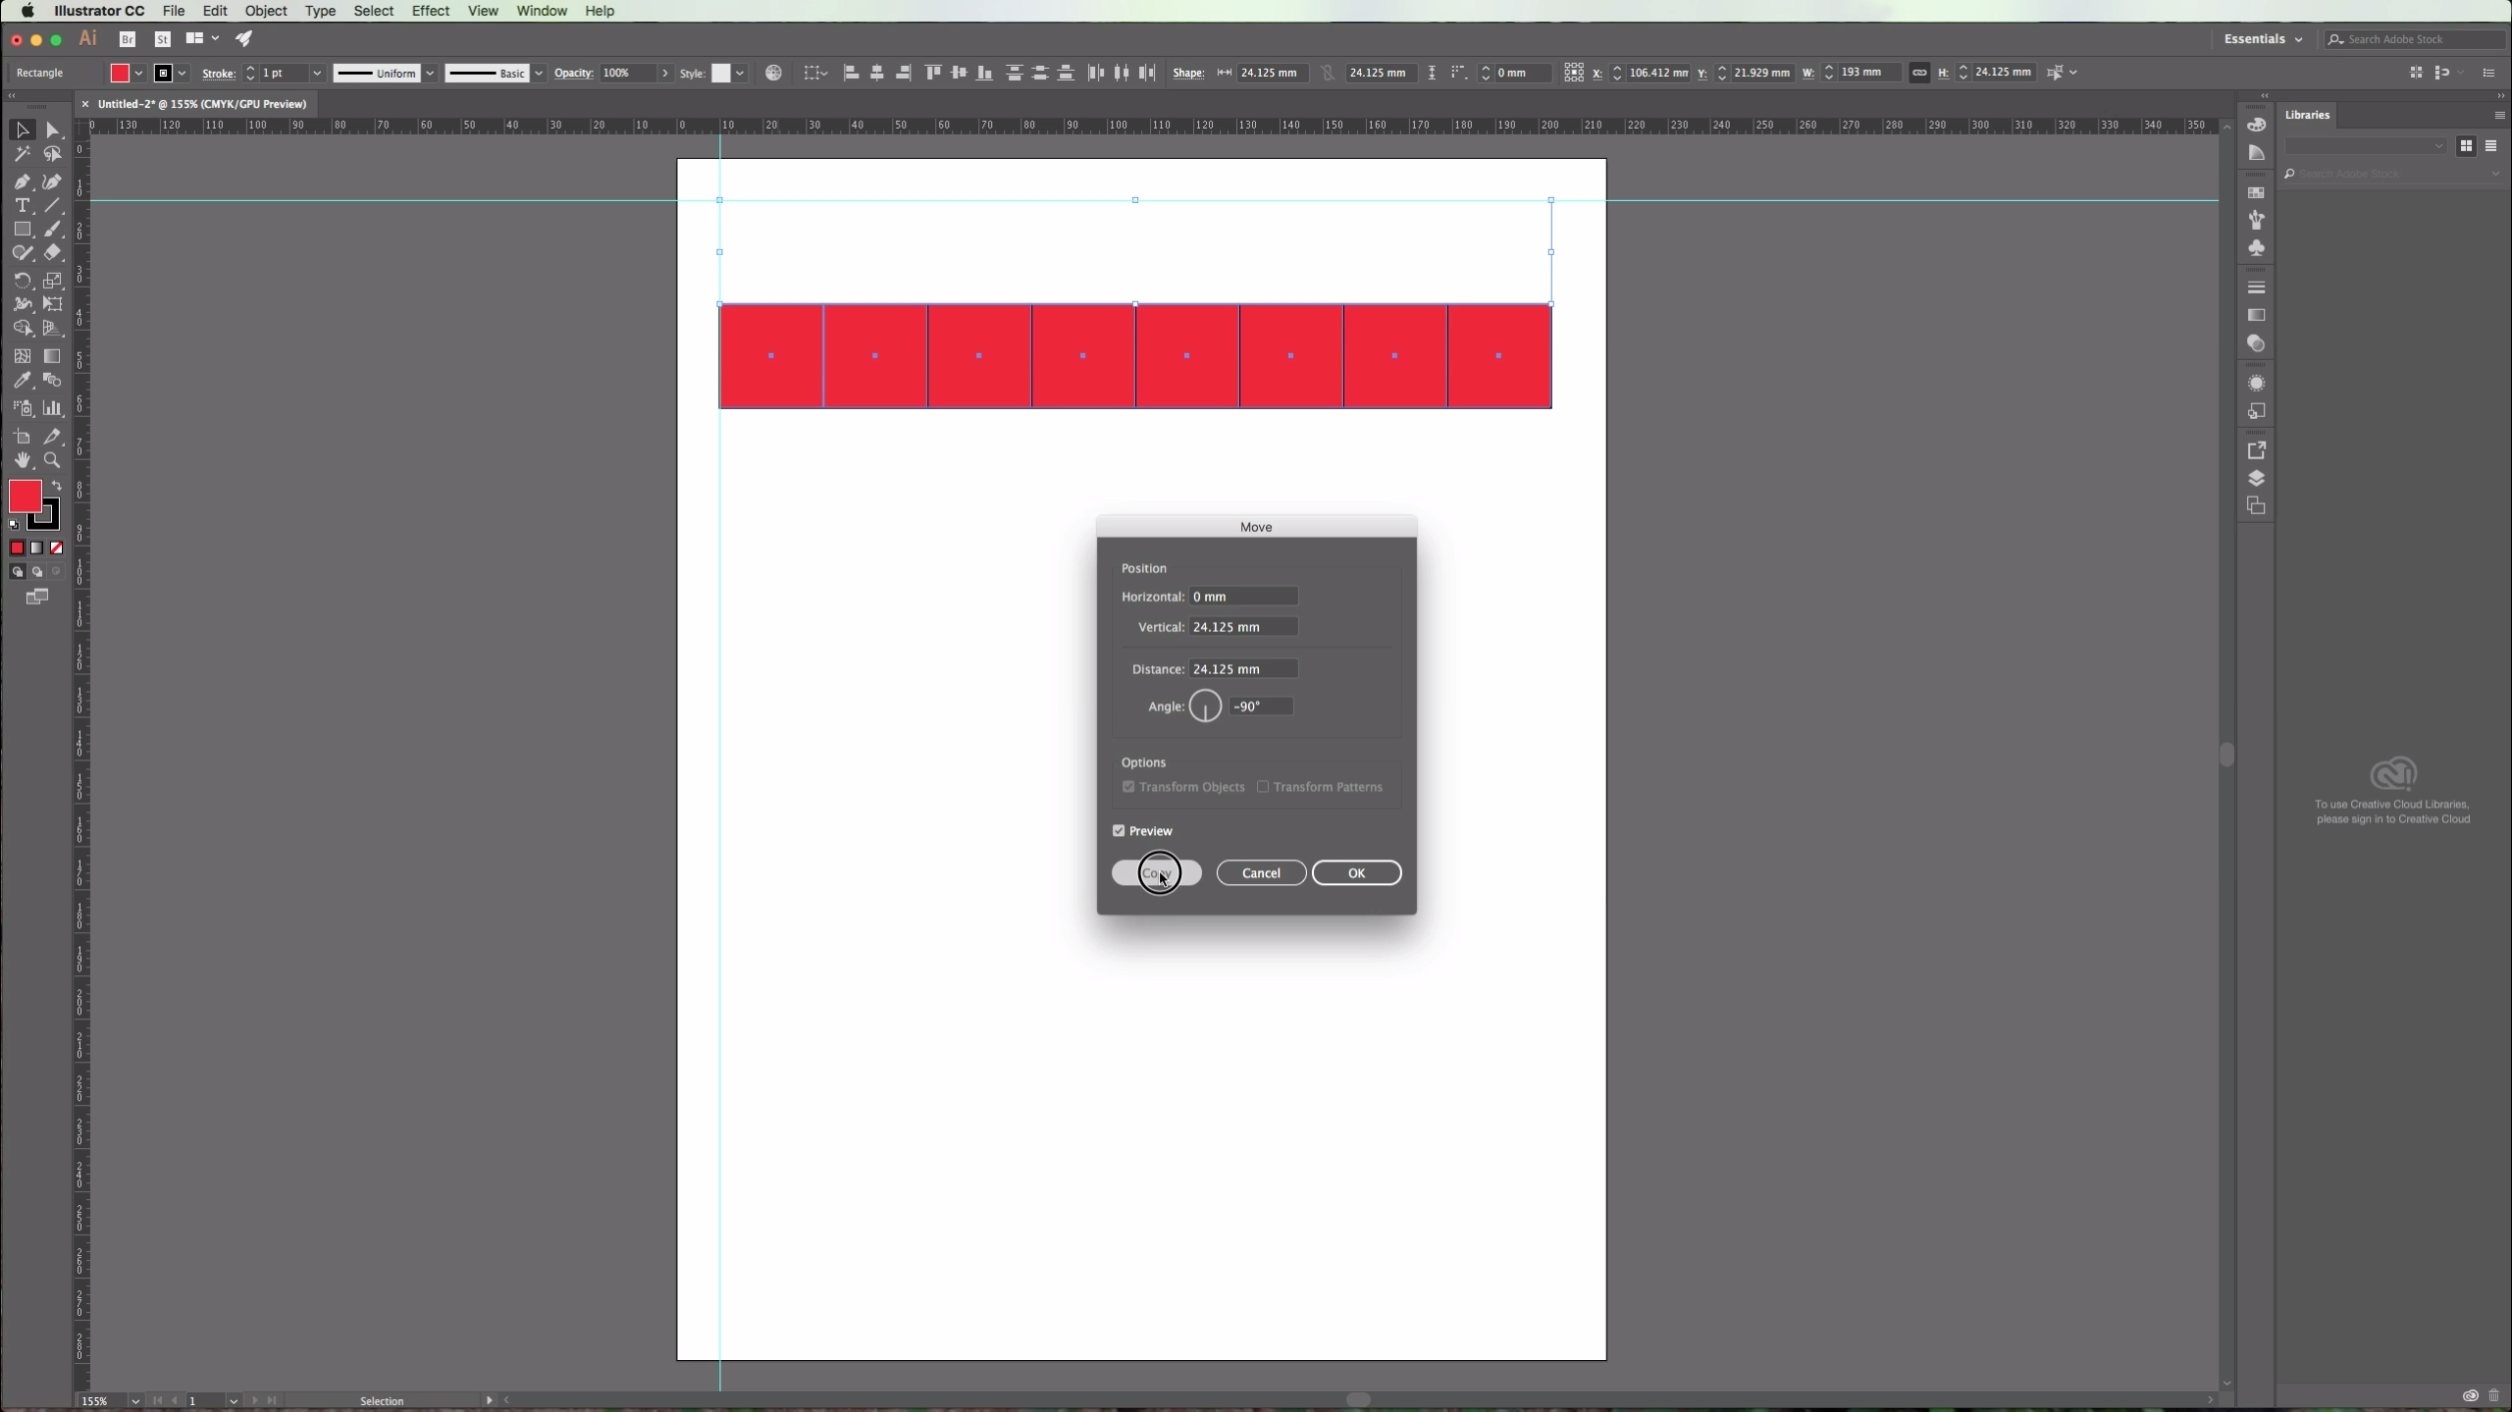
6 - Select your square and go to Object > Move, or click Shift + Command/Control + M. In the "Horizontal" position box add a value equal to your shape's width (You can check it in the right side of your upper menu. Add a value of "0" to the "Vertical" and "Angle" boxes and click "Copy" to place a copy of your shape in the desired position. (If you want you can check the "Preview" box to make sure your object is going to be placed where you want). *
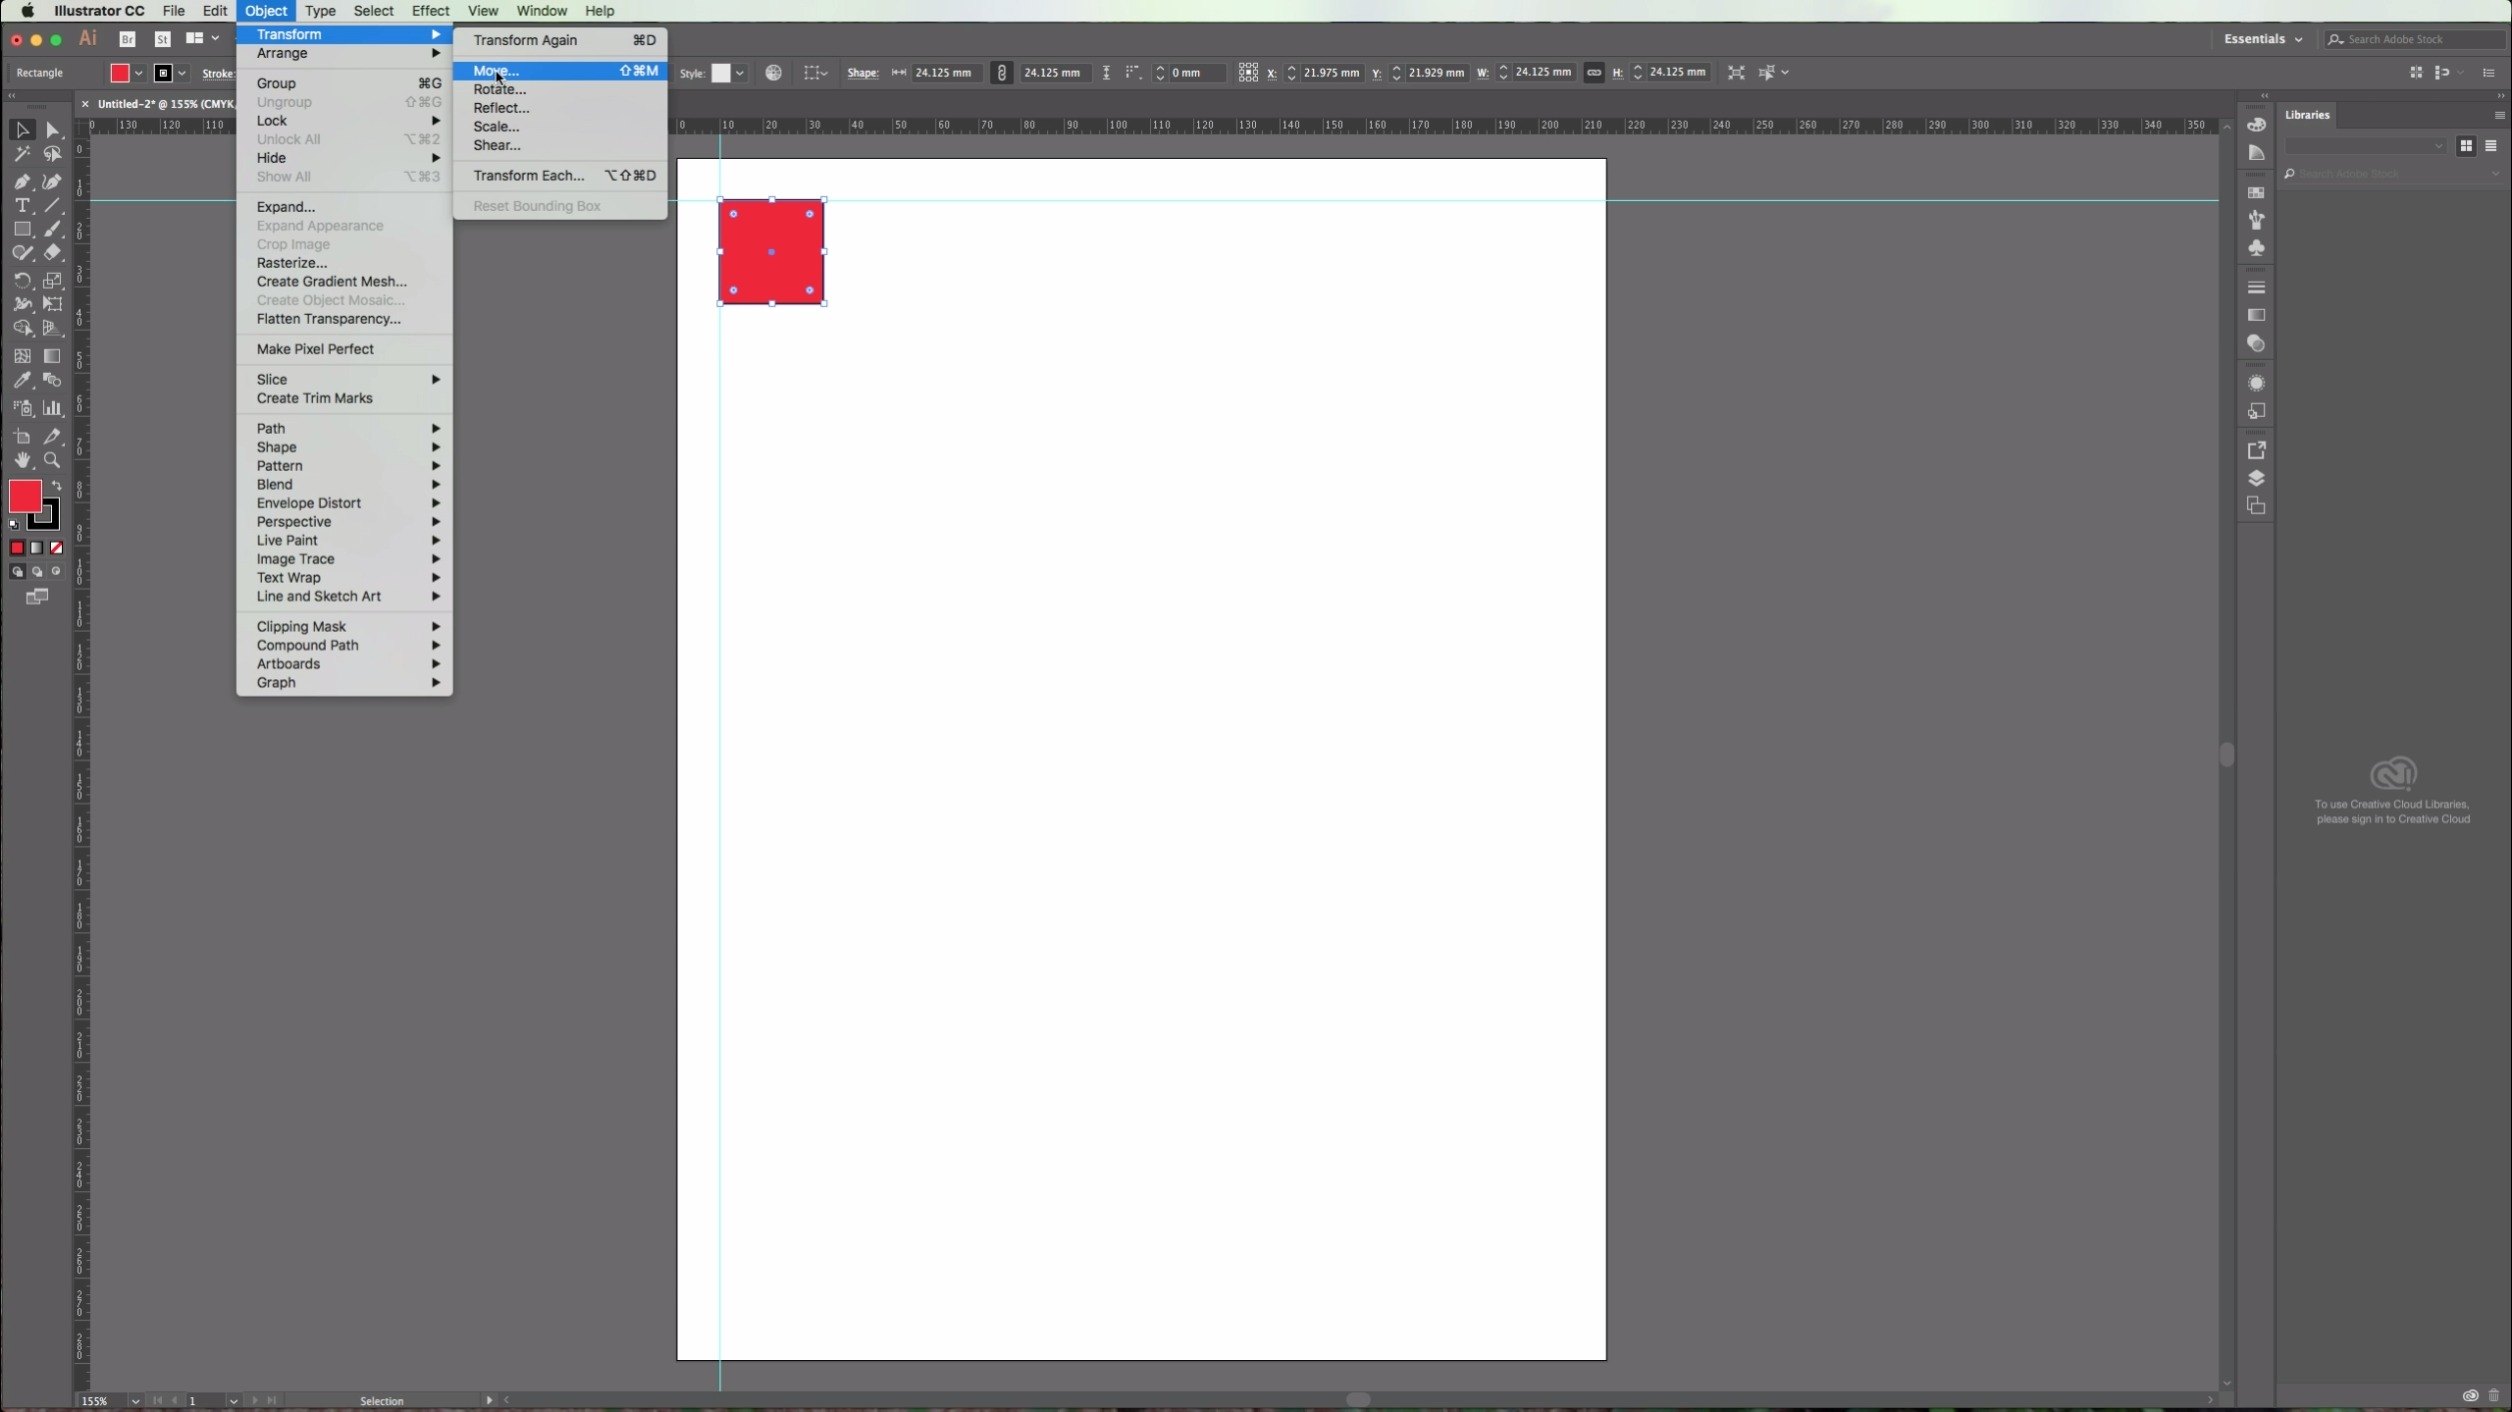
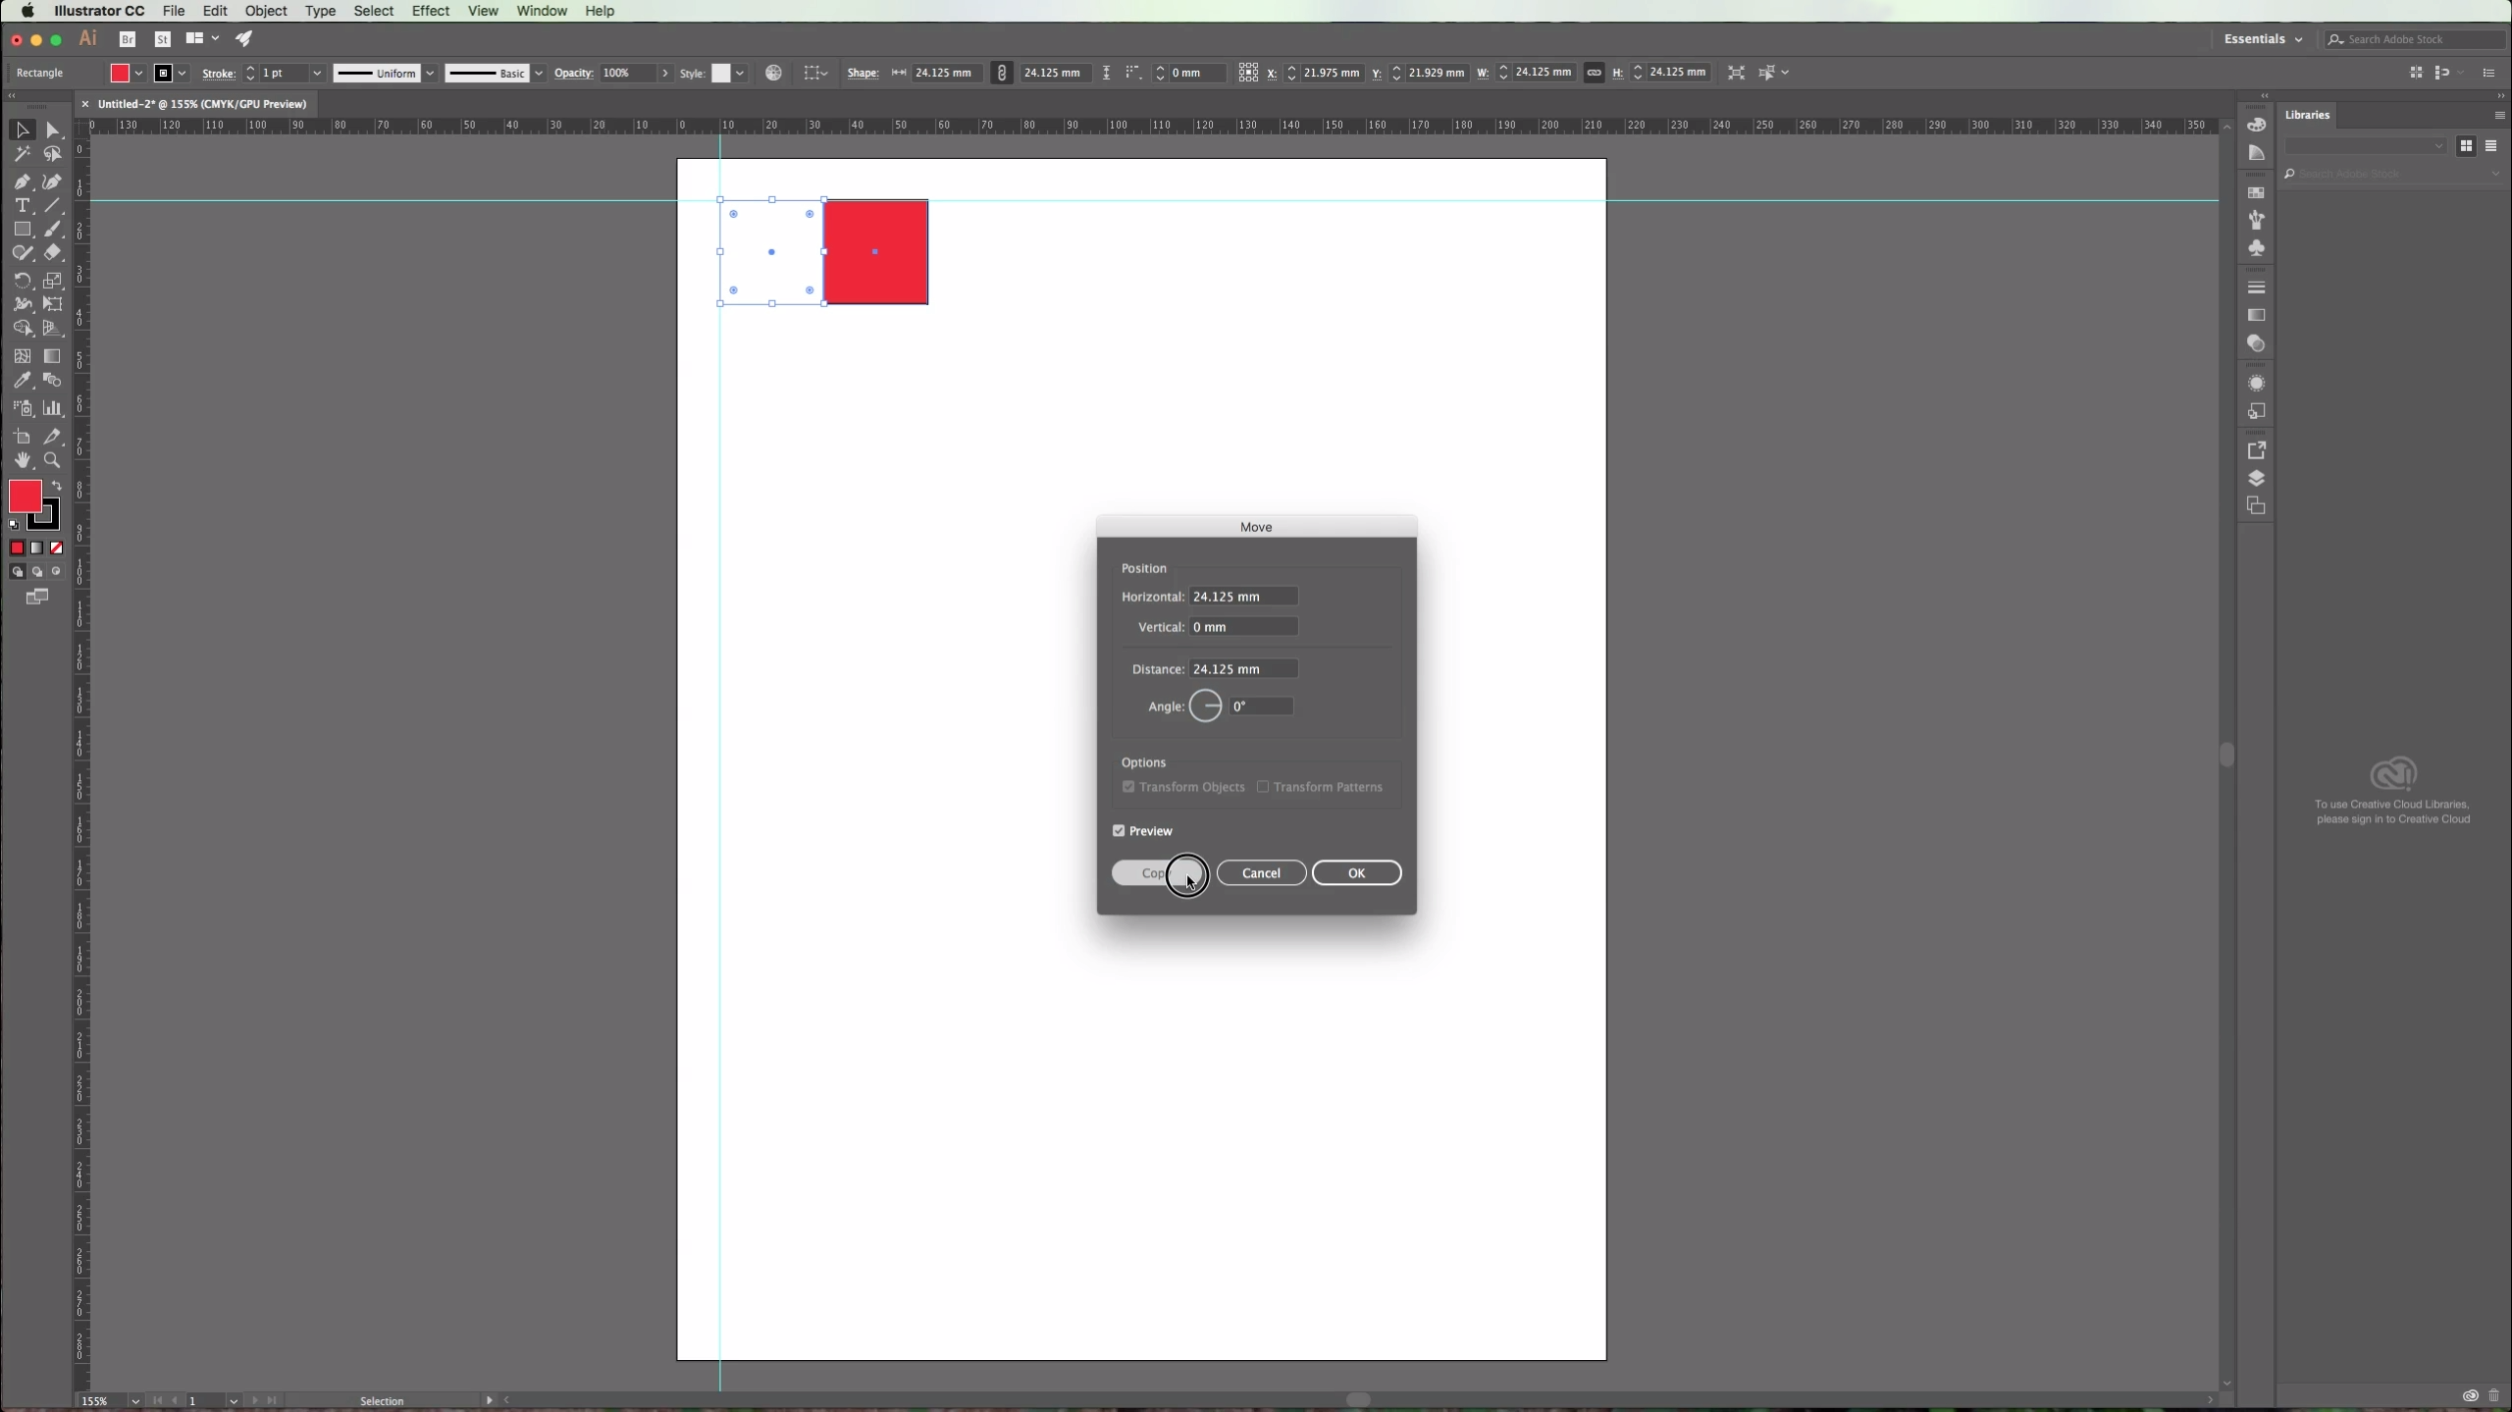
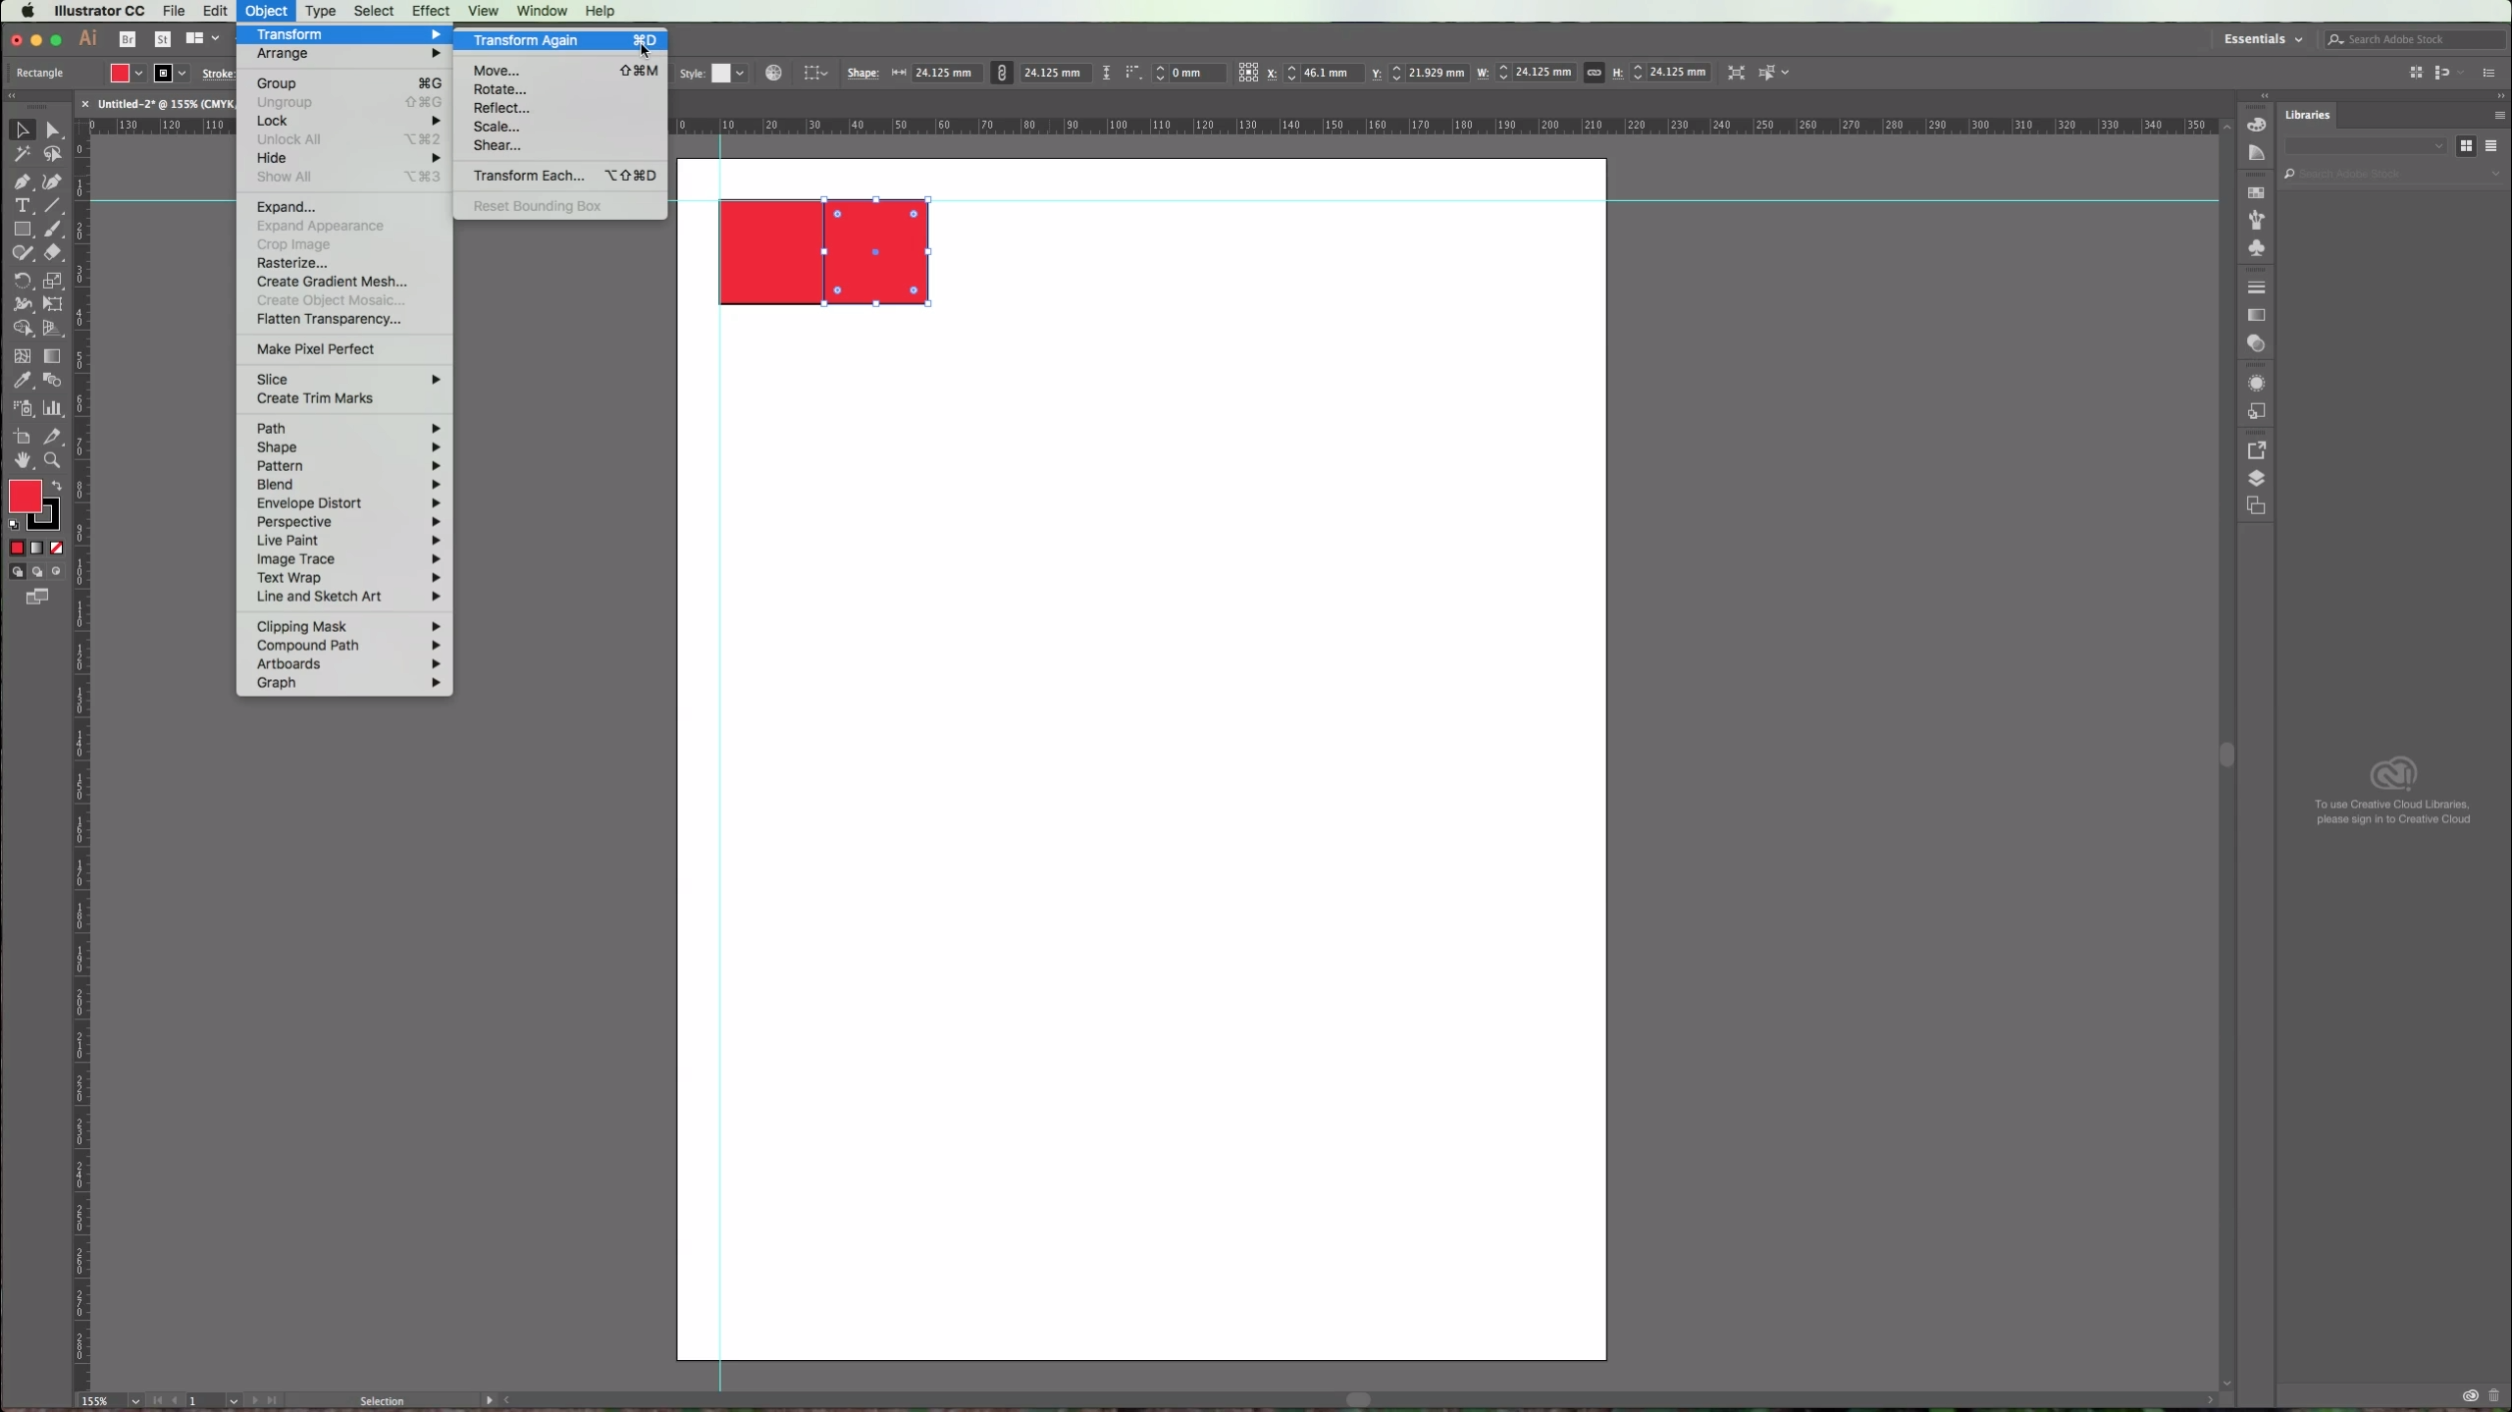
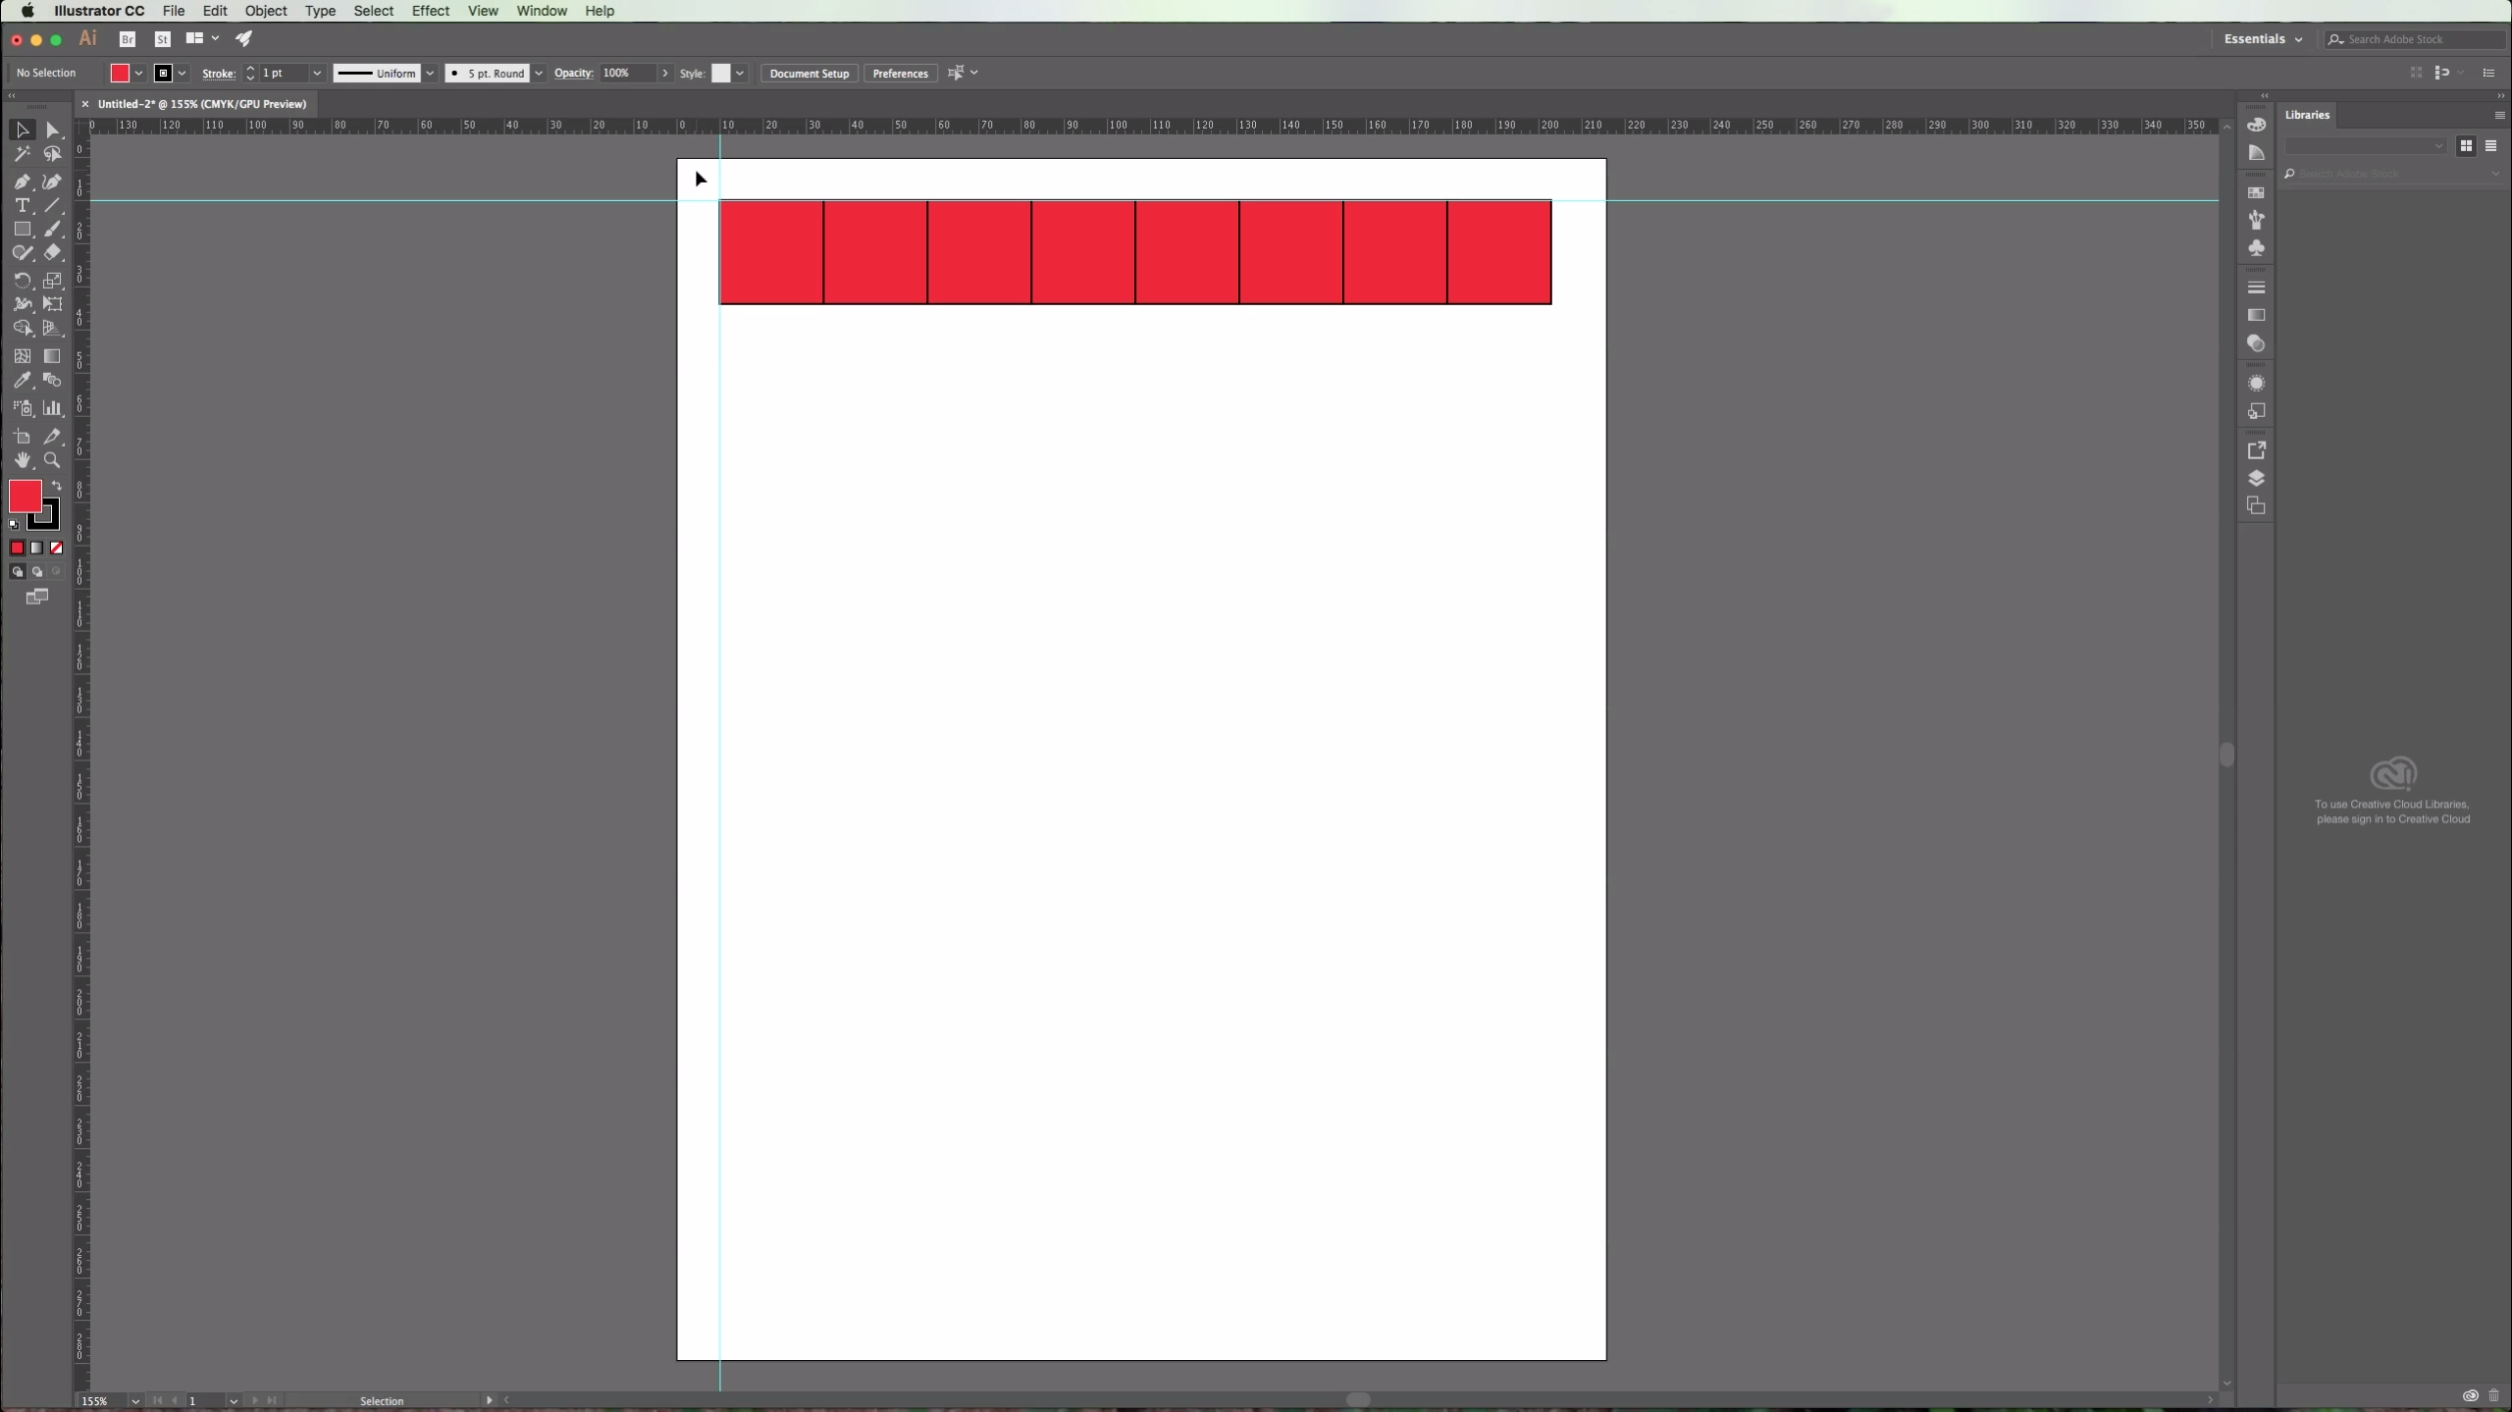
7 - Go to Object > Transform Again or click Command/Control + D to repeat until you fill the line of shapes.
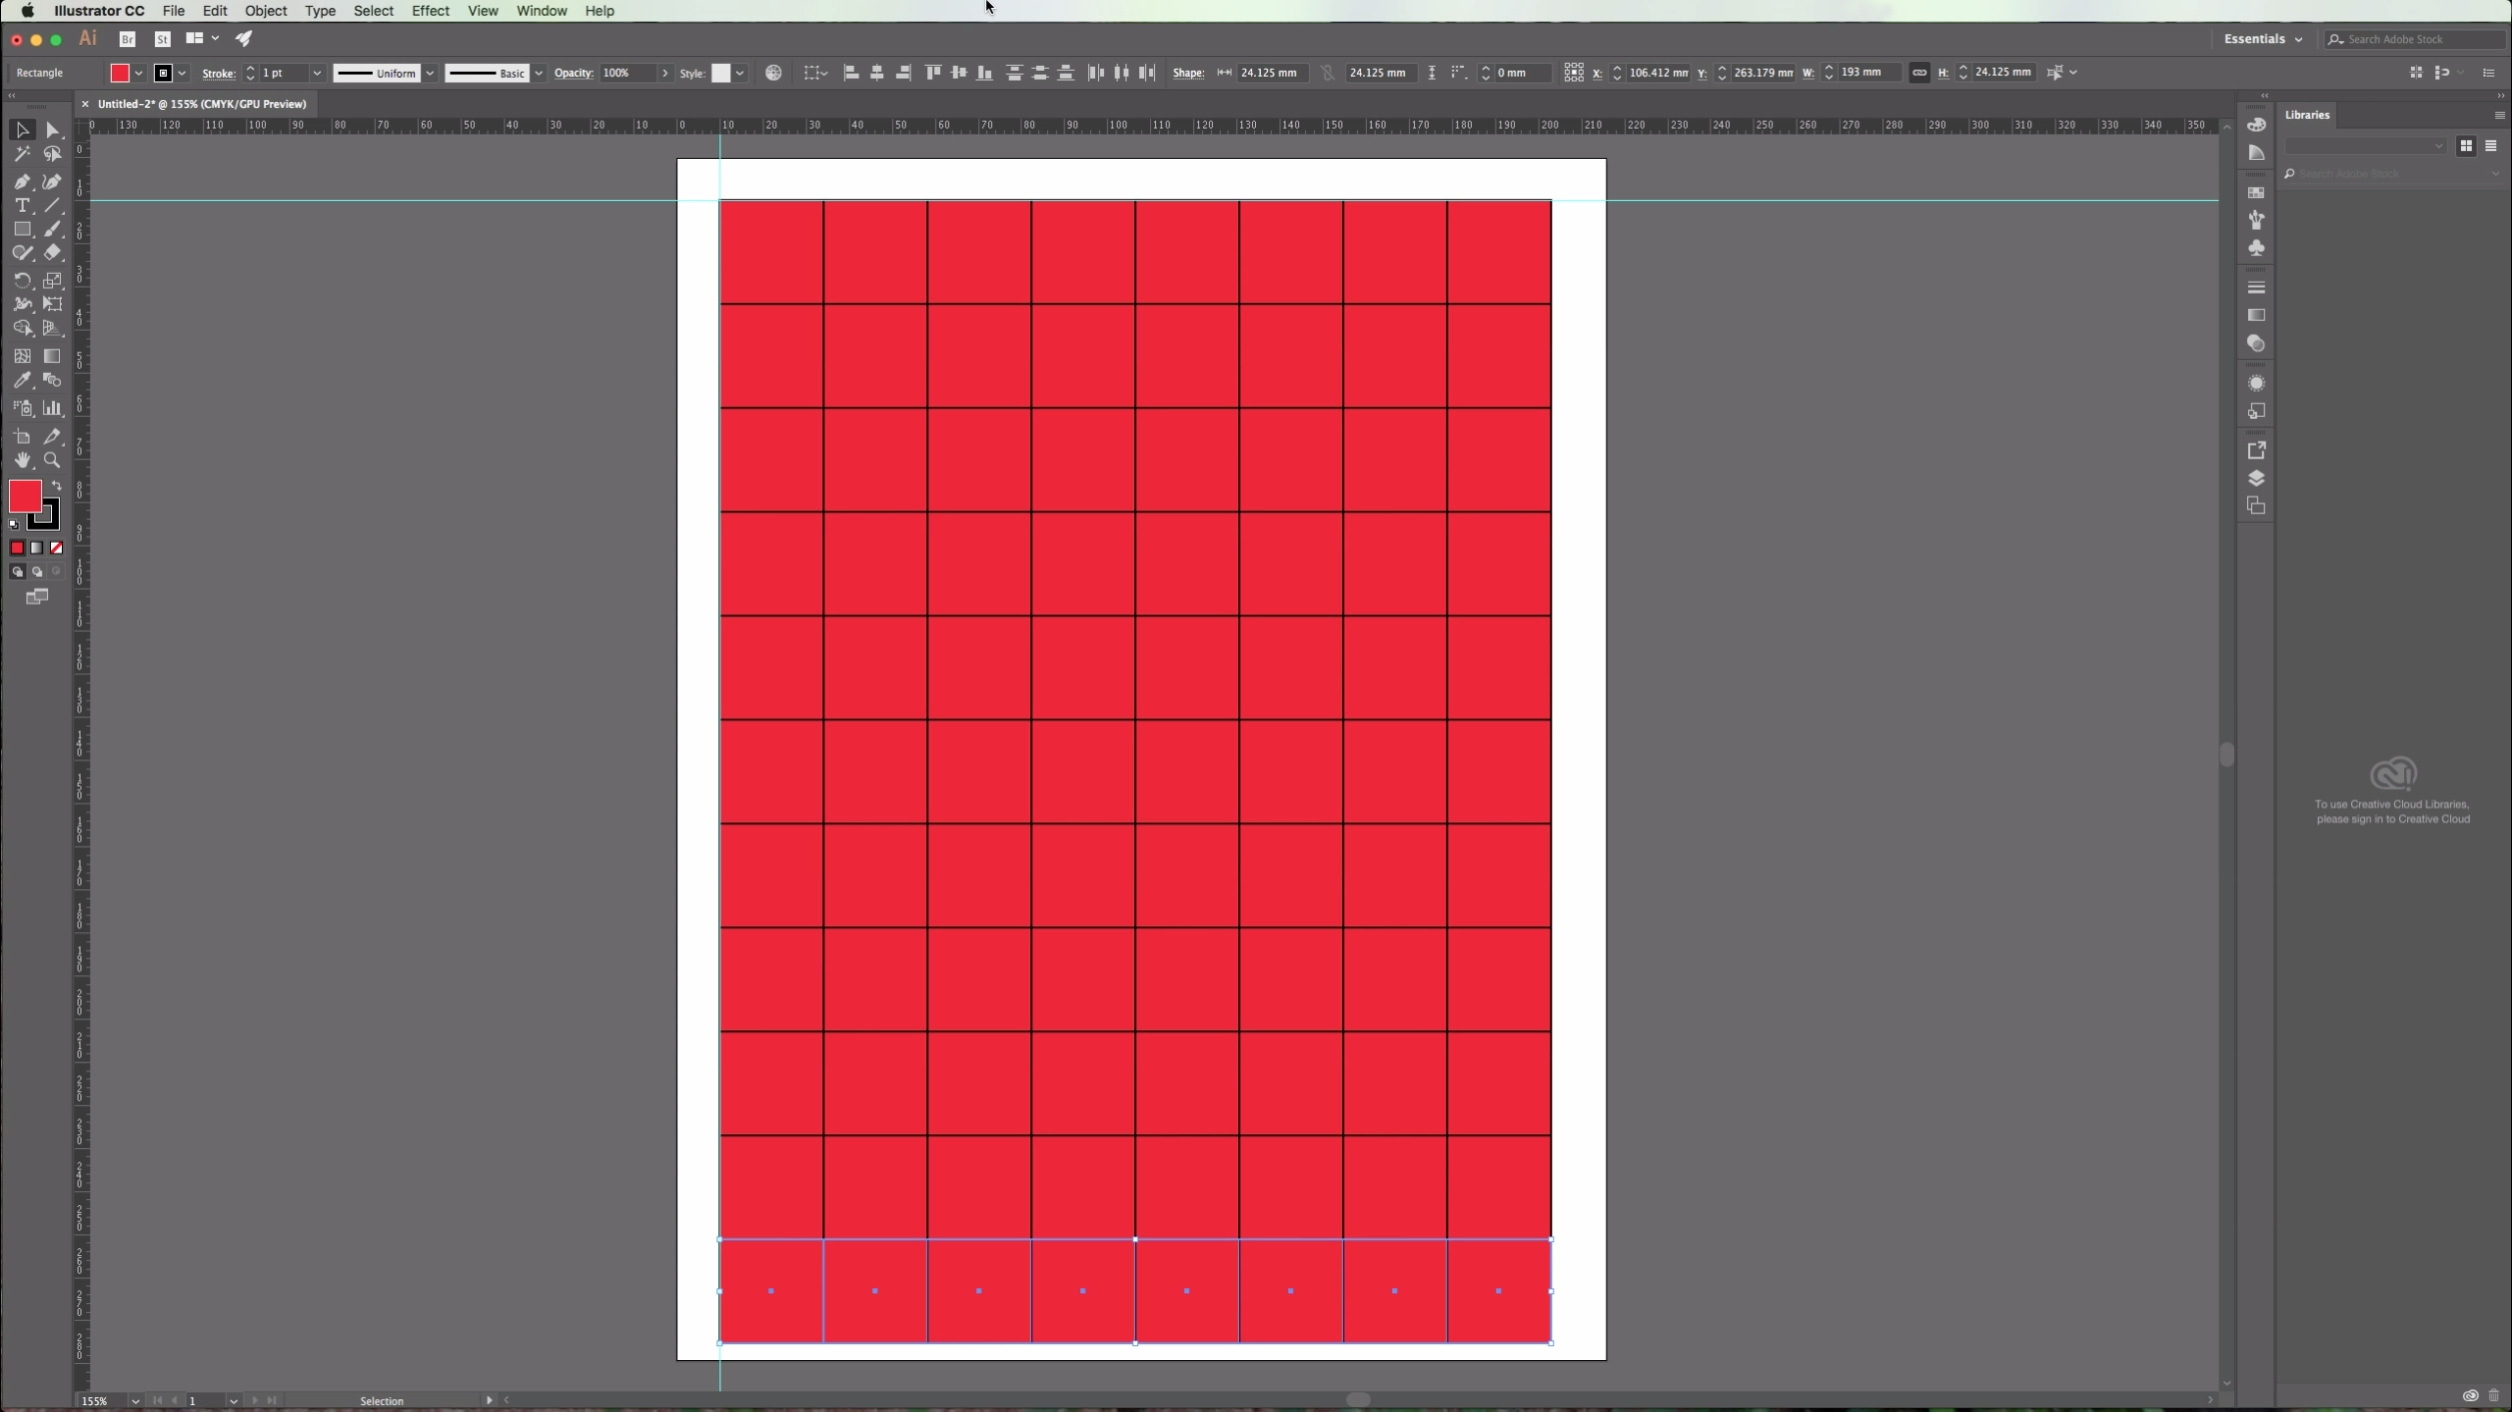
8 - Select your objects, go to Object > Transform and this time change the "Horizontal" value to "0" and the "Vertical" value to the height of your object. (The "H" value in your top menu). Repeat using Command/Control + D as many times as needed to fill the page. *
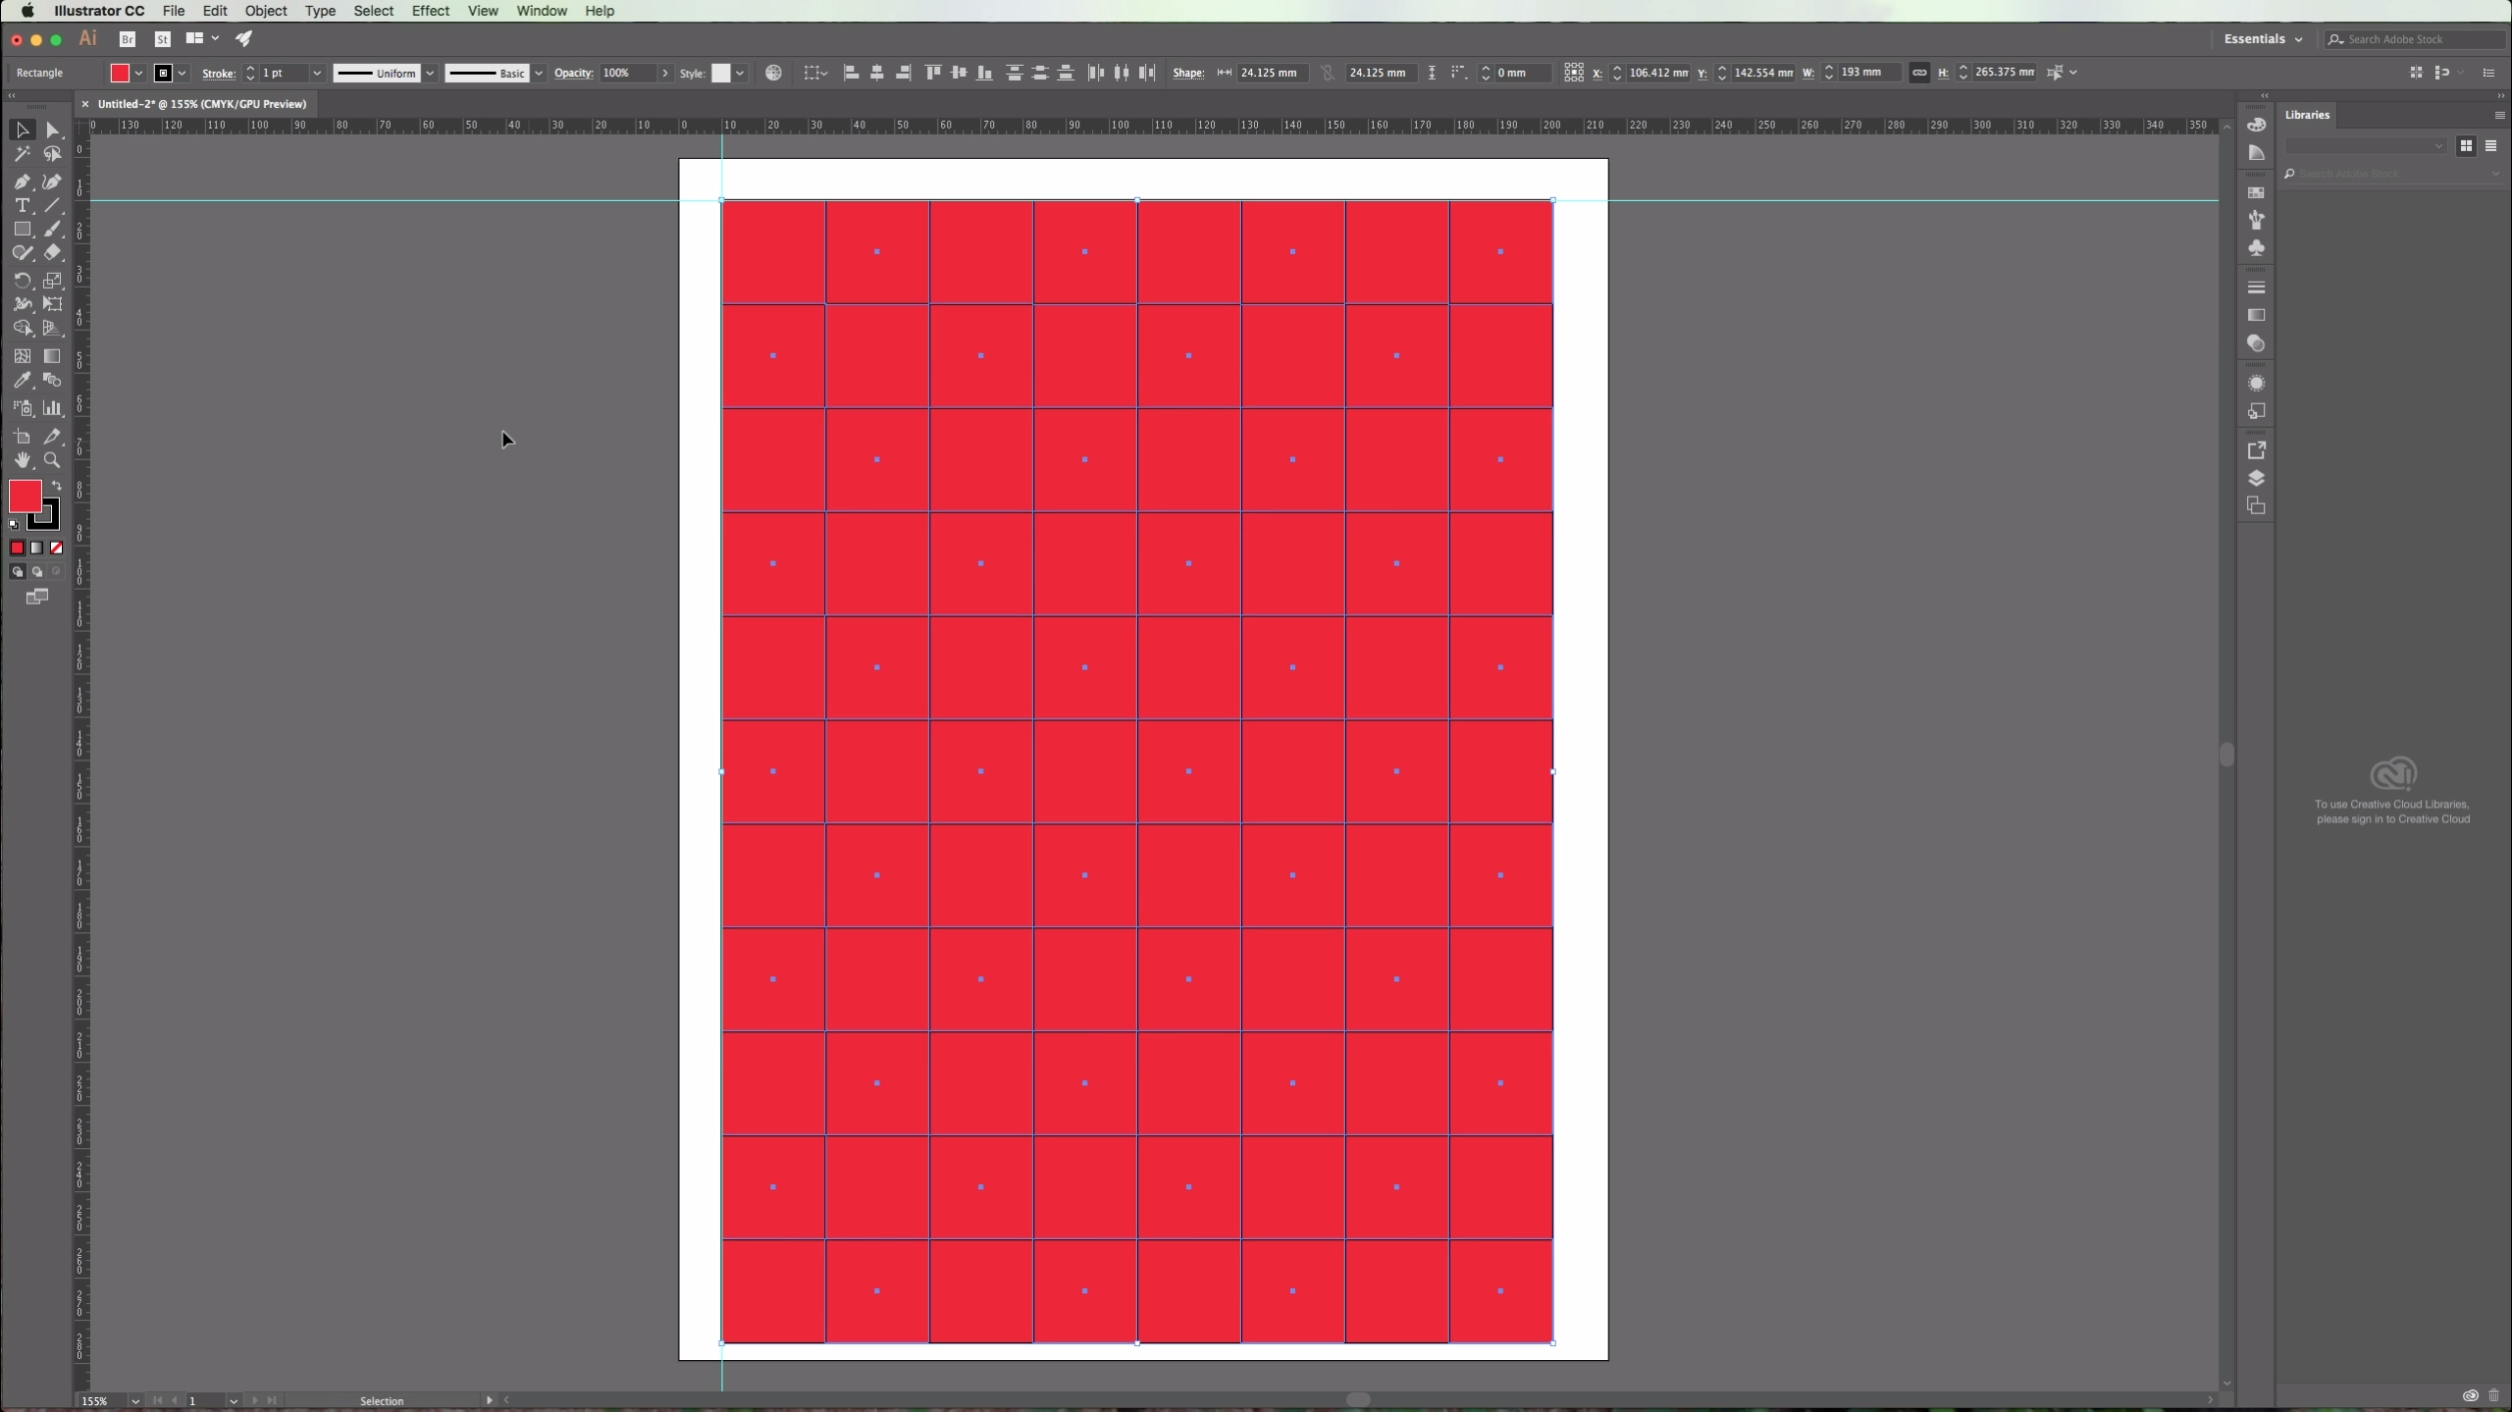
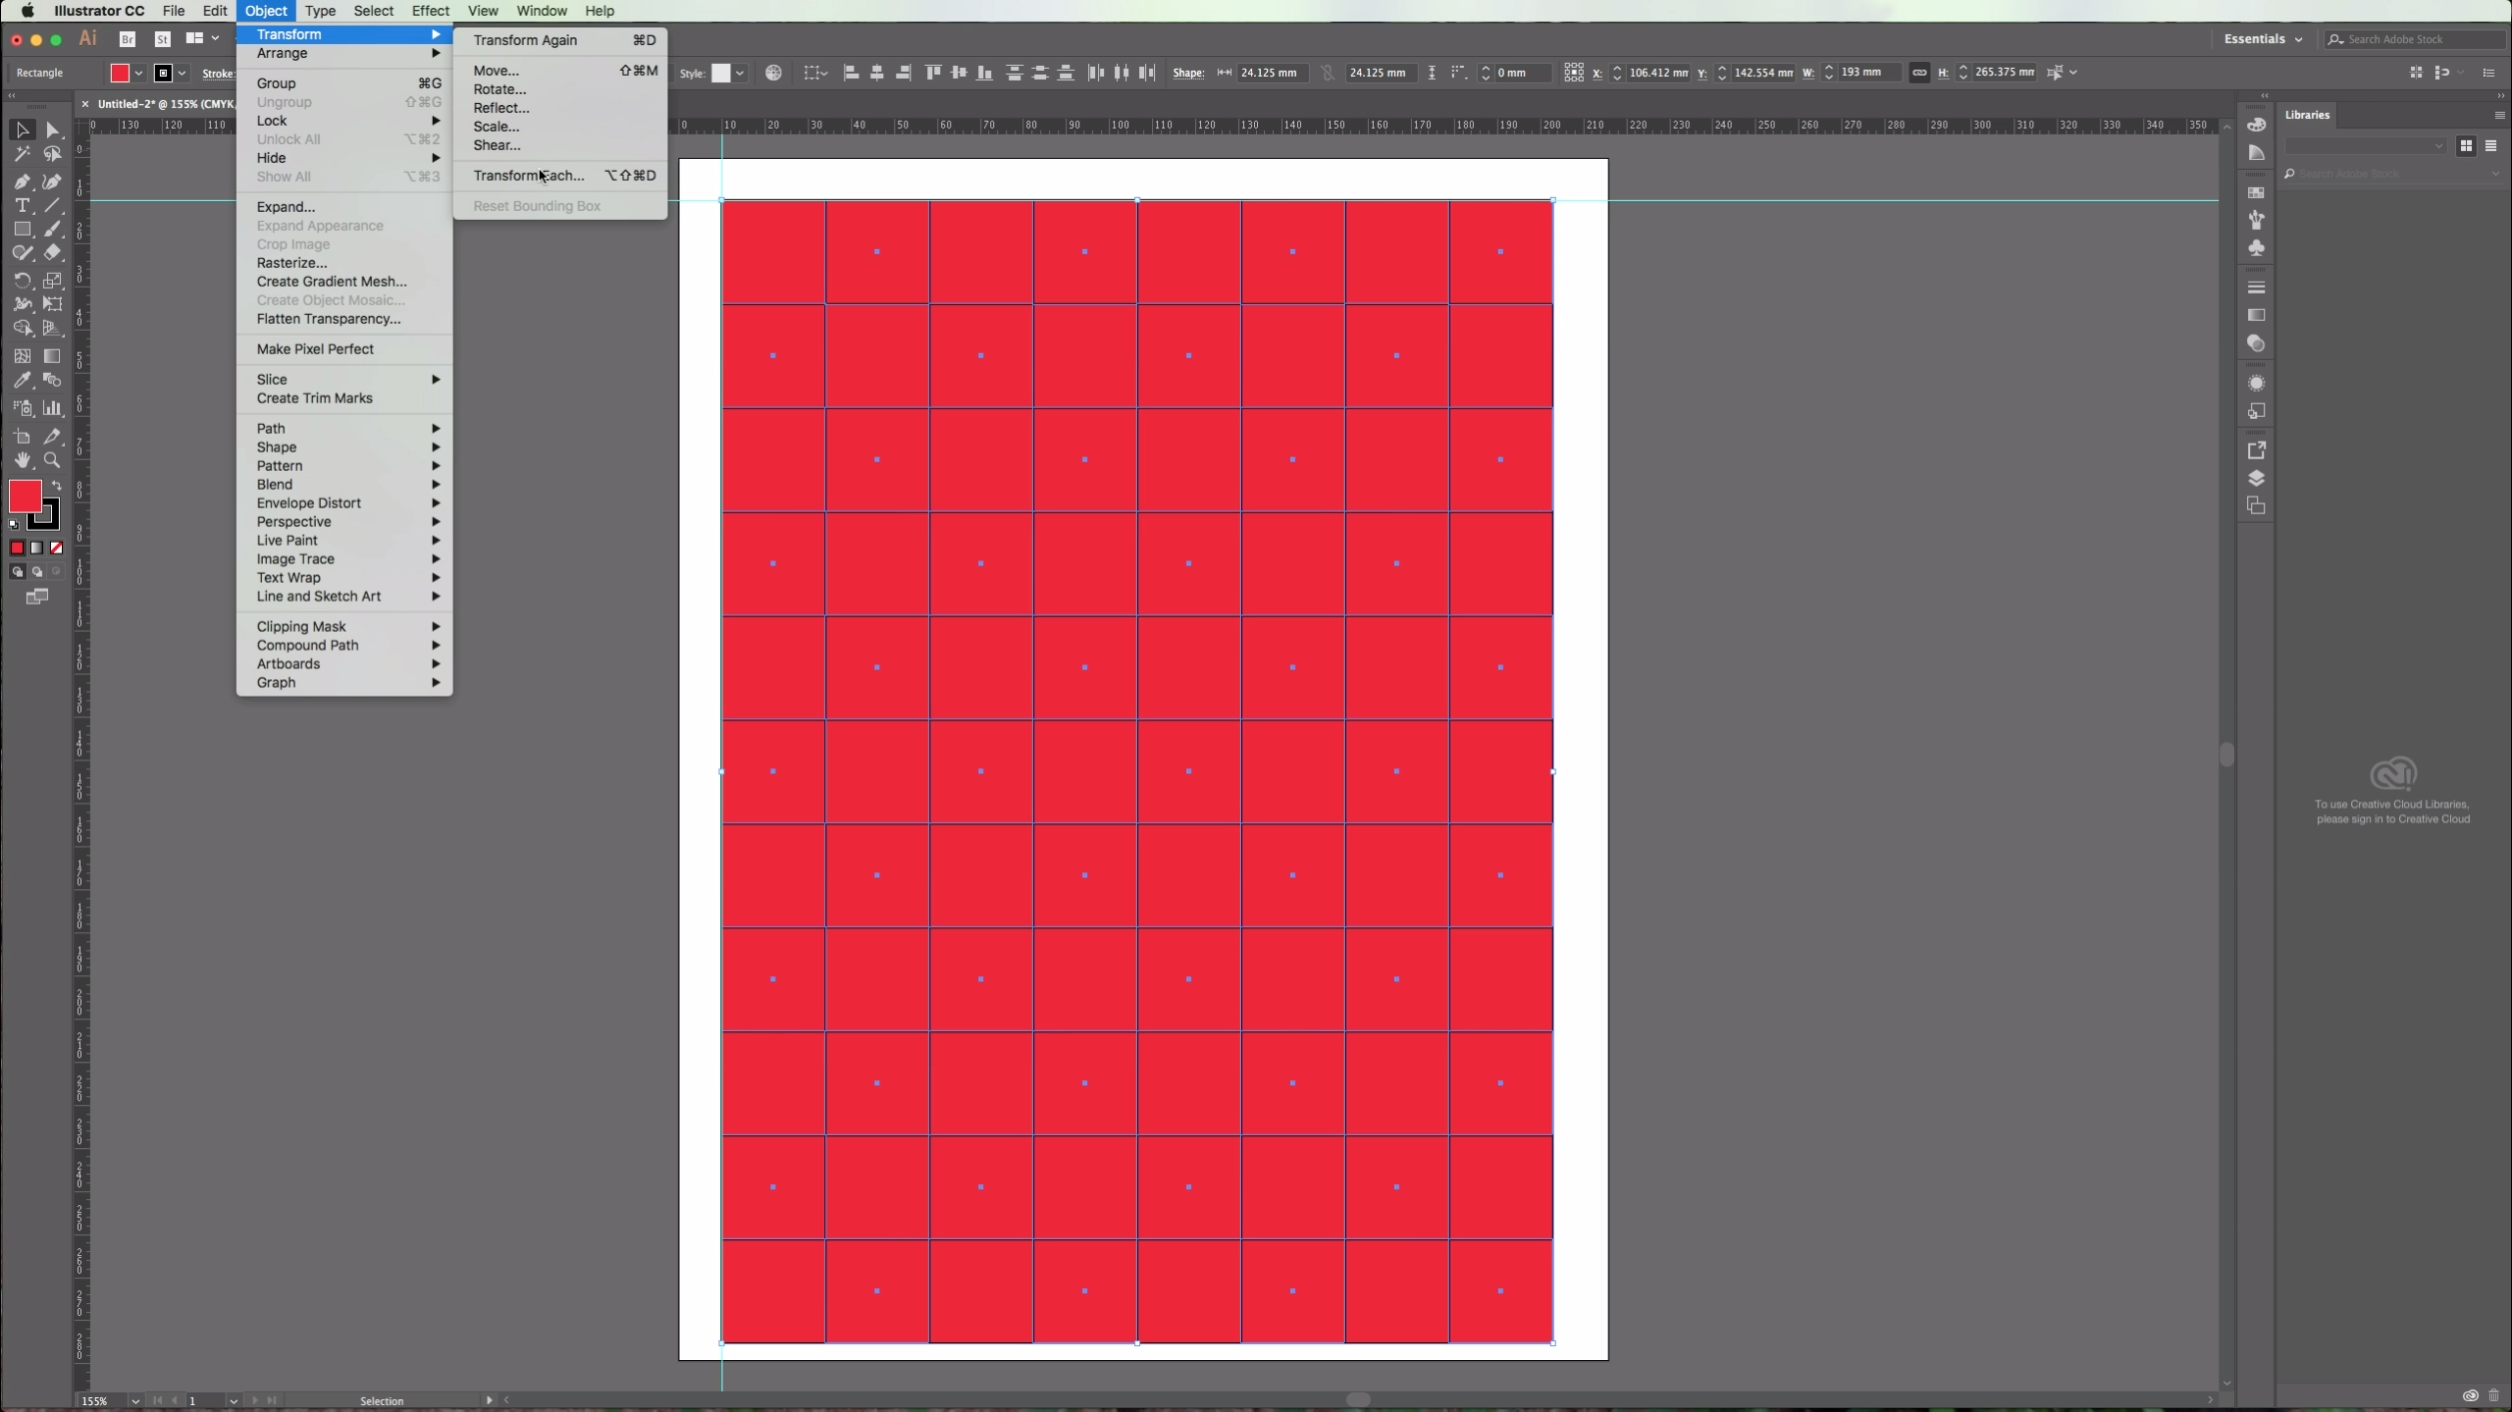
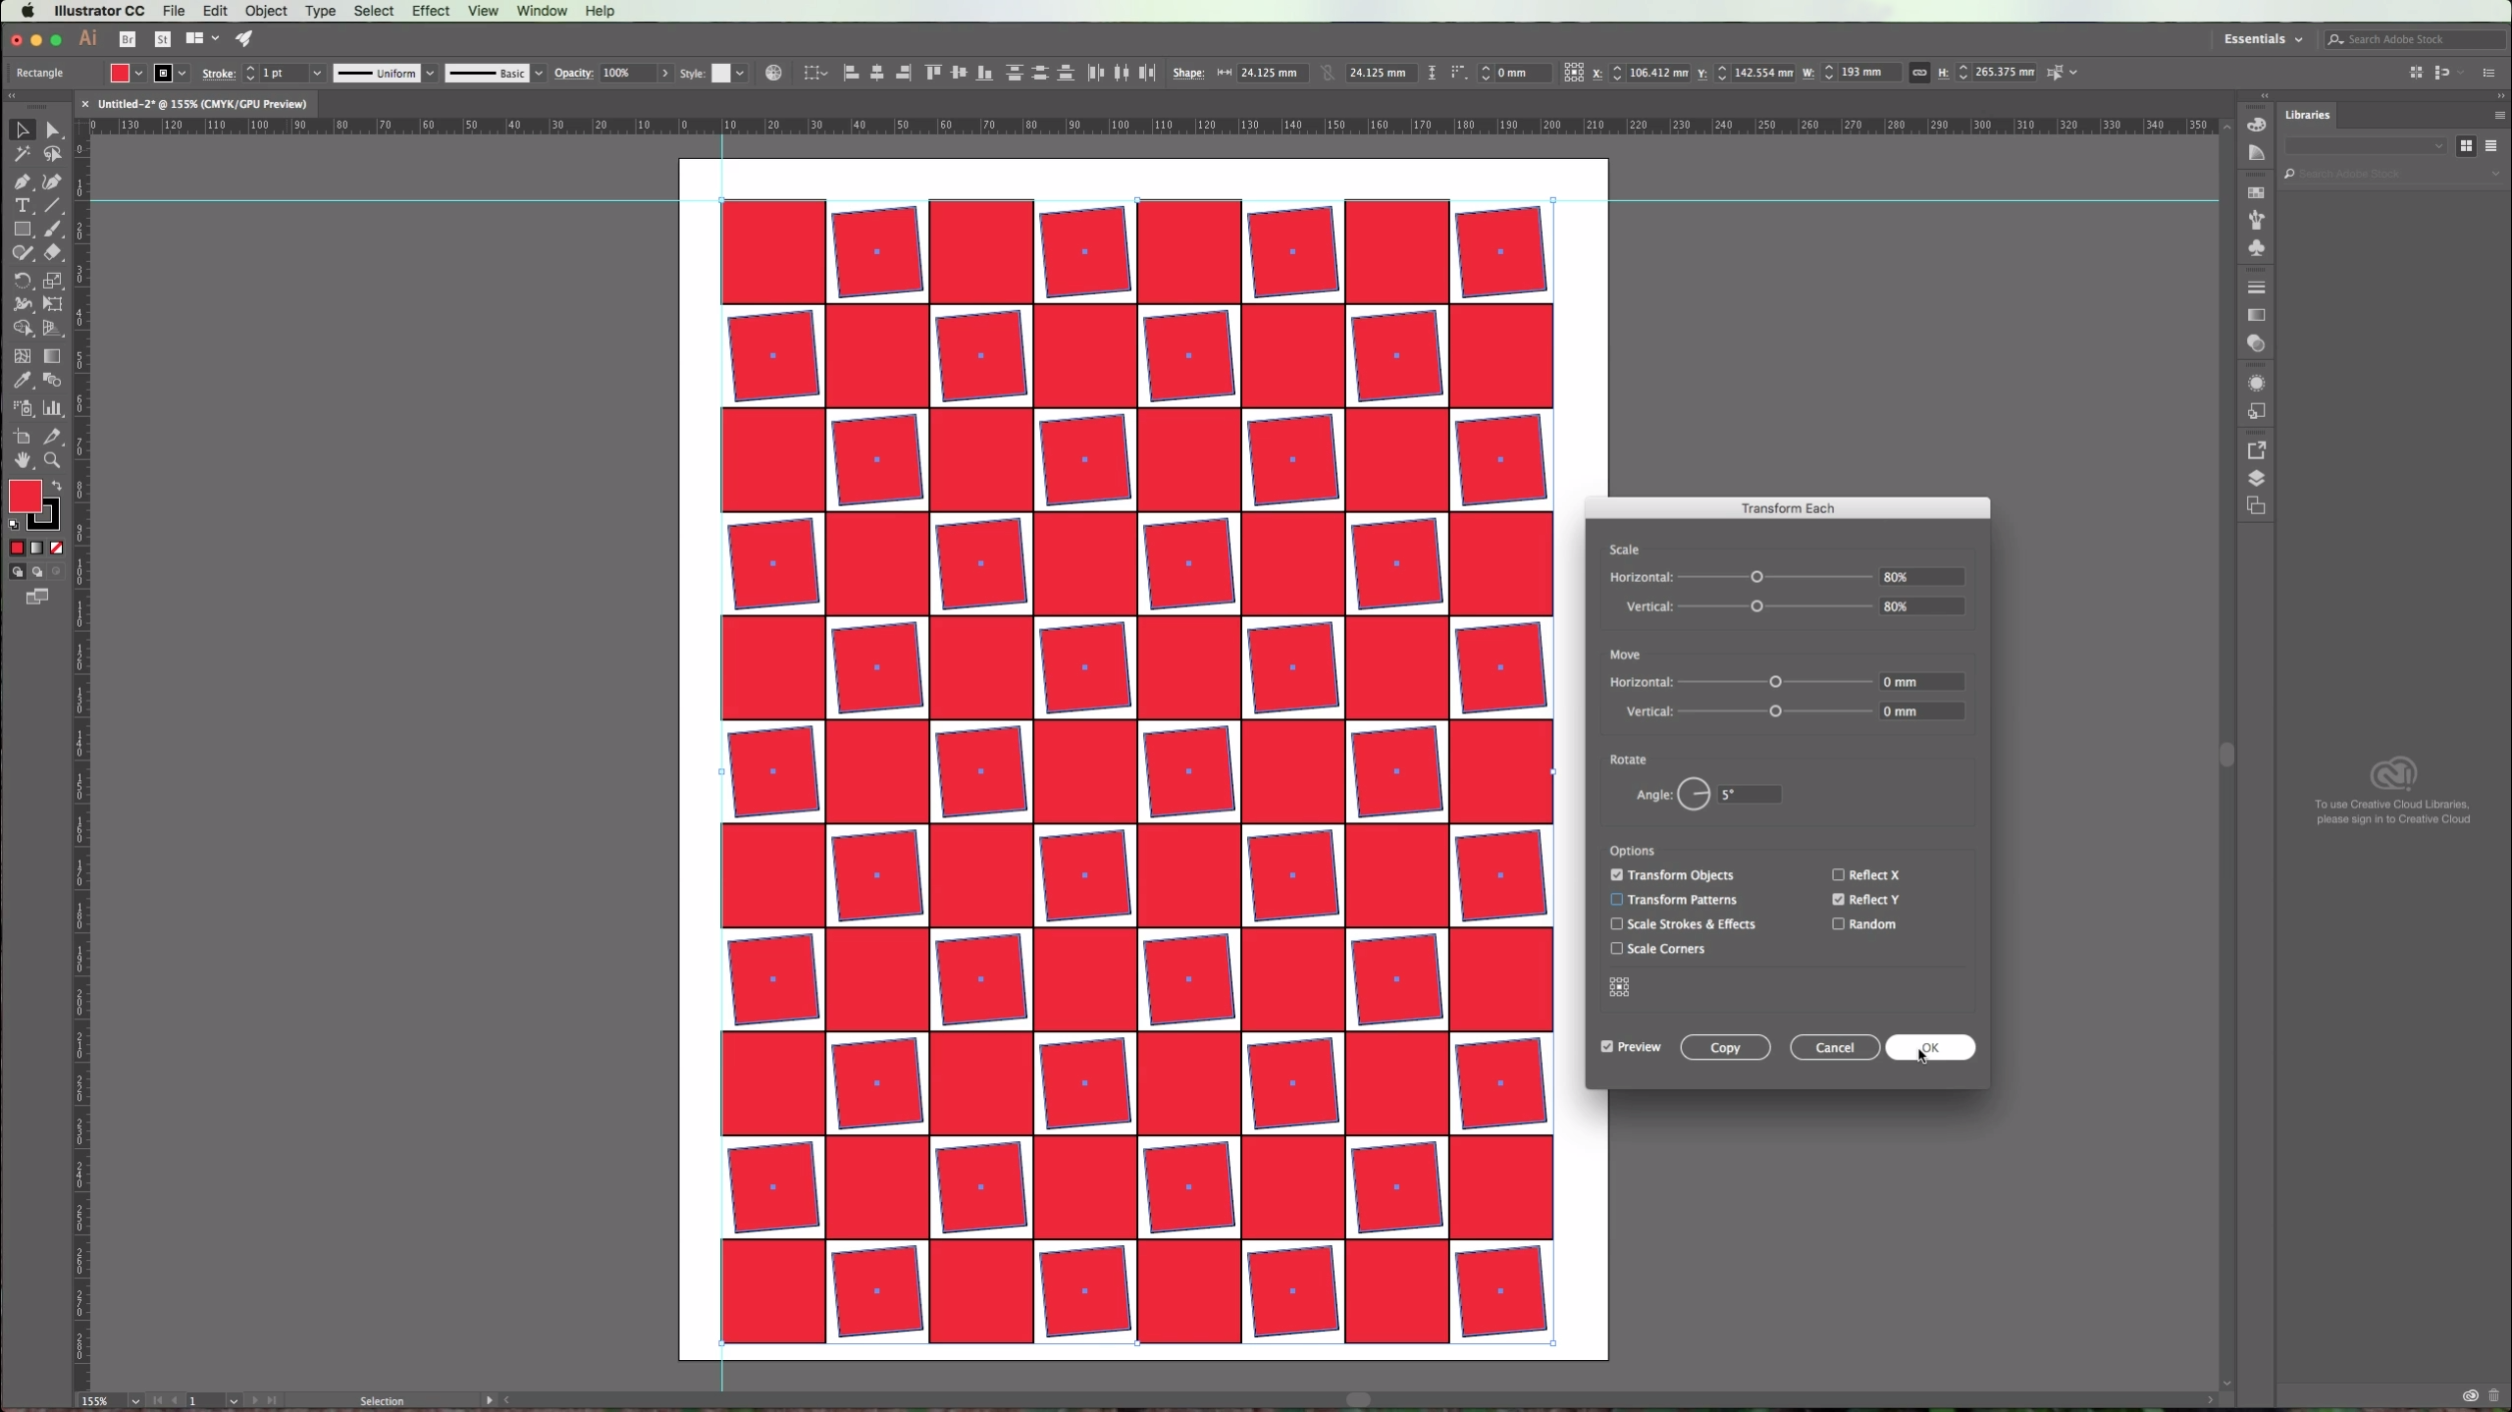
9 - Select some of your objects (In this case we selected alternated squares) and go to Object > Transform Each. In the appearing dialog box choose the values you want to modify. We chose a "Scale" of 80% both "Horizontal" and "Vertical", a "Rotation Angle" of 5 degrees and checked the "Reflect Y" box. Click "OK".
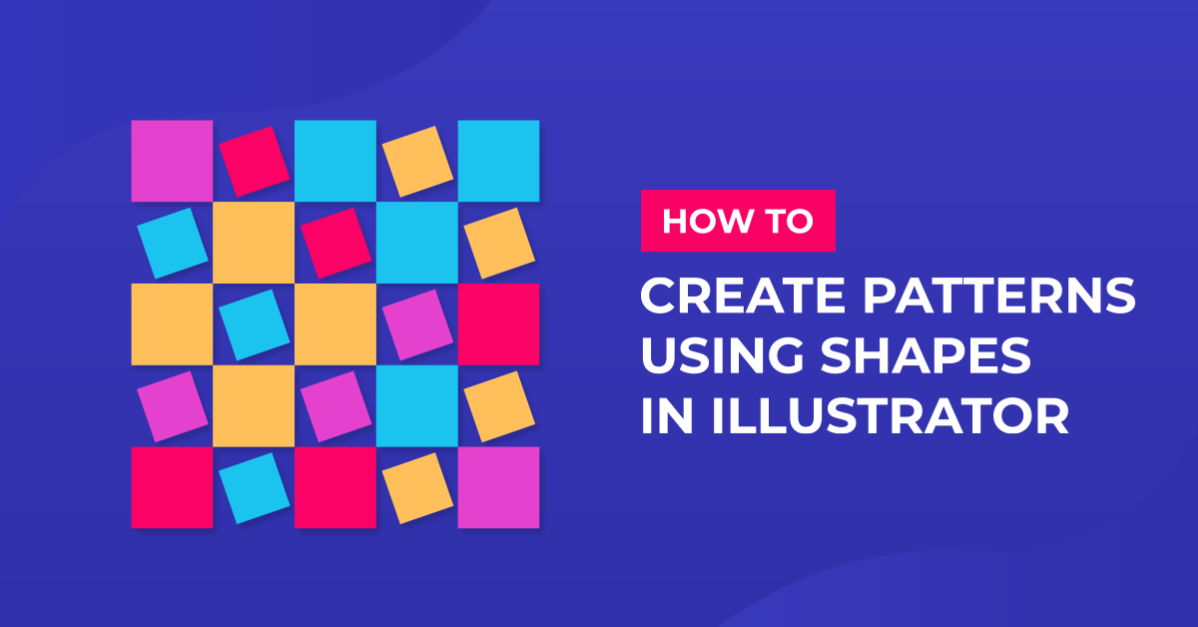
10 - End result.
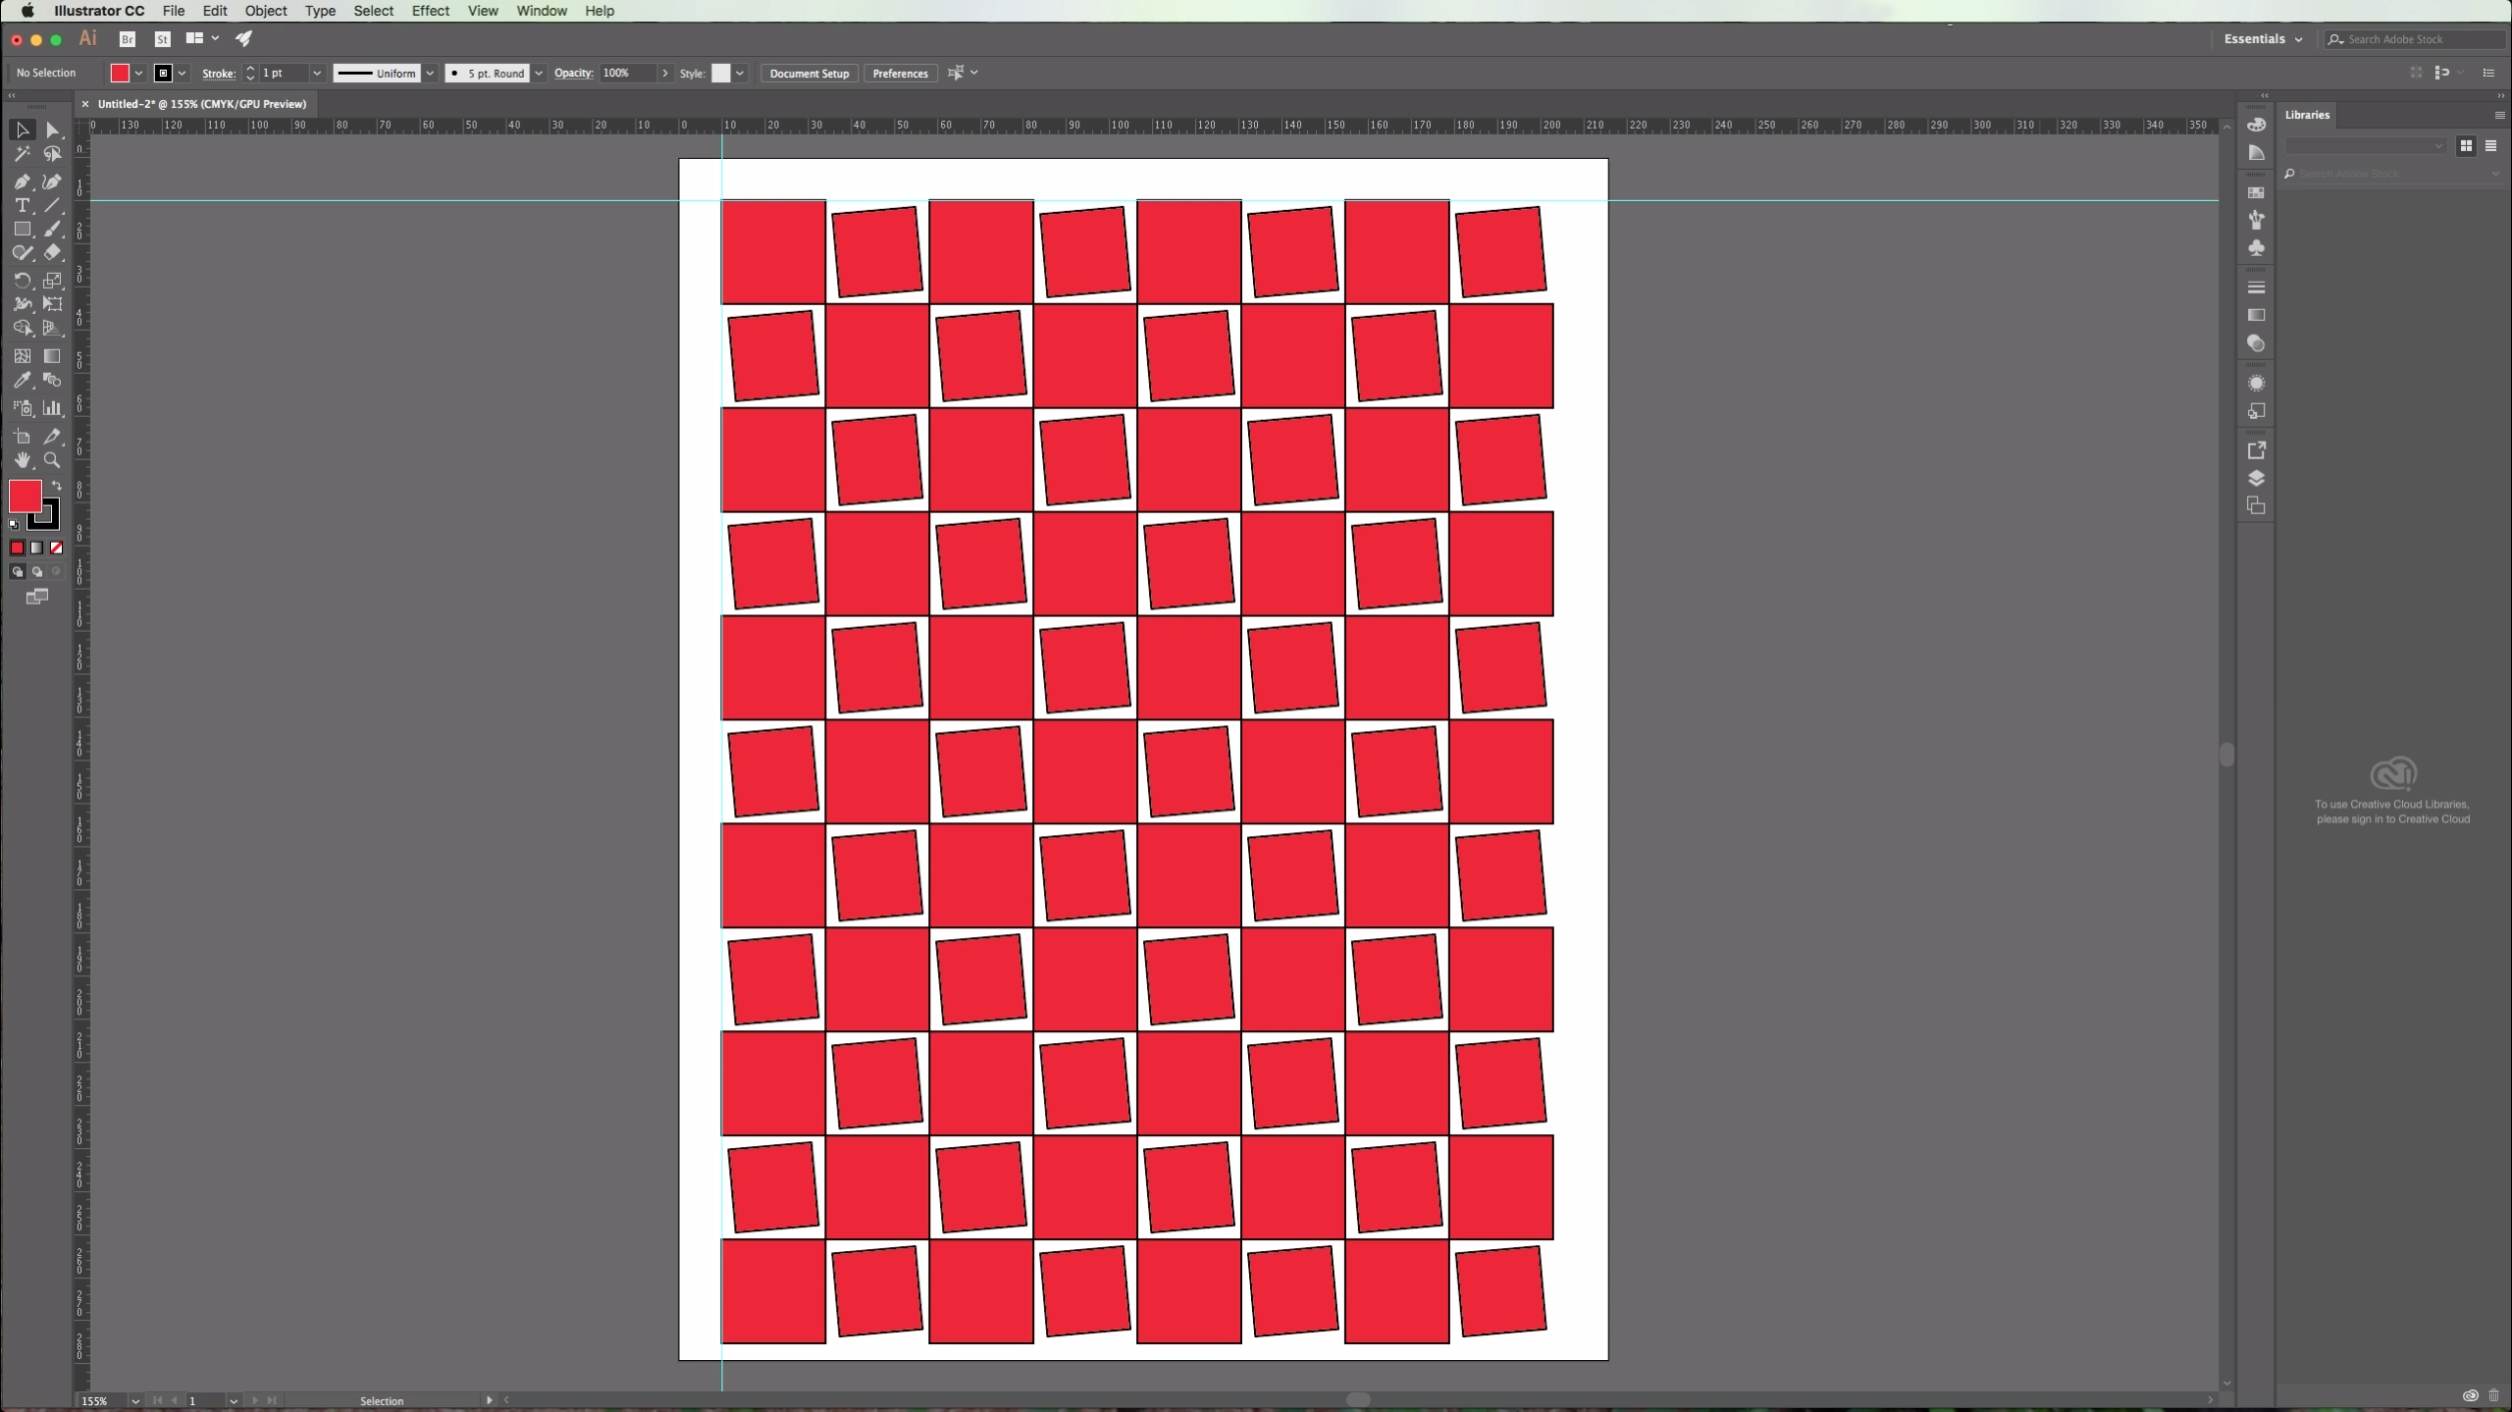
This can be particularly useful if you want to create vector textures.
* Note: You can use a bigger value if you want to have some white space between your objects.
2 - Create a New Document or open an existing one.
3 - (Optional) Go to View > Rulers > Show Rulers or click Command/Control + R to turn on page rulers.
3a - (Optional) Click and drag on the rulers to place a Guide on your desired position (In this case we placed it 1 centimeter from the top). Repeat with the vertical ruler. (Go to View > Guides and make sure that "Lock Guides" is selected so you won't select and/or move your guides by mistake).
3b -(Optional) If you want to modify or delete your guides you will need to "Unlock Guides" or "Clear Guides" in order to do it.
4 - Choose the "Rectangle Tool" from the Toolbox and draw a square by clicking the "Shift" key while pulling the cursor down and right to make it's sides even.
5 - You can change the default "Fill" and "Stroke" colors in the Toolbox.
6 - Select your square and go to Object > Move, or click Shift + Command/Control + M. In the "Horizontal" position box add a value equal to your shape's width (You can check it in the right side of your upper menu. Add a value of "0" to the "Vertical" and "Angle" boxes and click "Copy" to place a copy of your shape in the desired position. (If you want you can check the "Preview" box to make sure your object is going to be placed where you want). *
7 - Go to Object > Transform Again or click Command/Control + D to repeat until you fill the line of shapes.
8 - Select your objects, go to Object > Transform and this time change the "Horizontal" value to "0" and the "Vertical" value to the height of your object. (The "H" value in your top menu). Repeat using Command/Control + D as many times as needed to fill the page. *
9 - Select some of your objects (In this case we selected alternated squares) and go to Object > Transform Each. In the appearing dialog box choose the values you want to modify. We chose a "Scale" of 80% both "Horizontal" and "Vertical", a "Rotation Angle" of 5 degrees and checked the "Reflect Y" box. Click "OK".
10 - End result.
This can be particularly useful if you want to create vector textures.
* Note: You can use a bigger value if you want to have some white space between your objects.
by @lornacane
Related Tutorials
Illustrator Tutorials
Creating shapes using duplicates in Illustrator
Illustrator Tutorials
Opening and using PNG Files in Illustrator
Cricut Tutorials
Creating decorative borders in Cricut Design Space using the foil quill
Learn how to to make unique borders for cards or other craft projects!
Illustrator Tutorials
Using Fonts in Adobe Illustrator
In this tutorial you'll learn how to quickly and easily use fonts in Adobe Illustrator.
Illustrator Tutorials
Heart Shapes in Illustrator
Illustrator Tutorials