By Christine Hattingh
How to Make Instagram Highlight Covers in Illustrator
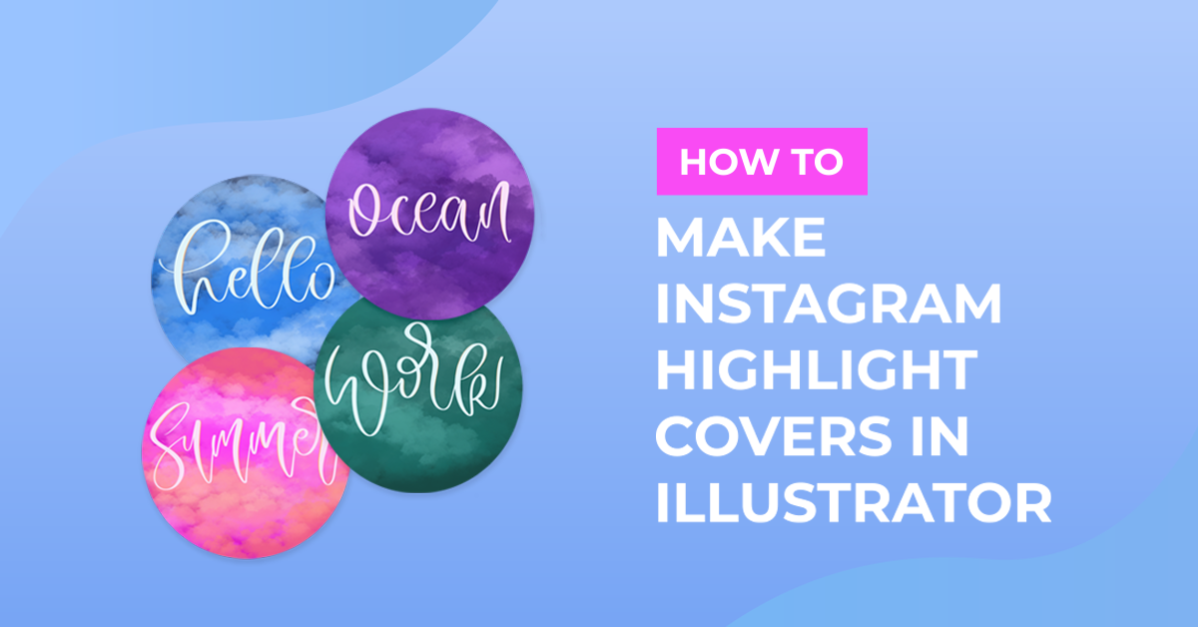
Set yourself apart and personalize your Instagram by making custom highlight covers. Showcase your style and personality in an eye-catching way. In this tutorial, we will be creating Instagram highlight covers in Illustrator.
We are using these sunset watercolor background images and the Black Pearl font duo to add text. Before you get started, download and install your font. Save the backgrounds or elements you will be using in a folder that’s easy to find.

Step 1 - Create artboards for highlight covers
Create a new document in Illustrator and set the size recommended for Instagram highlight covers. We are also going to add more artboards. Each artboard will represent one highlight cover. Below are the settings we used for our document. Click “Create” when you are done adding the settings.
Settings:
- Width: 1080 px
- Height: 1920 px
- Artboards: 5 (or how many you’ll need)
- Color Mode: RGB
- Raster Effects: 72 ppi

Step 2 - Add a Background to the covers
Next, we are going to add a background to each artboard. You can use images or solid colors. For this tutorial, we will use watercolor images. We will also use clipping masks to clip the images to the shape of our artboards.

Step 3 - Create a Circle Template
In this step, we are going to add a circle outline shape that will be used as a template. This will help prevent unwanted cropping of elements you want to use in the Instagram highlight covers.
Use the “Ellipse Tool” Keyboard shortcut (L), then start drawing the circle. Hold down “Shift” while drawing to make it perfectly round.

Next, we want to change the circle from fill to just a stroke outline. On the side toolbar at the bottom, you will see fill and stroke color boxes. Simply click on the “Swap Fill and Stroke” arrows or shortcut (Shift X) to change the fill to stroke.

Click on an artboard and circle outline, then center the circle template on the artboard. If Alignment is not visible in the top toolbar you can go to “Window” > “Align”.

Repeat the step until you have a circle template on each artboard that is centered.
Step 4 - Add text to your covers
Next, we are going to add text to each artboard for our Instagram highlight covers. Here you could also add an element. These texts or elements will tell a viewer what each highlight group is about. Think along the lines of, My family, Holidays, Home decor, etc.
We are going to use the keyboard shortcut (T) to enable the type tool. Click anywhere to start typing. Once you have text in each artboard you can change the font style, color, and size. Adjust according to what works with your aesthetic and fits within the circle template.
If you can’t see where to change font styles, sizes, etc. go to “Window” > “Type” and then “Character”.

Step 5 - Export Instagram Highlight Covers
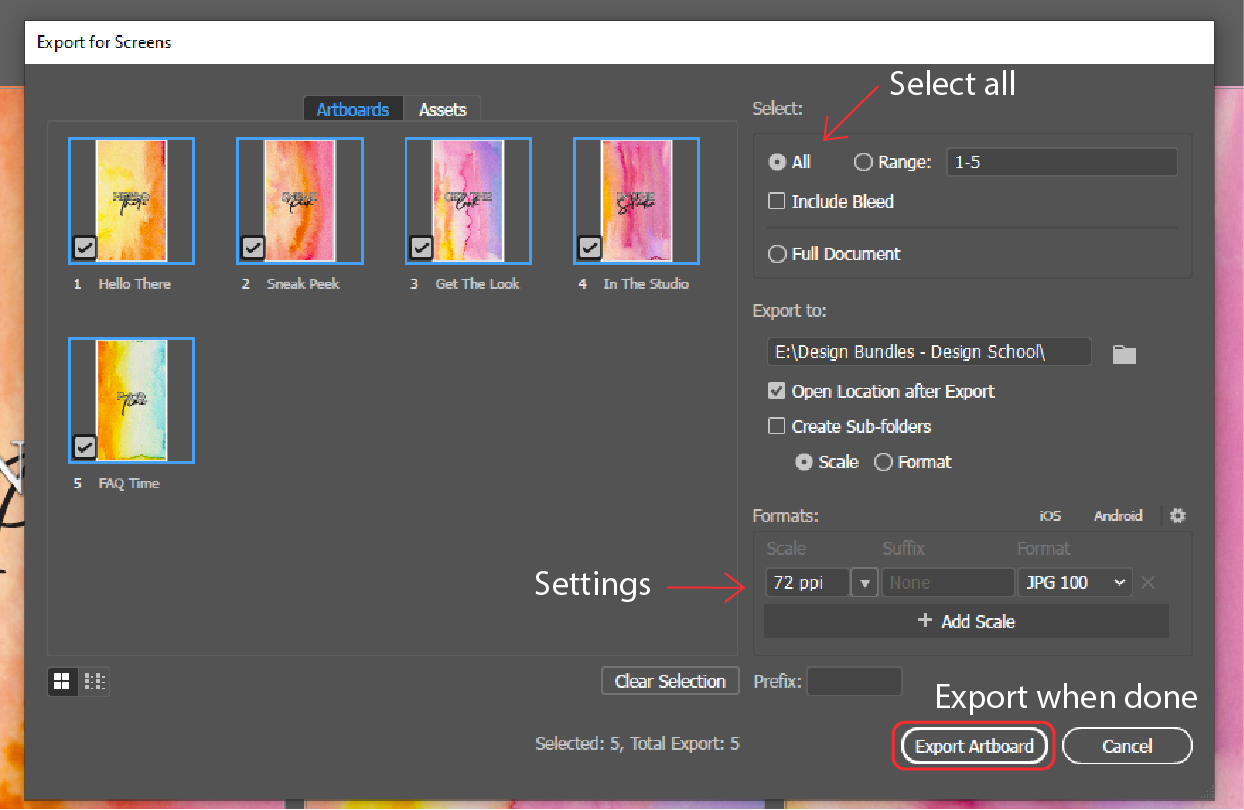
Your Instagram highlight covers are now complete and ready to be used. The first thing you need to do is delete all circle templates before exporting the covers. Next, we are going to save our highlight covers by batch exporting files. Go to “File” > “Export” and click on “Export for Screens”.

You will see the “Export for Screens” window appear. We are exporting all of the artboards and saving them to a file of your choice. Next, we set the formats with a Scale of 72 ppi and a Format of JPG 100. Finally, you can click “Export Artboard” and you are done.
You can now transfer your Instagram highlight icons to your phone and start using them on Instagram.
If you liked this tutorial, be sure to check out our other tutorials on creating an Instagram carousel in Illustrator, loading and saving color swatches, and creating a ribbon banner in Illustrator.