By Design Bundles
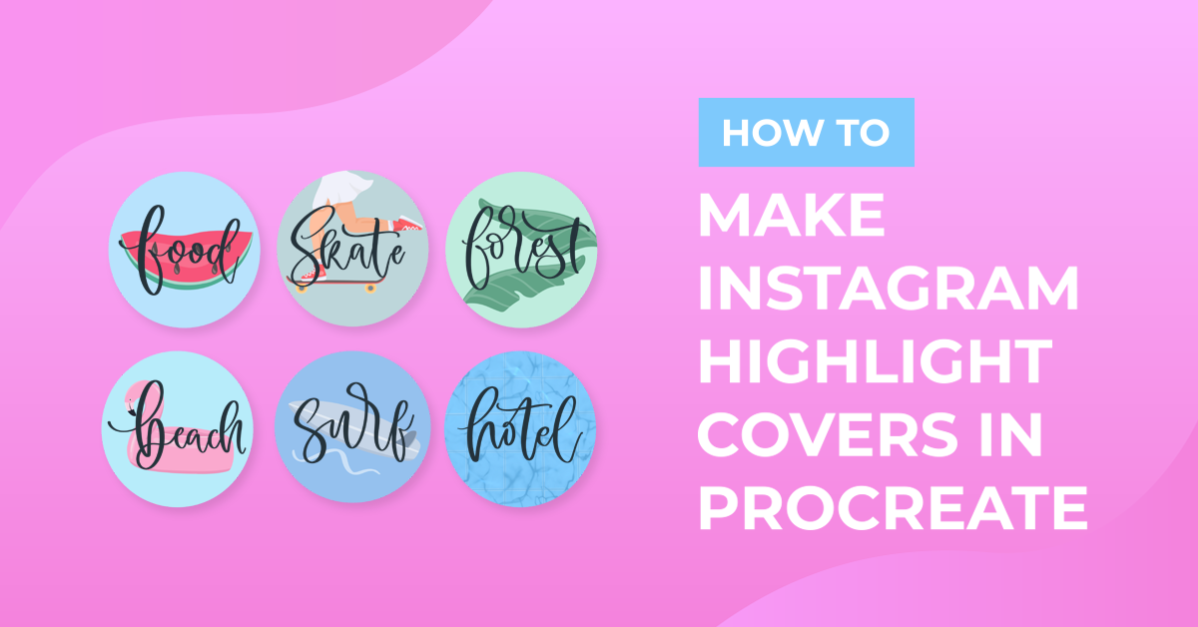
How to Make Instagram Highlight Covers in Procreate
In this tutorial, we will be creating Instagram highlight covers in Procreate. We also have a tutorial on making highlight covers in Canva if that is your preferred program. You can create custom Highlight covers for your Instagram to add your own personality and create a cohesive look that matches your style.
We will use brushes from the versatile brush bundle and marble Procreate brushes to create our Instagram Highlight covers.
Please note: we are using the latest version of Procreate 5X. If you do not see the features mentioned below, ensure your Procreate is up-to-date.
Step 1 - Set up your canvas
Having a canvas that is the correct size will help with centering your icon and ensuring it’s good quality. The first thing we need to do is create a custom canvas size that is 1080px in width and 1920px in height (1080 x 1920px).
Next, with our custom canvas open, we are going to add a 2D Grid Drawing Guide to help with placement and sizing. If you aren’t sure how to do this we have a tutorial on How to use Procreate Drawing Guides.

Step 2 - Background Design
We are now going to make our background/s for our Highlight covers. It’s a good idea to know what style, color palette, and types of covers you want to keep everything cohesive. For my Highlight covers, I want the same background.
Set the background color:
To set a color for your background go to your Layers panel (Stacked square icon top right). At the bottom of the Layers panel, you will see “Background Color”, tap on it to select a color.

Background Texture:
I’m going to add texture to the background so it doesn’t look flat. To do this I started working on my “Layer 1”. I used 2 similar shades to the top and bottom part of my canvas using the (Soft Marble i) brush.

If you plan on having different background colors/textures you can add and work on a new layer for each one by pressing on the plus (+) symbol in your Layers panel. You can also skip and leave your background color white if you plan on having different colors for your backgrounds.
Step 3 - Create the icons
With our background set, we can start making our icons or text for each Highlight cover. For my icons, I’ll be drawing a Calendar, Wreath, Moon, and FAQ text in white and add dusty pink detailing. I am using the (Rough Inker) brush from the Procreate brush bundle to draw my icons.

Work in Layers:
Make sure you create a blank layer to work on for each icon to easily edit it. If you plan to use more than 2 colors on your icons as I have above you could make each color on separate layers and group them.

Center the icons:
When you have your icon, you will need to center it on the canvas to make sure it doesn’t look odd or get cut off when setting it as your Highlight cover. To center your icons, select it and tap on Transformation (mouse pointer icon). Make sure you have “Uniform” and “Snapping” selected. Move the icon to the center of the canvas, if it’s centered you will see golden yellow vertical and horizontal lines appear.

Step 4 - Save as separate images
The final step we will take is exporting the Highlight covers as images that we can easily add to our Instagram Highlight covers. There are two ways you can export your covers depending on your background.
Single Cover Export:
You have your icons on separate layers, one background color, and maybe a texture too. To export our Highlight covers we will need to make one icon visible at a time, and export it. This way of exporting your Highlight covers keeps your canvas a “working” file. Meaning you can always go back and change colors add more icons without needing to re-create it from the start.
Start by hiding your icons and only have one visible by checking the tick box next to the layer. Go to the Actions panel “Wrench” icon on the top left corner. Tap on “Share” and select JPEG from the options and save it as an image.

Multi Cover Export:
If you have multiple Highlight covers or have different backgrounds for each, exporting them all at once will be quicker. The first thing you will need to do is make sure your Highlight covers are merged and on separate layers (see image).
Go to the Actions panel “Wrench” icon on the top left corner. Tap on “Share” and select PNG Files under “Share Layers” from the options. This will save each cover you have on a separate layer as a single image.
Note: this method will not work if you have a universal Background color set as exporting them as separate PNG files will remove the background and only export layers.

Once saved you can add the covers to your Instagram Highlights. Next up, check out our tutorials on making a Procreate texture brush, creating a GIF in Procreate, and using the Smudge tool.