By Design Bundles
How to create a custom fill pattern in brother scan and cut canvas workspace
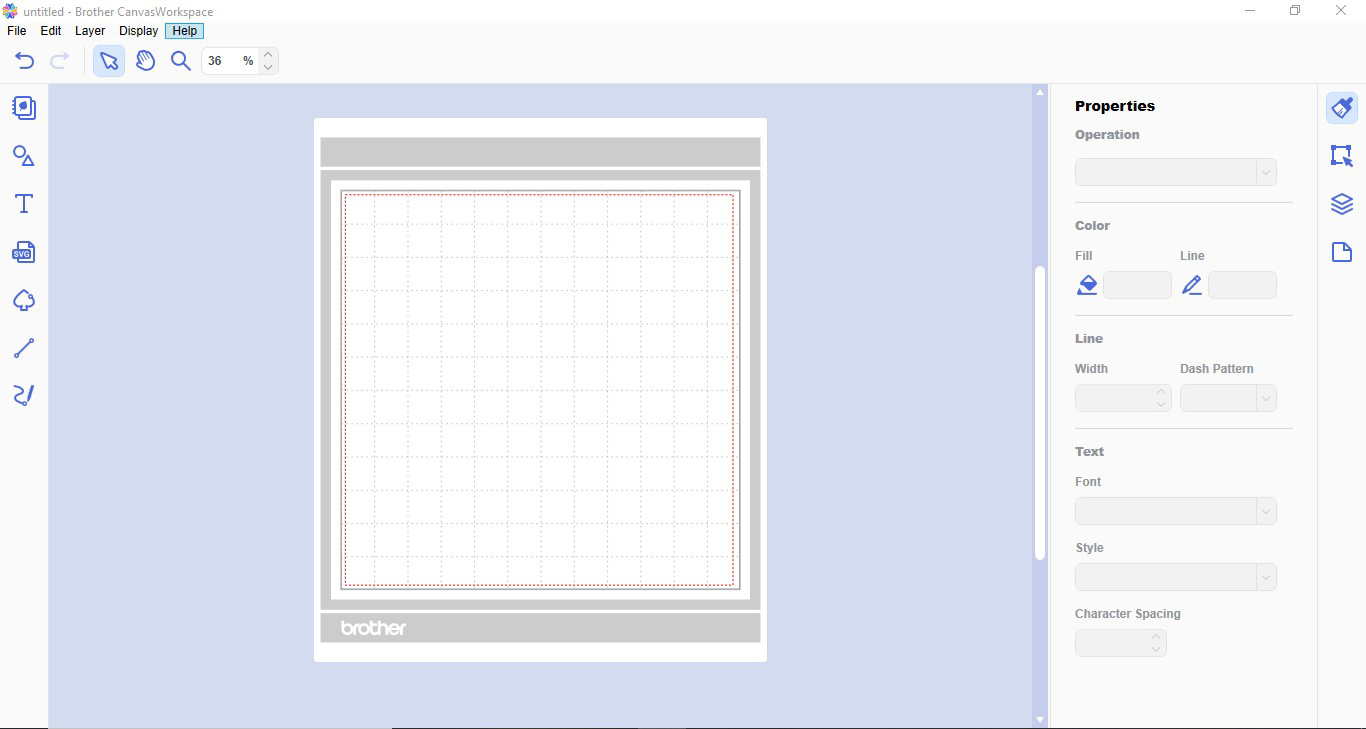
1- Open canvas workspace.
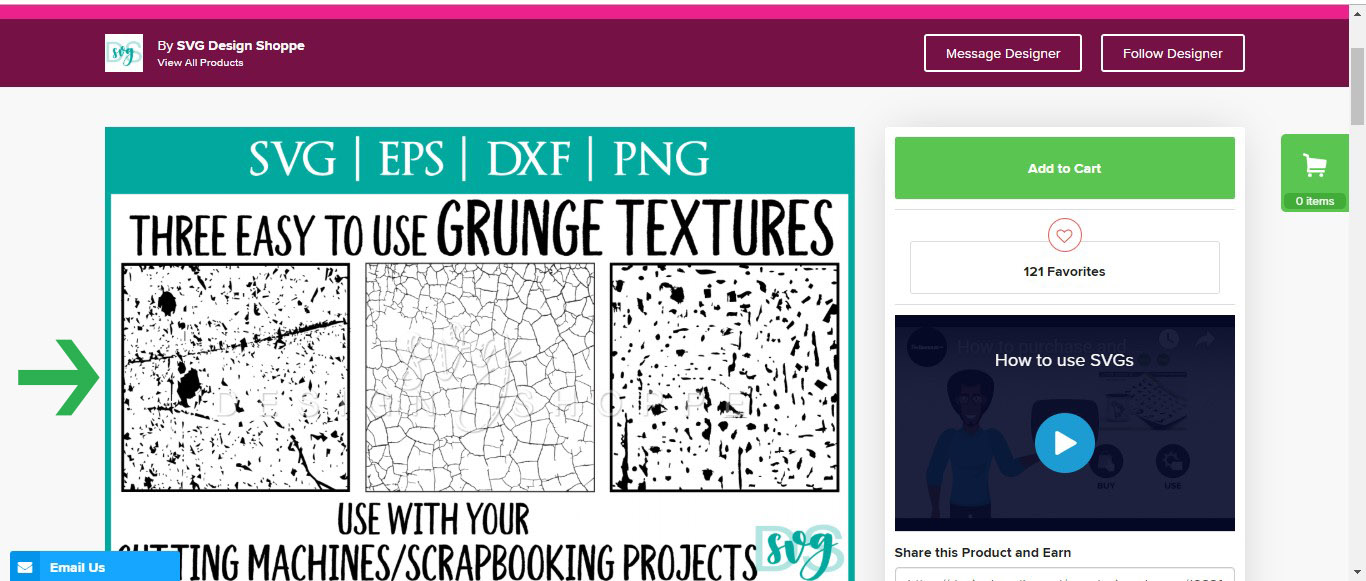
2- You will need a texture to use for your custom fill. You can find many online for free. You can also purchase them on Design Bundles. I am using a grunge texture vector file.Download and unzip the file to use.
3- To access your texture, go to File > Import From Your Computer.
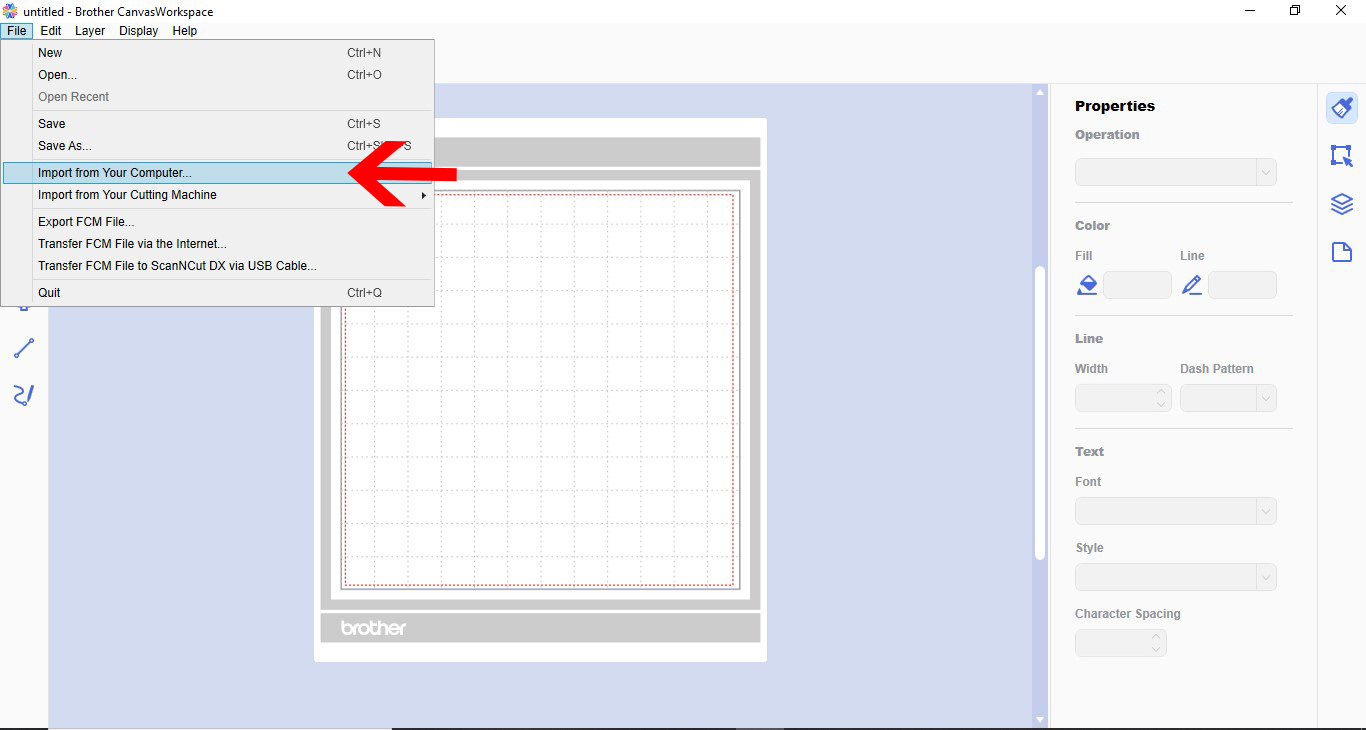
4- Find the file and open it.
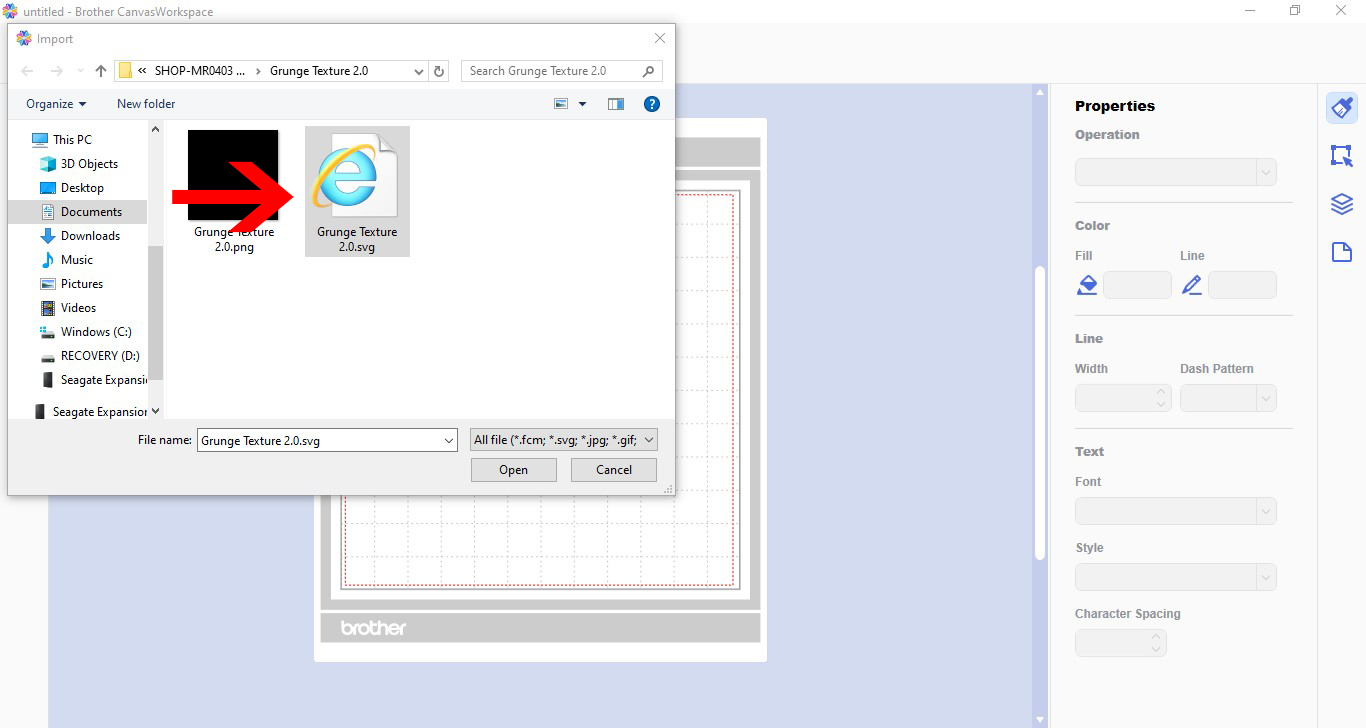
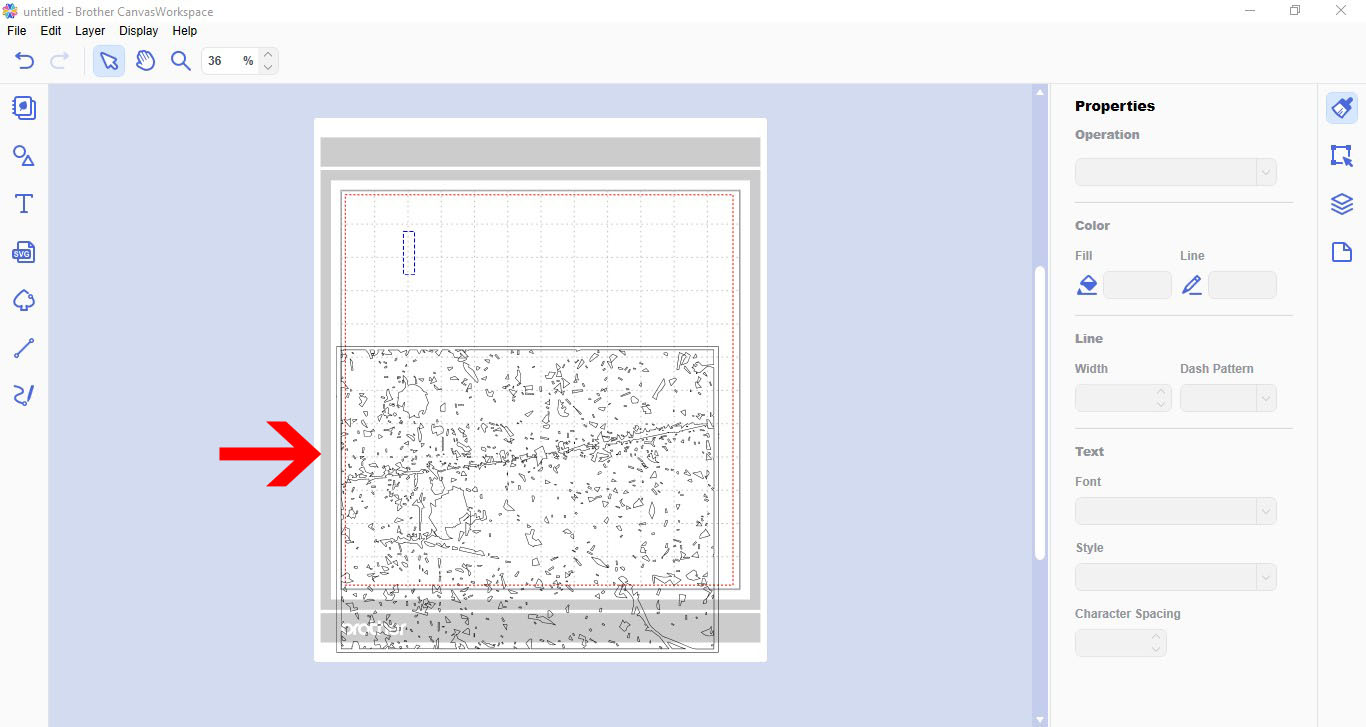
5-Your file will appear on your screen. if you only have a jpeg or png, use the trace function to create cut lines.

6- Move your texture down the page. Next click on the text icon.
7- Type your text.
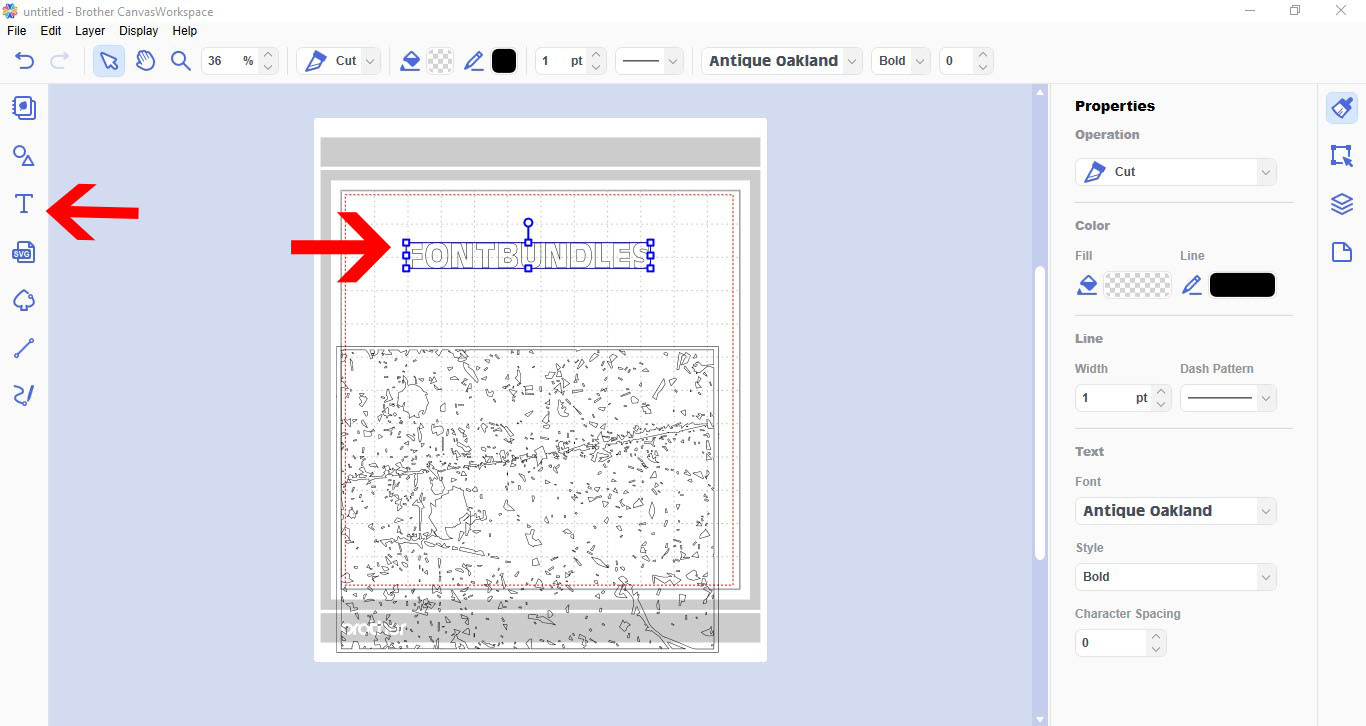
8- Change the font to the one you need. I am using theLuducudu fontby Bdstrd Std.
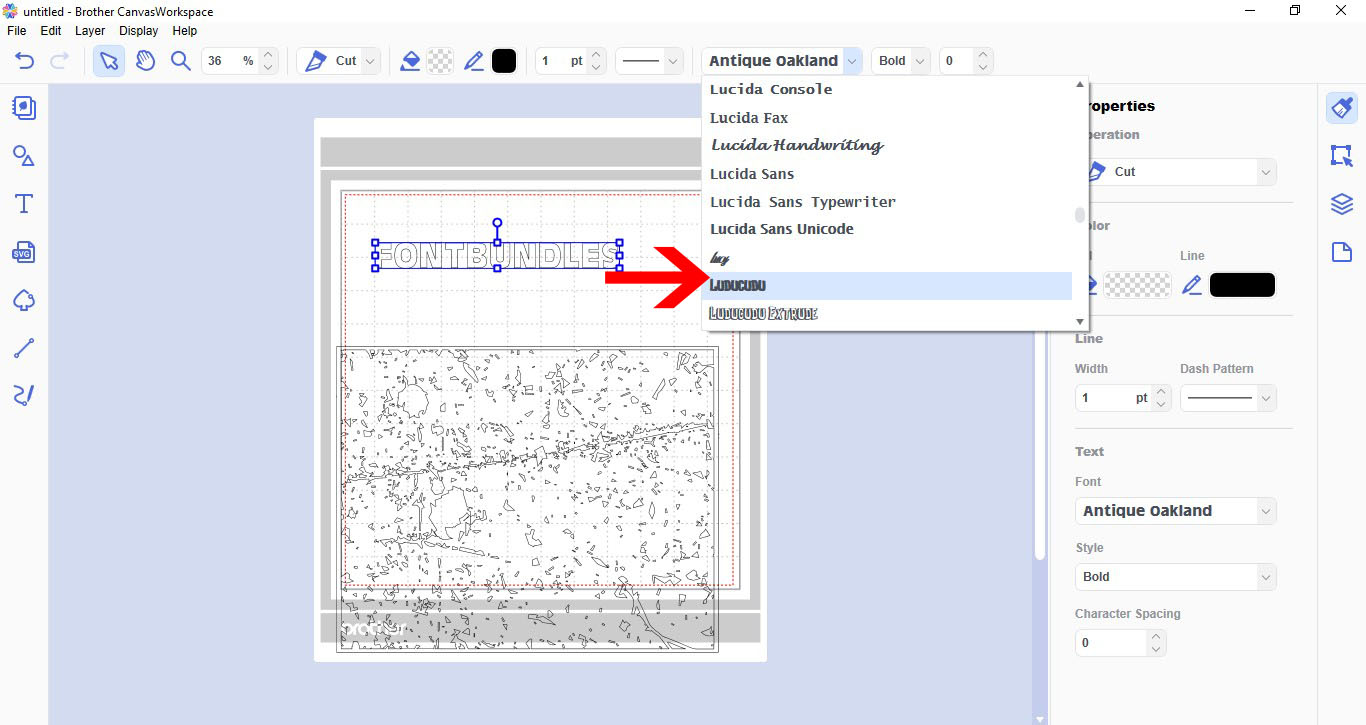
9- Click on your text and fill with color.
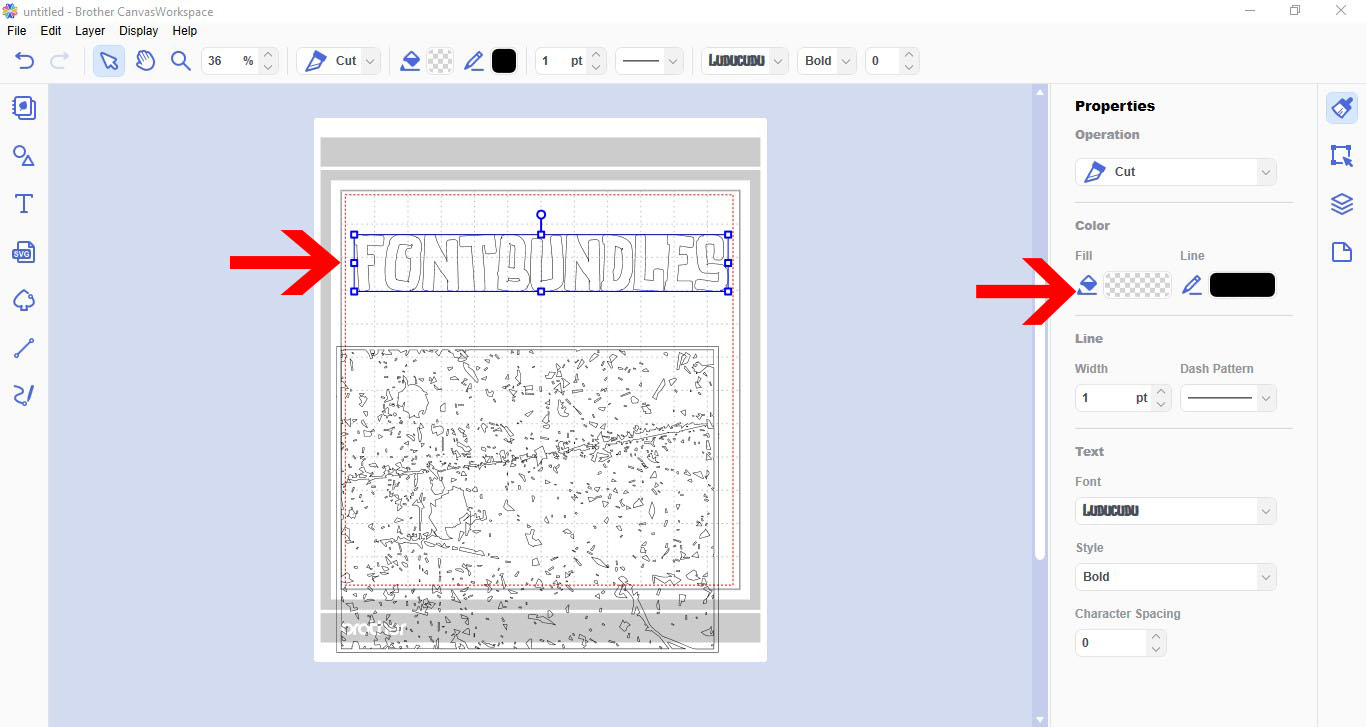
10- Duplicate your text.
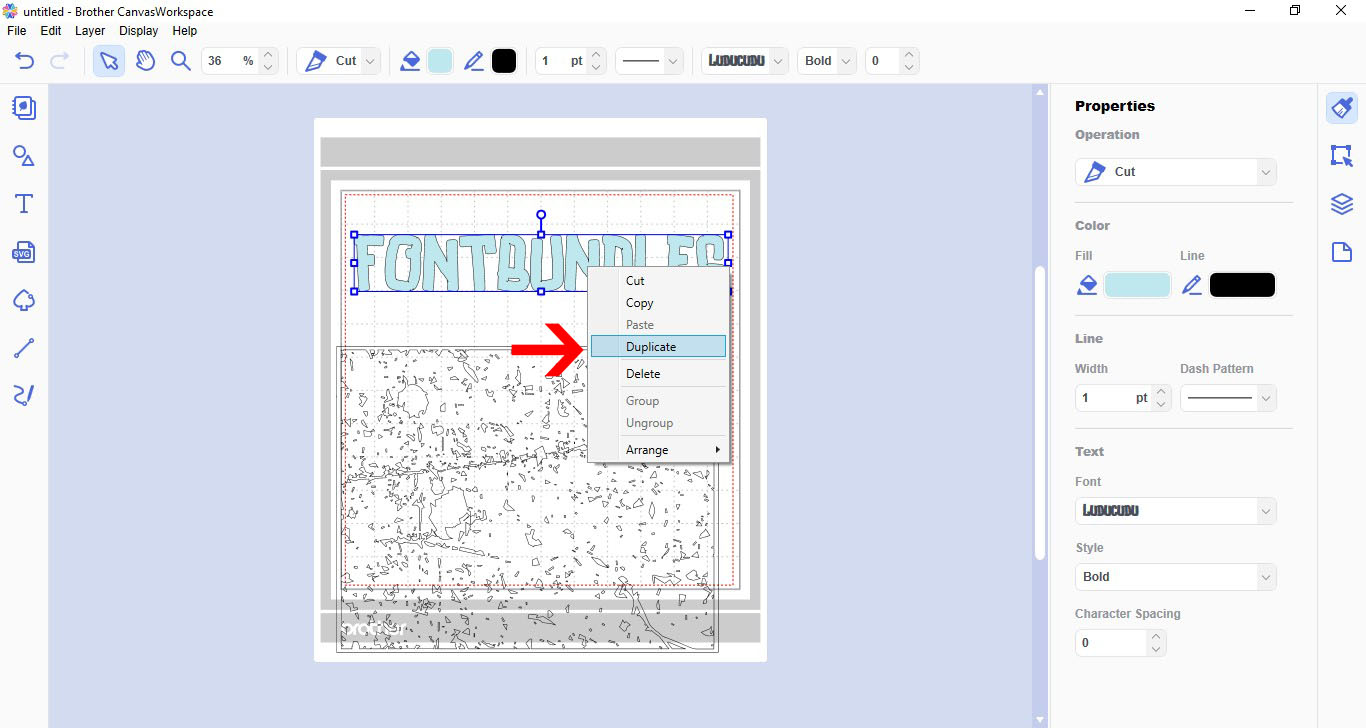
11- Fill the duplicate text with a second color.
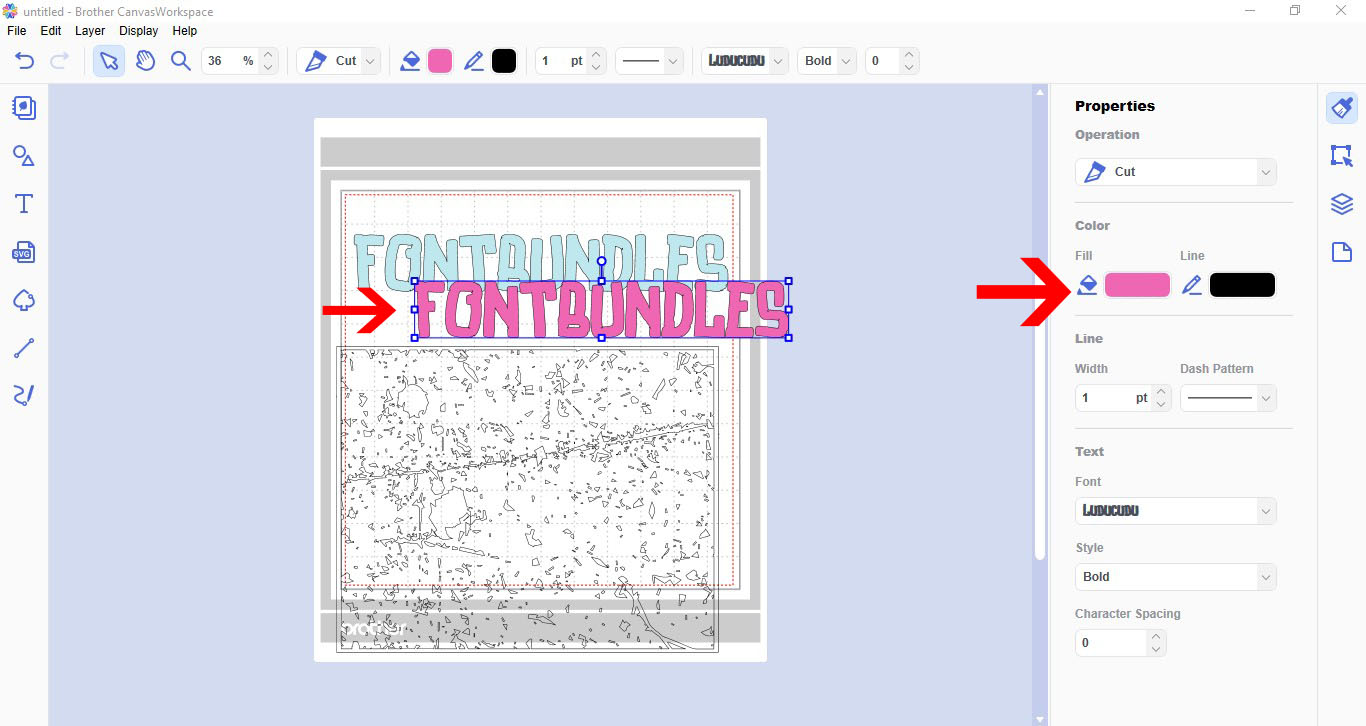
12- Click both texts and using the align tool, align them on top of each other.
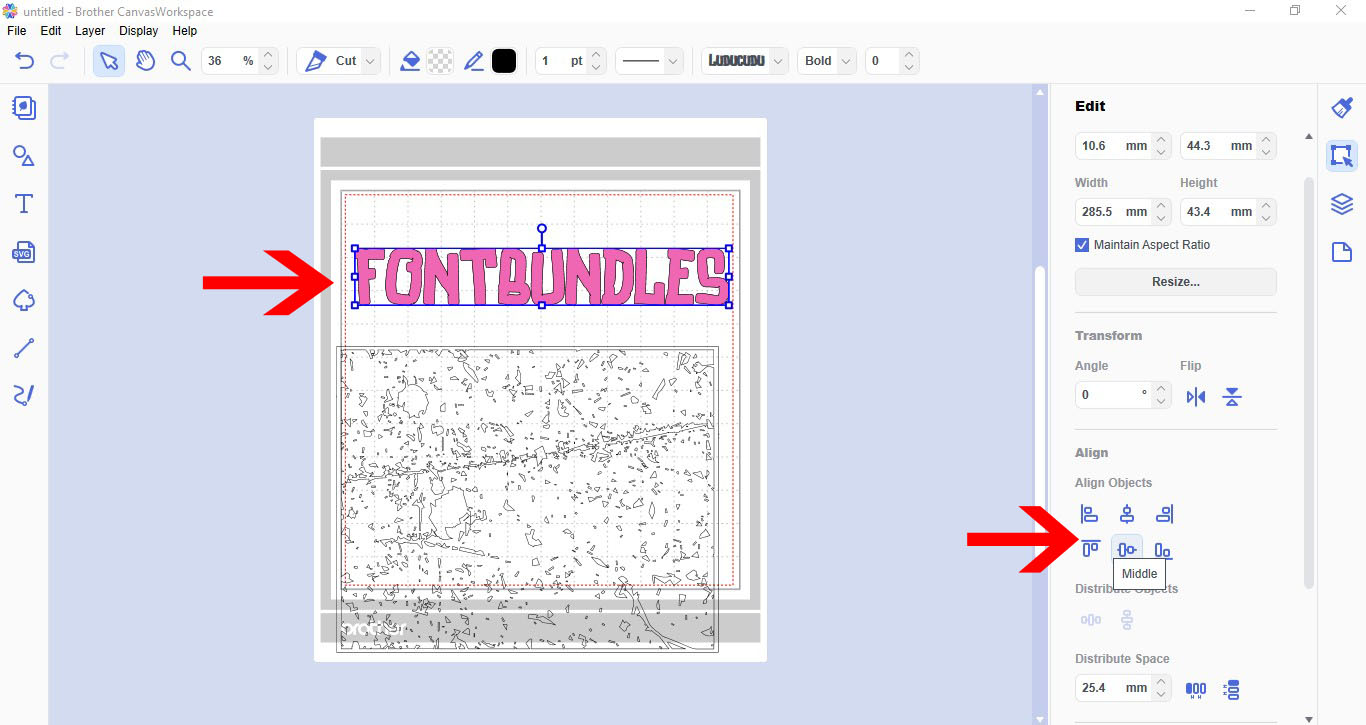
13- fill the texture in color. this just helps to see where you are placing it over the text.
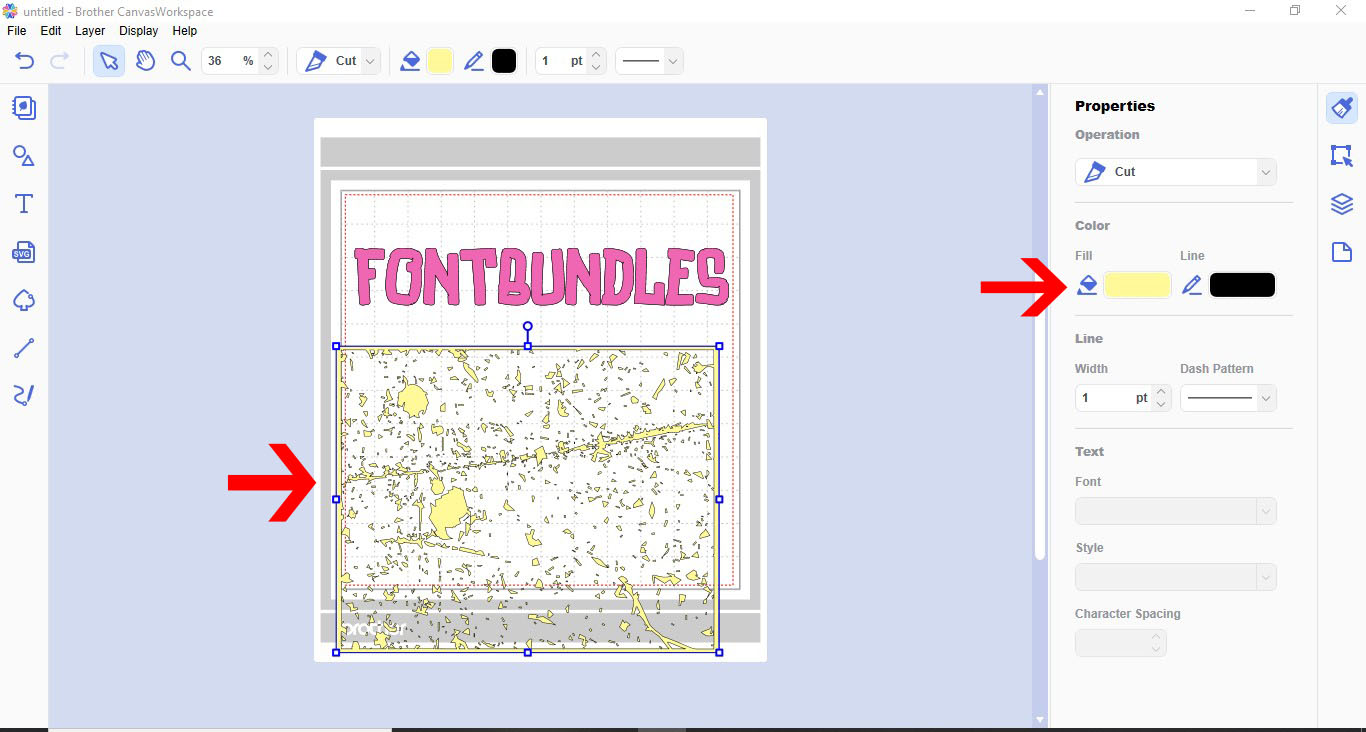
14- Place the text and the duplicate over the texture.
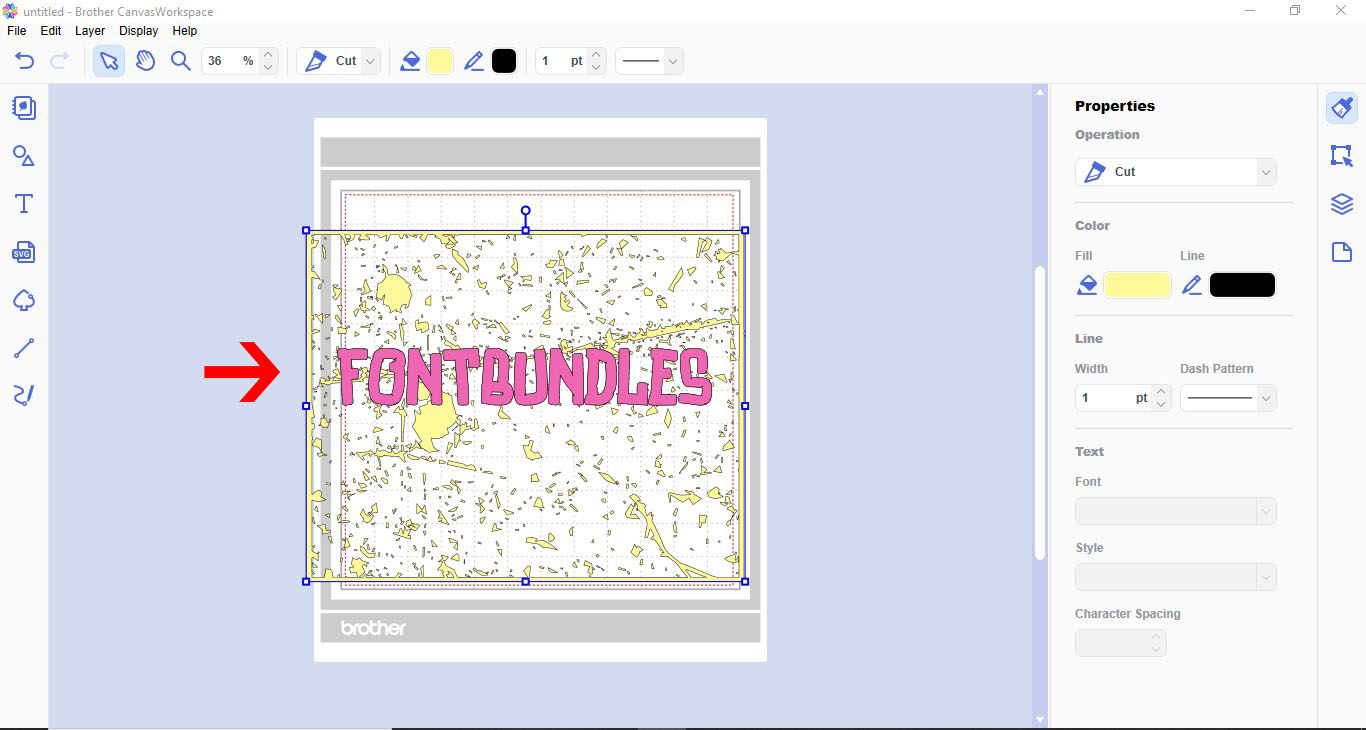
15- We need the texture at the front. Select it, then right click and choose Bring to Front.
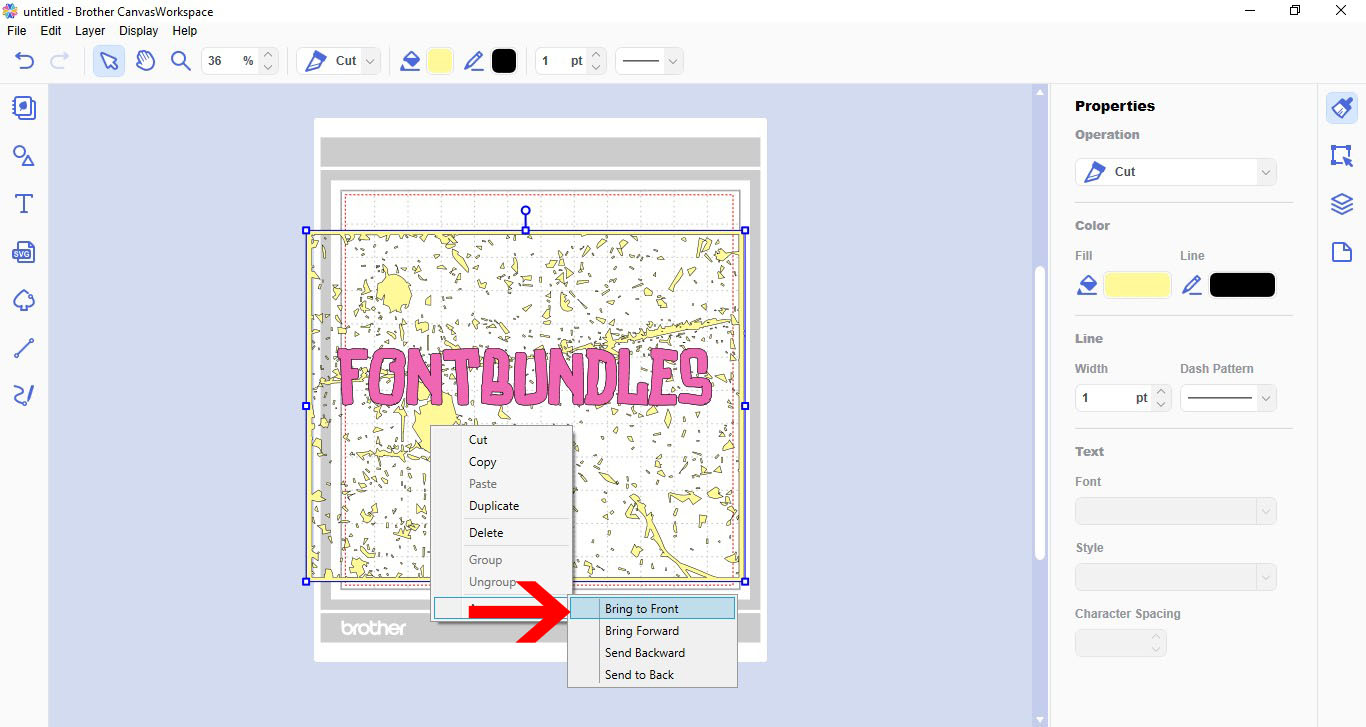
16- Adjust the texture so it suits your needs over the text.
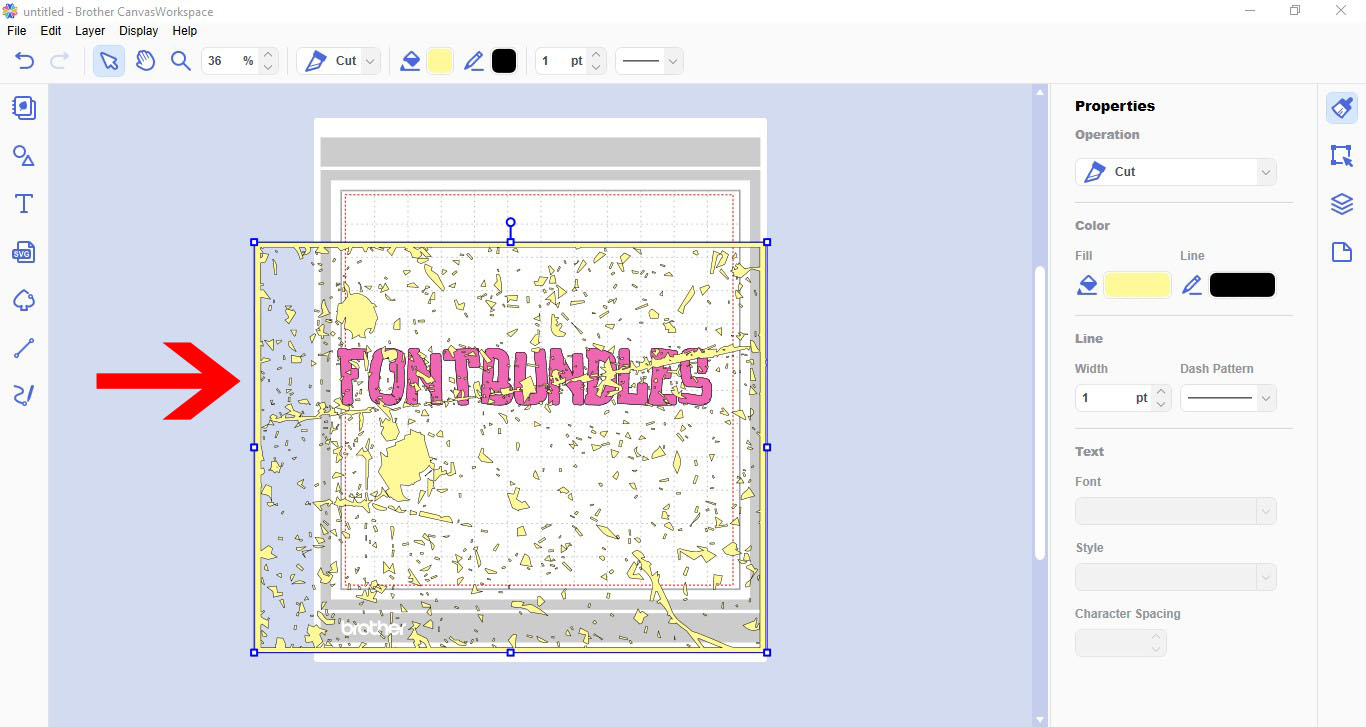
17- With the top text and texture selected, click remove overlap.
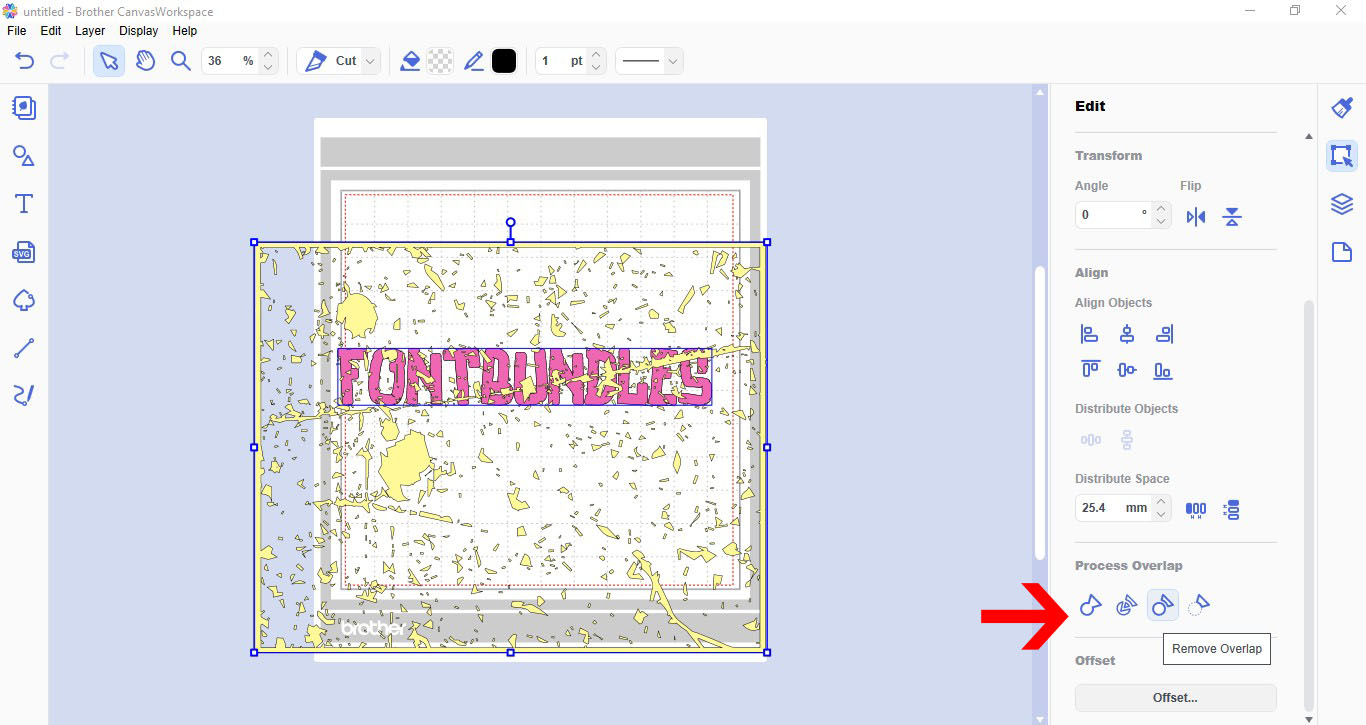
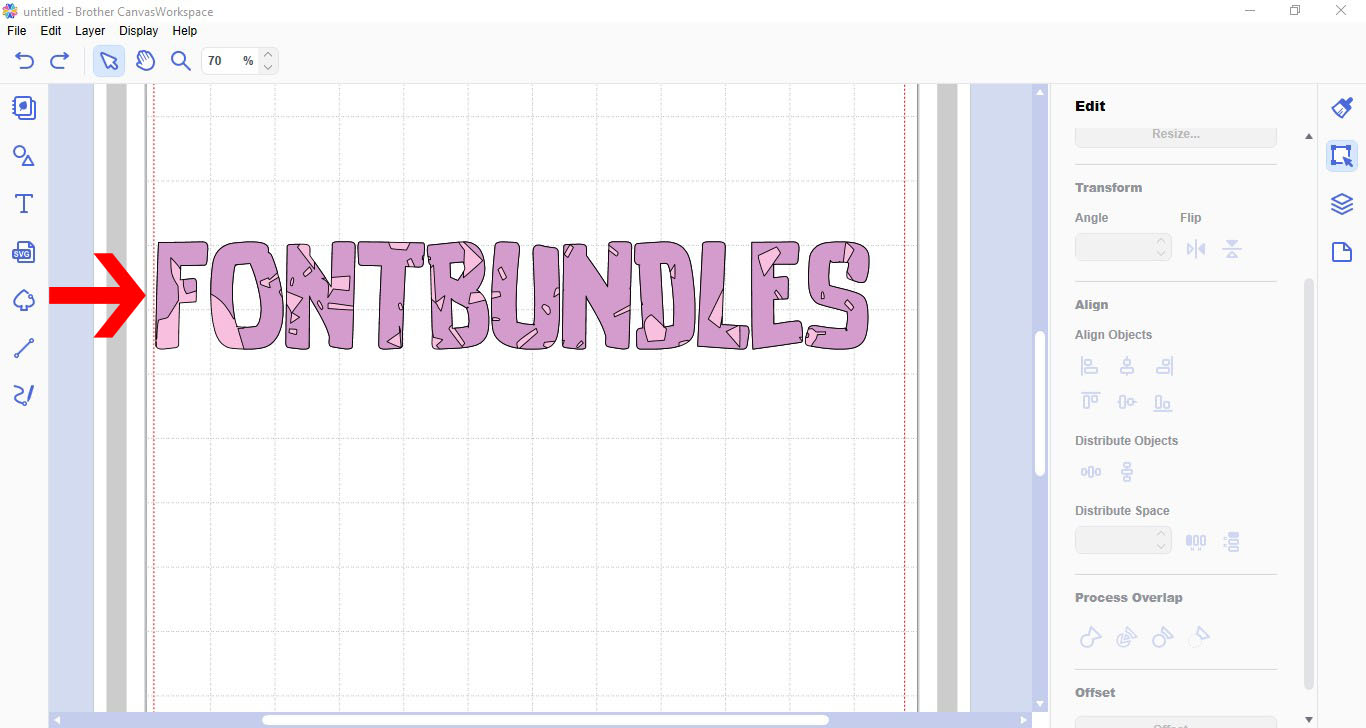
18- You now have a custom fill in your text. You can use this technique for many different patterns.