By Design Bundles
Silhouette Tutorials4 min
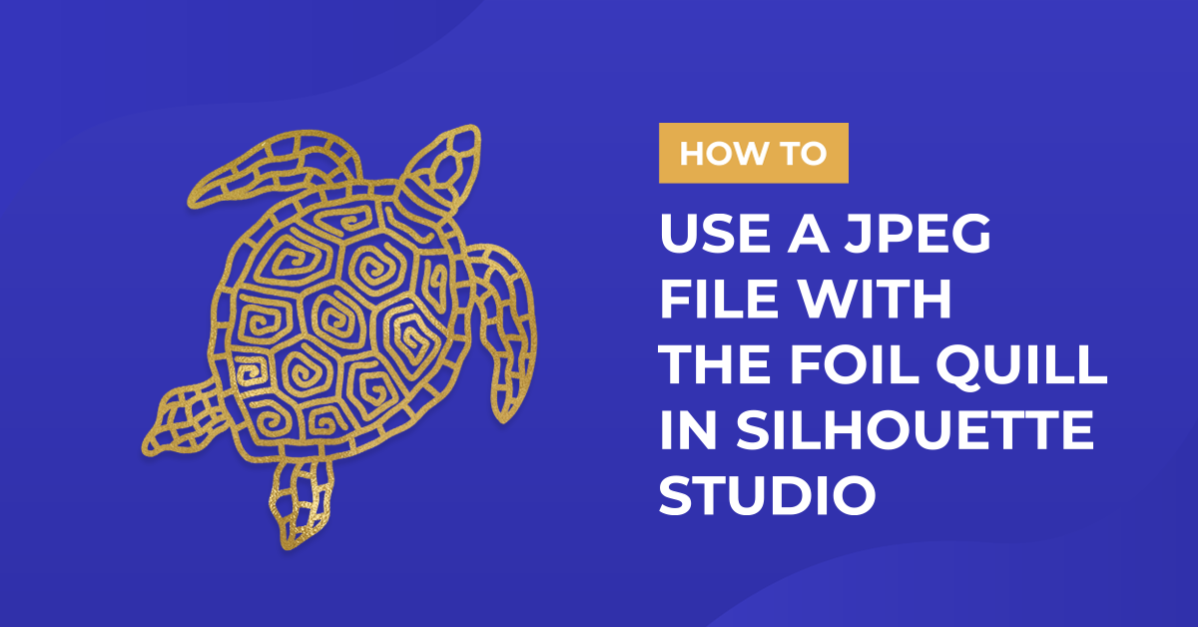
How to use a jpeg image with the foil quill in silhouette studio.
1- Open silhouette studio. Click on the open file icon.
2- Click on merge.
3- Select your jpeg image.
4- Resize your image. Click on the trace tool. I am using Kawaii sushi graphics from designbundles.net
5- Select the trace icon.(in the free edition)
6- Adjust the threshold to what you would like to trace. You can adjust so you can trace specific parts and colors.
7- you can see in the send screen where the trace lines are.
8- You can also use the trace by color tool (designer/business edition) Click on a color in the jpeg and you can trace that specific part.
9- You can click different colors and sections to trace all parts of the jpeg individually.
10- Once you have traced all parts you can remove the jpeg.
11- As you can see with this technique, you can sometimes double up on parts of the design. That is fine, delete the overlapping parts you do not need.
12- Once you are happy with the finished design, right click and group so they do not move.
13- Go the the send screen. Select your sketch pen and media. Send.
14- Your design will now trace.
15- Your finished design is an outline of your jpeg. you can go further and use the sketch fill to give some more effects to the design.

2- Click on merge.

3- Select your jpeg image.

4- Resize your image. Click on the trace tool. I am using Kawaii sushi graphics from designbundles.net

5- Select the trace icon.(in the free edition)

6- Adjust the threshold to what you would like to trace. You can adjust so you can trace specific parts and colors.

7- you can see in the send screen where the trace lines are.

8- You can also use the trace by color tool (designer/business edition) Click on a color in the jpeg and you can trace that specific part.

9- You can click different colors and sections to trace all parts of the jpeg individually.

10- Once you have traced all parts you can remove the jpeg.

11- As you can see with this technique, you can sometimes double up on parts of the design. That is fine, delete the overlapping parts you do not need.

12- Once you are happy with the finished design, right click and group so they do not move.

13- Go the the send screen. Select your sketch pen and media. Send.

14- Your design will now trace.

15- Your finished design is an outline of your jpeg. you can go further and use the sketch fill to give some more effects to the design.

Related Tutorials
Silhouette Tutorials
How to Use the Foil Quill on Acetate in Silhouette Studio
In this tutorial learn how to use the Foil Quill on Acetate using Silhouette Studio in just 3 Steps!
Silhouette Tutorials
How to Use Text With the Foil Quill in Silhouette Studio
Silhouette Tutorials
How to use a regular SVG file with the foil quill in silhouette studio
Silhouette Tutorials
How to use the foil quill on a candle using silhouette studio
Silhouette Tutorials
How to use a foil quill made file in Silhouette studio
Silhouette Tutorials