By Design Bundles
Silhouette Alta 3D Printer Software Overview
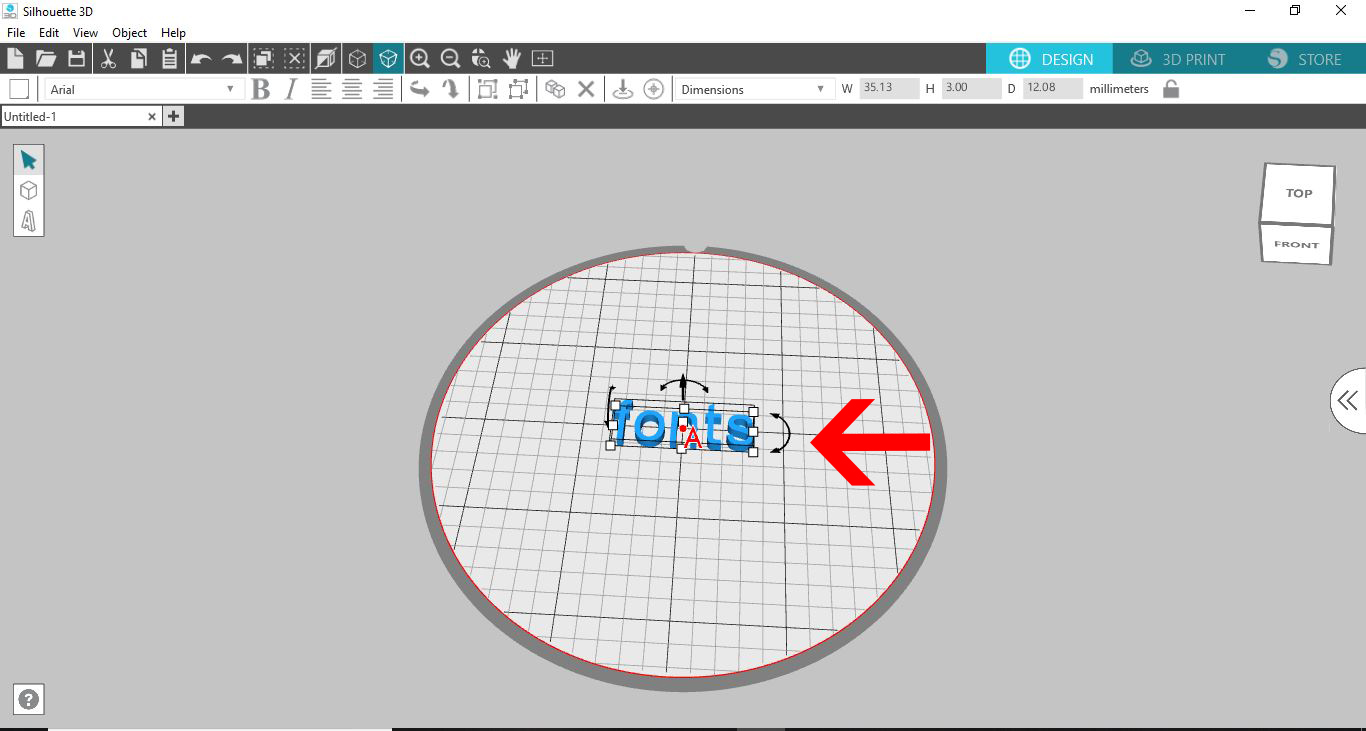
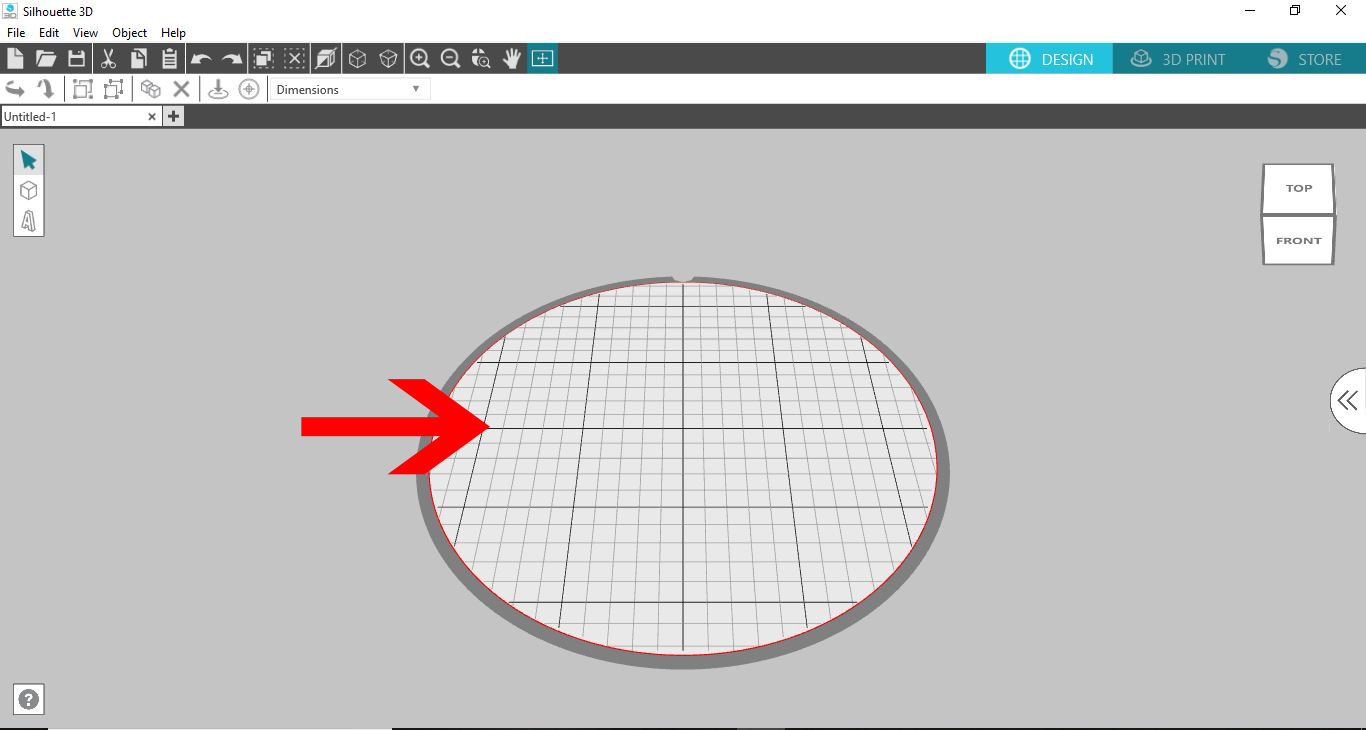
1- Load the Silhouette Alta 3D software. You will see your design space on the screen. This is the same "size" as your printable area. Anything that overhangs will not be able to print.
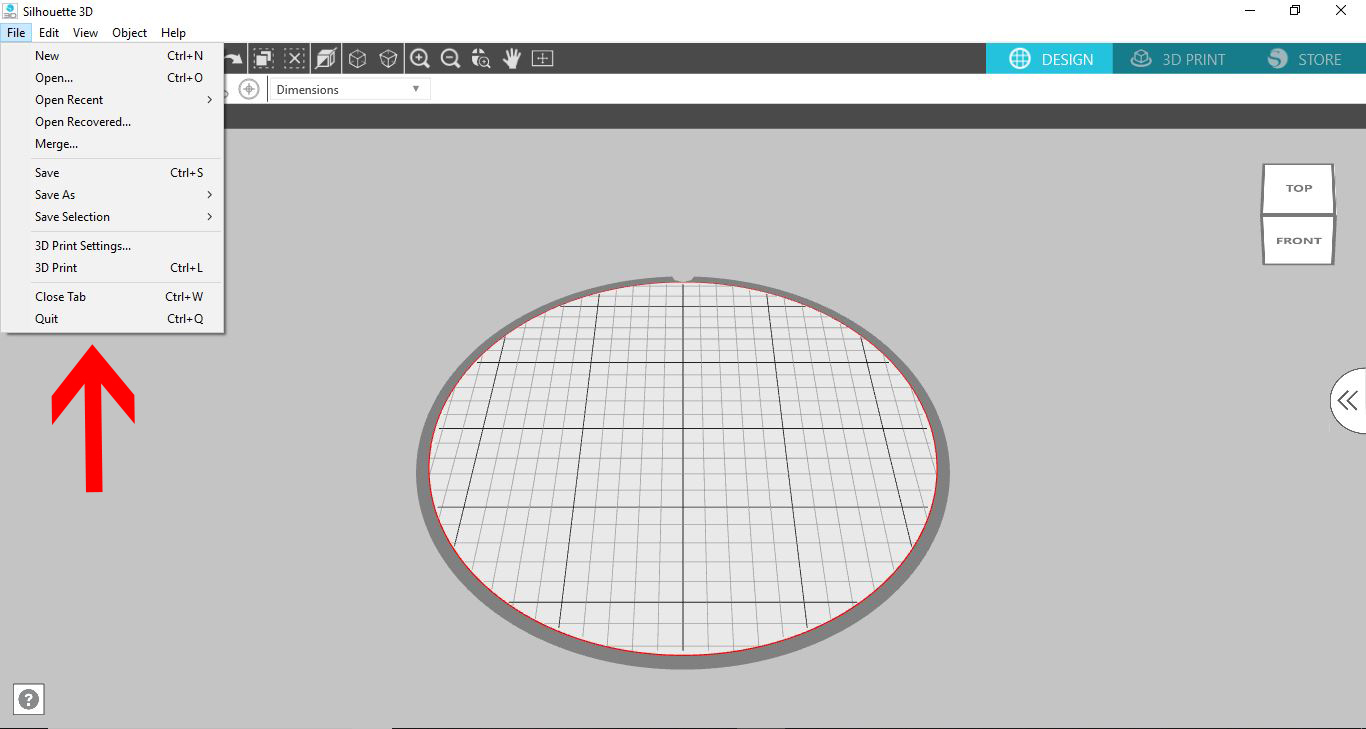
2- Under the File section, you have your basic tools to open a file, save your files and access your print settings.
3- Edit offers you the options to cut, copy and paste designs, duplicate and edit your preferences.
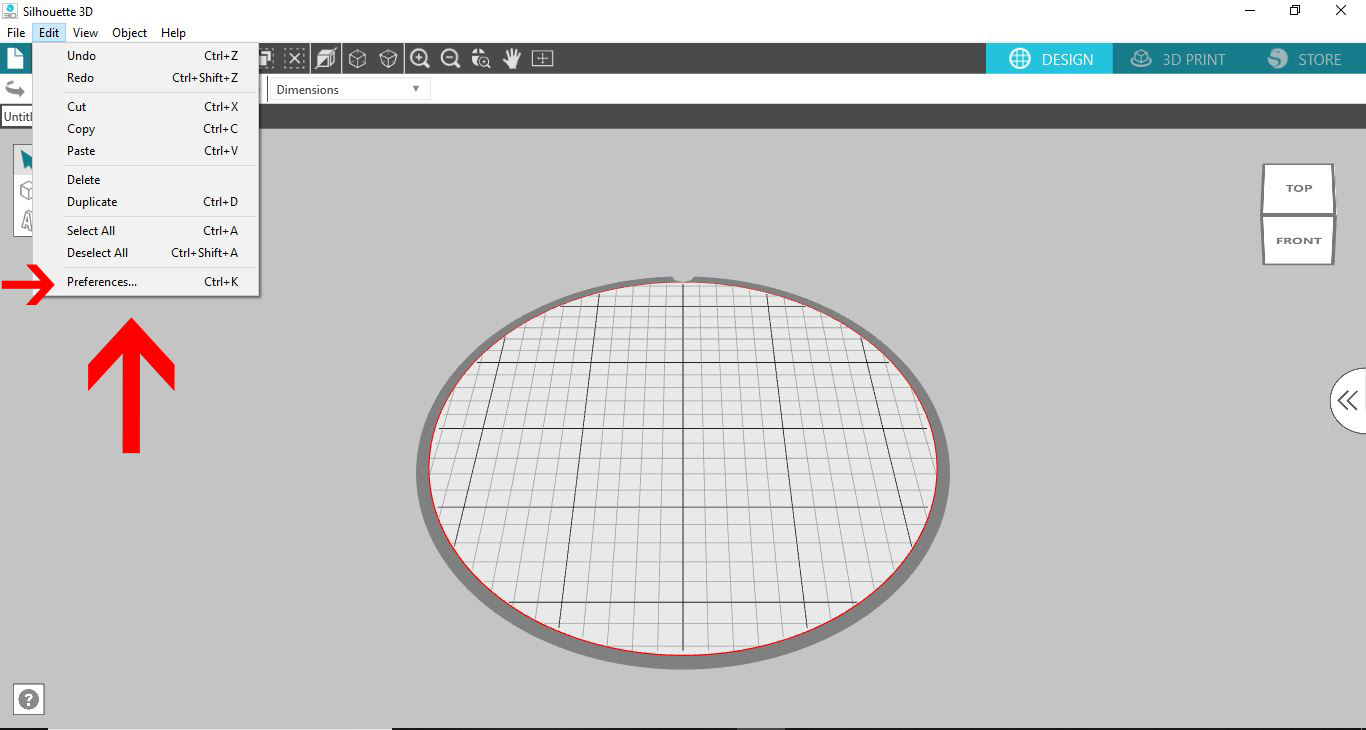
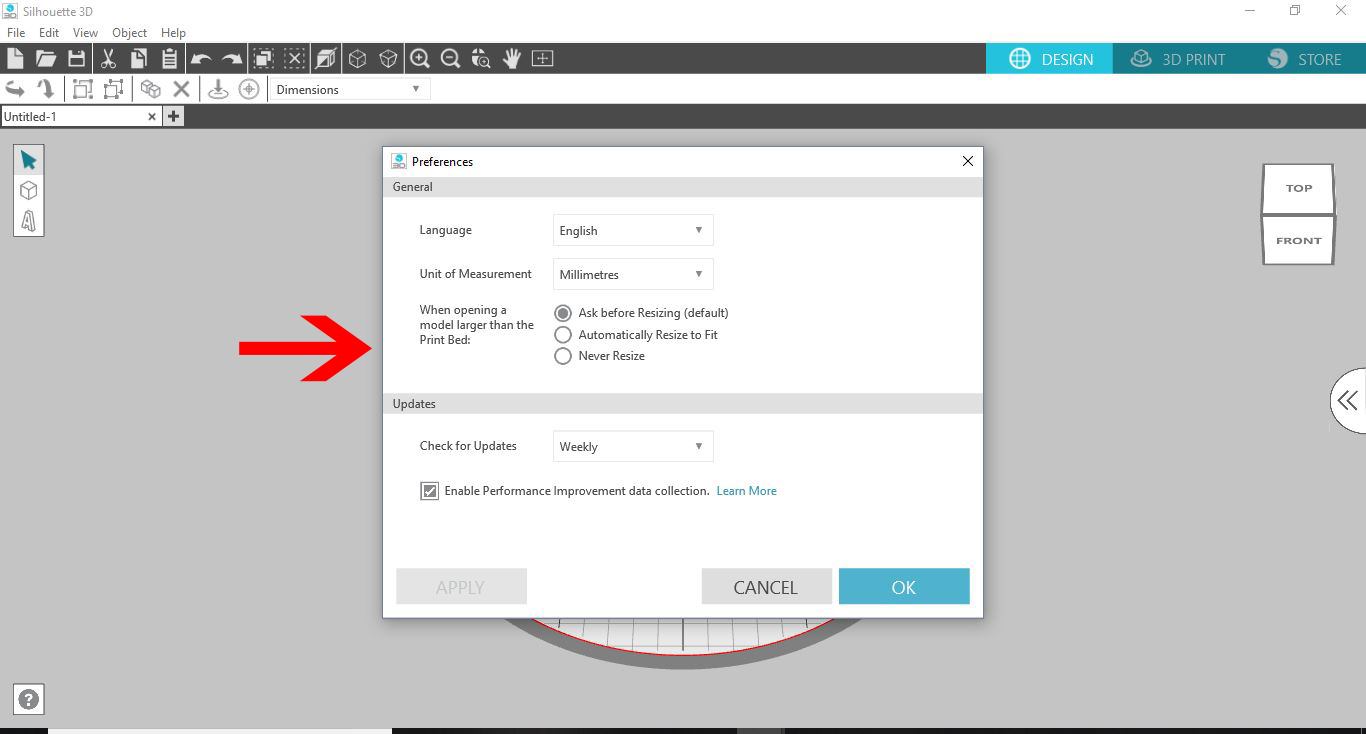
4- When you select the preferences in the Edit drop down box, you can adjust the language, and the unit of measurement.
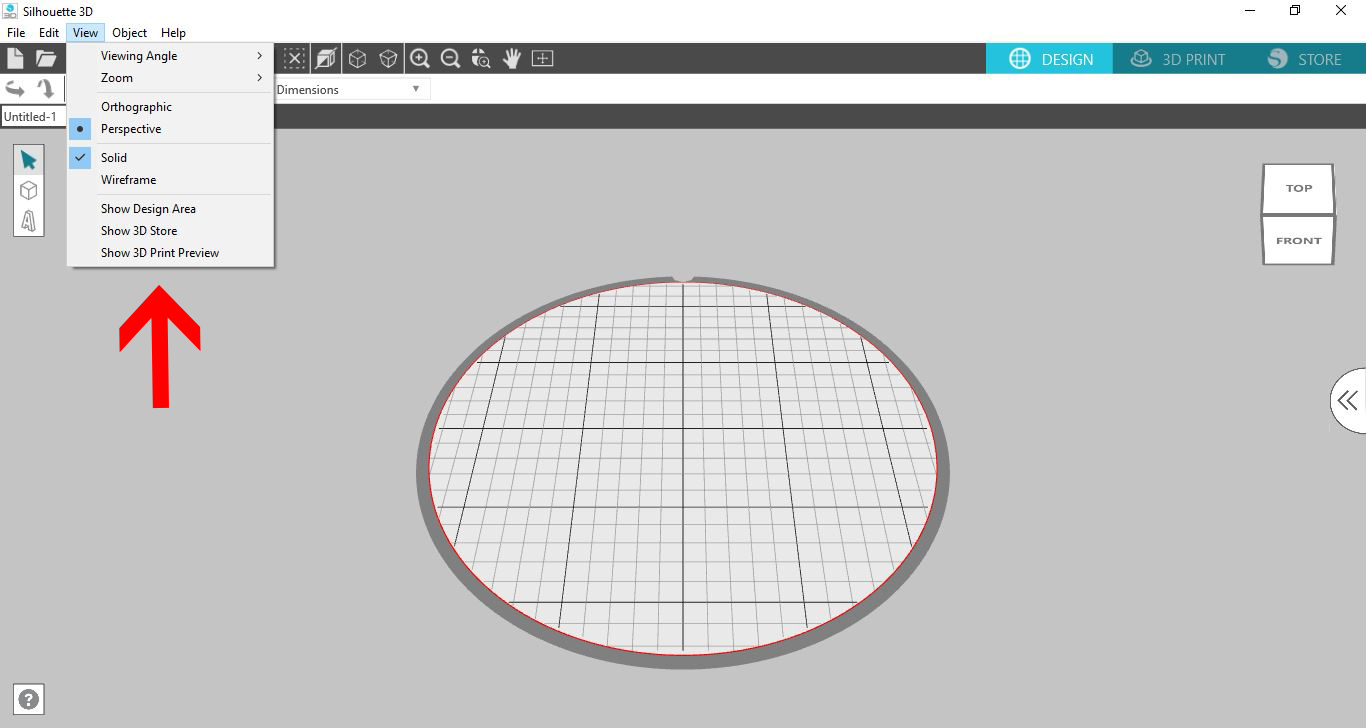
5- In the View drop down menu, you can adjust how you see your designs.
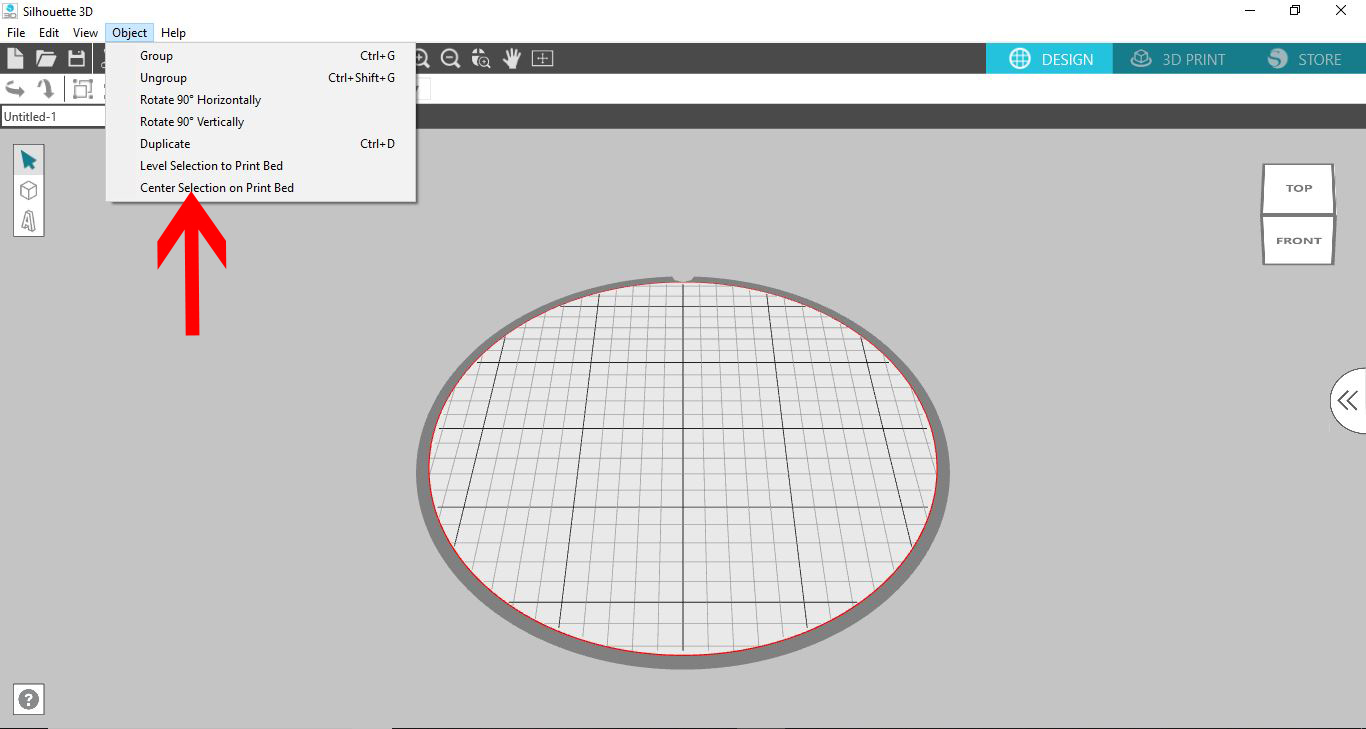
6- In the Object drop down menu, you can group and ungroup your designs and rotate them as well. Another important feature is to use the level section so you can drop your design to the design bed.
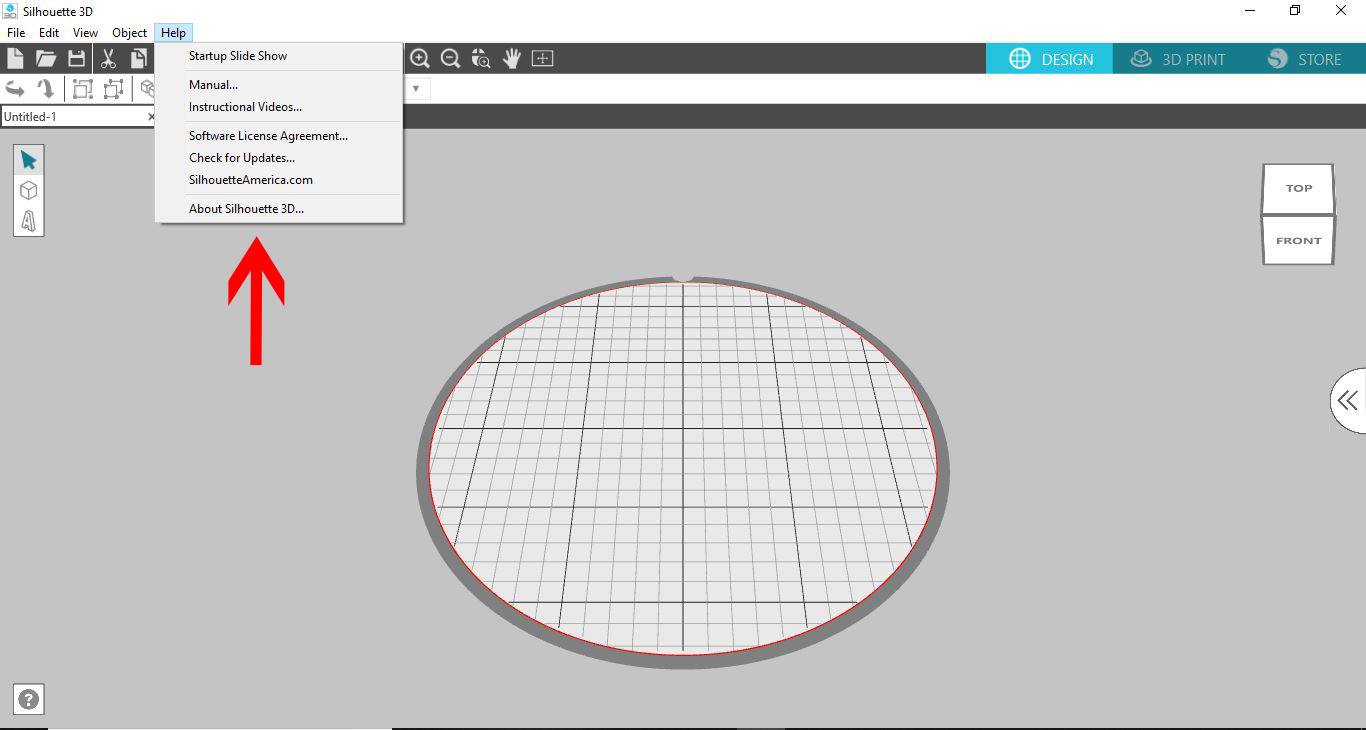
7-You also have a Help drop down option. Here you can fin d video tutorials, the manual for the machine and the machine information.
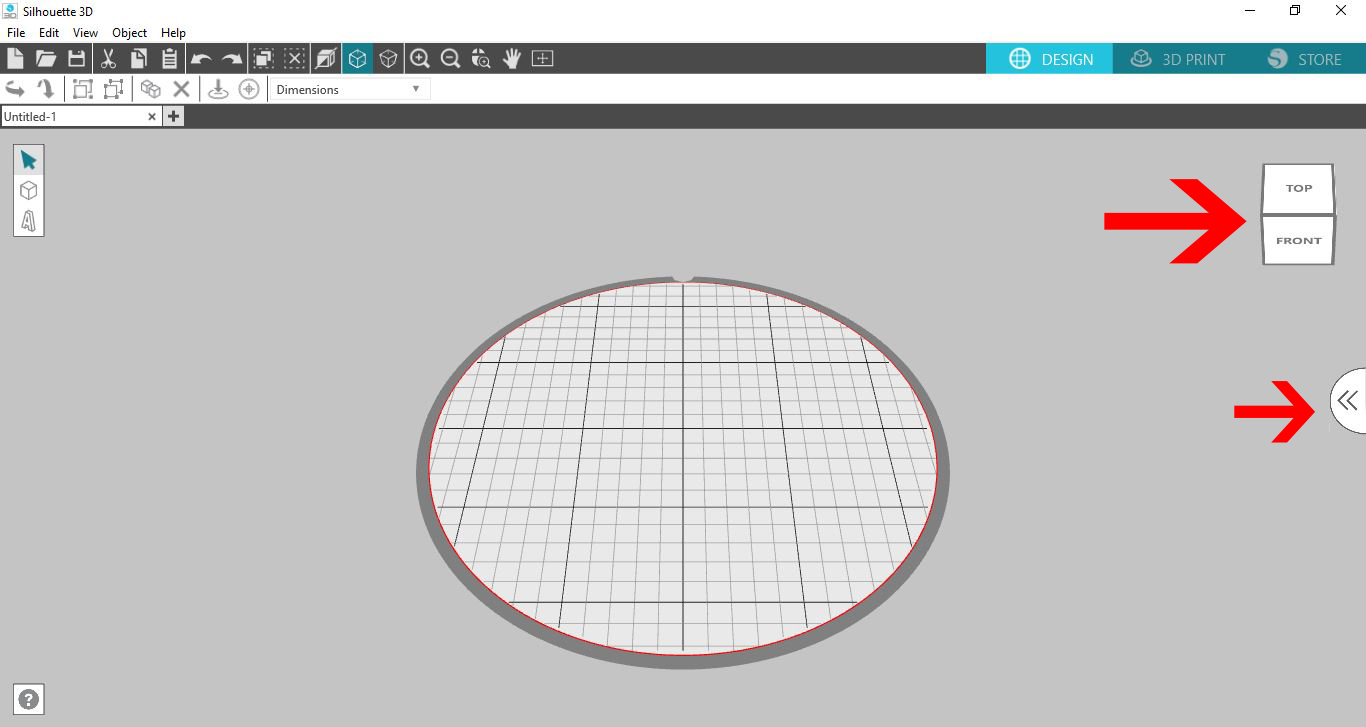
8- You also have on the right side of your screen a view option. You can use this to move the design area to see the top, bottom, left and right so you have a full 360 degree rotation.
There is also a pull out tab. this can access the library.
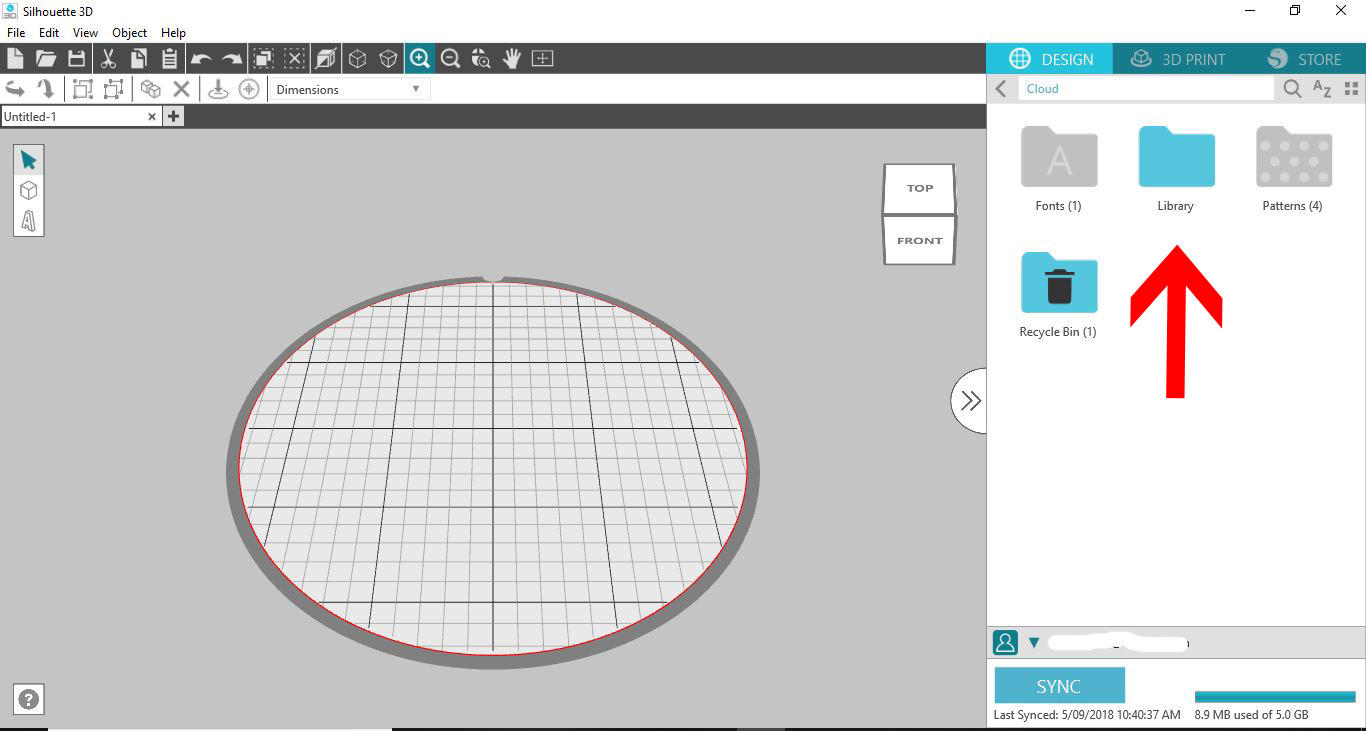
9- You can sync your Silhouette Studio files to the 3D software. To find your files, click on Library.
10- In the library you will see a new folder that says 3D designs. Here you can find any 3D design that you may have purchased in Silhouette design store.
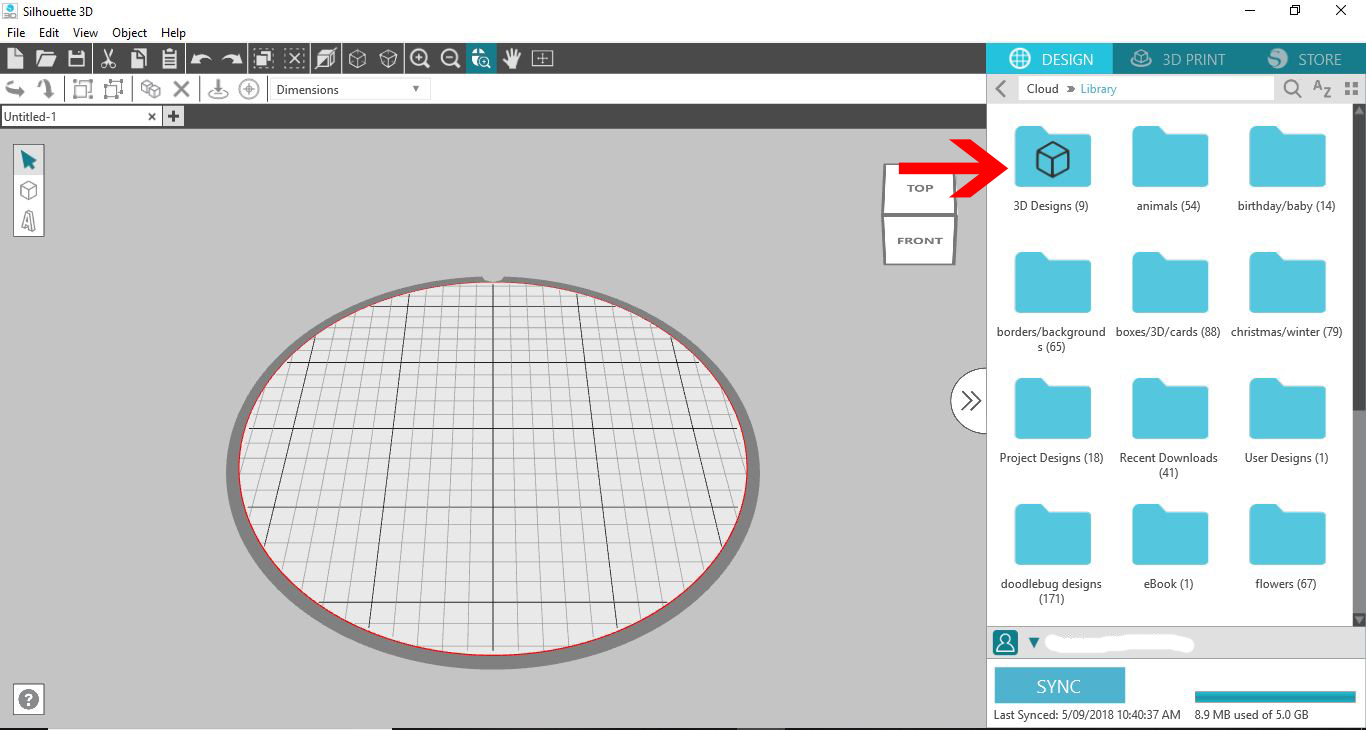
11- When you clickon it all the 3D designs will appear clearly. You can at any click any of the images and they will appear on your design area.
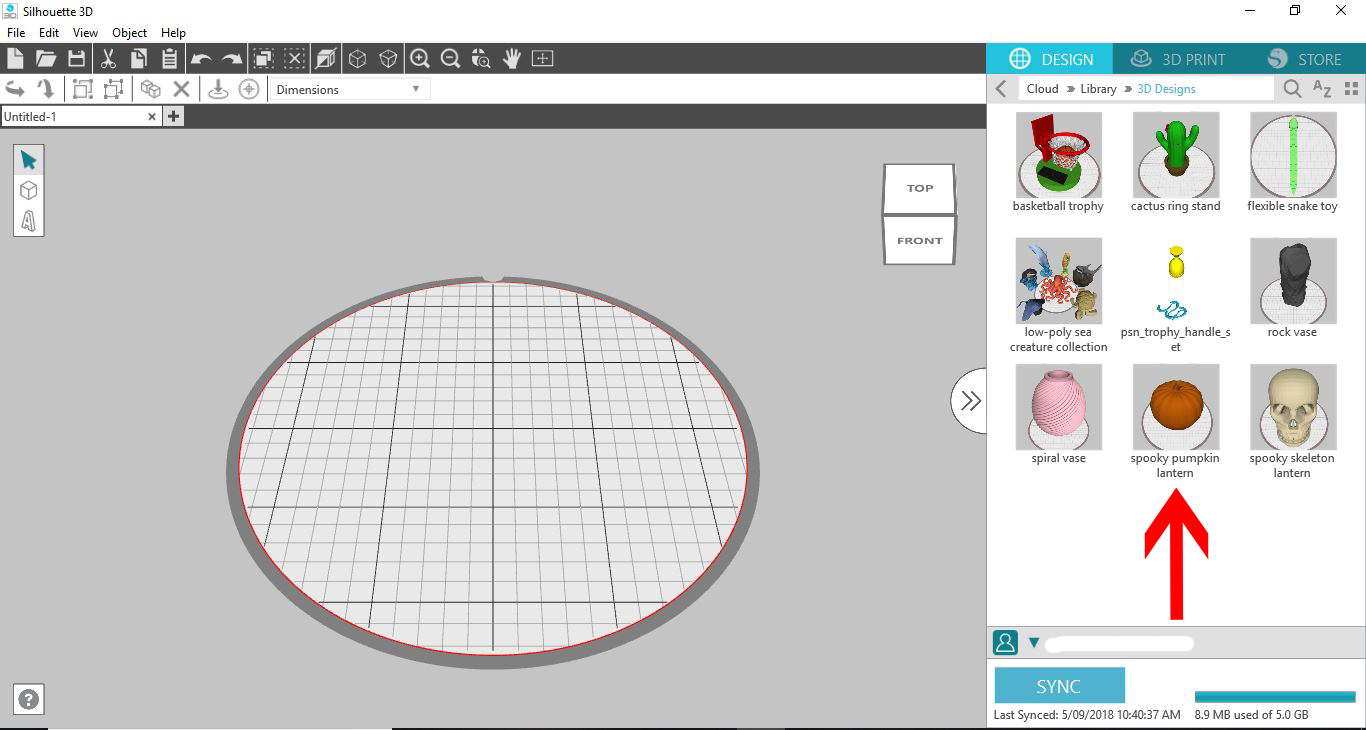
12- You also have a user design folder.
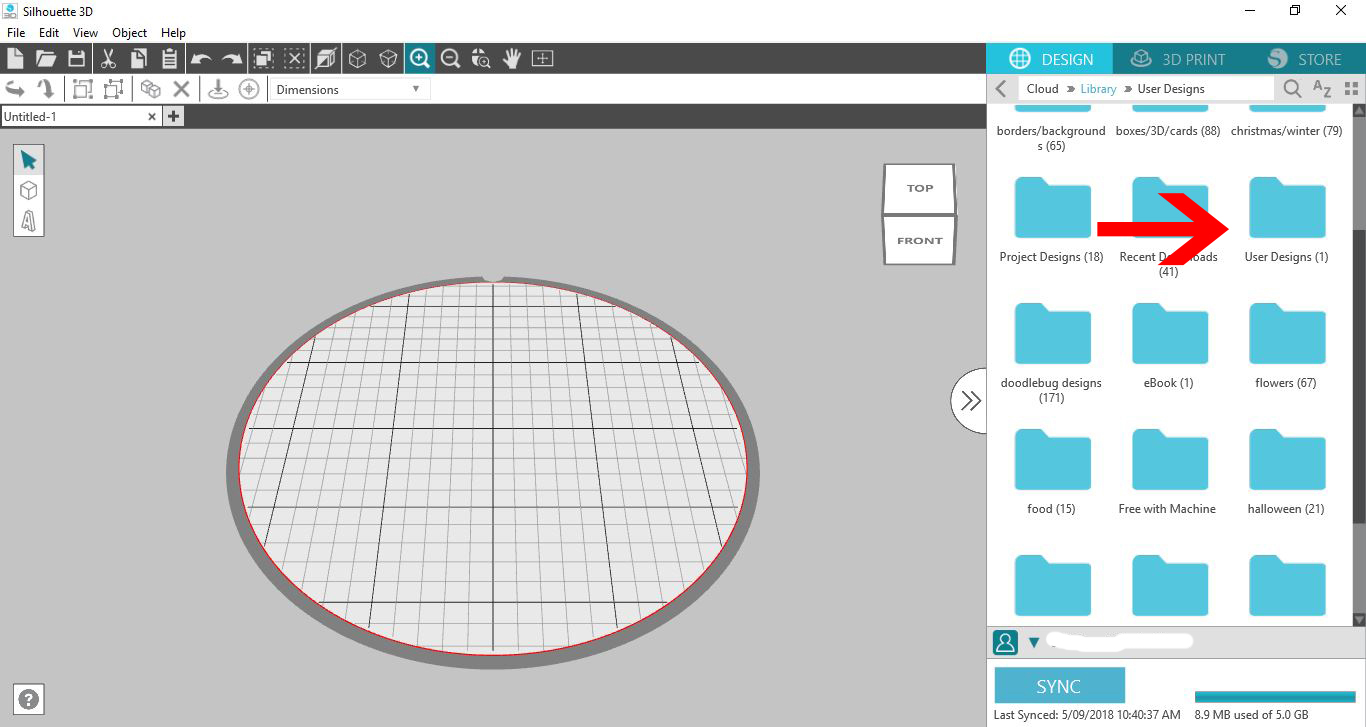
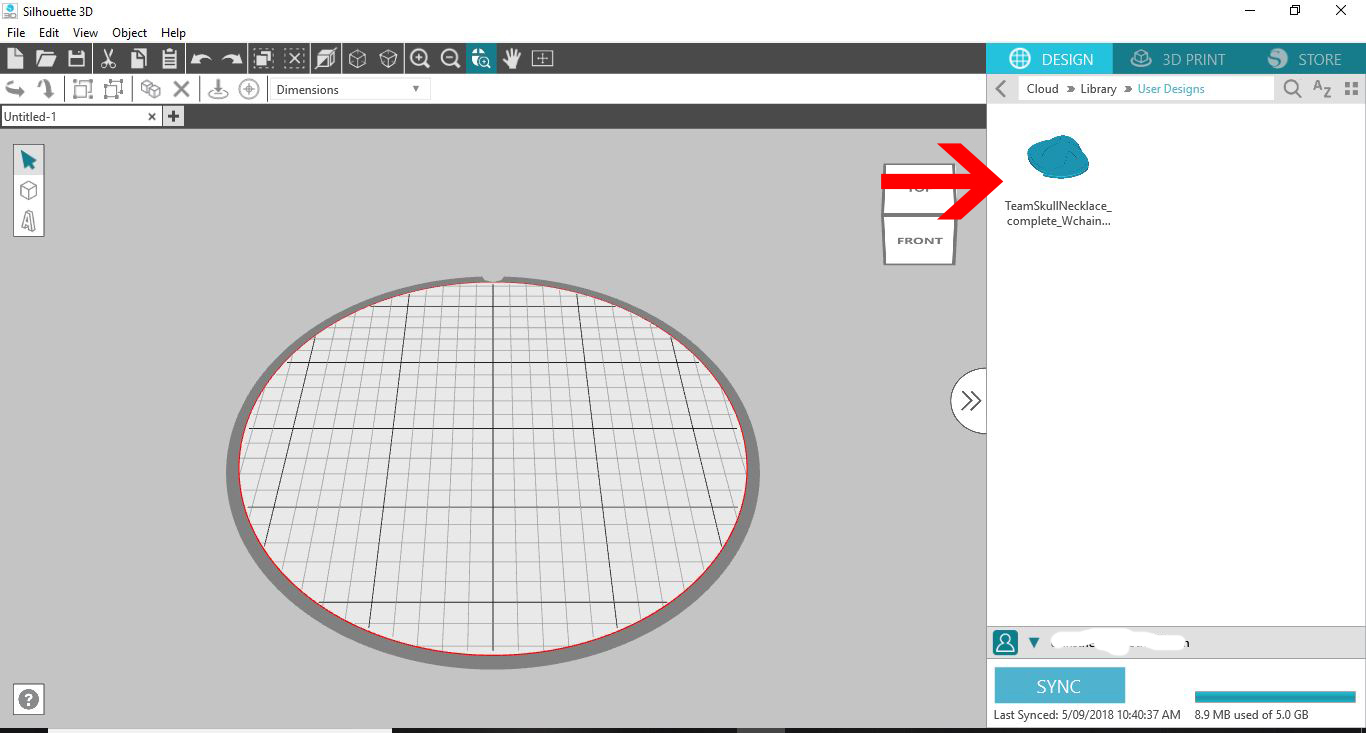
13- Here you can save your own creations.
14- At the top you also have the 3D print drop down box and then the Silhouette design school icon.
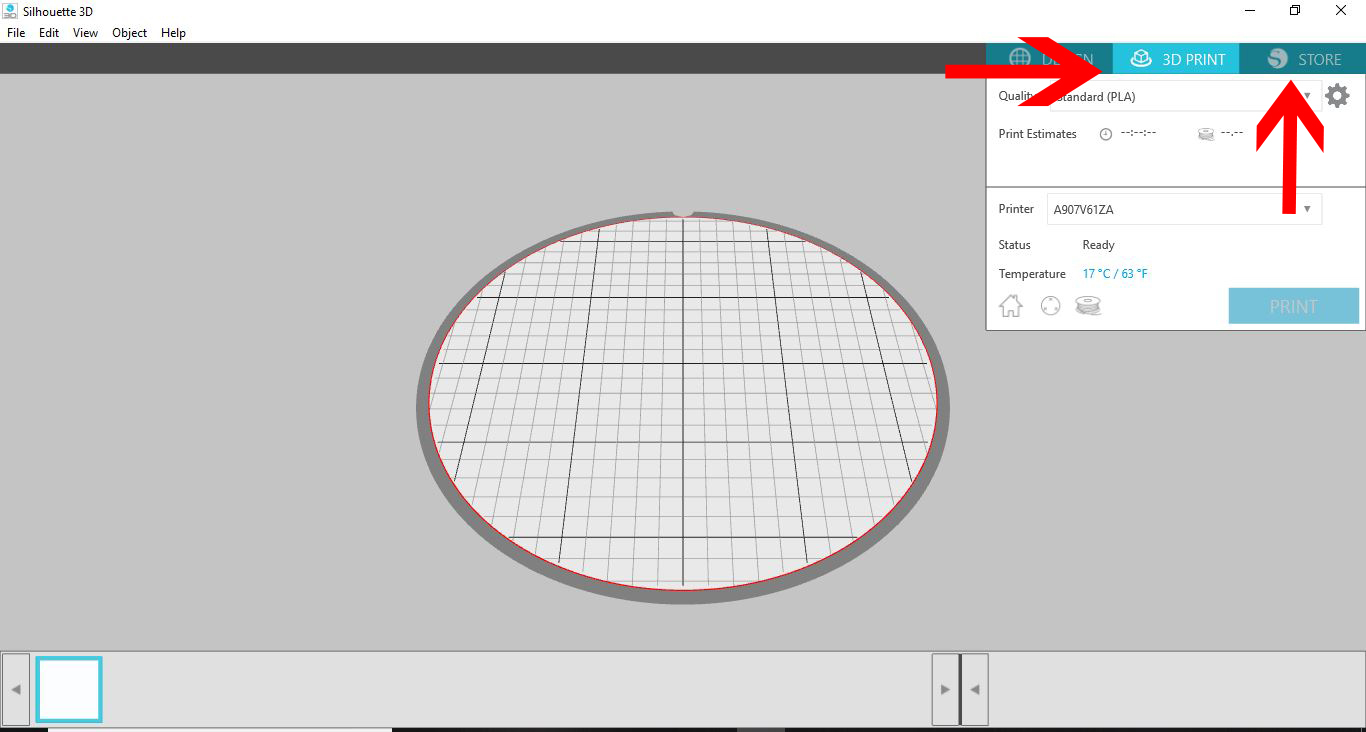
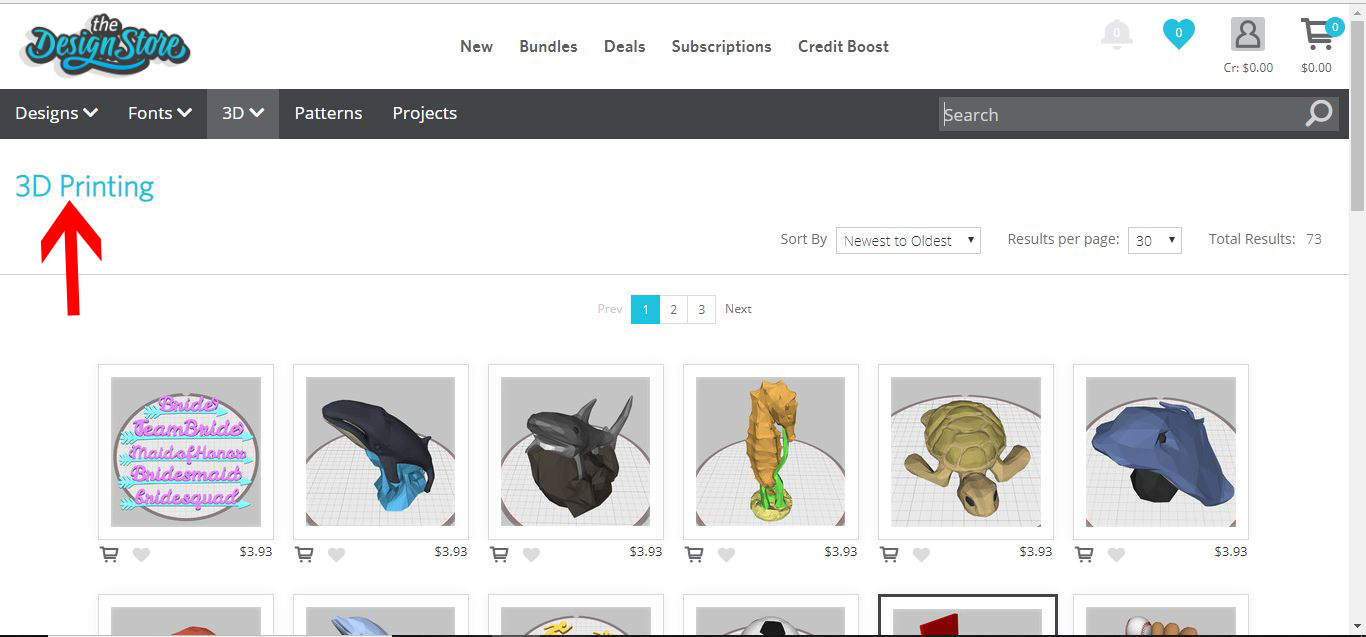
15- When clicking the design store icon you will be sent to your browser to open the design store.
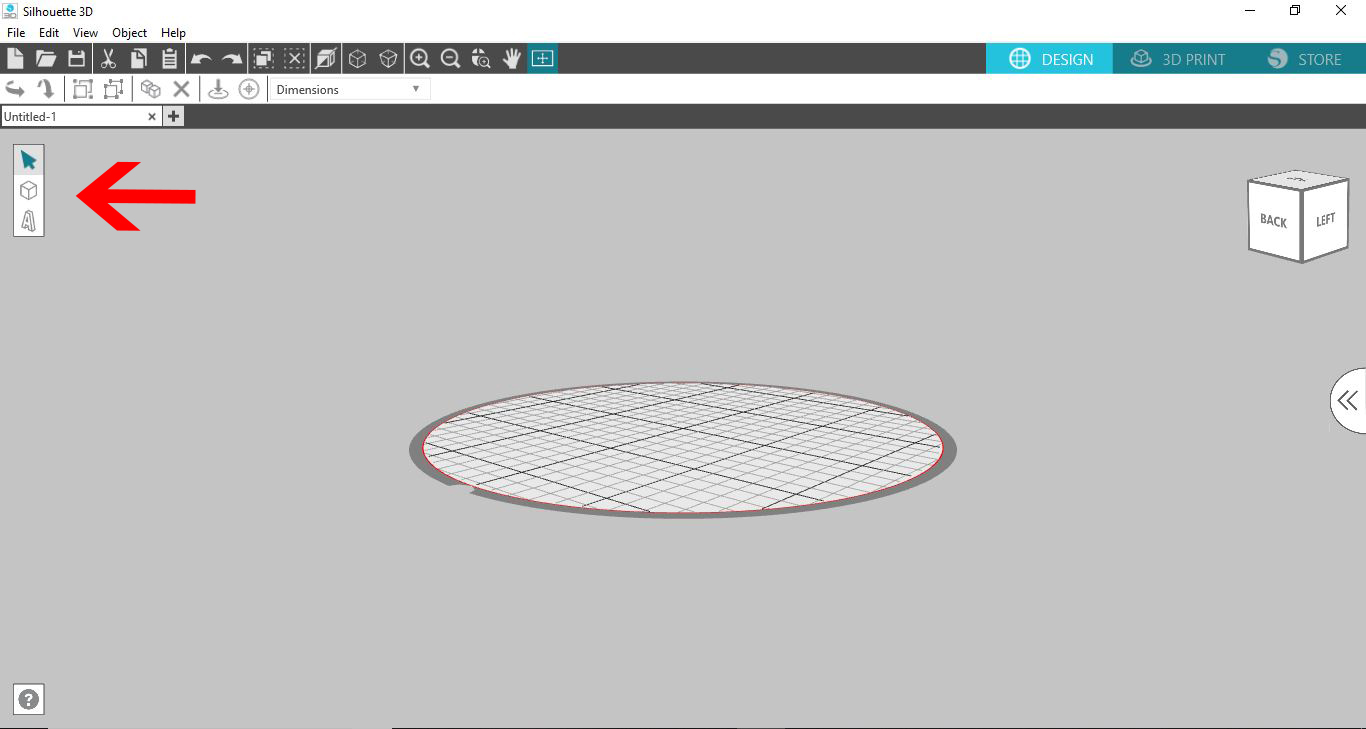
16- On the left you have your toolbar.
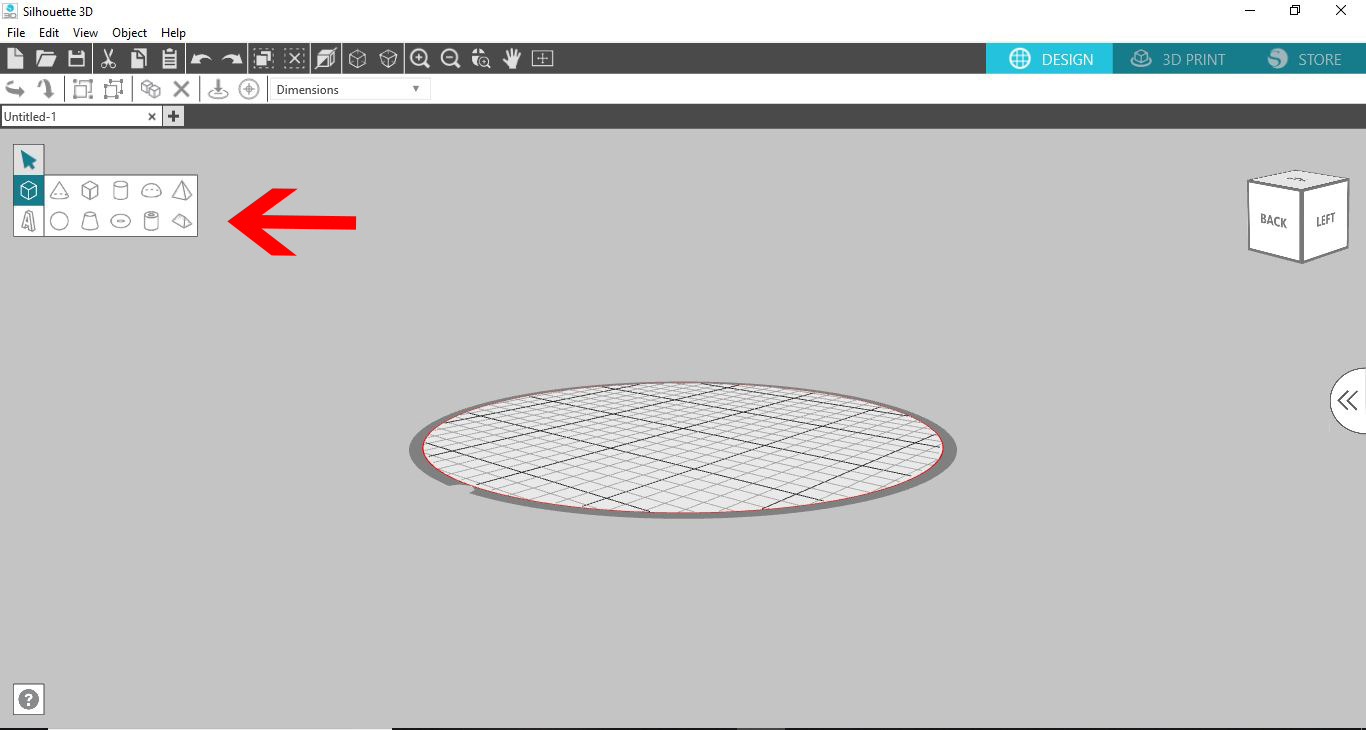
17- You have a shape option. Here you have the option to select different 3D shapes to create your designs.
18- you also have a Text option.
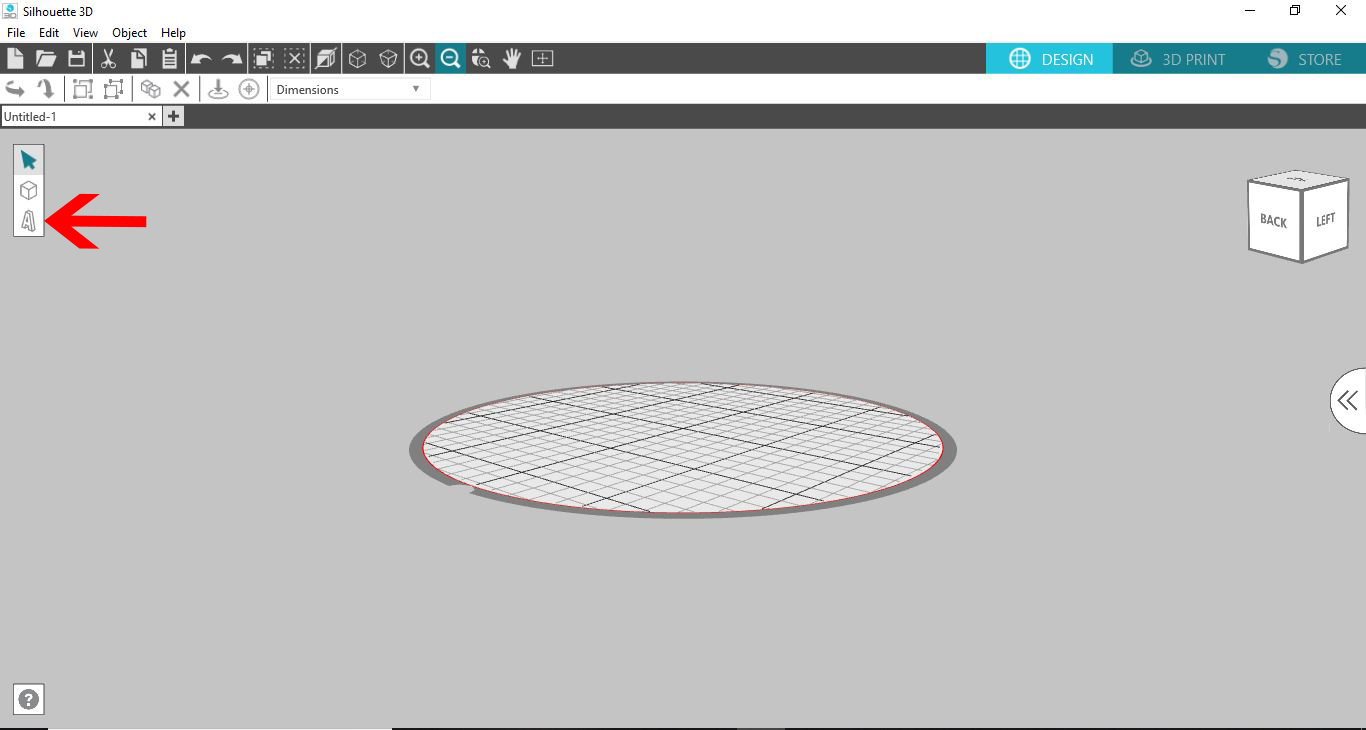
19- Once you click on the text option a new pop up will appear.
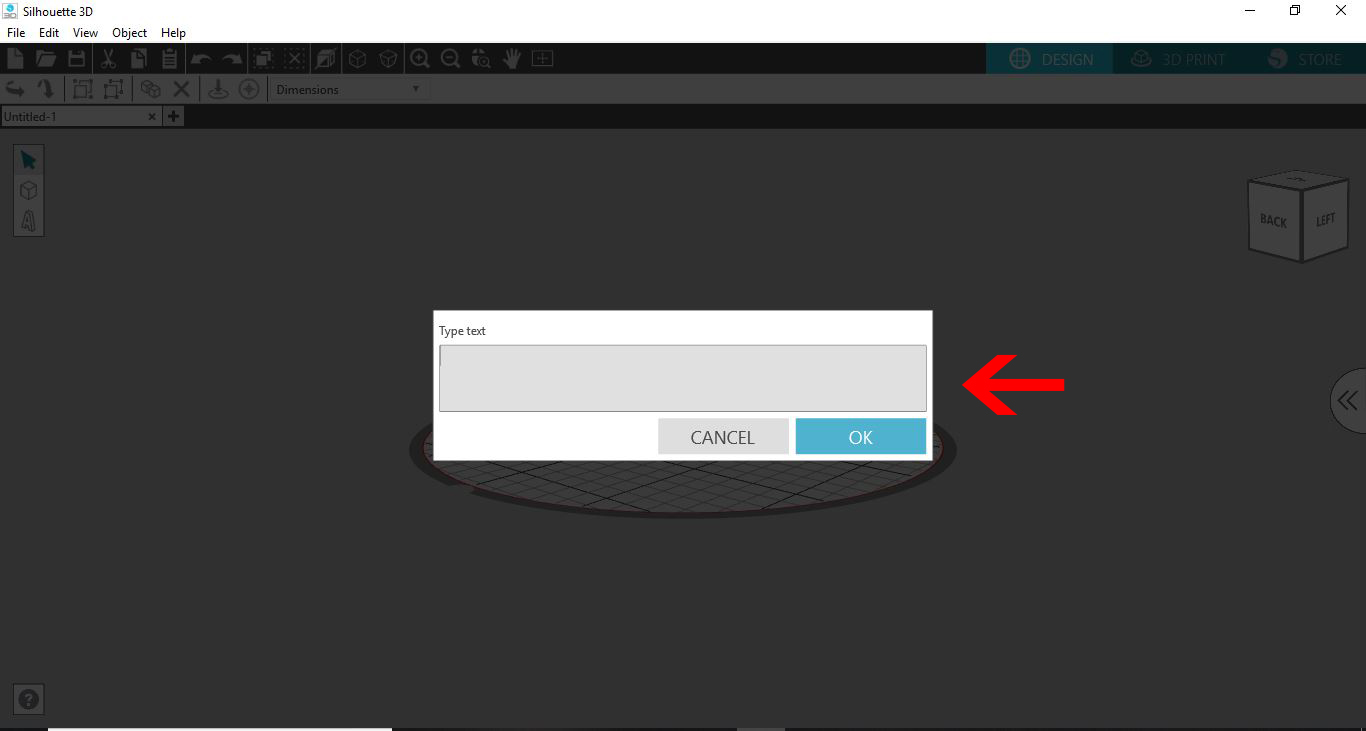
20- You can add your text and click on OK.
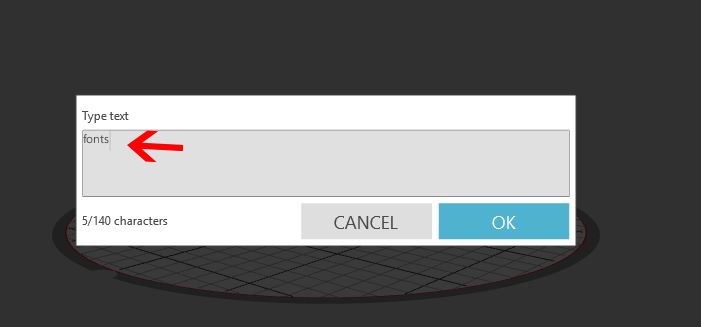
21- The text will appear in 3D ready to print.