By Design Bundles
How to Use a Premade Design to Decorate an Object in the Silhouette Alta
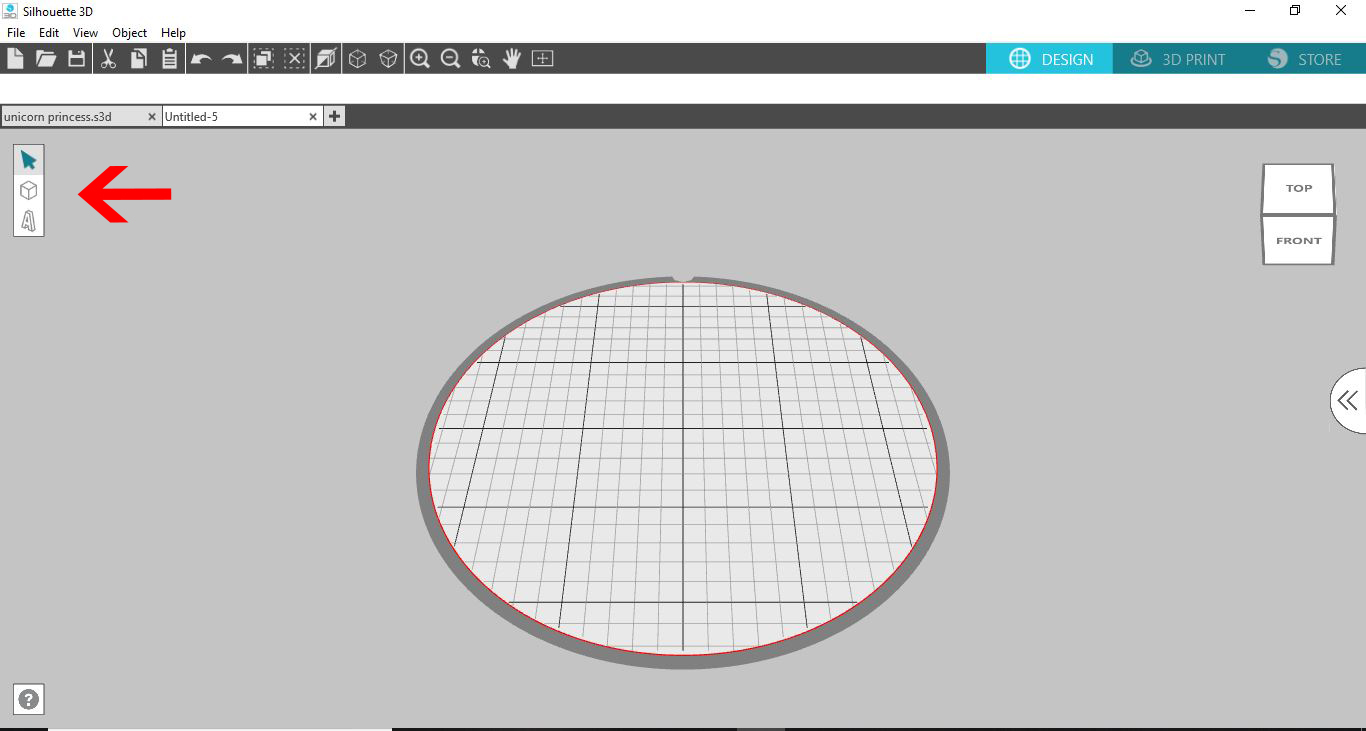
1- Open Silhouette Alta software. Click on the shape icon.
2- Select your shape.
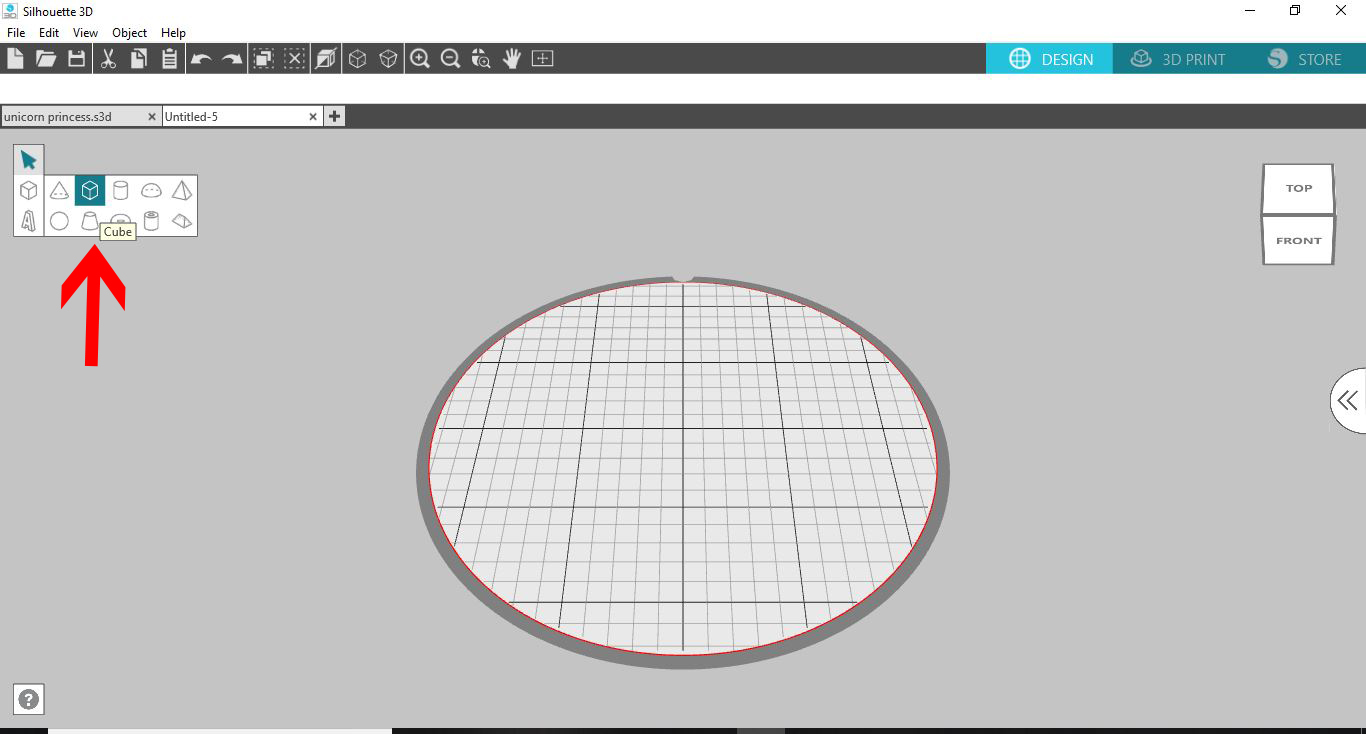
3- Create your shape. If you are going to put a decoration onto a project you have already made, open that instead.
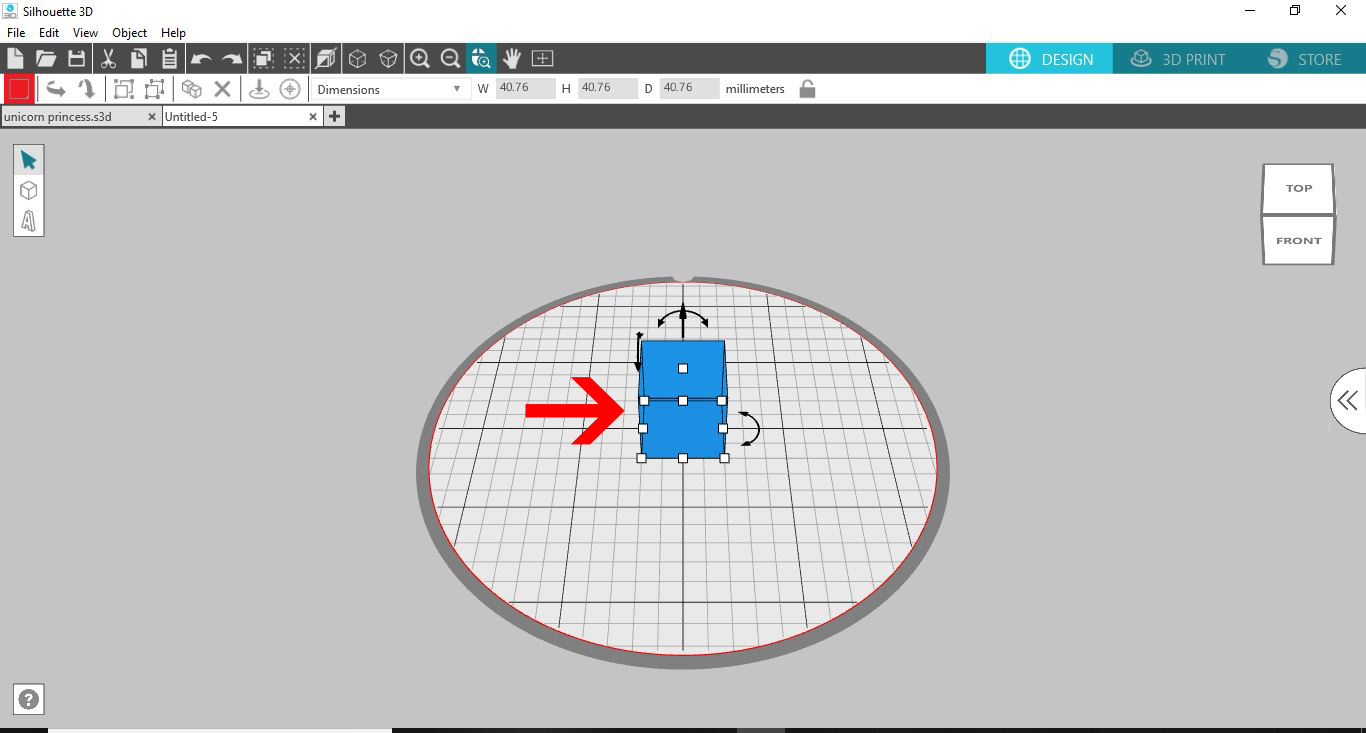
4- Click on the right tab to access the library and your premade designs.
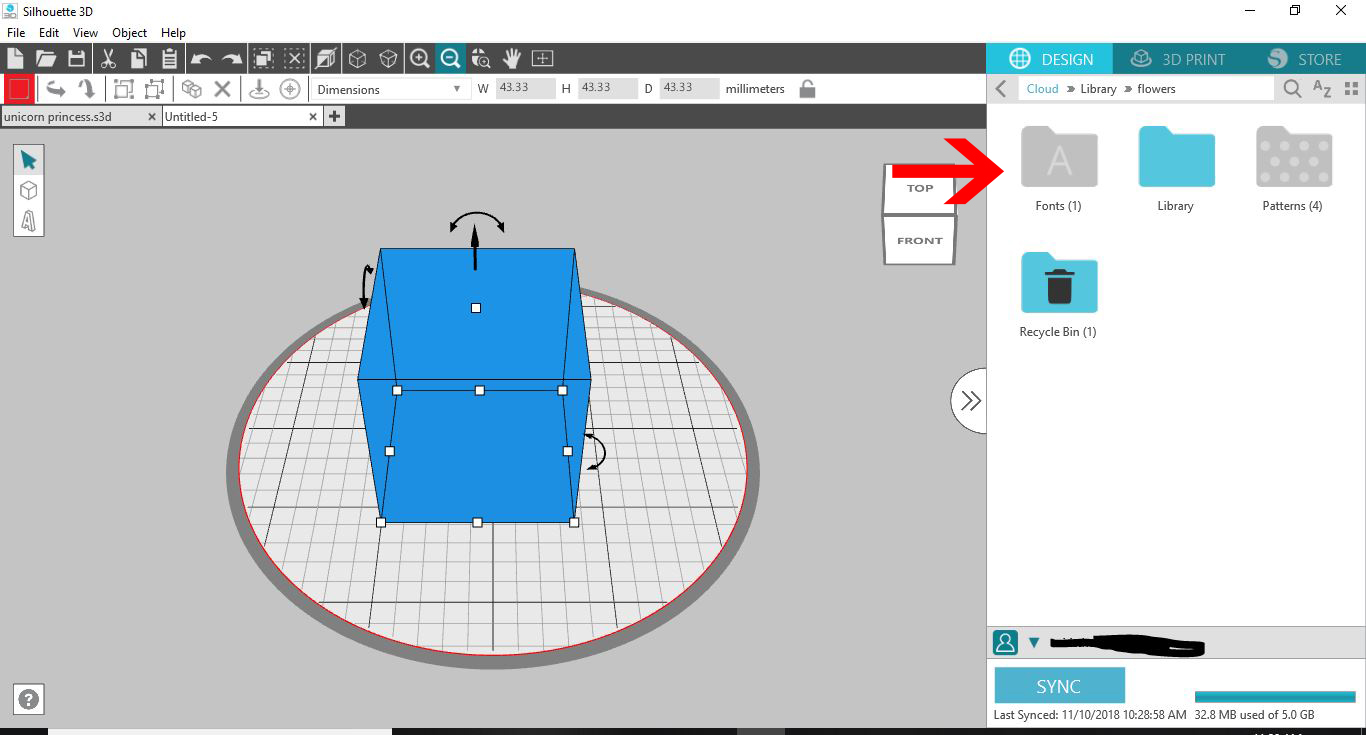
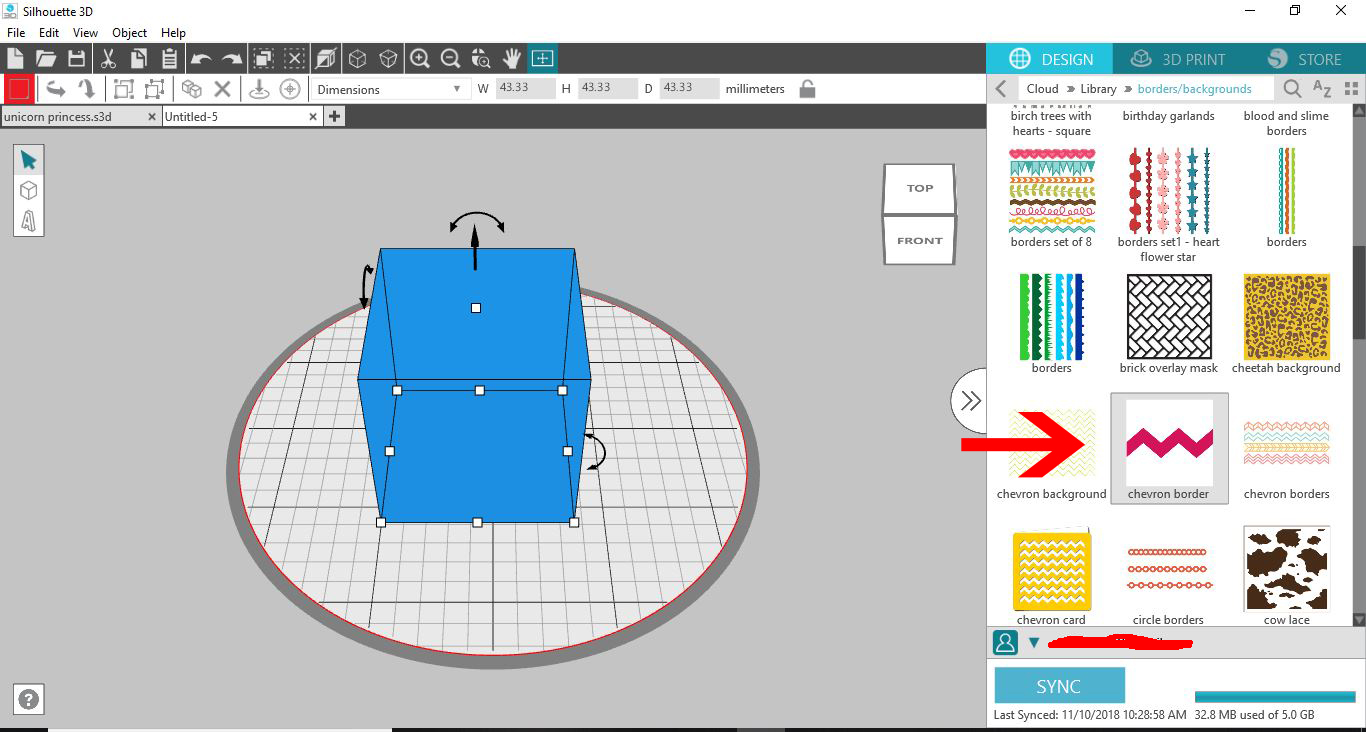
5- Select your premade design. Borders and single flat designs are the best to start with. Double click on it.
6- Click on extrusion.
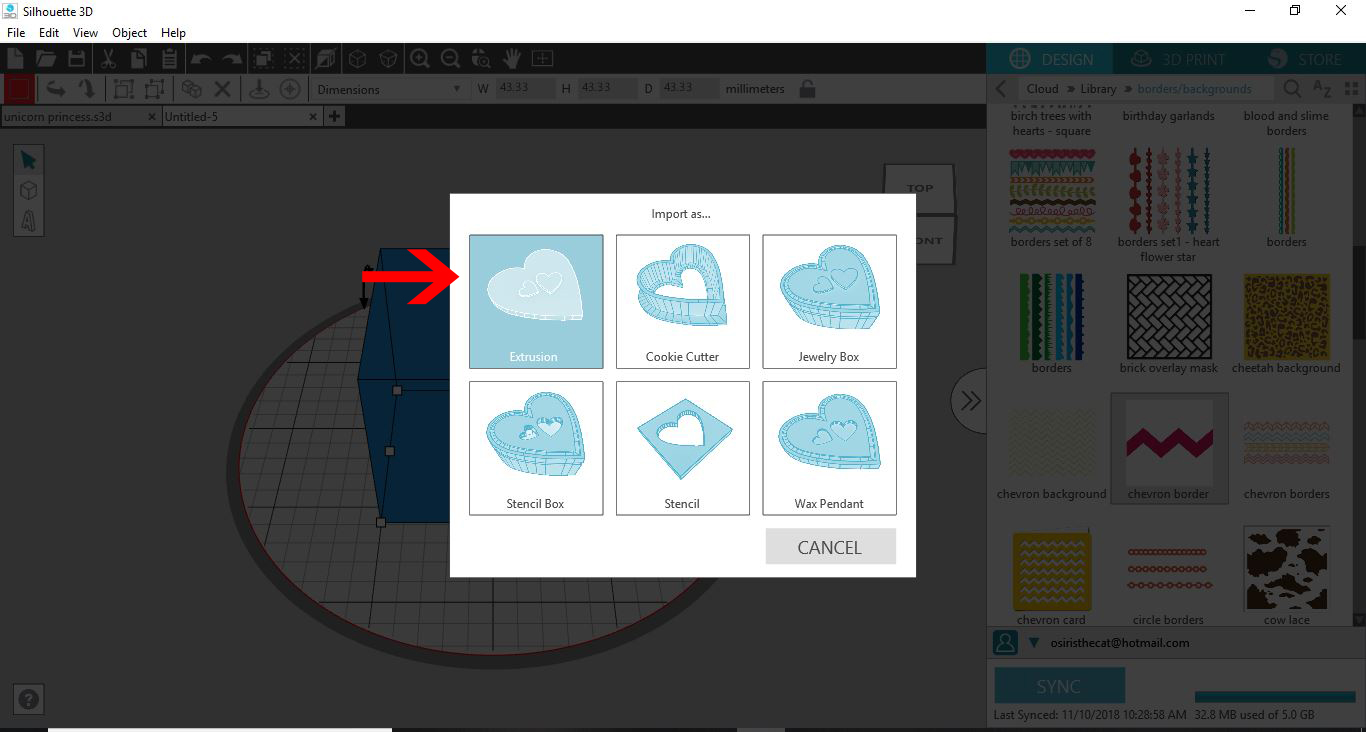
7- Your premade design will appear on your design space.
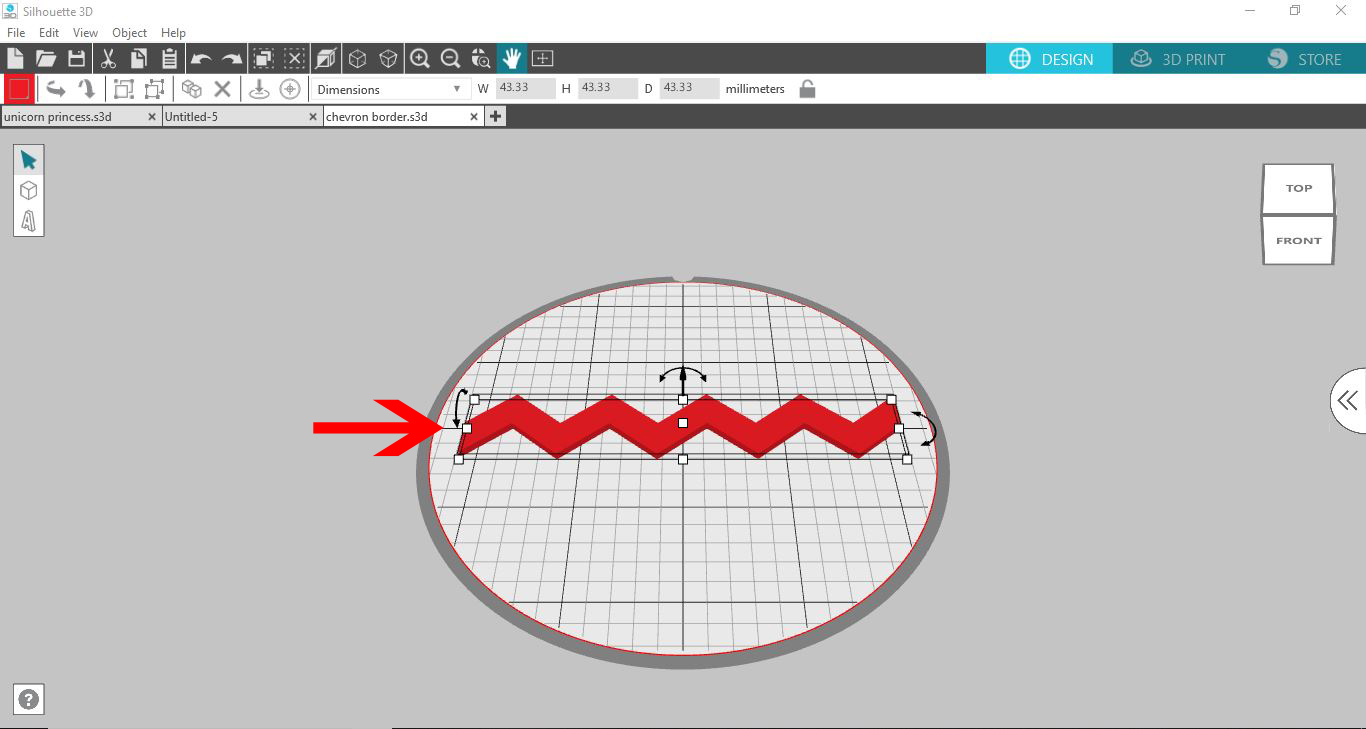
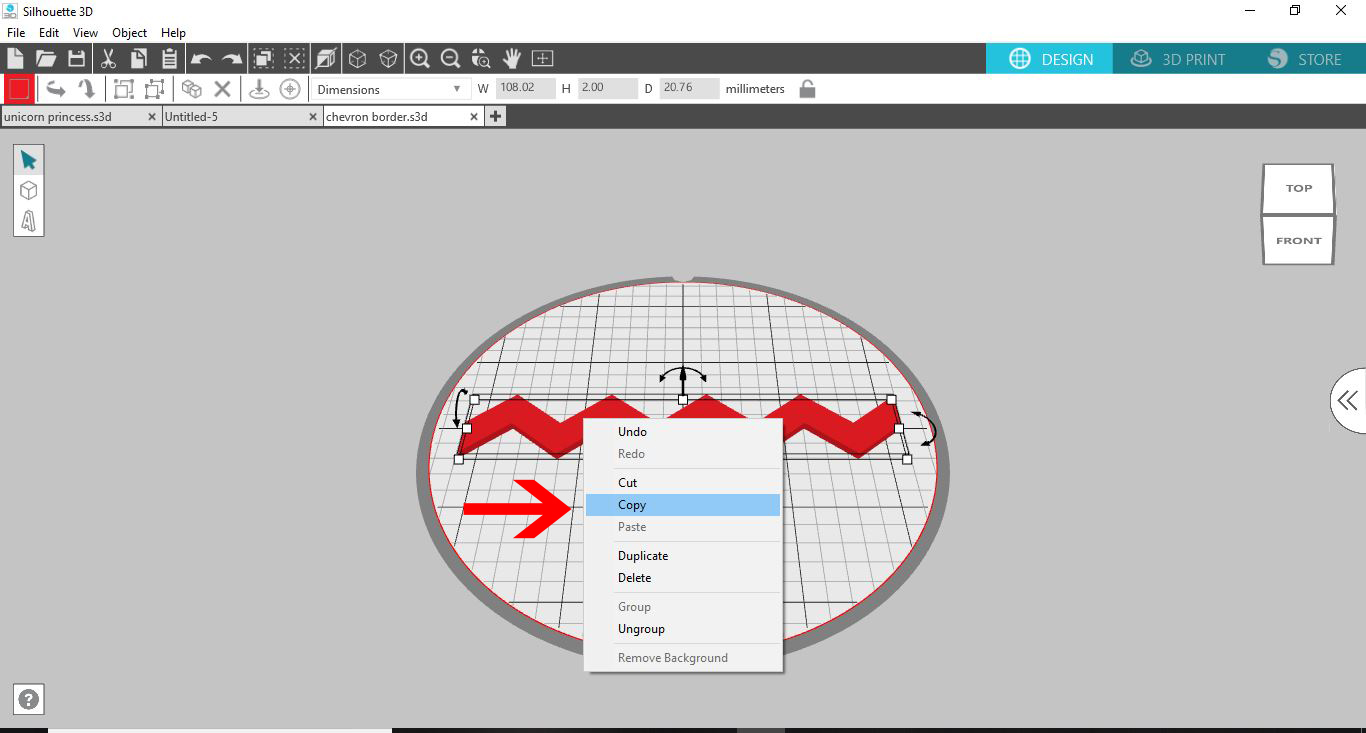
8- Right click on your design and copy it.
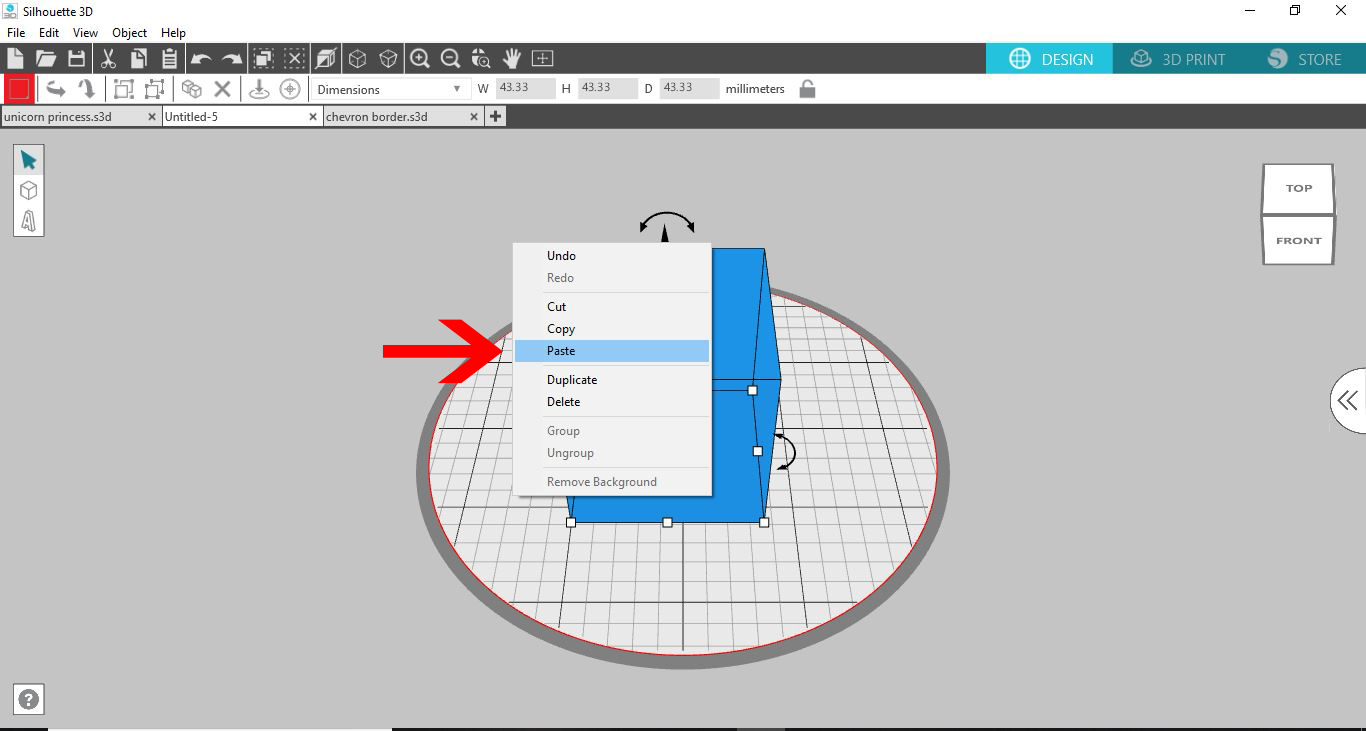
9- Go back into your first file and right click, then select paste.
10- Your design will appear in your design space.
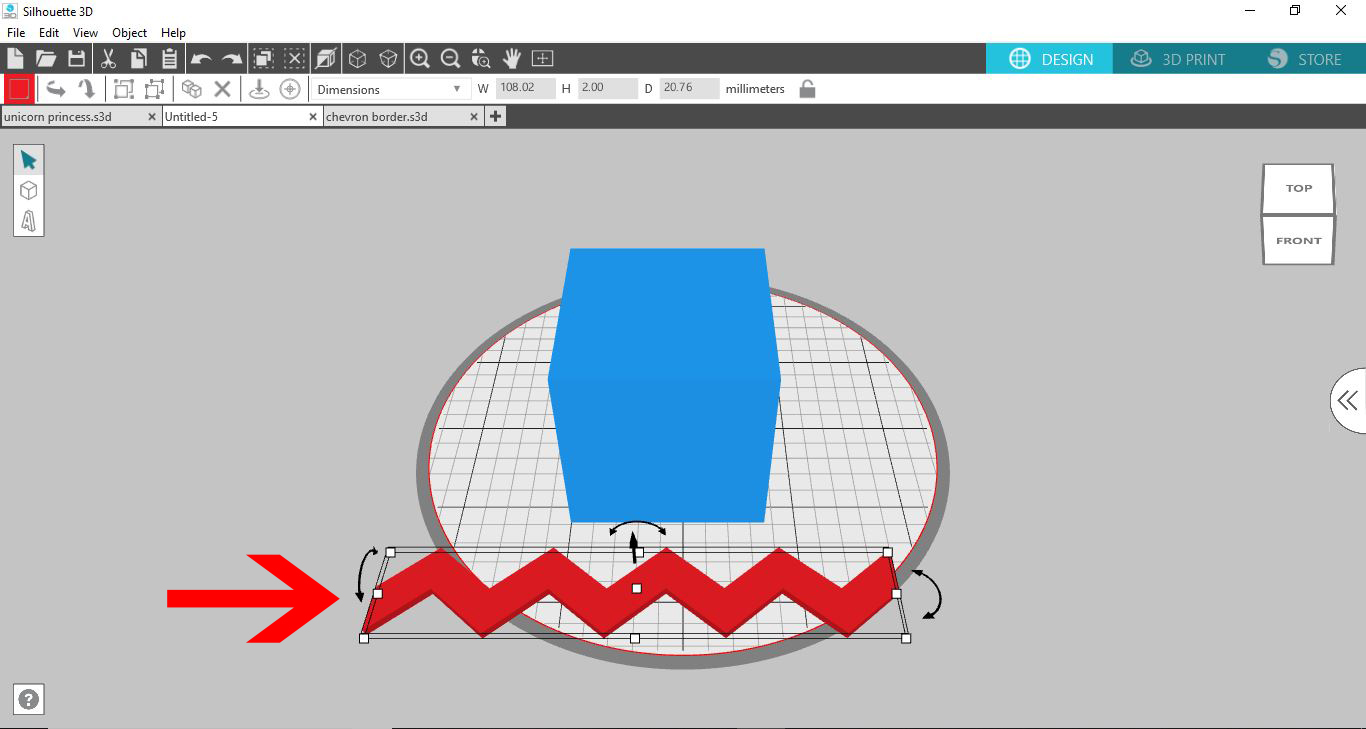
11- Using the rotation icon, rotate your design so it can be placed flush onto your cube (or premade object).
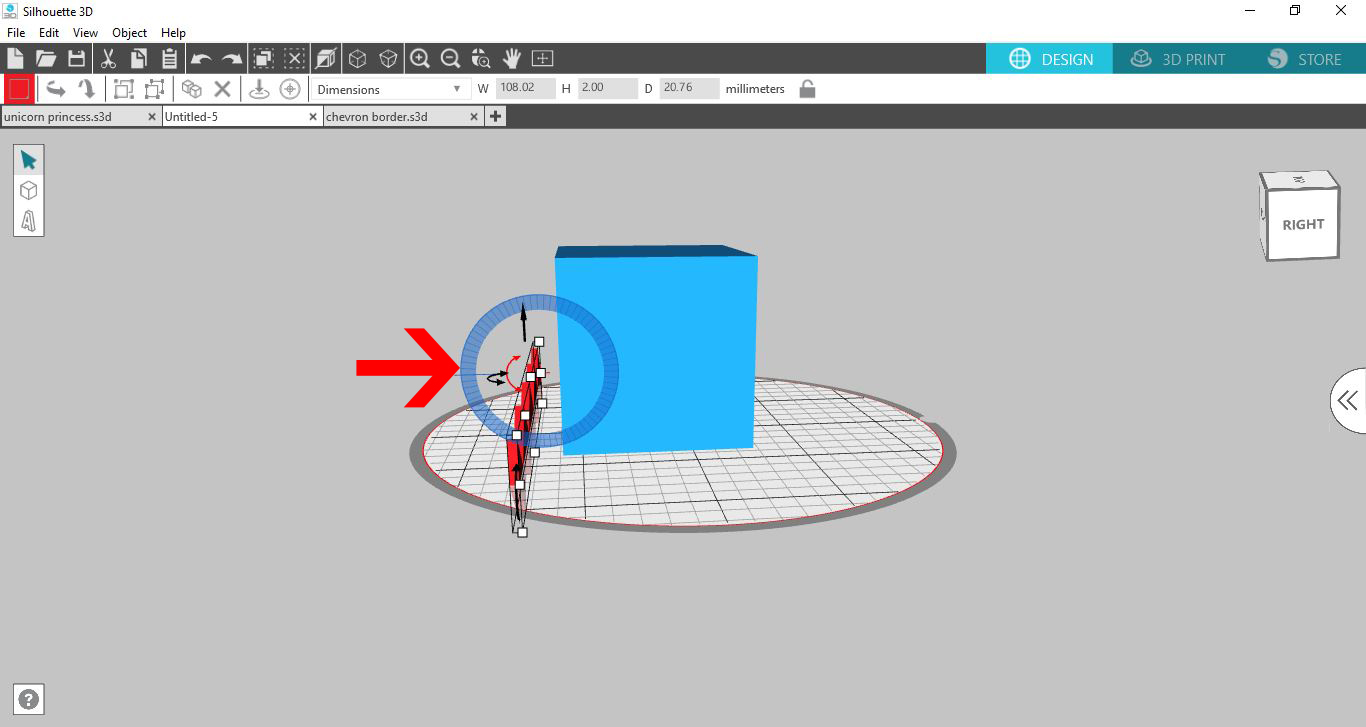
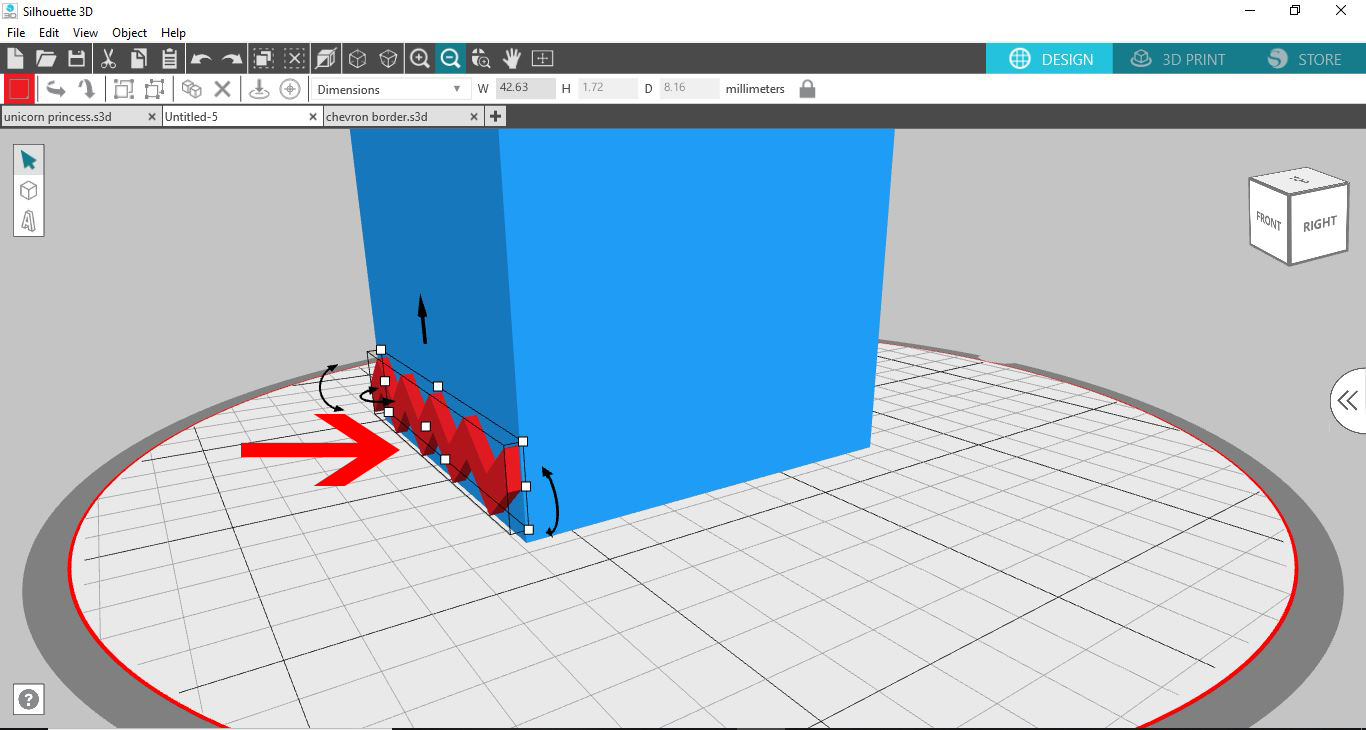
12- Move the design back so it is flush on your cube.Resize so there is no overlap.
13- Click on the select all icon.
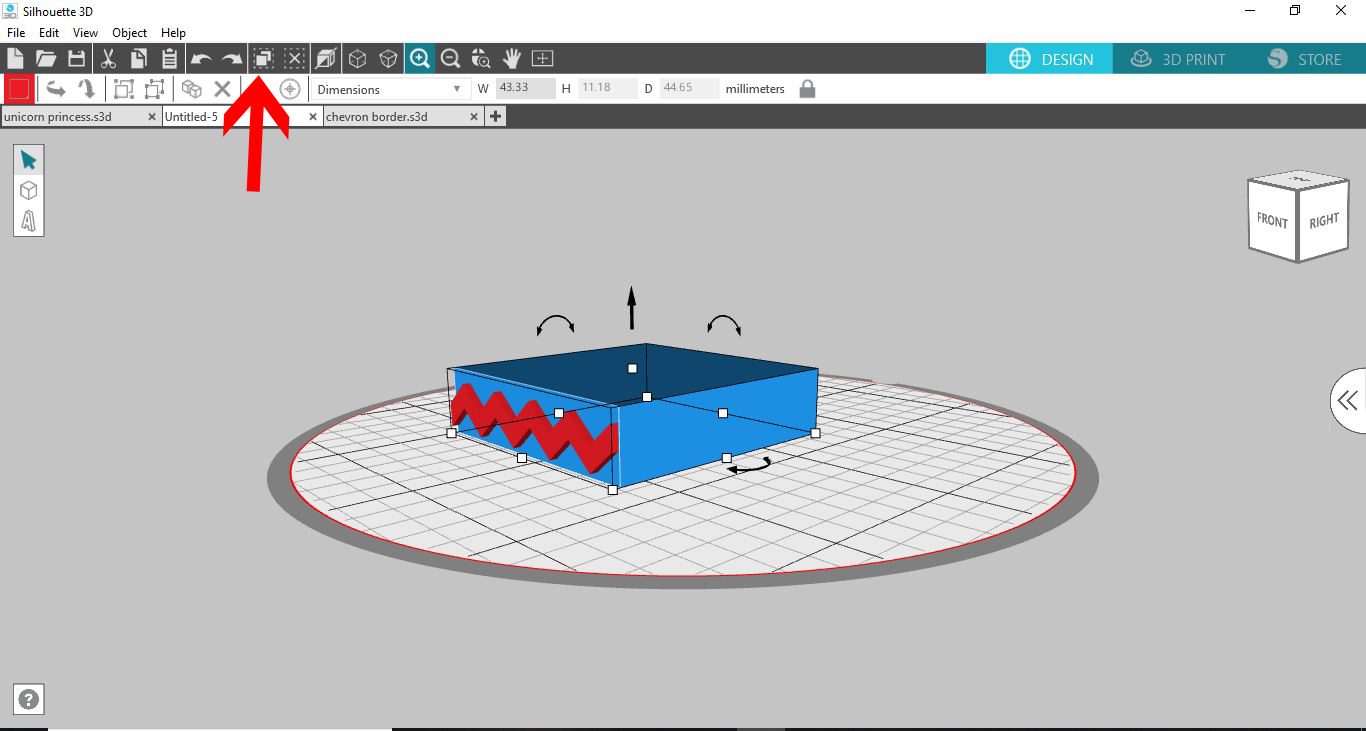
14- Right click and group. This way the software will print as one file, not separate parts.

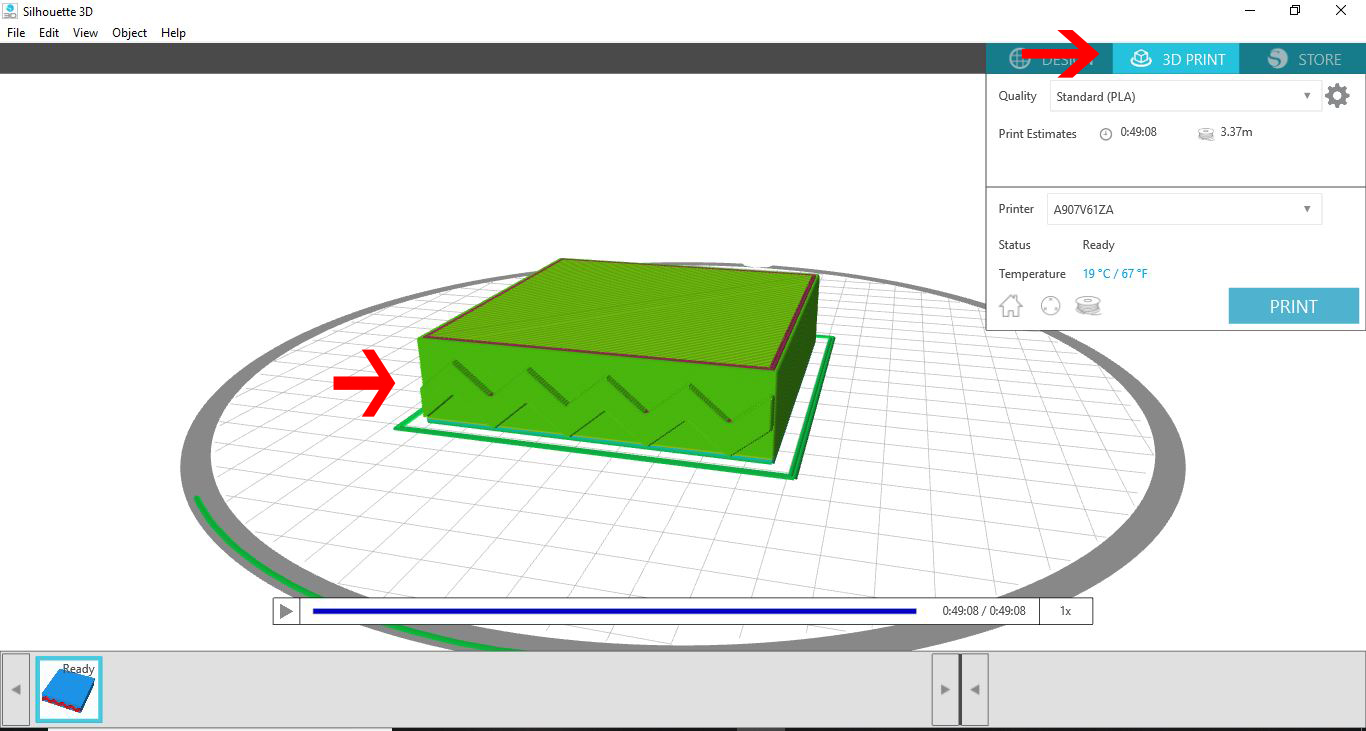
15- Click on 3D print and the software will slice your design ready to print. Click print.