There are lots of programs that graphic designers use to create their designs. One of the most popular is Adobe InDesign. InDesign is a publishing and page design app that can be used to create a huge range of projects -- from books to digital magazines to flyers and more.
If you're a graphic designer with access to InDesign, you can take advantage of some cool tricks to make your designs more creative, more appealing and easier to complete. Check out 10 of the best below.
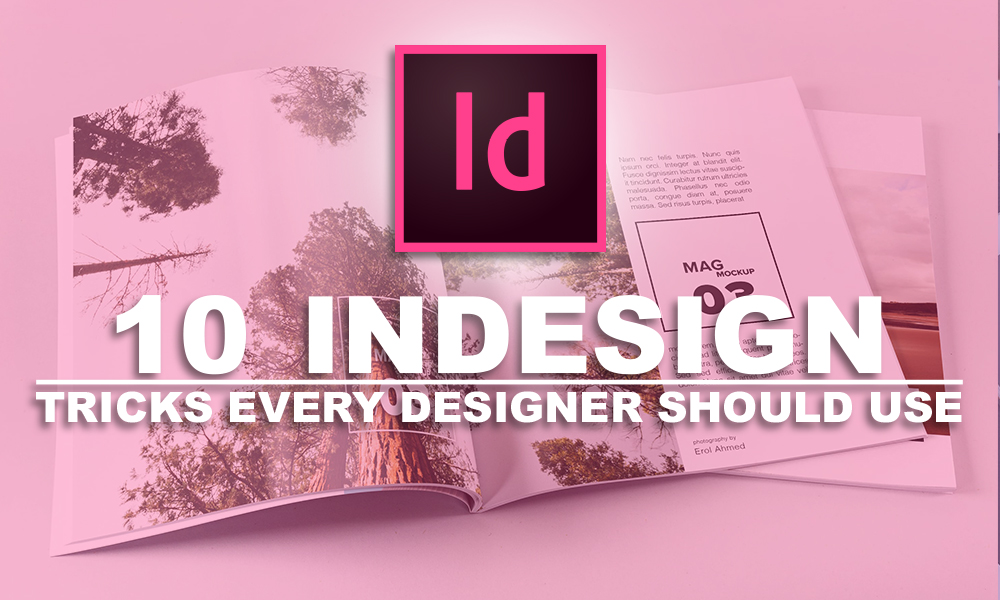
You might not realize it, but there are two kinds of black you can use in InDesign creations: rich black, which is made up of every single CMYK color, or process black, which is made up of 100 percent K.
When you're using InDesign to make logos, graphics, backgrounds and more, use rich black. Using rich black in visual elements prevents it from fading to a gray when it's printed -- especially if it's used somewhere that is in the sun.
You can automatically center an object on a page without having to squint and tweak over and over. To simply center an object on an InDesign Page, first select the object. Then, cut the object by going to Edit, then Cut.

Once the object is cut, go to View, then Fit Page in Window, then paste (by going to Edit, then Paste). Your object will reappear in the complete center of the page.
If you have an image or object in your InDesign creation that you want to frame perfectly, there's a shortcut for that!
To create a frame around an image, you should begin by double clicking the corner of the frame. Then, if you're using a Mac, type Cmd + Opt + C.
If you're using a PC, type Ctrl + Alt + C. This will automatically get the frame to fit around the object perfectly.
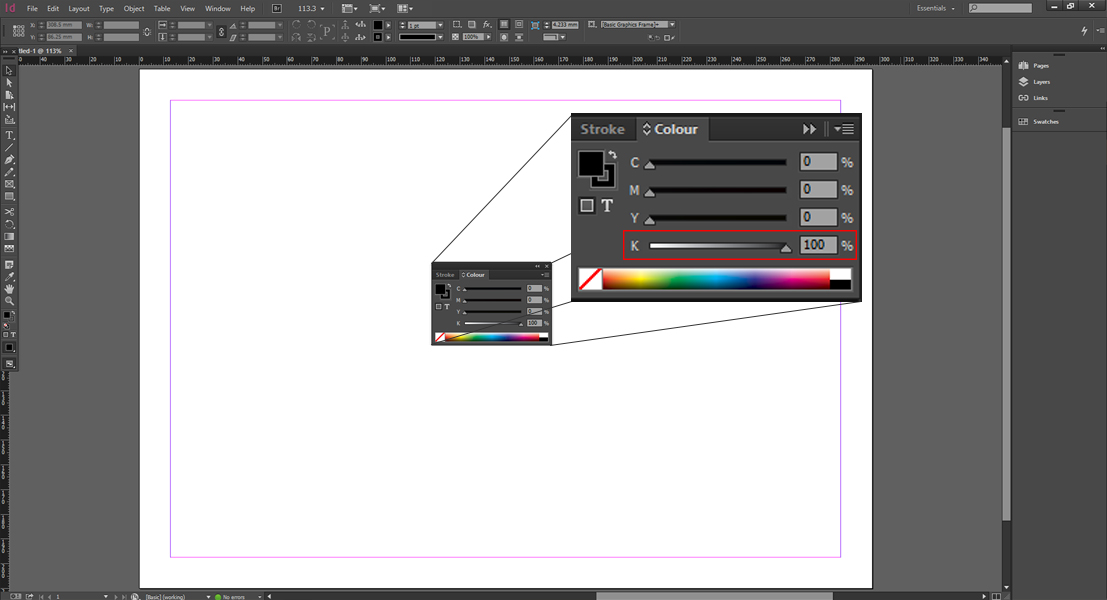
If you are creating a multi-page document in InDesign, but you want some of the same elements repeated on each page (e.g., a logo, a tagline at the bottom, page numbers, etc.), you should take advantage of Master Pages. That way, you don't have to add the same design elements to each page as you start it.
In order to create master pages, go to the Pages palette, then double click A-Master. Add all of the elements that you'll want repeated throughout your document and save. To use the Master Pages once you've created them, just drag a master page from the Master Pages pane to the Pages pane.
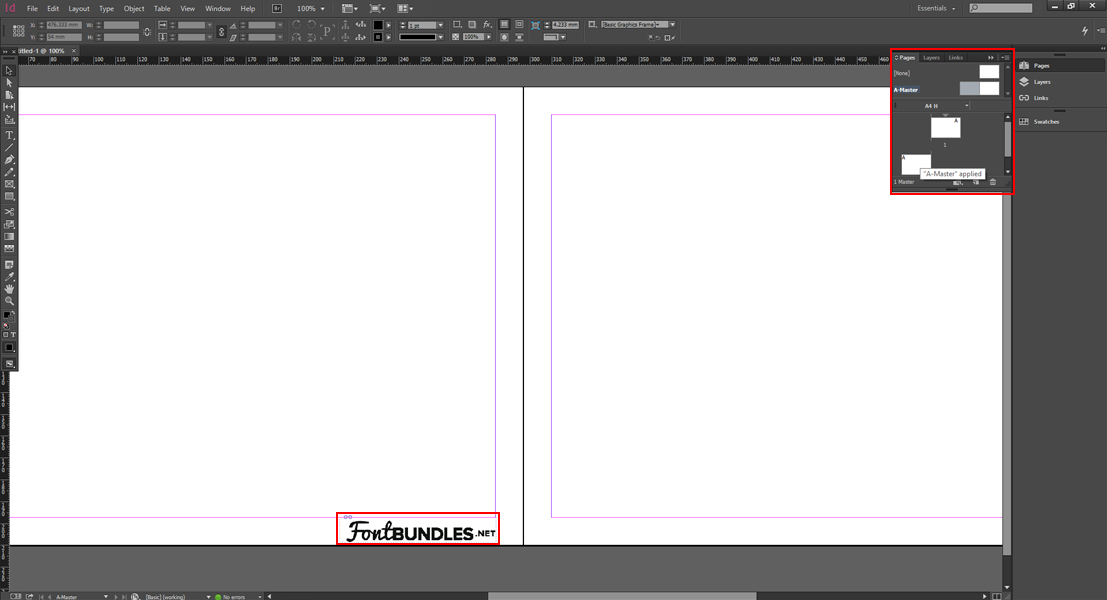
You can now change the look of the letters, which can be a big help for anyone looking to create logos or headlines.
You don't have to draw rounded corners on a square or rectangle object. Instead, there's a tool in InDesign that allows you to turn any sharp corner into a rounded one.
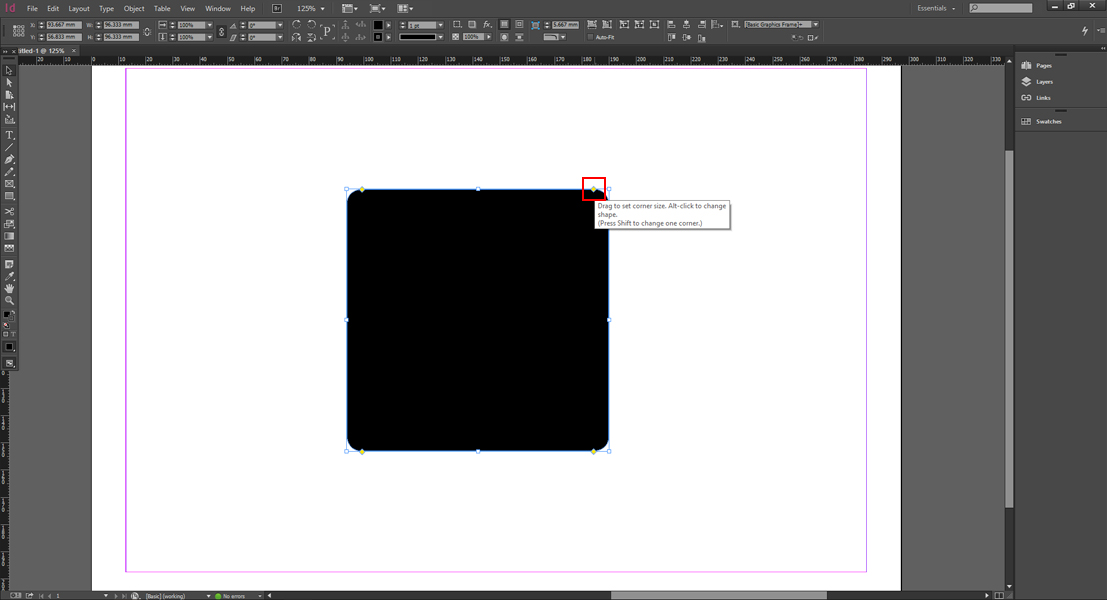
Each object has a yellow box attached to it. Click on that box, then drag it horizontally to the center of the square object. You can choose to make all corners rounded, or leave some out by going to Object, then Corner Options.
There is an eyedropper tool in InDesign that can help you get color inspiration. To use it, select the color theme tool from the eyedropper icon in the toolbar on the left. Then, click on any item in your design. It will pick up the nearby colors, and create a palette of five coordinating colors that you can work with and derive inspiration from.
Sometimes, it can be helpful to get an idea of what your design is really going to look like once it's finished and printed. To do that, InDesign offers the Overprint Preview option, which shows all of your images and artwork in high resolution.
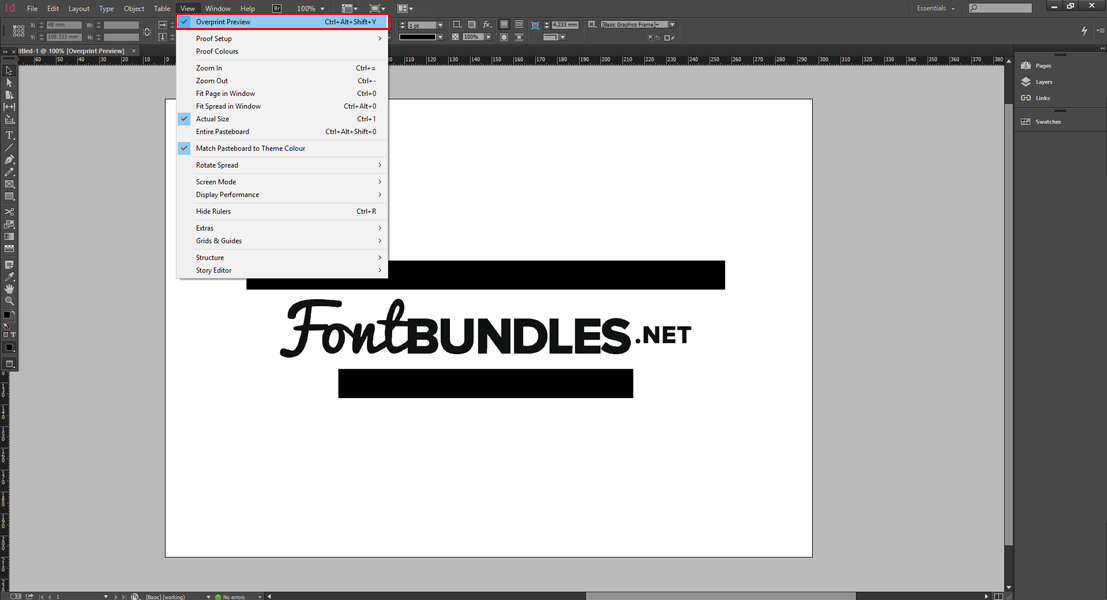
Overprint Preview can be toggled on by going to View then Overprint Preview.
Sometimes you have to stack a ton of frames on top of each other in InDesign in order to achieve the intended effect for your design. If you have lots of stacked frames and you want to click on a particular one, hold down command, then click on the stack. Continue to click and it will move through them one by one until you reach the frame you want to work on.
Before you export and print or send your document in InDesign, you have the ability to take advantage of Preflight, a tool that warns you if there are any problems in your document, such as missing links, fonts and color issues.
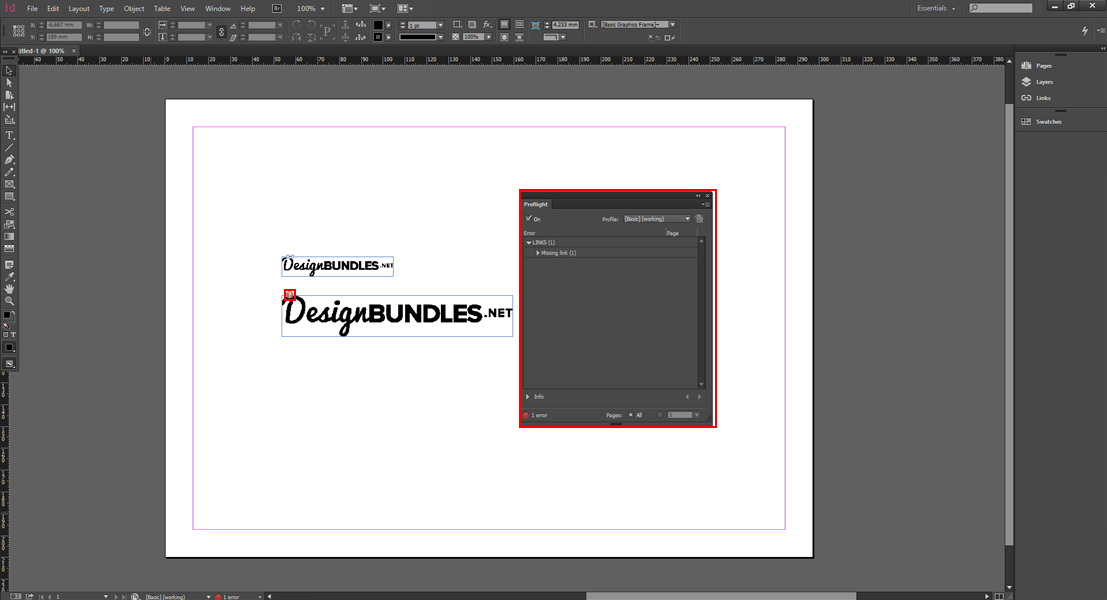
Before you finish your design, look at Preflight. It can help you save precious time and energy so you don't have to go back and fix things once you've already exported.
If you use InDesign to design pages, you should check out the design assets on DesignBundles.net. We have a huge range of professionally designed assets that can make your creations even more stunning and impressive -- including typefaces, backgrounds, icons and more.

Crafter's Calendar: A Guide to Inspire You All Year Long!

The Ultimate Dollar Deal Event: What You Need To Know

5 Cool Graffiti Font Styles That Are Trending