Adobe Photoshop is a tried-and-true design creation program that is beloved by both photographers and designers alike. If you are a graphic designer who uses Photoshop to create designs, there's a chance you're not leveraging its full potential. It has countless awesome features and functions you can use to manipulate designs.
To get more power out of Photoshop, try using the 10 helpful tips below.
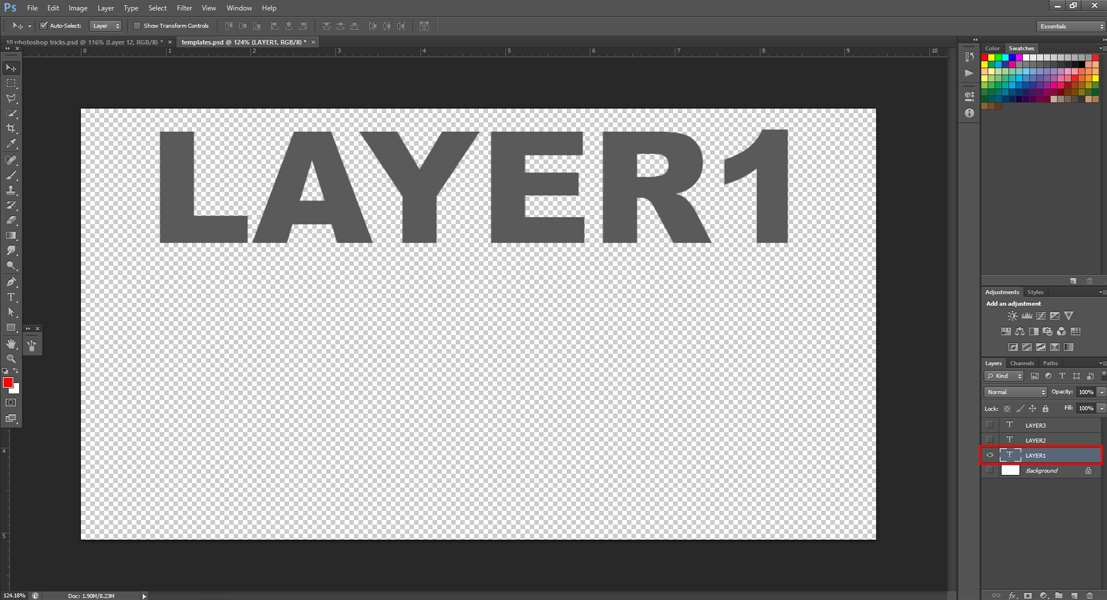
If you ever want to combine images and text so your text appears to have the image as its background or coloring, it's easy with Photoshop. Simply place an image layer over a text layer. Then, hold down the Alt key and click on the line between the two layers in the Layers Panel.
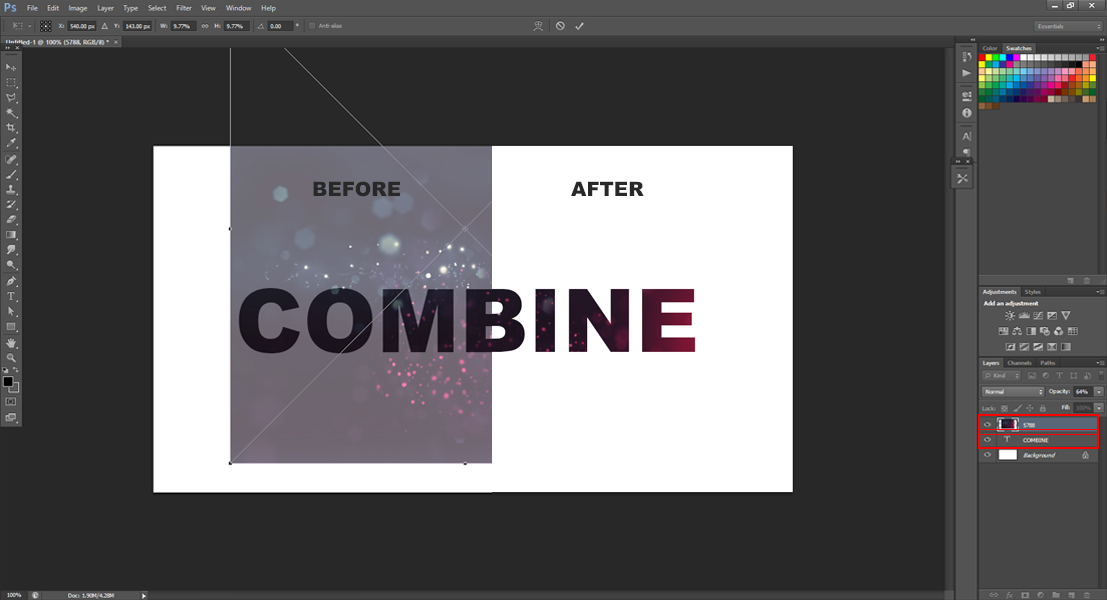
This will clip the image to the text and give it just the look you want.
There is a really easy shortcut for drawing perfectly precise straight lines using Photoshop. First, hold down the Shift key. Then, click a point you want to be one end of the line. Next, click the point where you want the other end of your line to be.

Voila! You have your straight line.
Do you know this quirk of Photoshop? When you use the Undo shortcut (Ctrl or Command + Z), it only undoes an action once. If you click it again, it will redo the action you just undid. If you want to undo a number of actions in Photoshop, there's a trick: Click Alt + Ctrl + Z. This lets you undo multiple things you've done.
Photoshop allows you to place an element in the absolute center of a design. To do this, click on the element's layer, then click Ctrl + A. Next, fire the Move tool, and you will see a vertical row option that you can click. Choose the second icon down to vertically center the element, then the fifth icon down to horizontally center it.

Tracking is the horizontal space between letters in a word. You can customize the tracking of any font at any time using Photoshop. This is particularly convenient if you need to change a font for a logo or headline. To do this, select the range of characters or words that you want to adjust. Then, go to the Character Panel and select the Tracking option.
![]()
If you've spent some time creating brushes that you particularly like, you can save them to reuse again and again. To do this, go to the Tool Preset Palette. Then, click on the New Tool Preset icon. This should be located at the bottom of the palette. Once you've done this, select to save your settings.
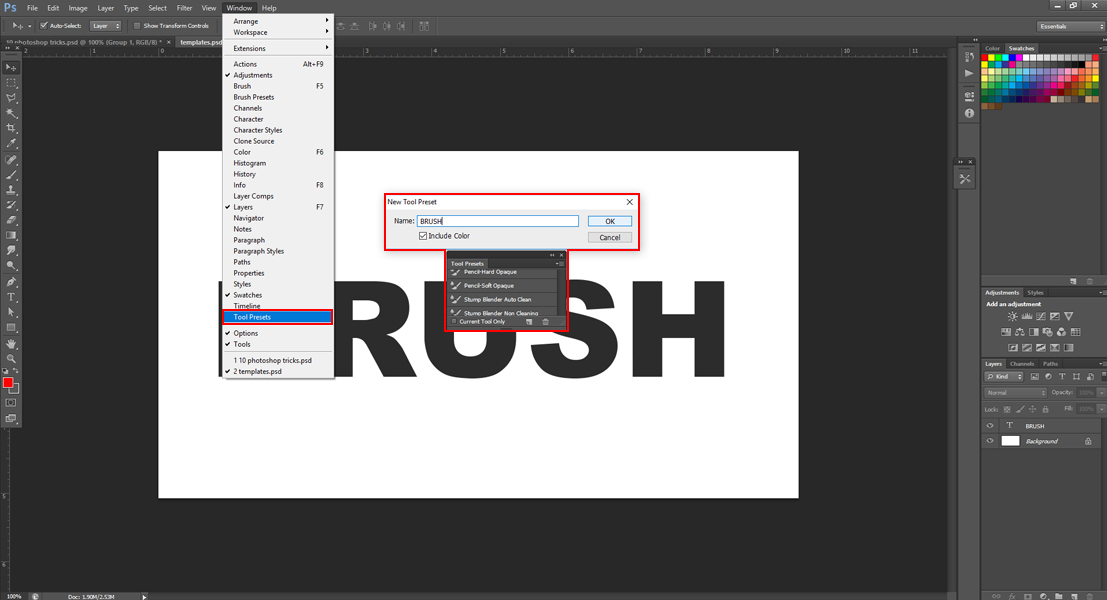
You can access these presets again in later designs, saving you time and energy.
You can completely remove a certain image from your graphic design using a tool called the Content Aware Fill. To do this, outline the image you want to go away, then click Edit and then Fill. This removes the image that you've outlined from your design. The tool isn't always perfect, depending on what you've outlined, but it's a fast and easy way to get something out of your work that you don't want.
Have you been working on a project with a lot of images or designs? You don't have to process each of them one by one. Luckily, Photoshop offers a handy Batch Processing feature. To get to it, go to File, Automate, Batch.
You can process more than 500 images at once with this feature, so you can leave your computer to do your work while you get on with the rest of your life.
Scaling is a crucial part of creating artwork and designs, and Photoshop makes it easy to scale things and keep them in proportion. To scale elements of your work (or your entire work) in Photoshop, hold the Shift key and type Cmd + T. You can also scale your work by selecting the Scale tool, then typing in your scale as a percentage value (width and height).
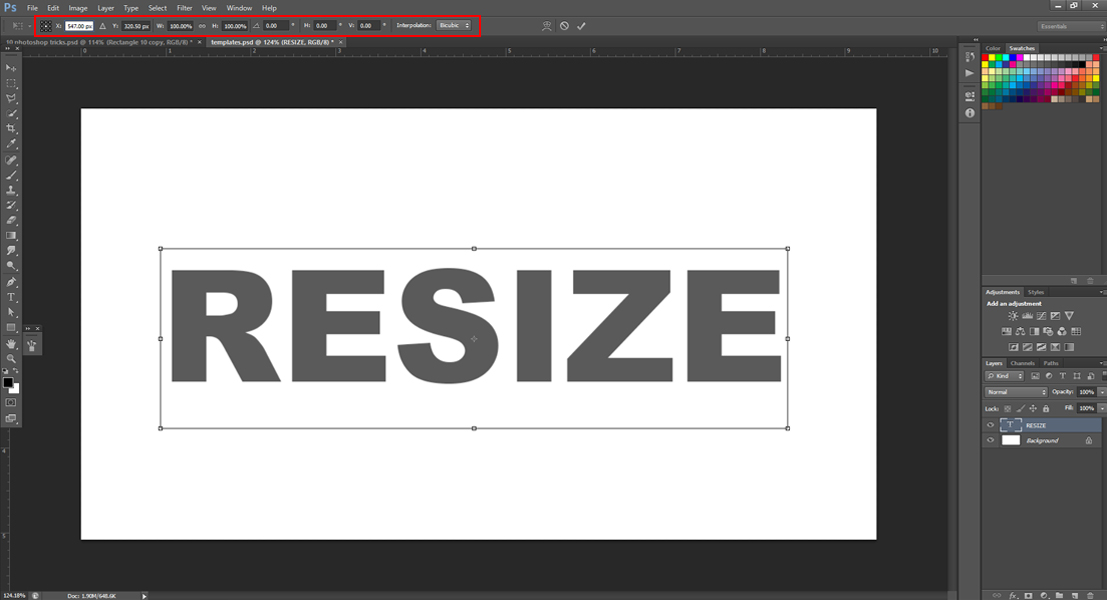
If you want your work to keep these proportions no matter what you do it, you can click the chain in the middle of the two percentage values, which will keep them locked together.
If you want to look at just one layer of your design, you can do that easily without having to hide all your other layers. Simply hold down the Alt key and click on the Eye icon of a certain layer. That makes every other layer temporarily disappear.
When you want them to reappear, just repeat.
If you're a graphic designer who frequently uses Photoshop, you'll find lots of design elements you can use at Design Bundles.net. Our design elements are professionally created and aesthetically pleasing, so you can ensure your designs turn out as well as you want them to, every time.

Crafter's Calendar: A Guide to Inspire You All Year Long!

The Ultimate Dollar Deal Event: What You Need To Know

5 Cool Graffiti Font Styles That Are Trending