
Welcome back, Cricut crafters! If you're just getting started on your Cricut journey, you're in the right place. Today’s tutorial is part of our Beginner Cricut Series, and we’re diving into your very first paper cut project—a super cute, layered gift card tag. It’s simple, practical, and adds a handmade touch to any gift. Ready to jump in? Let’s go!
Start with Selecting the Design Template. Here is the one we are using for this tutorial:
https://designbundles.net/elinorka/4455182-summer-gift-tag-template-flowers-gift-tag-cut-file

https://designbundles.net/plus-choose
Before we get started, gather the following supplies:
Open Cricut Design Space.

Upload your gift tag file.

Once uploaded, the default size is approximately 3” x 6” —perfect for our oversized tag. No need to resize for now.
Want to personalize your tag? Follow these steps:
1- Add a text box with your recipient’s name.

2- Change the Operation to Pen.

3- Select the color and pen type (G - Gel 1mm and and change color - This depends on the Pen you are using)

4- Choose your font.
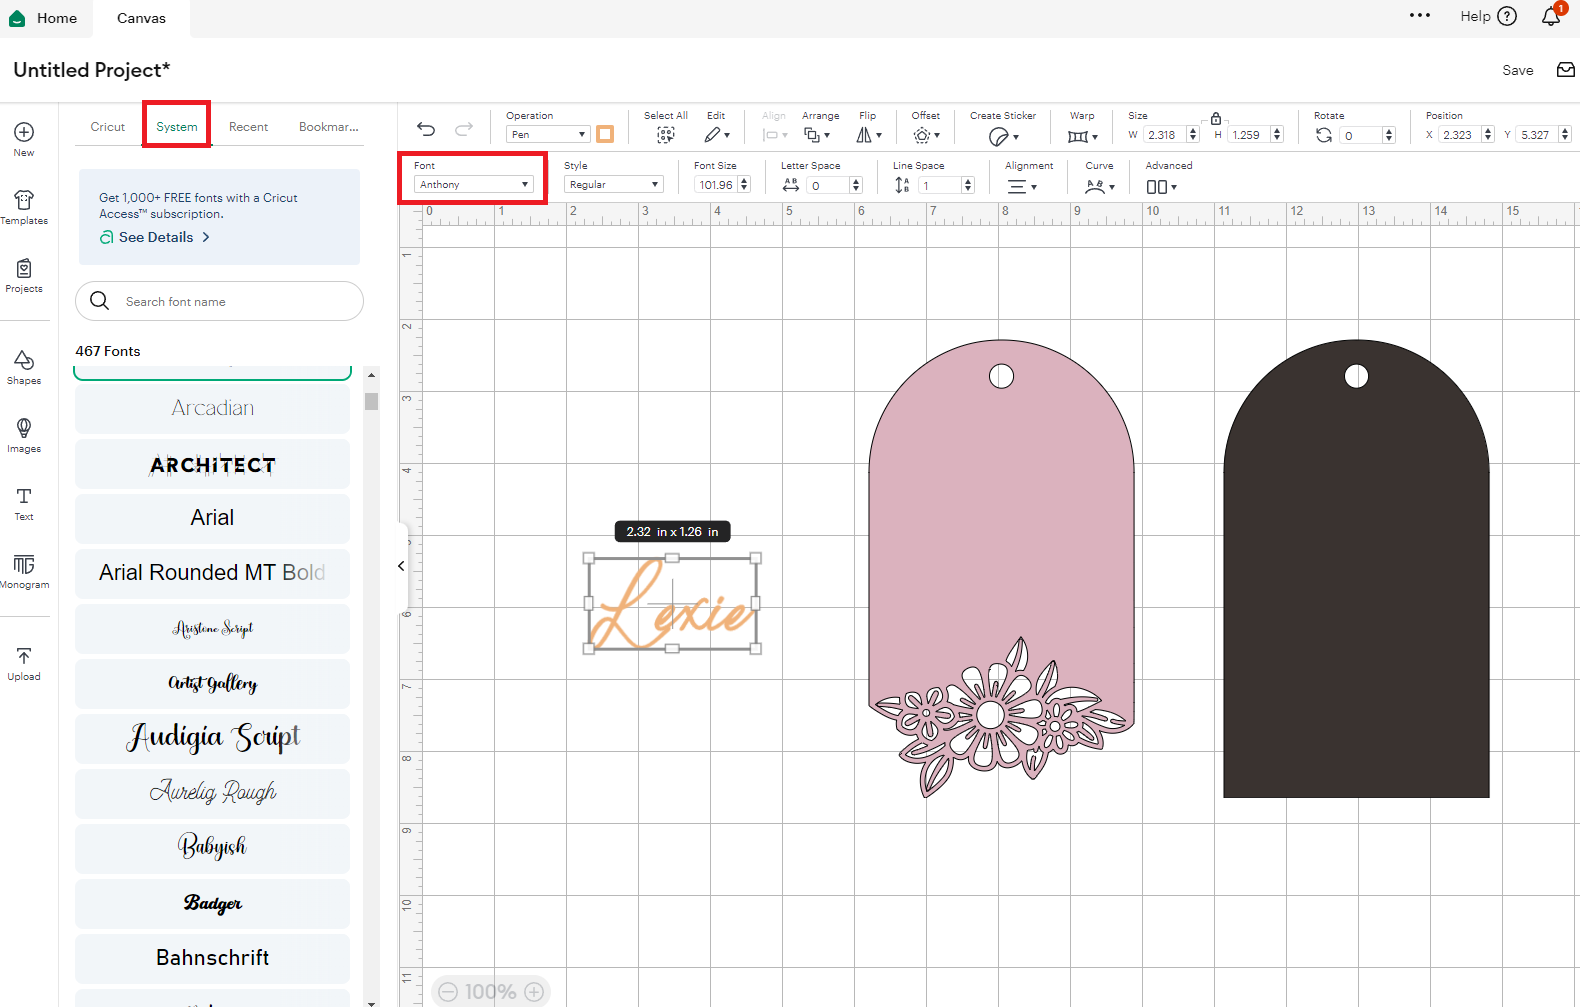
5- Weld the letters together to avoid overlaps.

6- Position the text on the tag's top layer.

7- Select both text and tag layer, then click Attach to ensure they print together.

To preview how your project will look:

Change the tag layer colors in Design Space to match your cardstock.
Note : This step is optional but can help visualize the final product.
1- Click Make It.

2- Set the material type to Heavy Cardstock (for thick paper) or Medium Cardstock (for thinner sheets).

3- Load your Cricut pen into Clamp A until it clicks.

4- Place the first piece of cardstock (top layer) onto the mat and press firmly.

✂️ Step 5: Cut and Write
1- Load your mat into the machine.

2- Let Cricut draw and cut your first layer.
3- Unload the mat once complete and gently peel off the cardstock to avoid bending.

Once both layers are ready, you have two options:
Glue them together for a sleek, finished look.

Tie them together with twine to allow some movement between layers (a fun, high-end touch!).

Tie your tag to a gift with twine, ribbon, or string. Voila! You now have a beautiful, personalized gift tag made entirely with Cricut.
That’s it—your very first paper cut Cricut project!

We hope this project helped you build confidence with your Cricut. Be sure to check out the other tutorials on our YouTube Channel:
https://www.youtube.com/@DesignBundles
Happy crafting! ✨

DTF vs Sublimation Printing: Which Is Better for Your Craft Business

