Posted 13th August 2017 •
By Design Bundles
Got a logo or display text that needs something more than a drop shadow? A 3D text effect is just the thing to make that logo pop! The 3D trend is on the rise as design software allows for effortless rendering of effective dimensional text.
Learn how to imitate dazzling three-dimensional depth in Affinity Designer, a high-quality, low-budget alternative to Adobe Photoshop and Illustrator. Affinity Designer is a new vector art program that is powerful enough for design professionals but accessible for crafters and students.
While Affinity Designer lacks the advanced 3D extruding tools of Adobe Photoshop and Illustrator, it's still possible -- and extremely easy -- to create 3D text without high-powered rendering.
How to Create 3D Text
Choose Your Fonts
When planning to use a fun effect, it's tempting to choose a fun font, too. However, a visually interesting or heavily textured typeface can distract from three-dimensional effects, or the effect may cast unintentional shadows or reveal blemishes in the typeface. Bold, blocky fonts, such as Rust or Boxing, work best as they show more 3D volume.
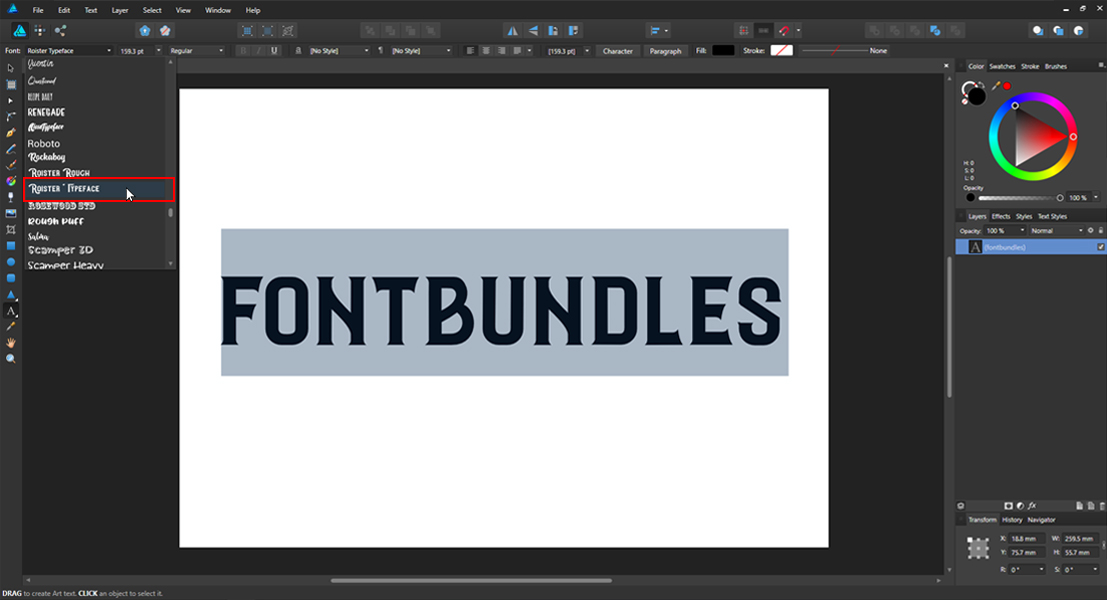
If you're aiming for a retro look, consider a heavy script like Rockaboy or the vintage-inspired sans serif Roister.
Using the 3D Effect
The easiest way to achieve three-dimensional text is with the 3D effect tool. You can apply 3D effects directly to the text and, if you don't like the way the effect works on one font, you can easily change fonts without deleting the effects.
Open a blank document, type in your text, and set it in your preferred font.
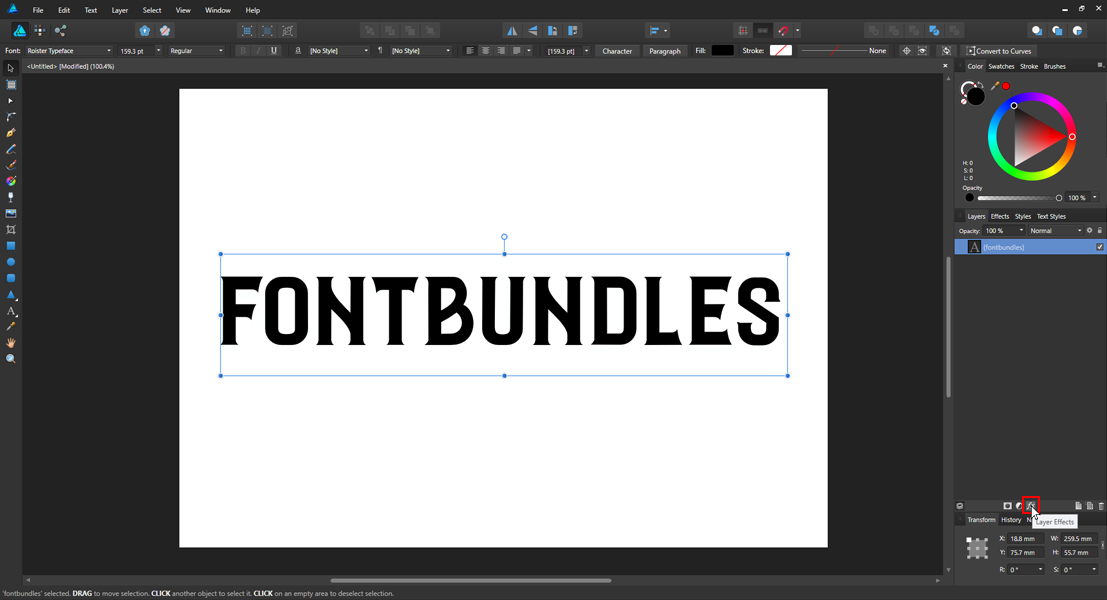
Select your text and click the "fx" icon on the bottom of the Layers panel to access the 3D effect controls. Select 3D in the Effects submenu and start modifying settings to give your text more dimension. Drag sliders to adjust the effect's opacity, depth and lighting effects.
You can add up to 10 lighting sources, changing the color and direction of each.
For a basic tool, this option can generate some amazing dimensional effects, but the settings are limited in only adding effects to the existing type and does not allow for skewing or modifying the perspective of the text, nor does it add dimension behind the text.

Create 3D Text Effect From Scratch
This manual technique allows you to create fully customizable 3D text through a combination of vector modification and layer effects. If you are new to 3D text and Affinity Designer, this is a good project for learning the software's tools. This method requires you to convert your text to vector curves, so double-check your spelling before converting.
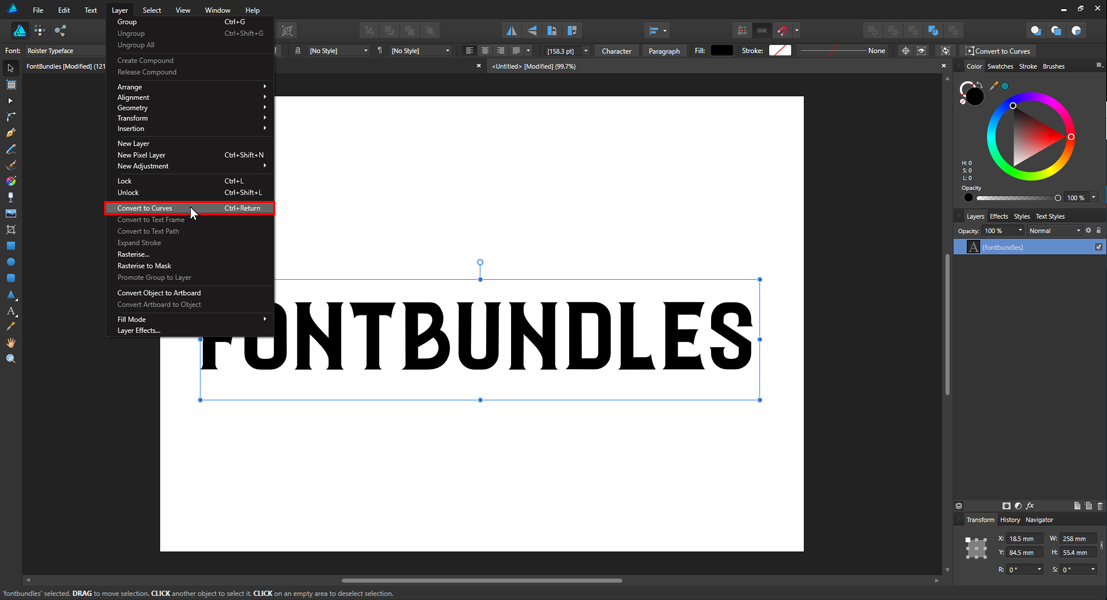
With your original text layer selected, go to the top menu bar under Layer and click "Convert to Curves" (keyboard shortcut: control/⌘ + return). Then set your text color fill to light blue. You'll be able to change the color later.
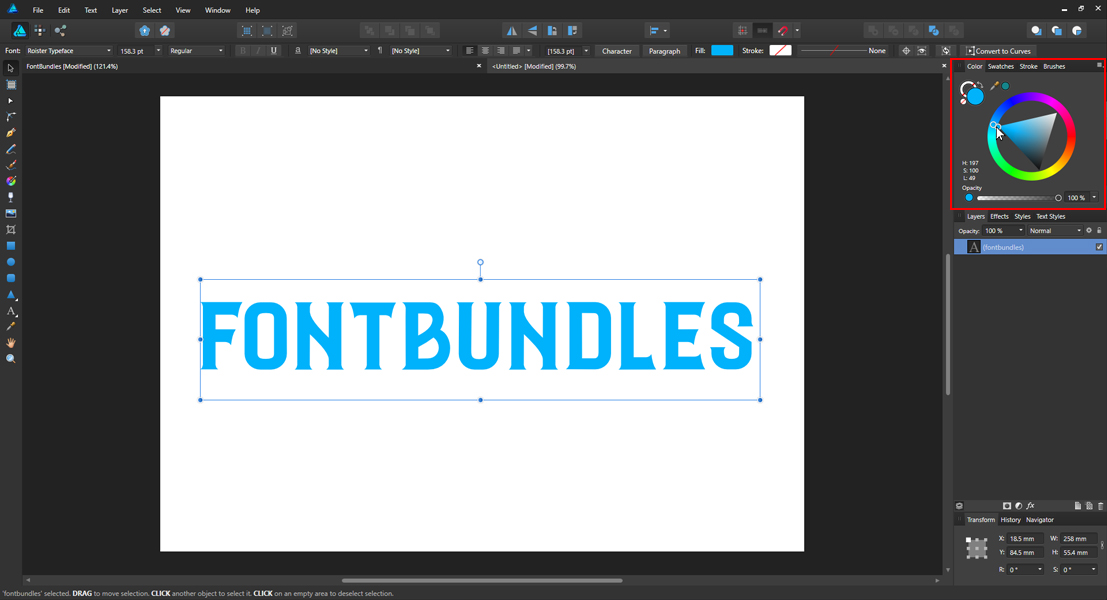
Duplicate the light blue layer and position it behind your original layer. With the new layer still selected, change the color fill to black.
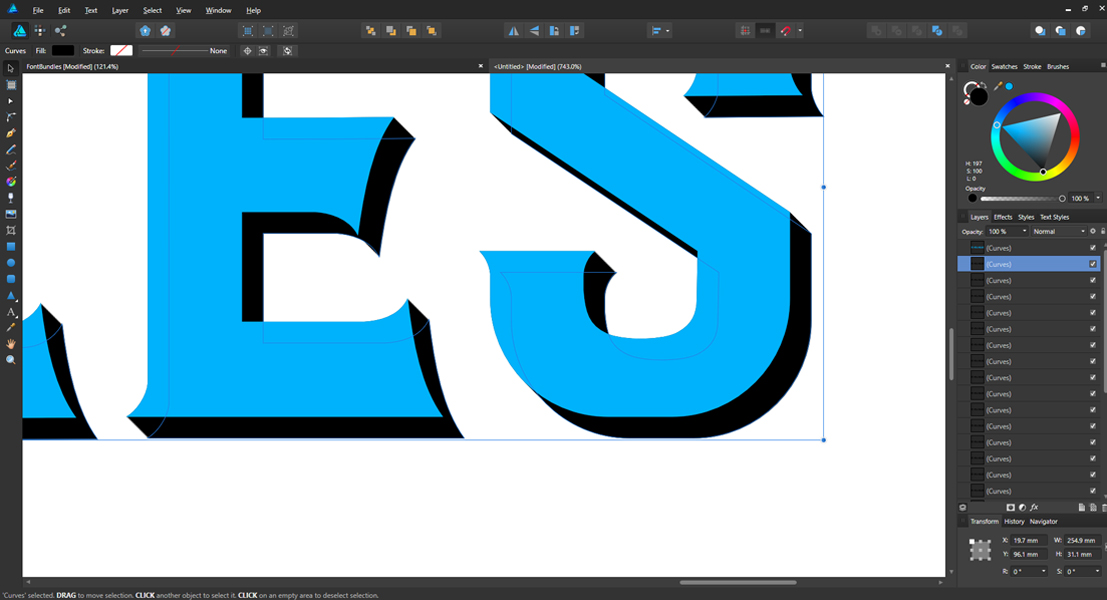
Now you're ready to start building the edges of the three-dimensional look. Hold the alt/option key while dragging the black layer a few pixels away from the original layer. Zoom in 500 percent and use the arrow keys to nudge this layer in the direction you want your 3D effect to extend.
You will be duplicating this layer multiple times to achieve your desired depth, so nudging this first layer by a tiny increment is all you need to start. Use keyboard shortcut control/⌘ + J to duplicate the layer approximately 15-20 times.
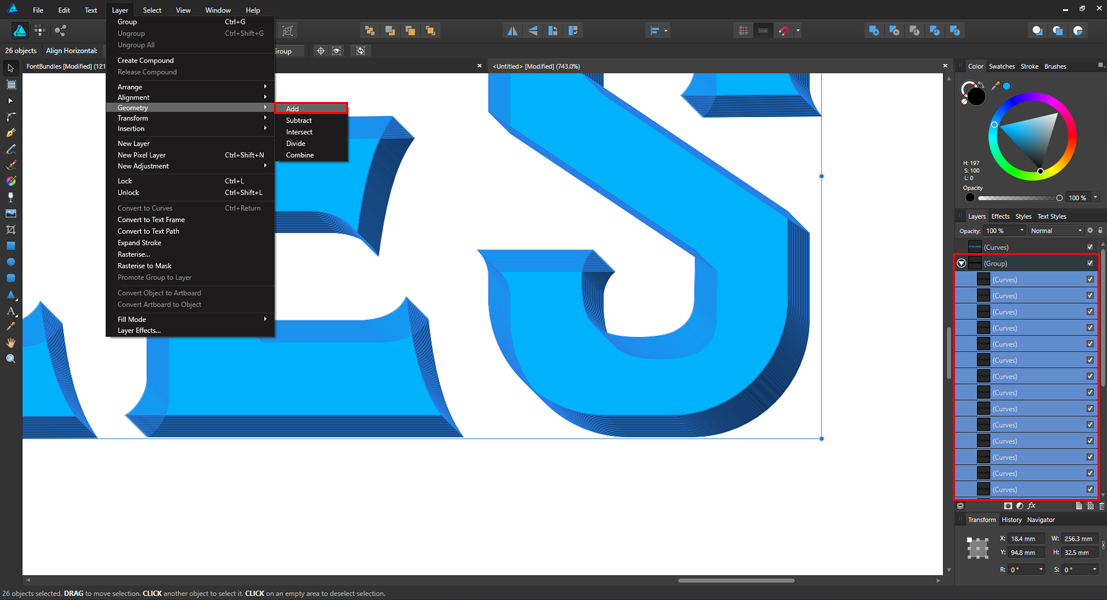
When you're satisfied with the depth, combine (control/⌘ + G) into one Group. Select all the layers in this group, from the Layer menu mouse over Geometry submenu, and click "Add" to merge the selection into one vector layer. You should now have two layers.
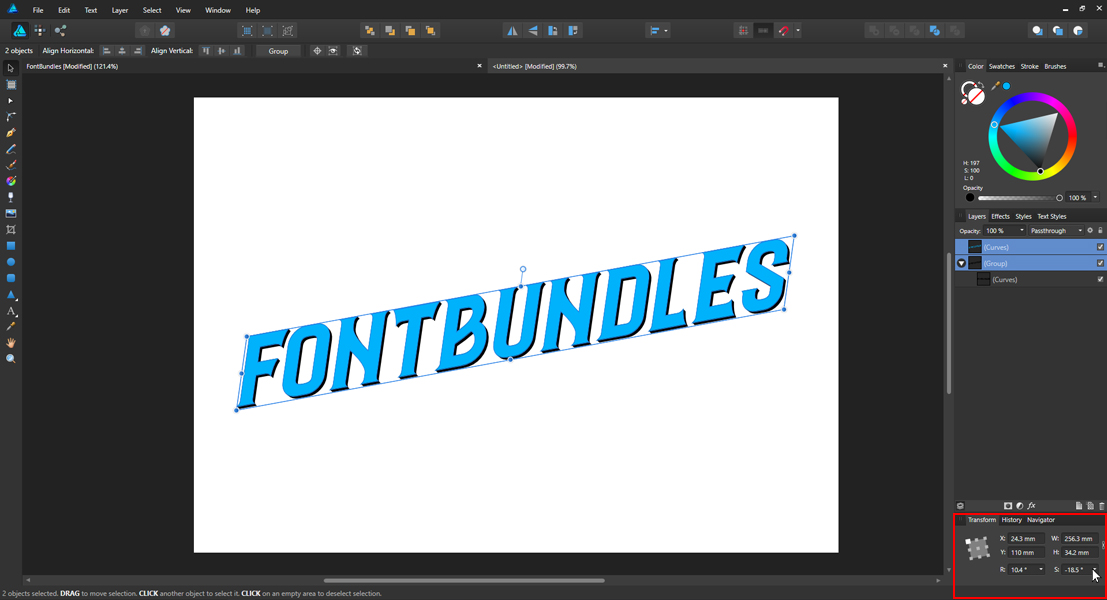
Affinity Designer does not have a Warp/Perspective tool, but you can transform layers by adjusting the R:(rotate) and S:(skew) settings in the Transform panel, which will alter the angle and slant your text. Select both layers to apply these transformations.
Add a Gradient Overlay to your original text layer by using either the Gradient tool or the Gradient Overlay Effect. Both options allow you to modify colors, gradient type and direction.

You can also add a Gradient Effect to your dimensional layer. Change the layer's fill color from black, and from the Effects dialog box, set the blend mode to multiply and gradient type to elliptical. Adjust the offset and scale settings and angle to align the gradient with the layer's perspective.
To enhance the top layer of your text with a sheen effect, select your original layer and duplicate once. Add a white stroke to the new layer and set align stroke to inside. From the Layer Menu, click "Expand Stroke," which will separate the stroke from the duplicated layer.
Select both and click "Subtract" from the Geometry submenu.
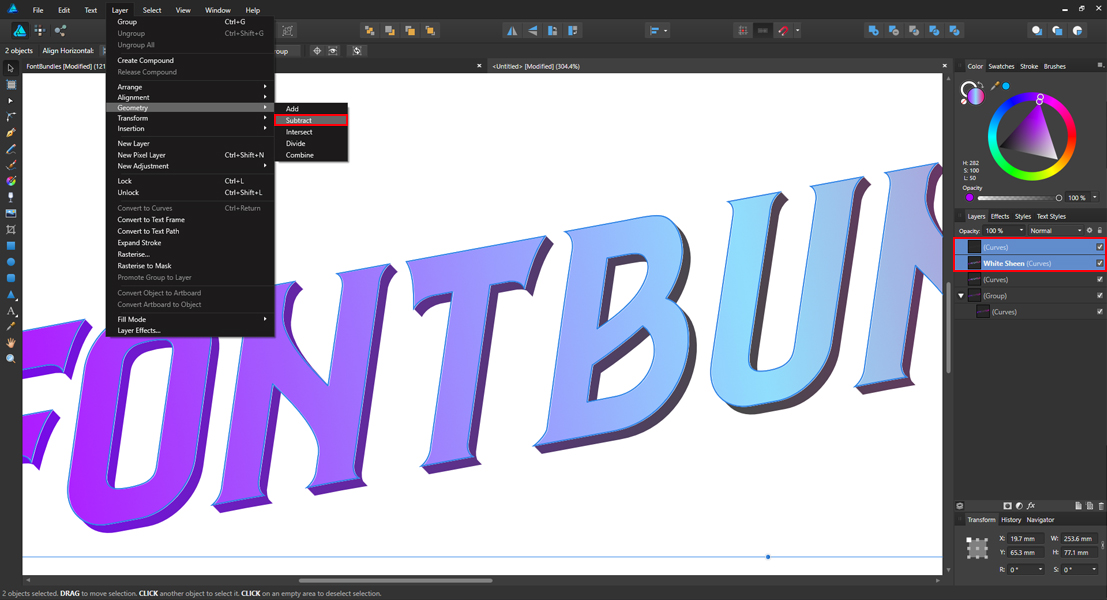
This will delete the stroke and subtract the stroke width from the duplicated layer. Set this layer color to white, then duplicate it by holding the alt/option key while dragging. Position the new layer so that a portion of the two white layers do not overlap.
Select both white layers and "Subtract," which will leave behind a sliver of white along the inner edge of the letters.
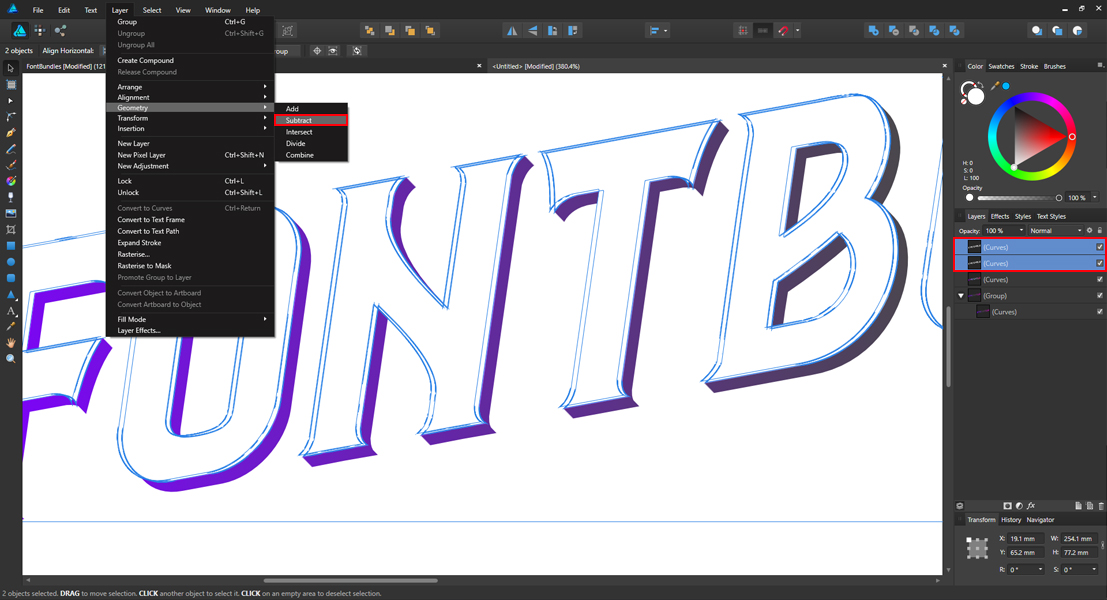
Apply a light Gaussian Blur to this layer so the sheen looks more natural.
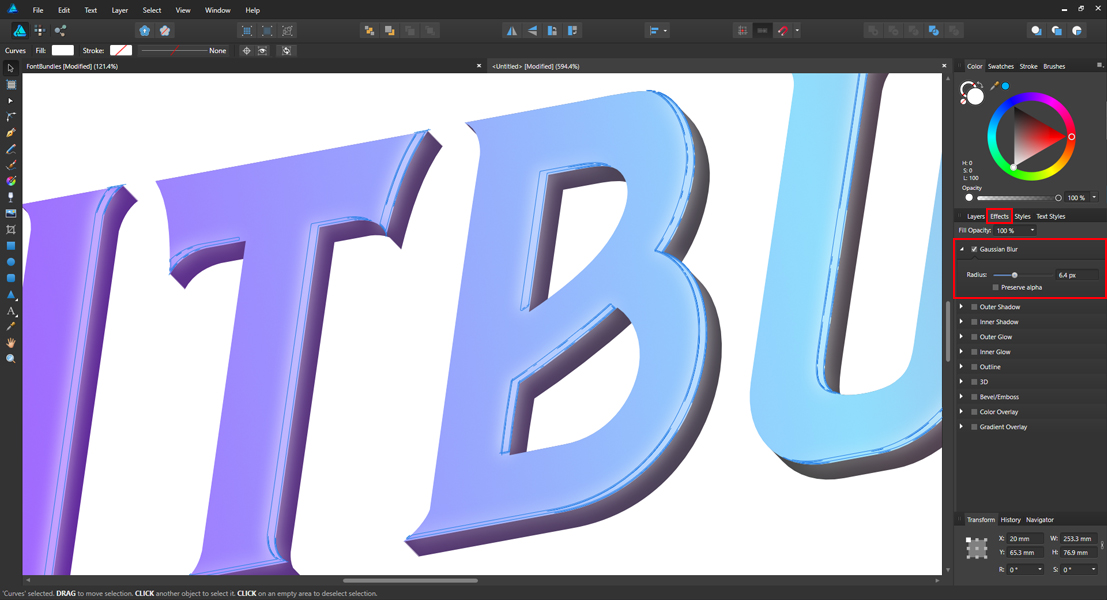
You don't need to be an expert in 3D rendering to create eye-catching dimensional effects. With these tricks, you'll be making 3D logos within minutes.
Powered by Scripted.com


