
So you've mastered the art of cutting vinyl on your Silhouette machine and you want to know what else you are capable of doing. Today we are going to discuss step by step how to create wood signs with your Silhouette and take your craft business to the next level.
Why Wood Signs?
You can create and personalize décor for any environment. Rustic, Farmhouse, Eclectic, Modern, Etc. You are able to keep up with all the custom trends and best of all....income possibilities are limitless.
The materials needed for this craft are:
The best wood is FREE wood. Check to see if there is any scrap wood listed on Craigslist or around your area. Also check with local homebuilders to see if you can have any wood out of their scrap piles. If you can't find free wood, you can purchase wood at Lowes or Home Depot or any local Lumber Yard.

Most Lowes and Home Depot stores will cut your wood for you.
Home Depot allows 2-3 FREE cuts and charges $0.25 for each additional cut.
Lowes does 1 FREE cut and charges $0.25 for each additional cut.
Eventually you will want to invest in your own saw but this is a great service for those just starting out.
I would recommend going with common board (found in the craft wood section), sanded plywood or birch plywood.
Now that you have found the wood you are going to use and cut it to size, it is time to prep your wood. This is one of the most important parts of making your sign.
Fail to prep and you will most likely end up with massive bleeding of your paint beneath the stencil. Take time to do this at the beginning and you won’t have to sand down your project and start over.

Prep 101: Sanding is Key!!!
Sanding Sequence:
80-100-120-150-180-220-320
• 80 Grit Sandpaper: This quickly sets the shape and removes machine marks, embedded glue and helps level uneven joint surfaces. After using this grit, the rest of the sanding sequence removes previous grit marks. You aren’t trying to remove material at this point…you are only smoothing and prepping and polishing the wood.
• Continue the Sequence: 100-120-150-180
Run through the grits until you have a smooth even surface and then get ready to apply your paint or stain. You may not need to use every number in the sequence. I normally use 80-100-120 and then get ready to paint. After finishing my paint job, I try to use220-320 for finishing and giving the project a smooth surface.
Picking a Background Color for Your Sign
Option 1: Stain

Oil Based Stains
Widely available and what comes to mind when you think of “stain”. Easiest to use and work with because drying time isn't super fast so you have time to remove the excess before it dries onto your piece.
Because dry time is slow, you need to prepare your stained pieces 1-2 days before you plan on painting them so they can adequately dry allowing your stencil to adhere.
Clean Up is usually mineral spirits but I use olive oil and salt to remove when I get this on my hands. Add a little Dawn dish soap and you’re in good shape again <3
Water Based Stains
Easier clean up and faster drying time. You can identify a water based stain by reading how to clean it up. If it tells you to use water, it is a water based stain. Water Based stains do raise the grain of the wood and when you go to sand it down, it removes some of the color.
To combat this, raise the grain before staining or “bury” the grain. Take a damp cloth and wet the wood. Let it dry overnight. This will raise the grain. Take sandpaper and sand it smooth and then apply the water based stain.
Because drying times are so quick, it requires you to work faster; but, this isn't much of an issue when making small signs. Its more of a concern with huge furniture pieces.
Gel Stain
Usually know around town as General Finishes. Identified by it’s thickness which is similar to mayonnaise. Messy to apply but solves the issue of blotchiness on pine. Blotching is uneven coloring caused by varying densities in the wood.
The only way to remove it is by sanding it out and starting all over. To avoid the blotchiness, you can use gel stain. Predictable and easy to use when working with Pine and other soft woods such as spruce, fir, aspen, poplar and alder.
Option 2: Paint Wash
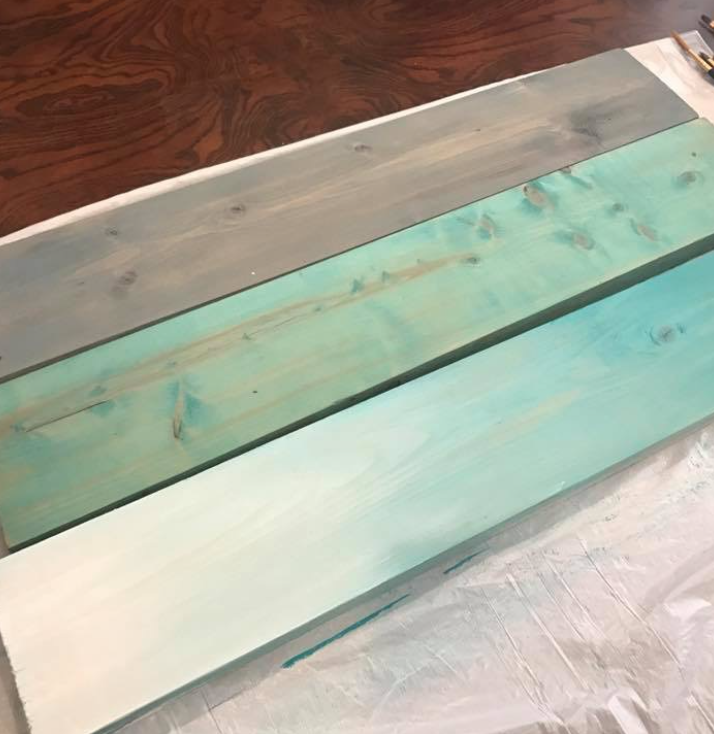
Mix paint with water and apply like stain. It dries quickly and you can come up with endless color combinations. You can play around with the ratios to get a deeper or lighter color and control exactly how much of the wood grain shows through.
Option 3: Paint
I prefer using chalk type paint when stenciling my signs as it is thicker and helps with bleeding issues. If you are unable to get your hands on any chalk type paint to start out, you can make your own by searching Pinterest for a chalk paint recipe. There are a million ways to make it so find what works best for you.
Craft paints, latex paints, OOPS paints etc with all work as well. Thin layers are the key to keep bleeding at bay.(Bleeding- when paint seeps underneath the stencil ruining your sign.)

Time to prepare your stencil. The first thing you want to do is measure the size of your sign.

When measuring the part of this cabinet door I am able to use, I come up with 16x4".

Now go into Silhouette Studio and set up your design size.
You should be prepped, stained and ready for a stencil. As I mentioned above in the material list, you can use an array of different materials for painting your signs. Let's talk a little bit about the different options.
Oramask 813

-Made for smooth, flat surfaces.
-Made to be used with water based/latex paints.
-Blue Opaque Color and most people use it when painting signs.
-The opaque blue allows you to still see your background.
Oramask 811

-Made for smooth, flat surfaces.
-Made to be used with water based/latex paints.
-White color and most people use it when etching items.
-I feel like it is a little “less” tacky than 813.
-It is actually great at not pulling up your paint from the background. For example, if you are making a name sign you might use 813 for the main letter and 811 for the name going across the main letter. The 811 seems to help not pull up the paint from the main letter.
651, 631, and Contact Paper
651 is really tacky and normally removes the background paint color unless you are working quickly to pull it off your sign. When I first started making signs, I used it all the time.
It will work and if it is the only thing you have, start with it and eventually work your way up to trying other products.
631- Great for a stencil. It is not too tacky and is gentle on your paint. Easy to work with and a great starting point.
Contact Paper- A million people swear by it. I used to use it all the time but found I was spending more time fighting with the contact paper to release from the sign than making the actual sign itself.
It is not my favorite material to use but it does work and I recommend you try everything at least once and see if it will or will not work for you.
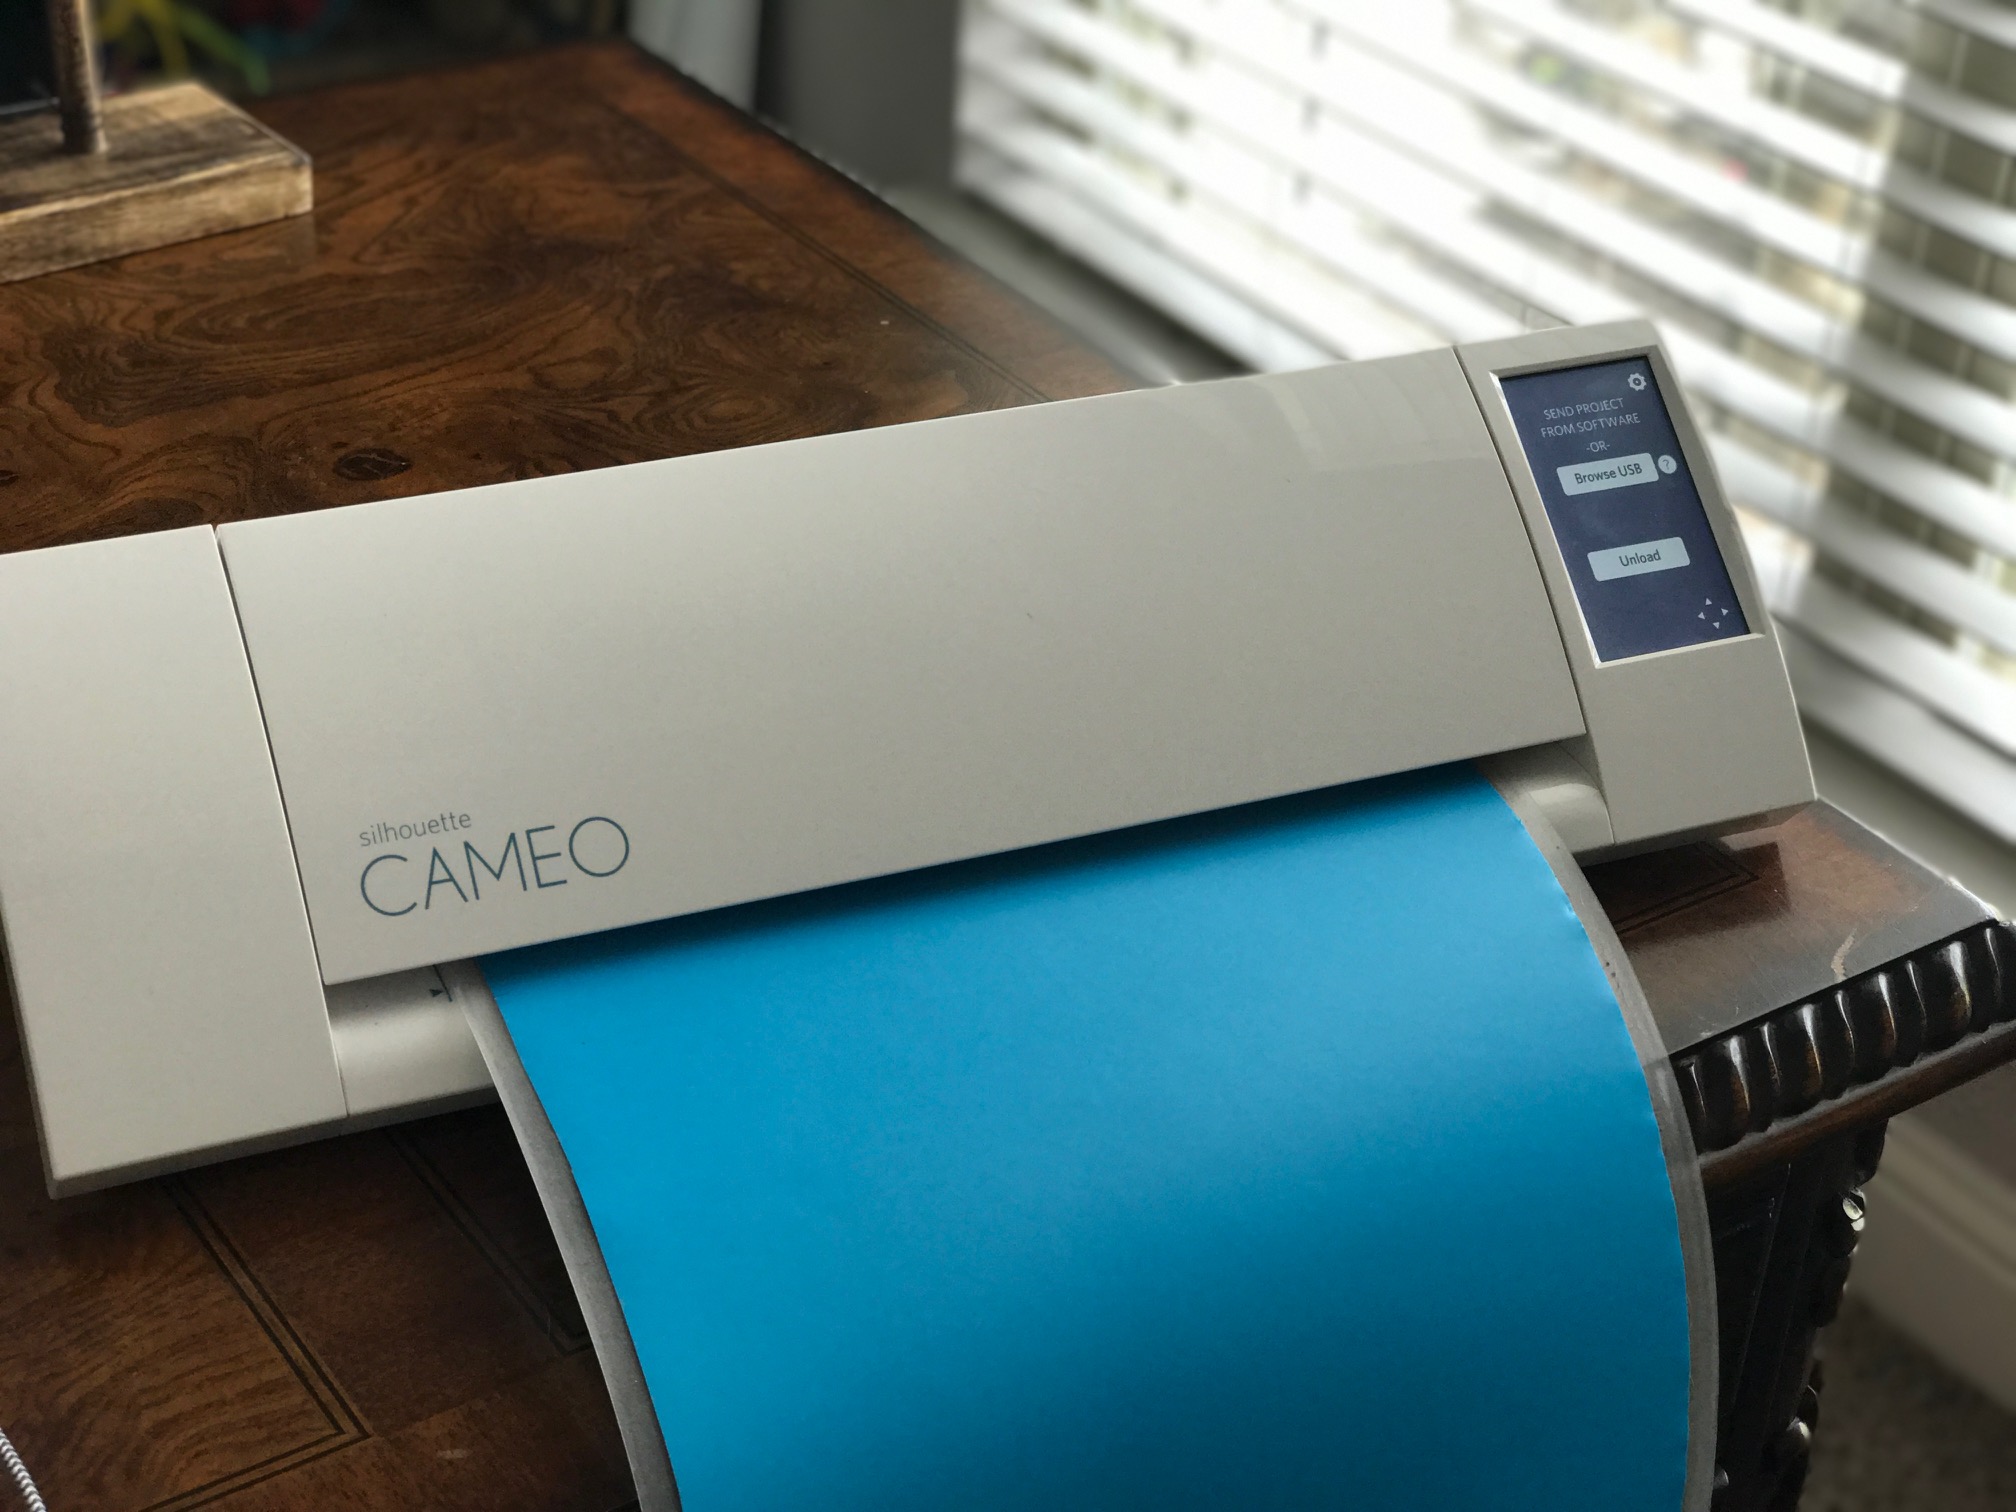
Insert Stencil material into your Silhouette machine and run a test cut to make sure the blade depth and thickness is set correctly for the material you wish to use.

Begin to weed out all the letters to prepare the stencil for your sign. I prefer using a pair of tweezers.

Apply your transfer tape.
Smooth with the squeegee ensuring no bubbles.


Make sure your image is aligned on your sign. I like to take a measuring tape and measure from the bottom of the letter to the bottom of the sign and verify that the letters are balanced on both sides.

Once you are sure that everything is even, place a piece of blue painters tape over your stencil.(At this point, the backing should still be on your stencil.)

Once you have your stencil taped down, begin to peel up one side of the stencil. This is referred to as the hinge- method. By using this method you are able to align your stencil before sticking it down permanently to the object it is being placed on.

Trim off the paper backing and then use your squeegee to lay down the piece of stencil you just pulled up.
Now you can remove the piece of painters tape and flip the remaining stencil with backing up so you can remove the backing.


Once this piece of backing is removed, use the squeegee once again to smooth your stencil. Start at the side that is already stuck to your sign and work towards the loose end so everything lays nice and smooth.

Now remove your transfer tape. I am using 582U Paper Transfer Tape. You want to pull the transfer tape back on itself rather than pulling straight up. Remove slowly so you don't rip your stencil.

If a part of the stencil is peeling up with the transfer tape, just slowly release the tension and burnish that part again to the sign.
After removing the transfer tape, make sure to go over your stencil with your hand or a tennis ball ensuring that is is adequately adhered to your sign. This will prevent any issues with bleeding.

Once your transfer tape is removed, you are ready to paint. I prefer using chalk type paints when stenciling as it helps with the bleeding issues as well. The key here, no matter what type of paint you use, is using light coats of paint.
If you are light handed with the paint, you will control bleeding before it happens.

If you pick up too much paint on your brush, utilize the empty space in the stencil to blot some off and pick it up to use again later. I usually do 2-3 light coats of paint on all my signs.

Once you have good coverage throughout you sign, you can begin to peel the stencil. Peel the stencil carefully if it is still wet so paint doesn't end up on your background. I prefer peeling while wet but many people wait for the paint to dry.

When using chalk paint, it dries fairly fast so my design is usually almost dry by the time I peel. Play around with the paints and dry time and see what works best for you.
Thank you for taking the time to read this tutorial. If you have any questions, please feel free to ask in the comment section below.


Crafter's Calendar: A Guide to Inspire You All Year Long!

The Ultimate Dollar Deal Event: What You Need To Know

5 Cool Graffiti Font Styles That Are Trending