
My baby brother is getting married in less than a month!! They recruited me to help make a few last minute items for the big day and one of them were menus describing the buffet food for each place setting.
Have you ever gone up to the buffet and wondered what the heck was in that tray? I know I have, so how nice to be able to make your choices before getting in line!
All you need is some cardstock, printer, digital design files, and great fonts!
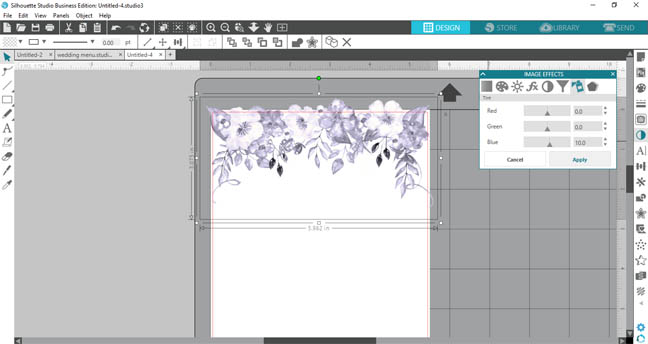
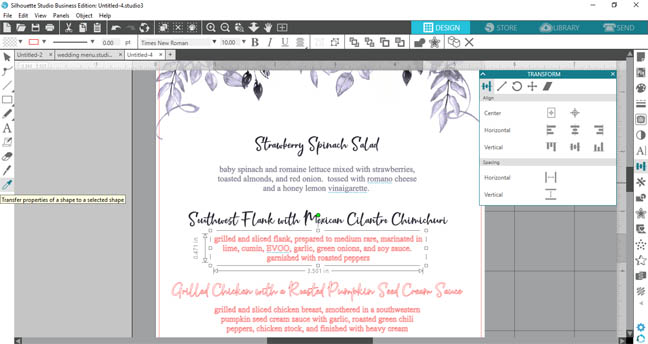
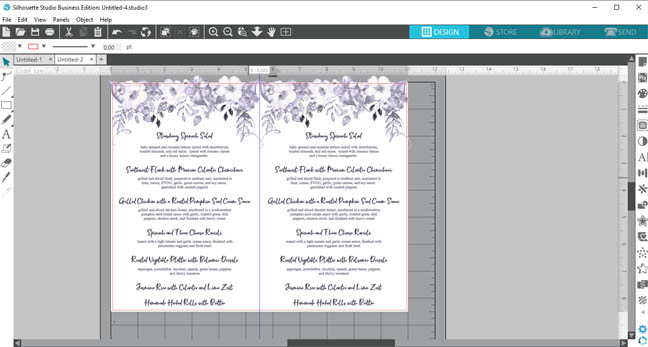
Start with your graphic image. I had this floral design that I recolored to be a monochromatic navy tone. Silhouette Studio has the image effects tool where you can alter images.
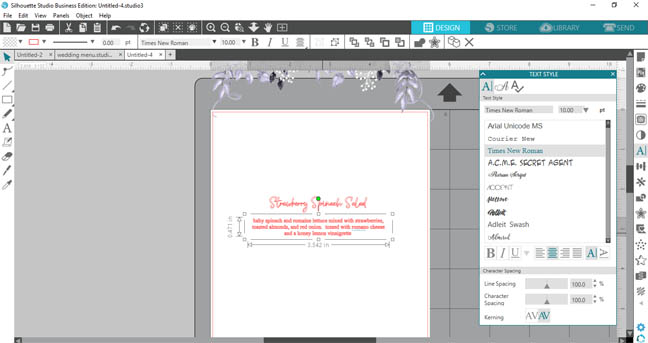
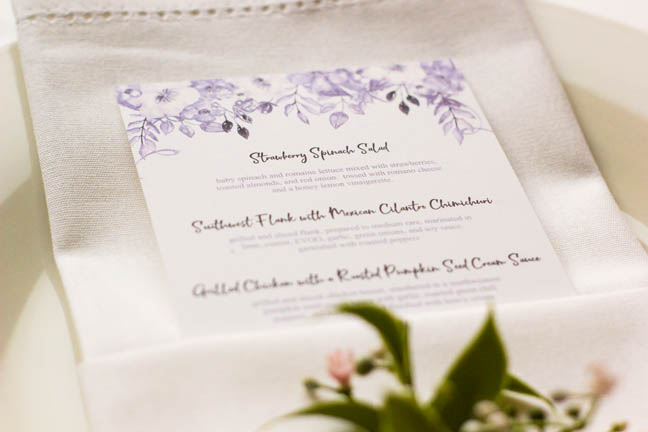
Once you have the graphics portion ready, start adding the words. I'm using the font Crolinesy Daggaes Script which is part of the Fantastic Font Bundle.

I moved the design up out of the way for the moment. Scaled the font smaller and then added the description of the food. I used the classic times new roman font for that portion.
To match the color exactly you can use the eyedropper tool to select a color from the graphic.
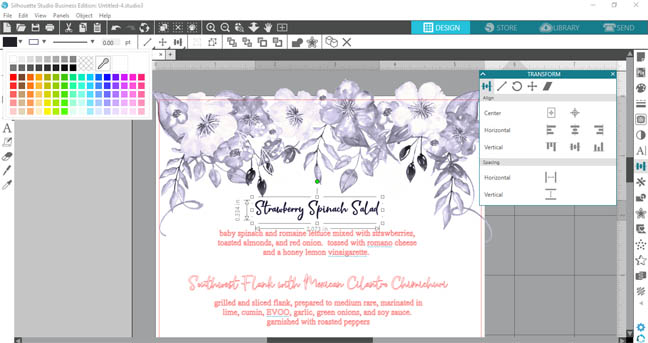
I did the same thing for the description words but used a lighter tone.
Add in the other words, a simple way to copy the same settings you already worked so hard to create is to use the transfer properties tool, it's the eyedropper on the left-hand side.
Next, use the align tool to center the words and group them into each food item and description.
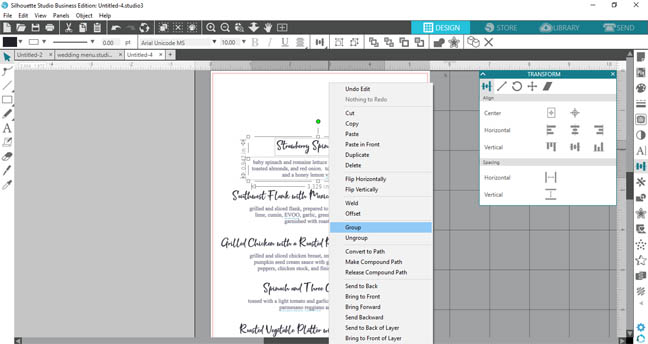
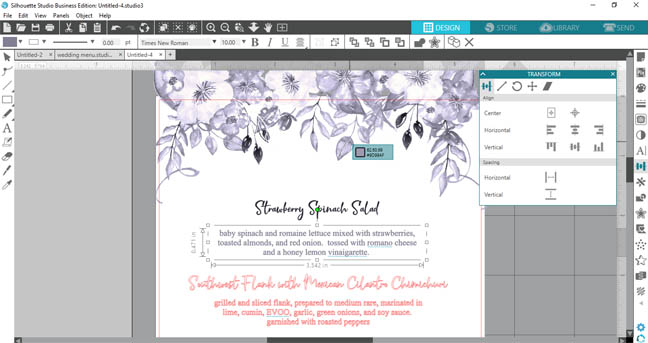
Another handy tool is the vertical align tool, it will evenly space your groupings vertically for you.

Now make sure they are aligned in the center of the page too.
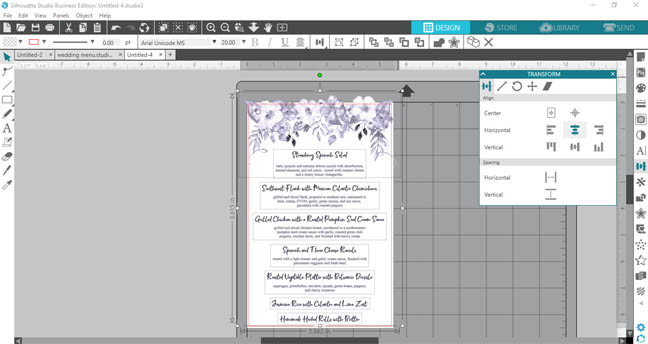
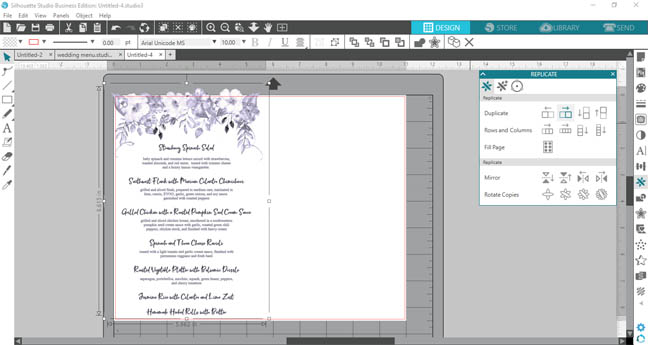
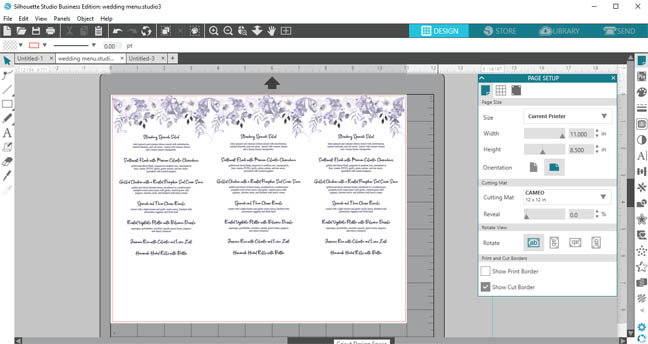
Now group it all together and replicate it to fill a full sheet of paper.
Originally we were going to make them the size of a half sheet of paper.
We decided those were too large to fit in the napkin pockets for the place settings so a simple scale tool change and BOOM you can now fit 3 menus per sheet.
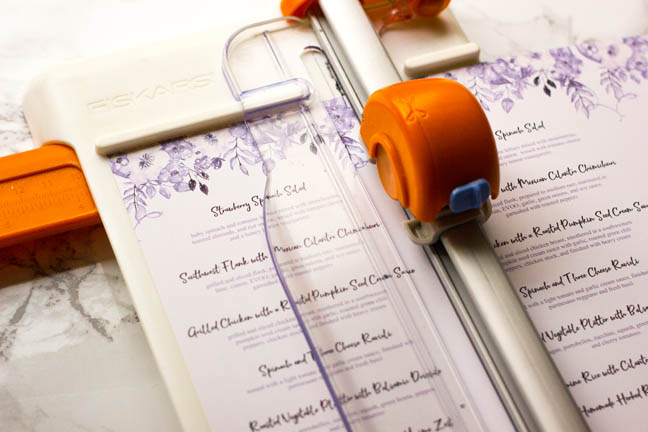
One last trick to show you! To prevent the annoying white line all around the edges of your beautiful design you can click the option for borderless printing in the advanced print menu.
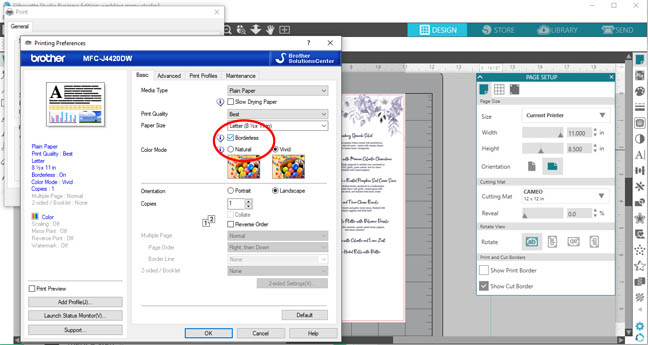
Send it to print!! No white line along the top edge!
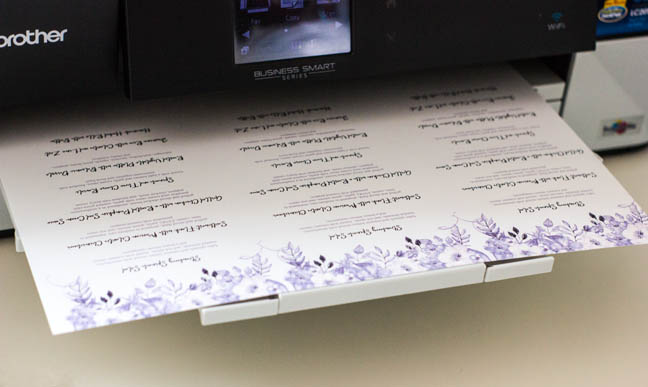
Use your paper trimmer to trim it down to size.
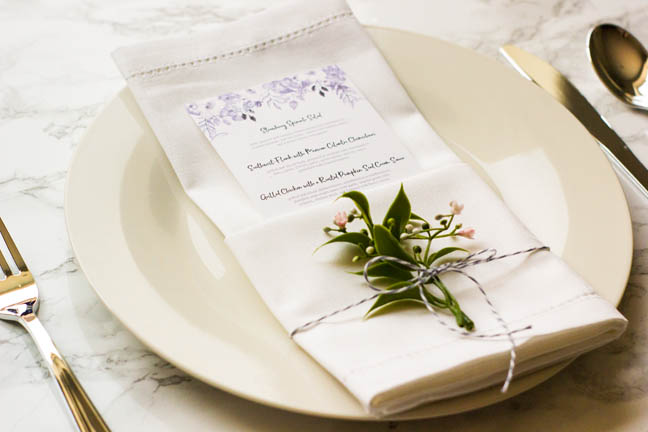
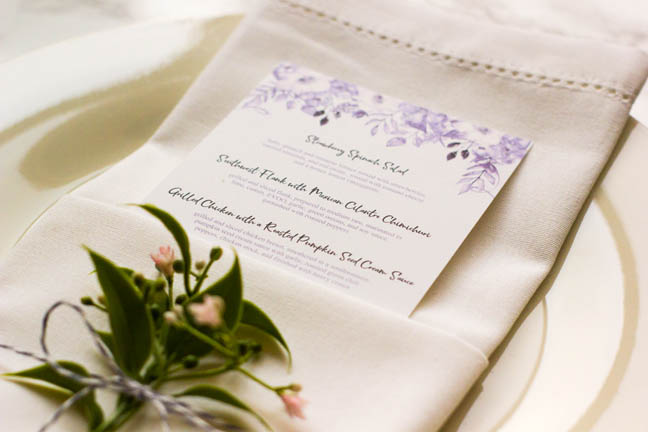
Take your napkin and fold it into a pocket. Add some twine and a little greenery and slide that gorgeous menu into the pocket.
I'll be making a few other items for the wedding too!!Stay tuned for those fun tutorials. Who said planning a beautiful and thoughtful wedding has to cost a fortune? This used ink and paper and my time. You can do this too!!

DTF vs Sublimation Printing: Which Is Better for Your Craft Business

Beginner Cricut Project: How to Make a Paper Cut Gift Tag with Cricut
