Posted 16th October 2017 •
By Design Bundles
Have you heard of screen printing before? It is the method of creating an image on an object by pressing ink through a screen. A screen is made with a piece of mesh stretched over a frame. When attaching it to the frame it is very important that it is mounted under a lot of tension for it to work properly.
One color is used at a time but you can make multi-color images by using multiple screens. Many pieces of modern day clothing that you purchase at major retailers are screen-printed.

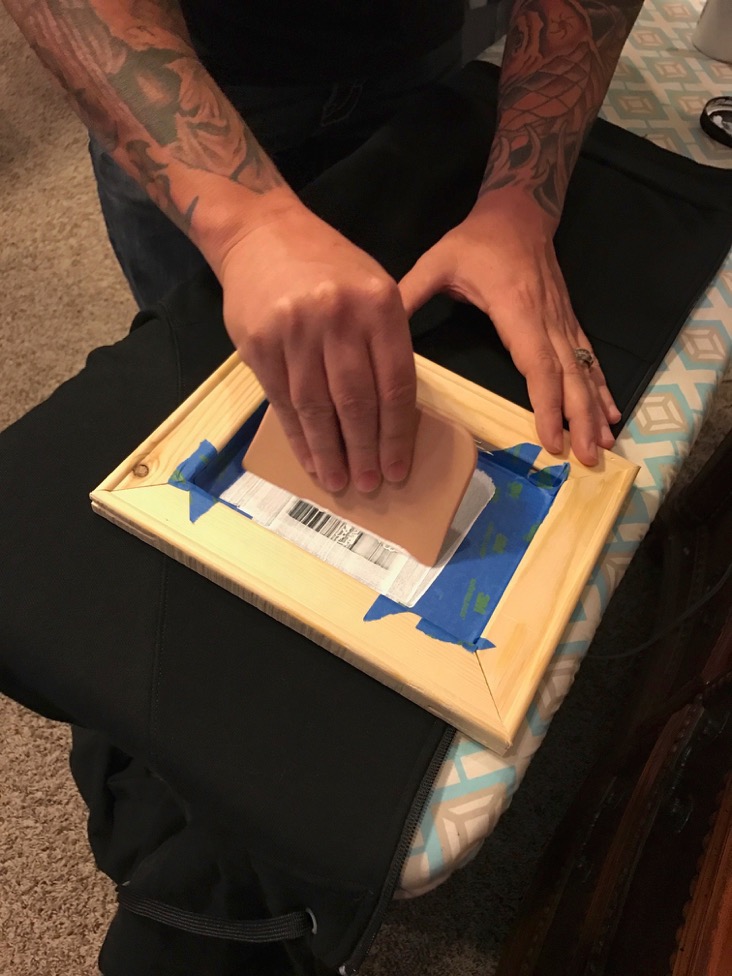
A squeegee is moved across the screen forcing ink down into the open mesh areas and imprinting your image onto your substrate.
Today we are going to discuss how to make your own screen with a few easy to find items.
The materials needed for this project are:
Speedball Ink
Speedball Squeegee
Canvas Frame
Material (Thin Sheer Material or Curtains)
Staple Gun
Staples(Or alternatively roll the gasket back in the frame)
Vinyl
The first step to making your own screen is to take apart the canvas frame. Locate the gasket within the canvas frame. Pick a starting point and pull the gasket completely out.

When you are finished removing the gasket, the frame and canvas should be separated like the picture below.

At this point, you will begin stapling your material onto the frame. Make sure you are pulling the material as tight as you can while stapling. You can do this with one person but sometimes it helps to have an extra hand for this step.(Just watch out for fingers.)
It is best to staple the material on opposite sides. If you start at the top, staple the bottom next. After these two sides are stapled, flip the frame and begin on the other sides.


Use a knife or razor blade to remove the excess material from your screen.
Cut your vinyl design and apply it to transfer paper.
Transfer thevinyl to the screened portion.
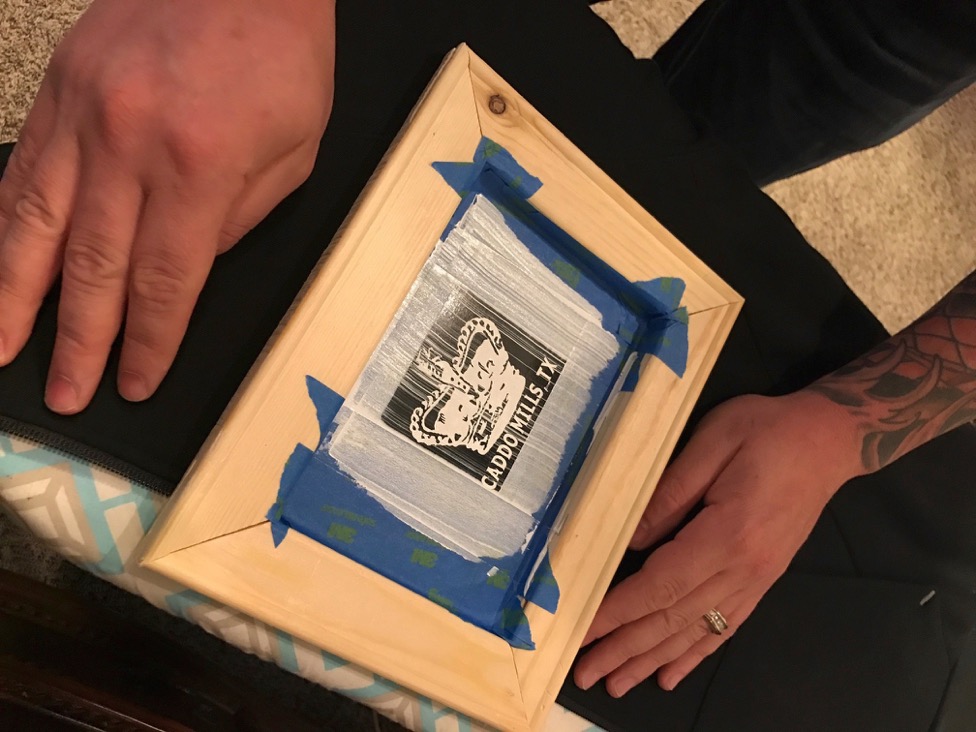
Use Painters Tape to fill in the holes around the vinyl. This tape helps protect your garment from excess ink spilling outside the stenciled area. Make sure it is completely covered in all spaces that the stencil doesn't protect.

Now your screen is ready to print. Center it on the object you play to screen print.
Grab your speedball ink and place a little bit around your design.
Use your squeegee and pull straight down to flood the design with ink. Light, even pressure.
Put all excess ink back in the bottle and lift.

I hope you have enjoyed this tutorial! Please share your custom screen print projects in the comments. We love to see what you are working on.


