Posted 18th April 2024 •
By Saqib Ahmad
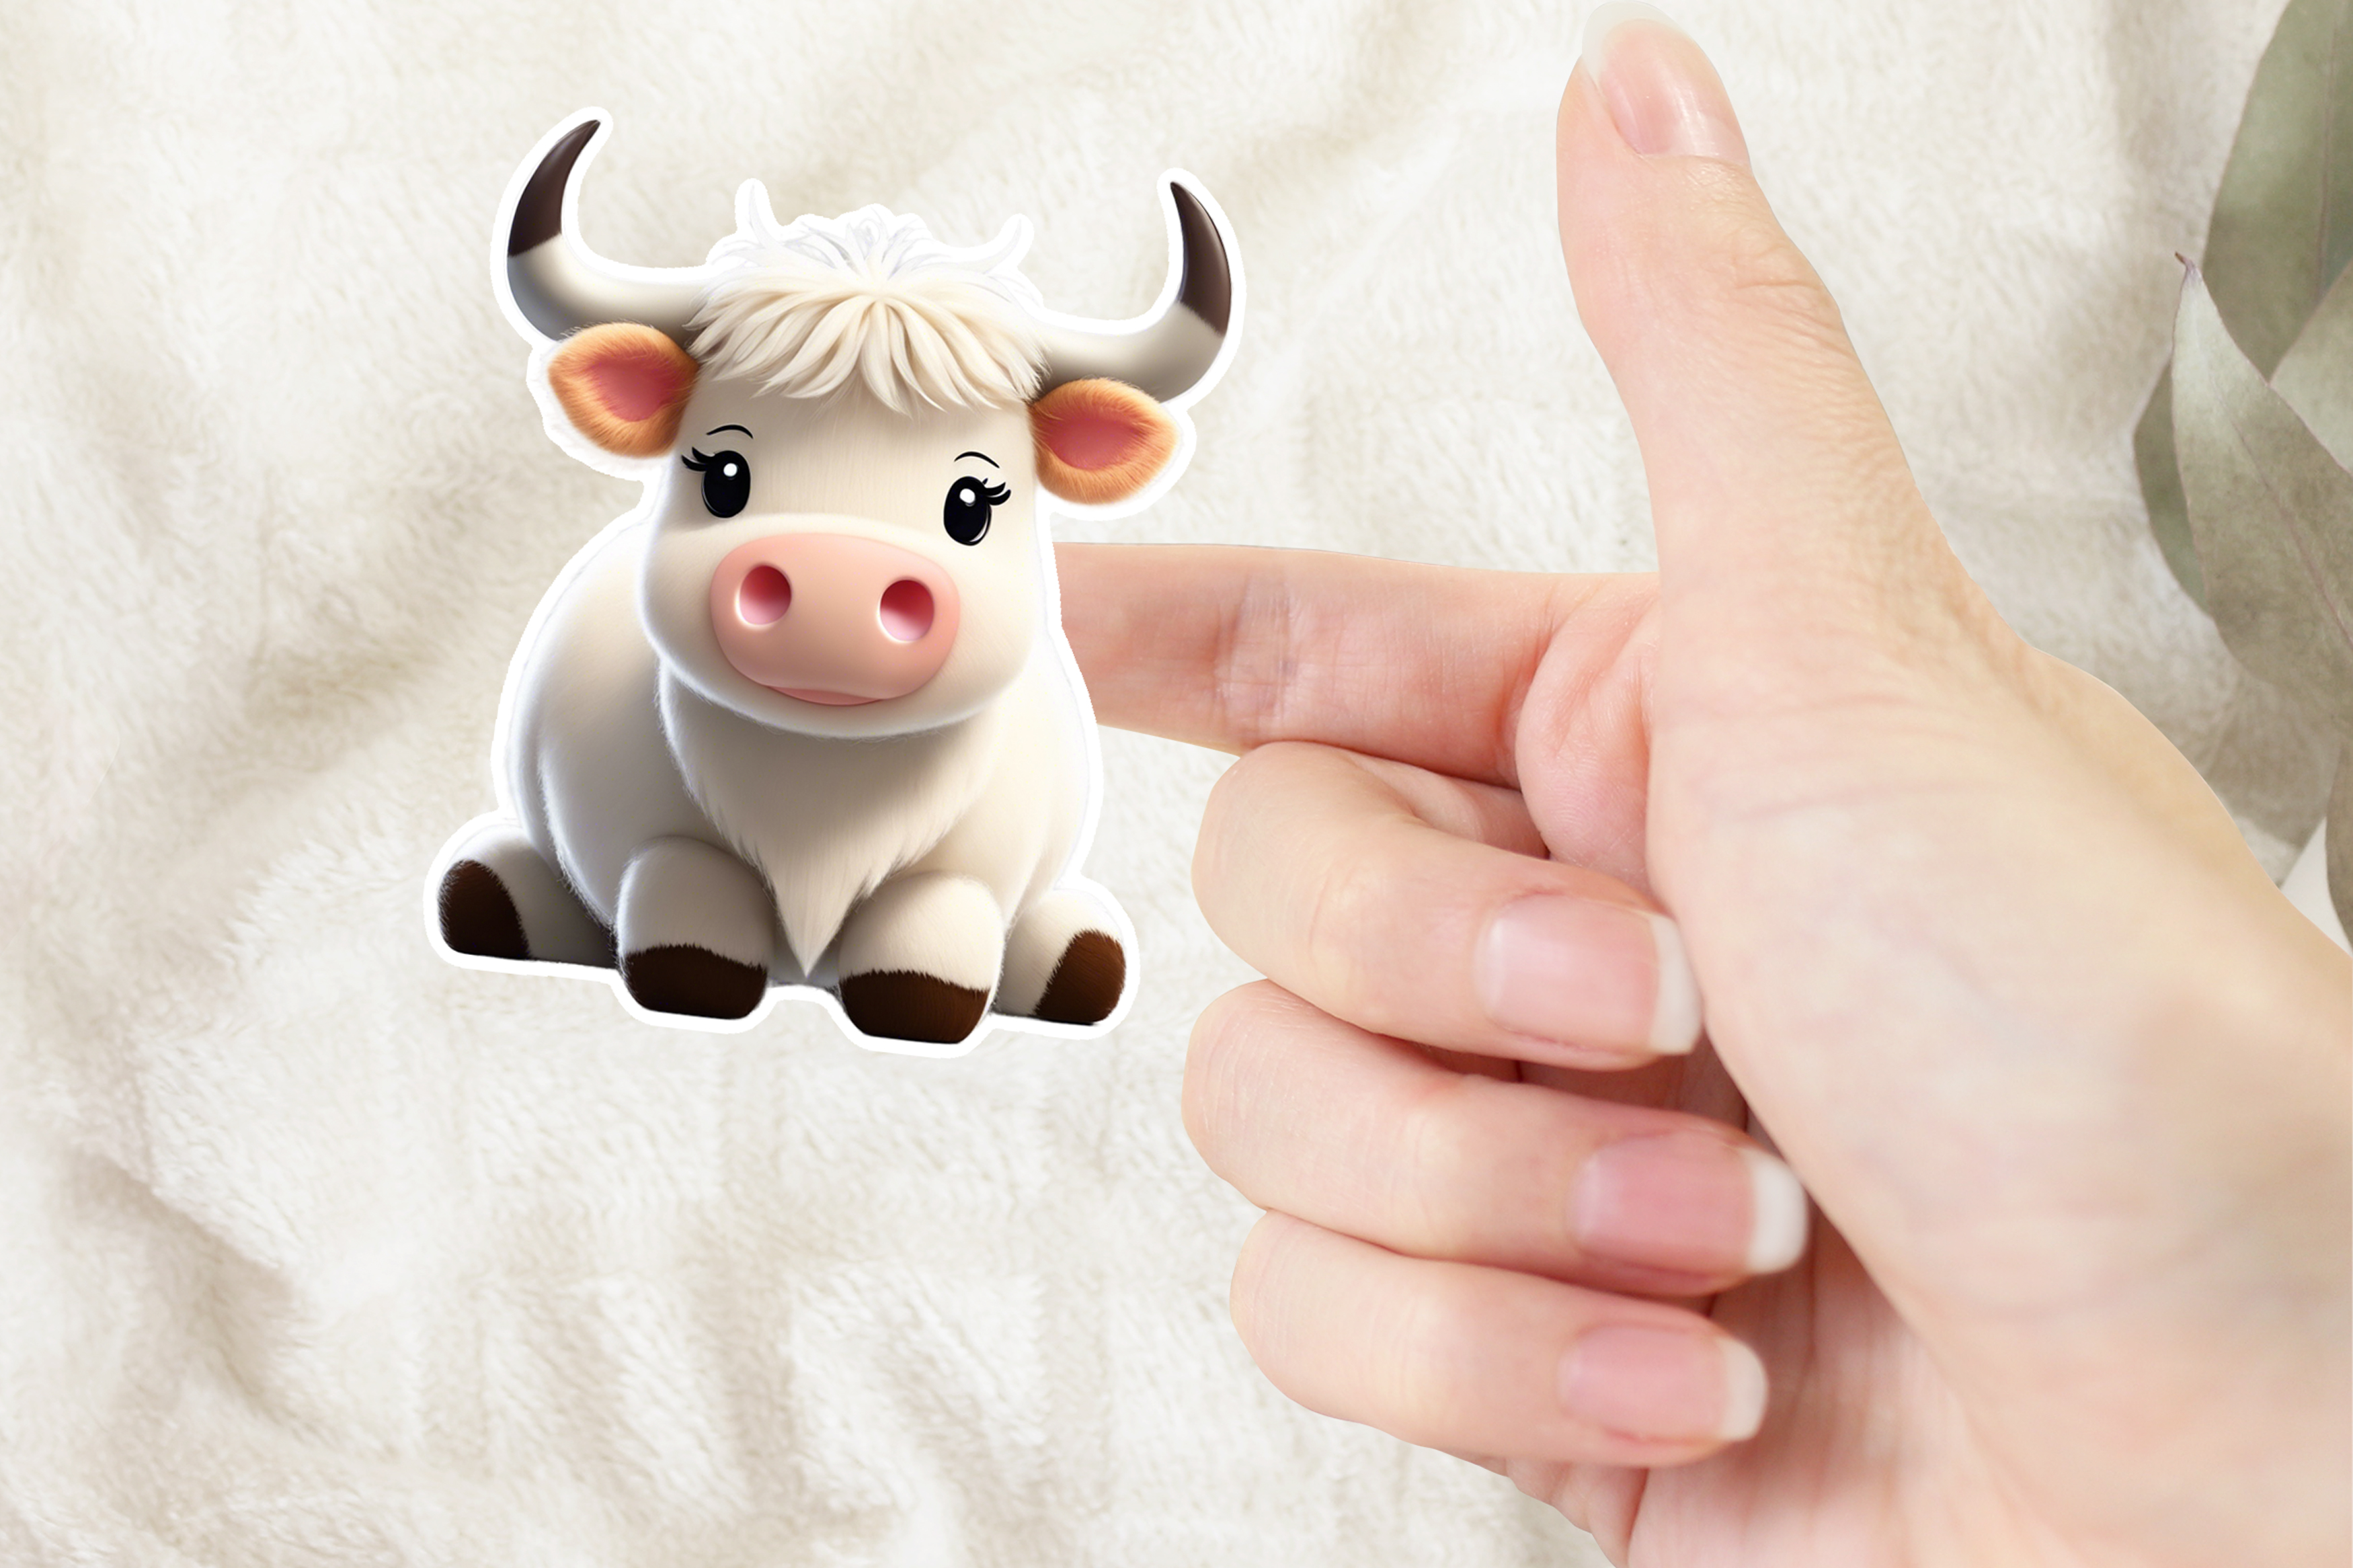
Welcome to another tutorial with "Illustrate AI", where we continually introduce new features for our users. Today, we'll guide you through using the Sticker Tool, designed to help you transform your artwork into a custom sticker design effortlessly.
Getting Started: Creating Your First Sticker Design
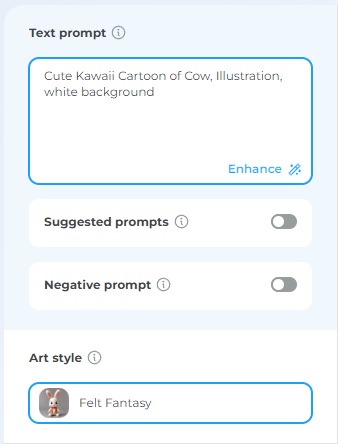
First, let's begin by generating your artwork. Below is a sample prompt to get you started:
Prompt: "Cute Kawaii Cartoon of Cow, Illustration, white background."
For this demonstration, I'll choose the "Felt Fantasy" art style. However, feel free to explore and select any style that piques your interest. Experimenting with different styles is the best way to discover what works best for your design.
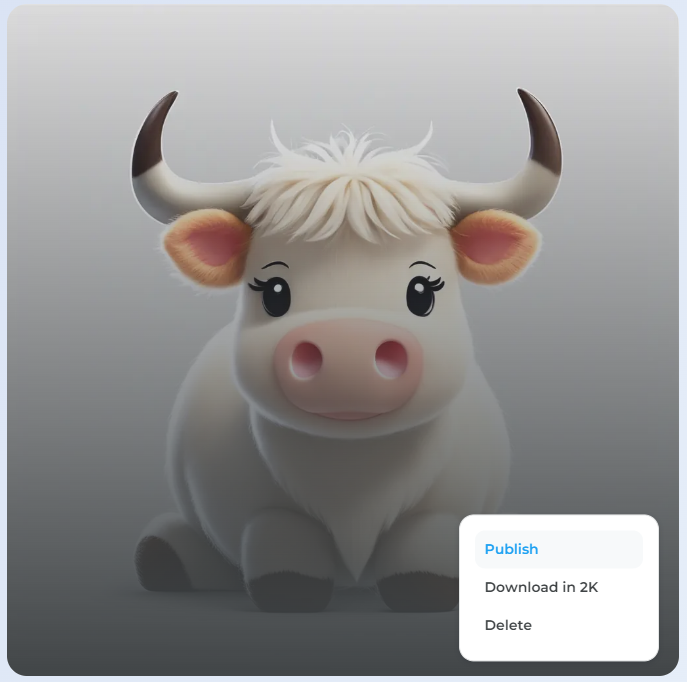
Publishing Your Artwork
After generating your artwork, the next step is to publish it. This is essential as it allows you to modify the artwork further.
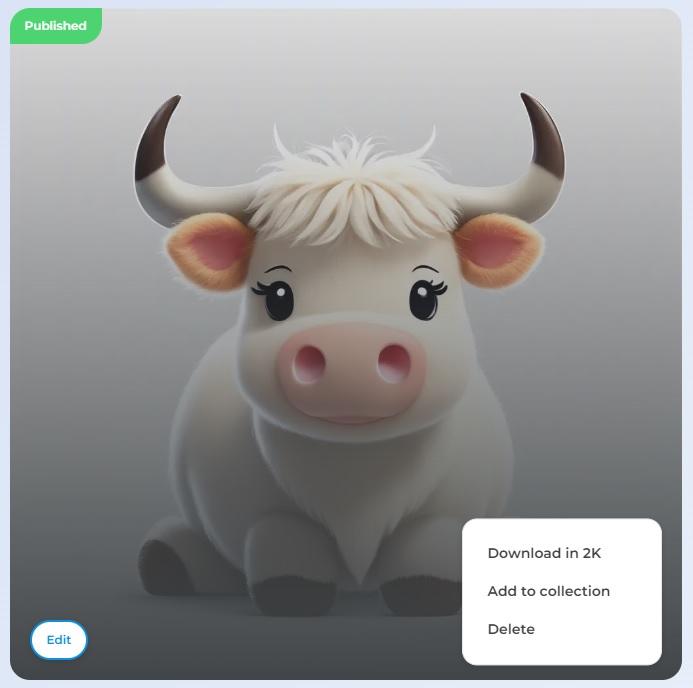
Editing Your Artwork
Now, click on "Edit" to proceed with the modifications:
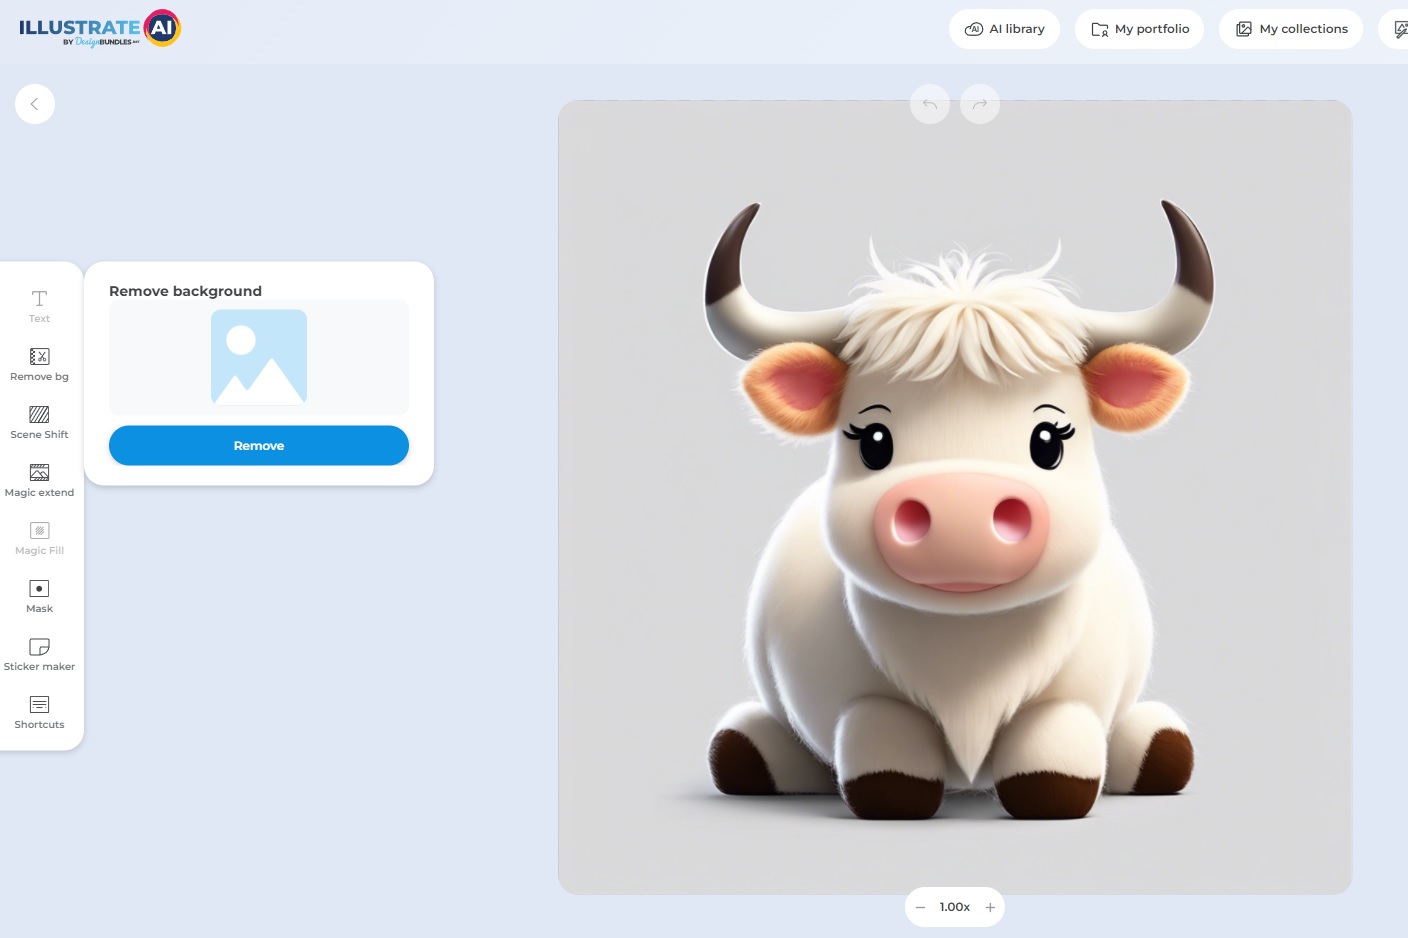
Remove the Background:
Simplify your design by removing the background. Click on the 'Remove Background' tool to make your artwork stand out more distinctly.
Create a Sticker:
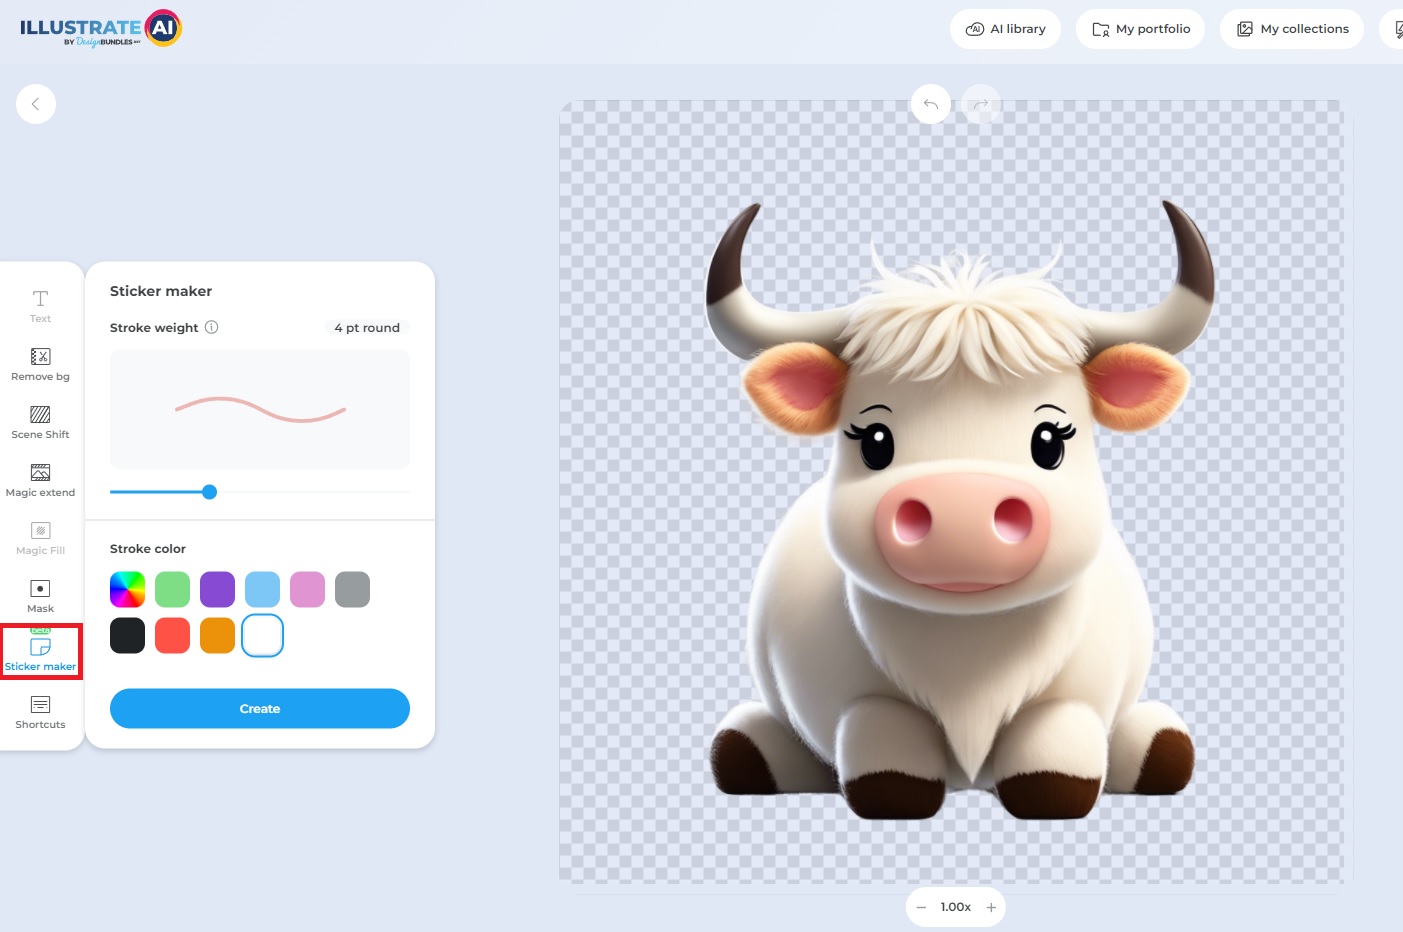
1- Click on "Sticker Maker."
2- Select "White" or any other color you prefer for the border of your sticker. This color will frame your design.
3- Use the slider to adjust the width of the sticker's border to your liking.
4- Once you're satisfied with the look, click "Create" to finalize your sticker.
Saving and Downloading Your Sticker:
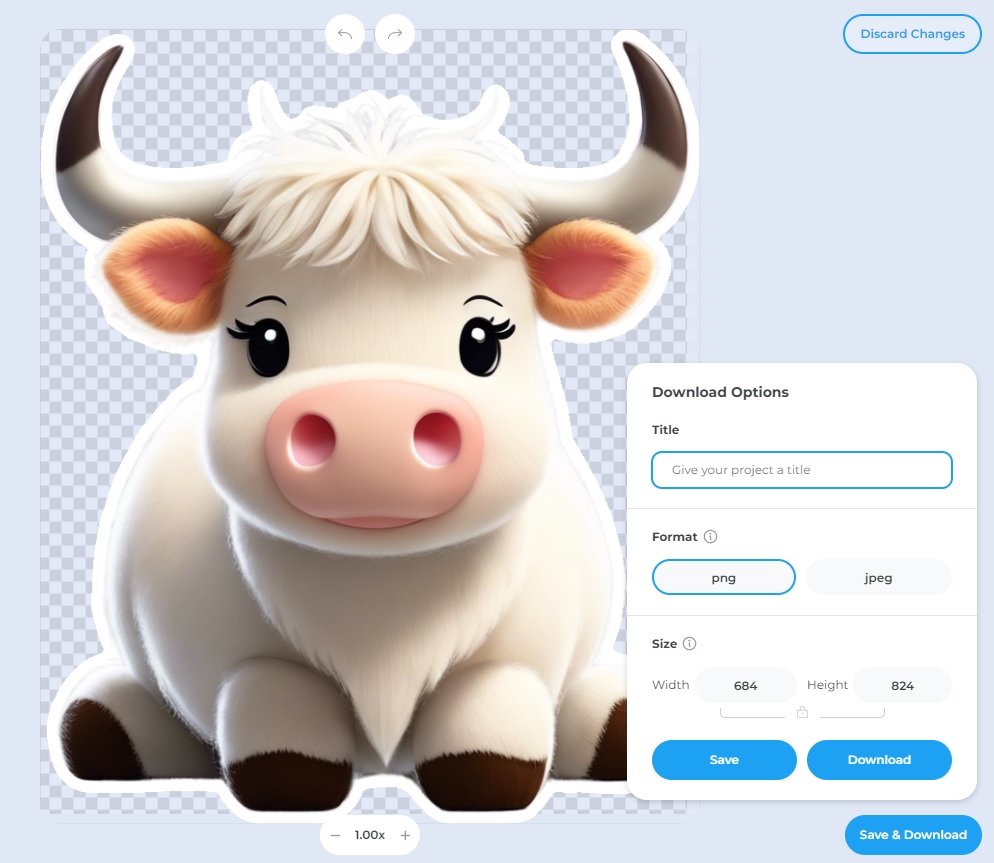
Your sticker is now ready! Simply click on "Save and Download". Ensure you download the PNG version to retain the transparency of your sticker, giving it a professional finish.
Conclusion
There you have it! You've successfully created your first sticker design. Now it's your turn to design, print, or gift your creations. Enjoy crafting with "Illustrate AI" and happy creating!
