
Welcome back, crafty friends! Whether you're a seasoned designer or just starting your creative journey, there’s an exciting world of tools waiting for you inside your DesignBundles Plus Membership. In today’s tutorial, we’re diving deep into two of the most powerful features included with your subscription: Illustrate AI and Craft Designer.
These tools aren't just add-ons—they’re game-changers. From generating original SVGs and sublimation files to creating print-and-cut stickers and editing vector graphics, everything you need is at your fingertips. Let’s explore how you can transform your entire design workflow with these intuitive, craft-focused platforms.
Illustrate AI isn’t just another image generator. Built specifically for crafters, it understands the unique requirements of design projects, from image orientation to craft-friendly styles.
You will need a Unlimited Plus membership to access Craft Designer/Illustrate AI. You can choose the Membership from below Link:
https://designbundles.net/plus-choose
Now If you already have Unlimited Plus membership log into your account and head to Illustrate AI. Here, you can:
https://illustrateai.designbundles.net/
Input a design prompt (e.g., “retro cartoon potted plant wearing sunglasses”)

Choose your art style: vector, coloring book, low poly, ink fusion, and more. You can also Select your image orientation (portrait, landscape, square).

Generate multiple variations with different engines like DALL·E, Flux, and the native Illustrate AI engine

Each engine excels in different styles. For example:

Once your image is in Craft Designer, Pixel Mode is your best friend for sticker making, sublimation prints, or DTF sheets. Here’s how easy it is:


You can make border thicker according to your need. Don't forget to hit the Create Button!

Done! Your Sticker Border is Applied. 


You can also apply the sticker effect again and change the text placement. 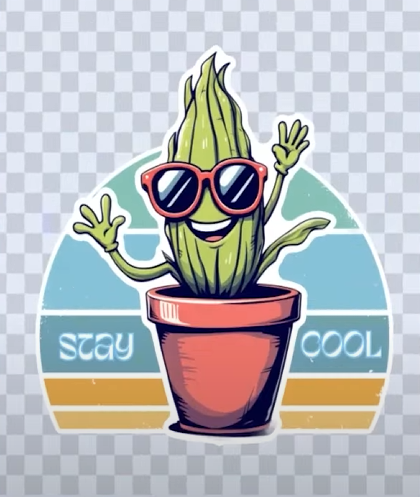
If you’re creating SVG cut files for Cricut, Silhouette, or laser cutters, Vector Mode is your go-to.
You can access Easy Edit from Here:
https://designbundles.net/easy-edits

With EasyEdit SVG, even beginners can build professional-quality SVGs using template-based editing. Simply choose a template, customize the text and visuals, and use tools like:


![]()
![]()
Want to go further? Upload your own elements or choose from the massive Plus Library to elevate your design.
![]()
Your Unlimited Plus Membership isn’t just about access to 2.5 million+ files—it includes:
If you’re not a member yet, sign up for the 7-day free trial and explore these tools risk-free. Cancel anytime before the trial ends, and you won’t be charged.
http://designbundles.net/plus-choose
With these tools in hand, you’re not just designing—you’re crafting with freedom, flexibility, and ease. Whether you're making stickers, DTF sheets, or SVG files, Design Bundles Plus Membership has everything you need under one roof.
Leave a comment sharing your favorite features or suggestions for future updates. Until next time—happy crafting, DB Besties! 🌸

How to Make Quick Stickers Using Easy Edit and Craft Designer

How to Use DALLE 3 for Generating Highly Detailed Vector Style Artwork

How to Make Coaster Design in illustrate AI using Masking Technique