Dollar Deal Event!
Up to 44 products for $1 each!

Have you ever wanted to make your own etched metal jewelry? As a Silhouette CAMEO crafter, I wanted to see if it was possible to etch without needing to use their Curio machine. I have a Curio but I'll be honest, it's not as user-friendly as the CAMEO.
My experiment worked! You do need to buy a special tool for this though, the etching tool I've linked below. If you want to try it for yourself here's the full tutorial.
The Supply List:
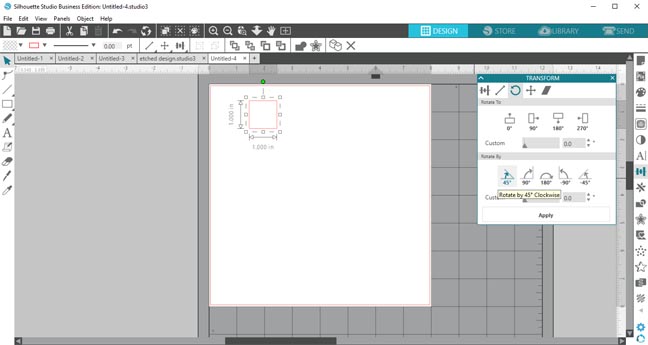
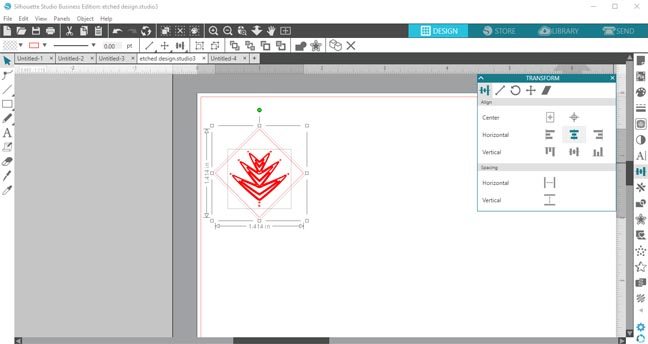
First things first, let's design our jewelry charm. I'm using a 1" square that hangs like a diamond shape.
Simply draw the 1" square and then rotate it 45 degrees so you can properly size your design.
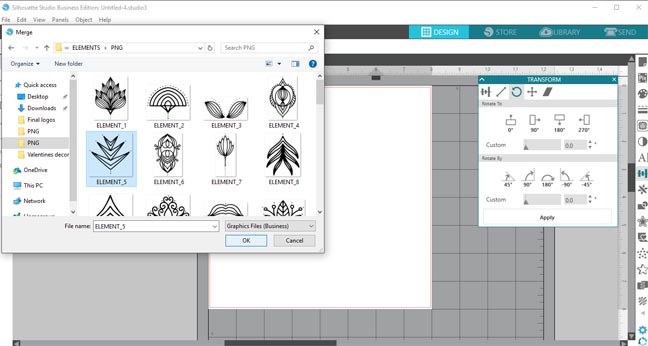
Merge your image you want to etch into your design.
I'm using a mandala from the Mandala Collection in the Splendid Design Bundle Volume 2.
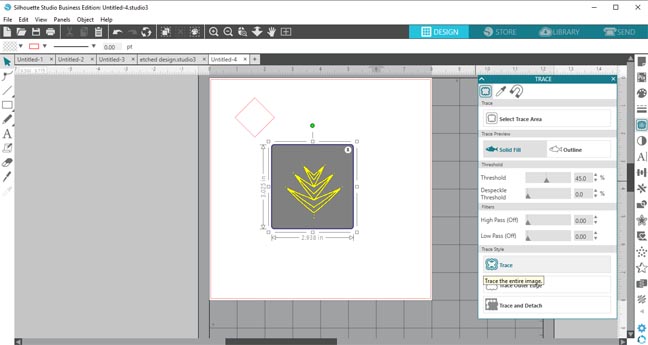
This image isn't set up as a cut file so you can use the trace tool to convert it into one.
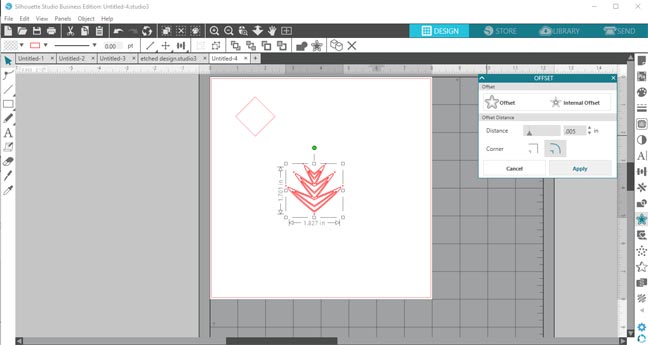
I wish there was a way to easily "fill" the design so the machine would etch inside the lines. If you are using the Curio then it is simpler since that unlocks the emboss feature.
No worries! There is a workaround but it is a little time-consuming. Open the offset tool and keep slightly internally offsetting the shape. I used a very small distance of .001 and kept repeating the process.
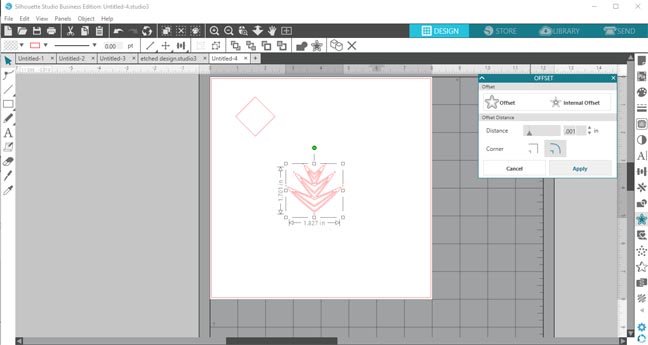
Just keep increasing the distance until the design is filled in.
Here is a close-up view of the tiny lines being added.
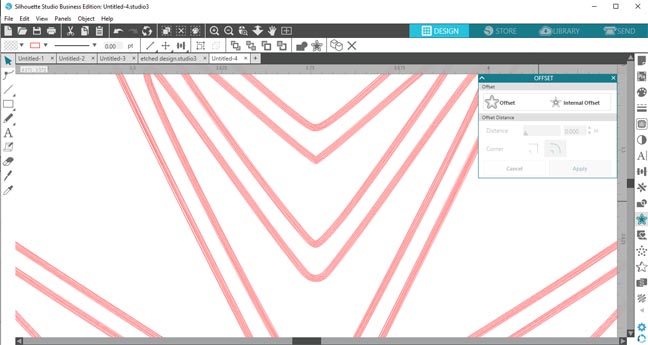
You can see that it looks to be filled in now, in reality, it's just a bunch of lines for the CAMEO to etch.
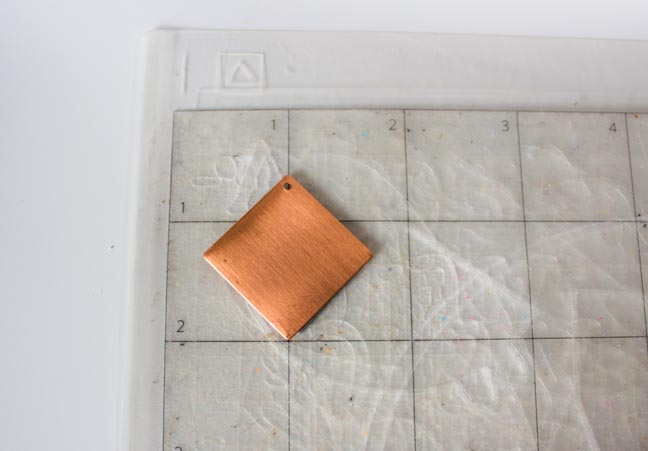
Next, I increased the reveal on the cutting mat. This is so I could align the metal blank on a grid line for easy placement of the actual metal blank on the cutting mat.
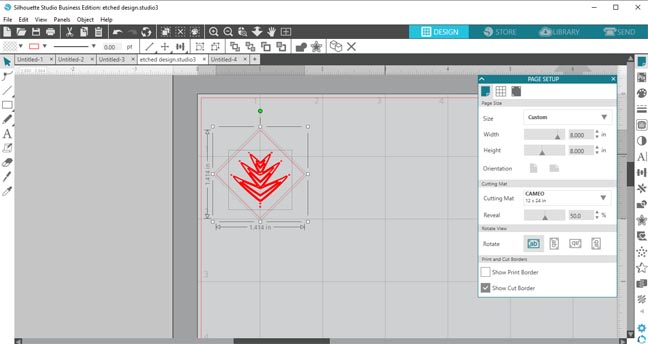
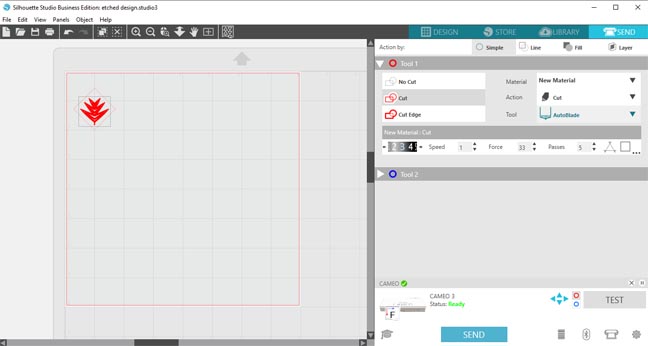
When you go to send the design, make sure to turn off the 1" square since you only have it there for alignment purposes.
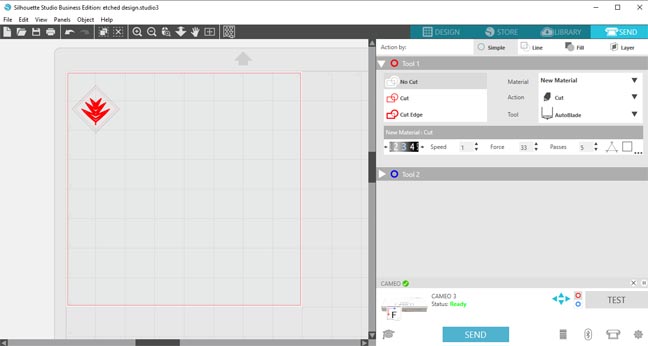
Now you're ready to etch your design. Make sure you have the force all the way to 33 and I also increased the number of passes to 5 so it etches it repeatedly.
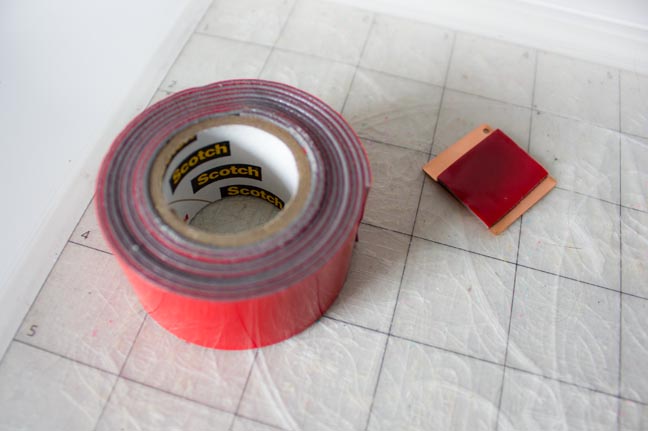
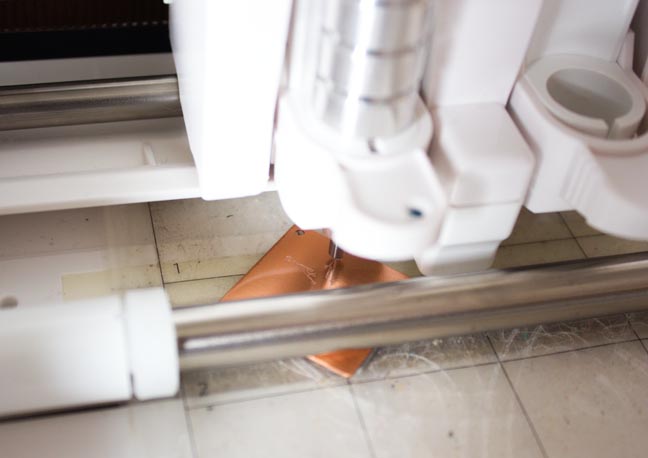
Cut a small square of the strong adhesive tape and attach it to the back of the metal blank.
Now attach the metal blank to the cutting mat exactly where you had it aligned in the software.
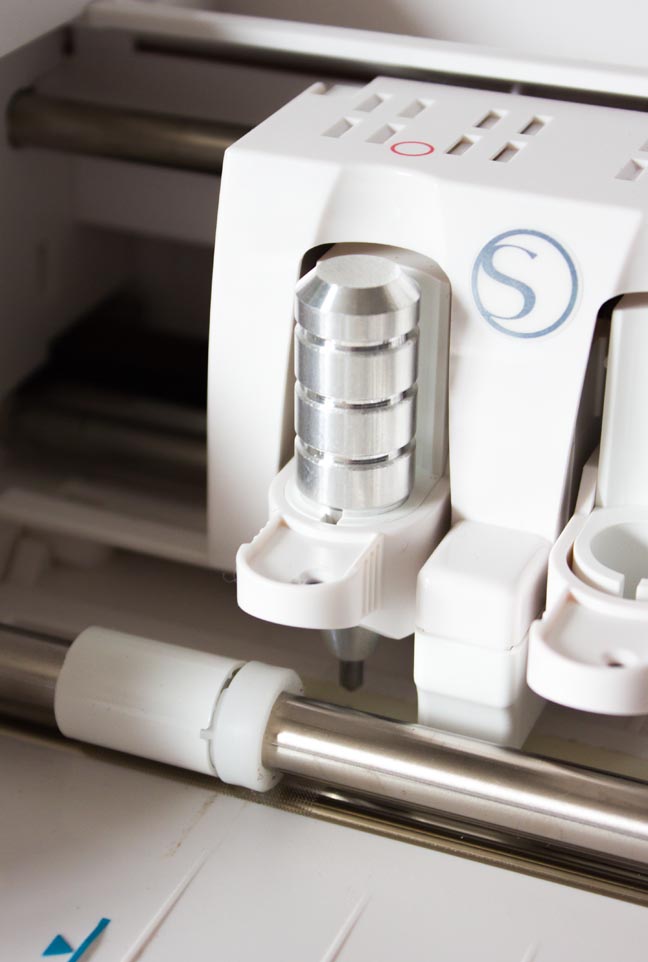
The tape adds a little height to the metal blank, which created a drag effect if you insert the etching tool all the way into the holder.
I lifted the etching tool about the same depth as the tape while in the holder to prevent that from happening.
You're good to send the design to be cut.
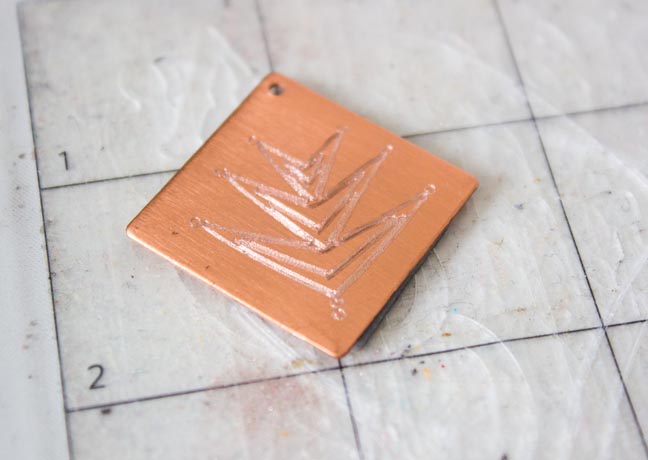
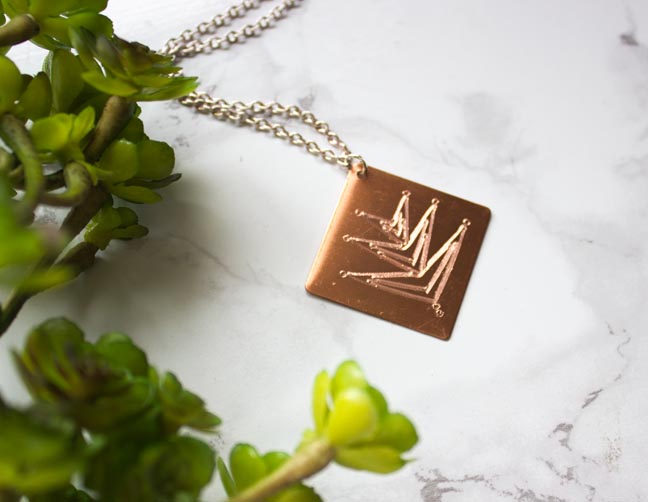
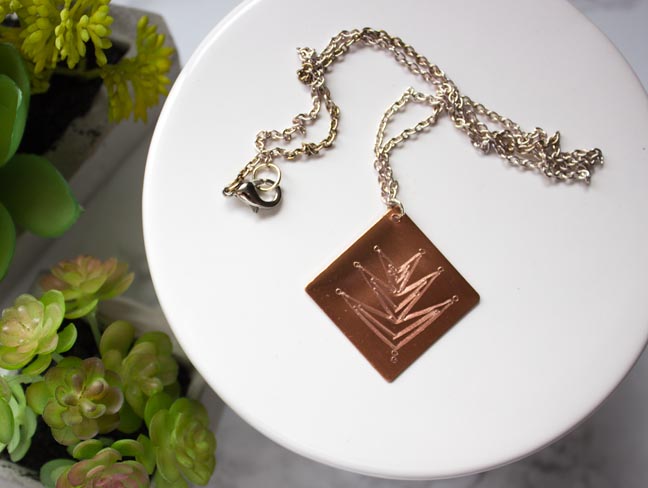
Here's the finished result! You'll need to wipe away the metal remnants.
Add the metal jump ring and chain to make this into a necklace.
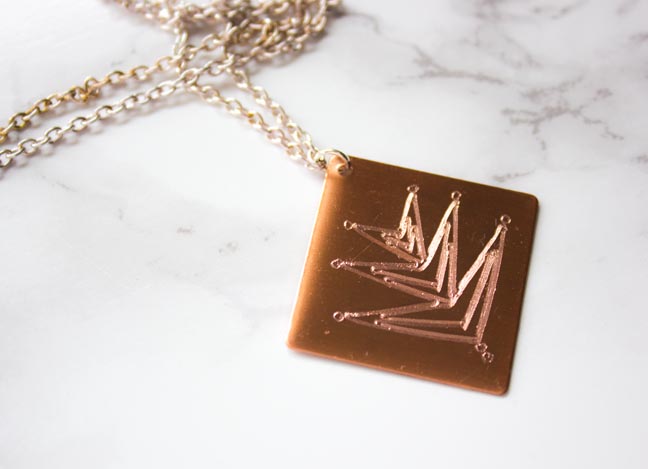
You can etch anything this way! I've also etched words into charms to make monograms and memory items.
Enjoy your new found skill and make lots of great accessories.
What are you going to etch first?

DTF vs Sublimation Printing: Which Is Better for Your Craft Business

Beginner Cricut Project: How to Make a Paper Cut Gift Tag with Cricut
