Posted 16th April 2024 •
By Saqib Ahmad
Welcome to our tutorial on how to design a custom mug using "Illustrate AI". Whether you're looking to create a personalized gift or simply unleash your artistic side, this guide will walk you through the process of turning your vision into a tangible masterpiece. Let’s embark on this creative adventure together.
Step 1: Start with Your Design
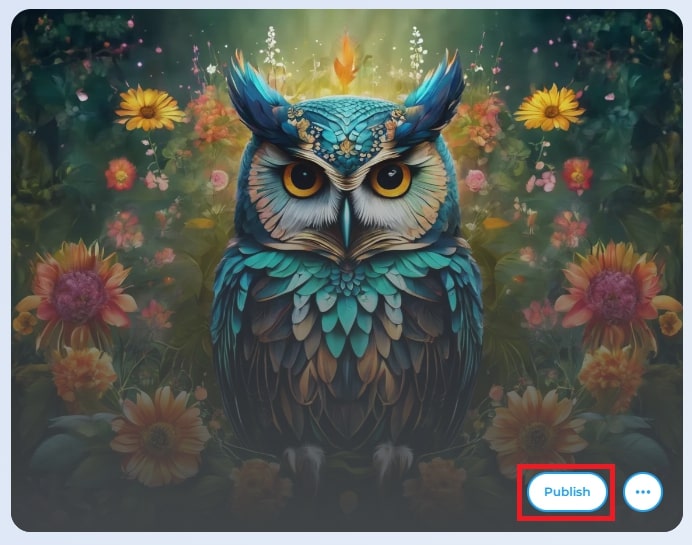
First, open "Illustrate AI" and Generate a design you wish to feature on your mug. Once you generate the design you like, Make sure to click on Publish! Once design is published, Click on Edit to proceed.
Step 2: Locate the Masking Tool
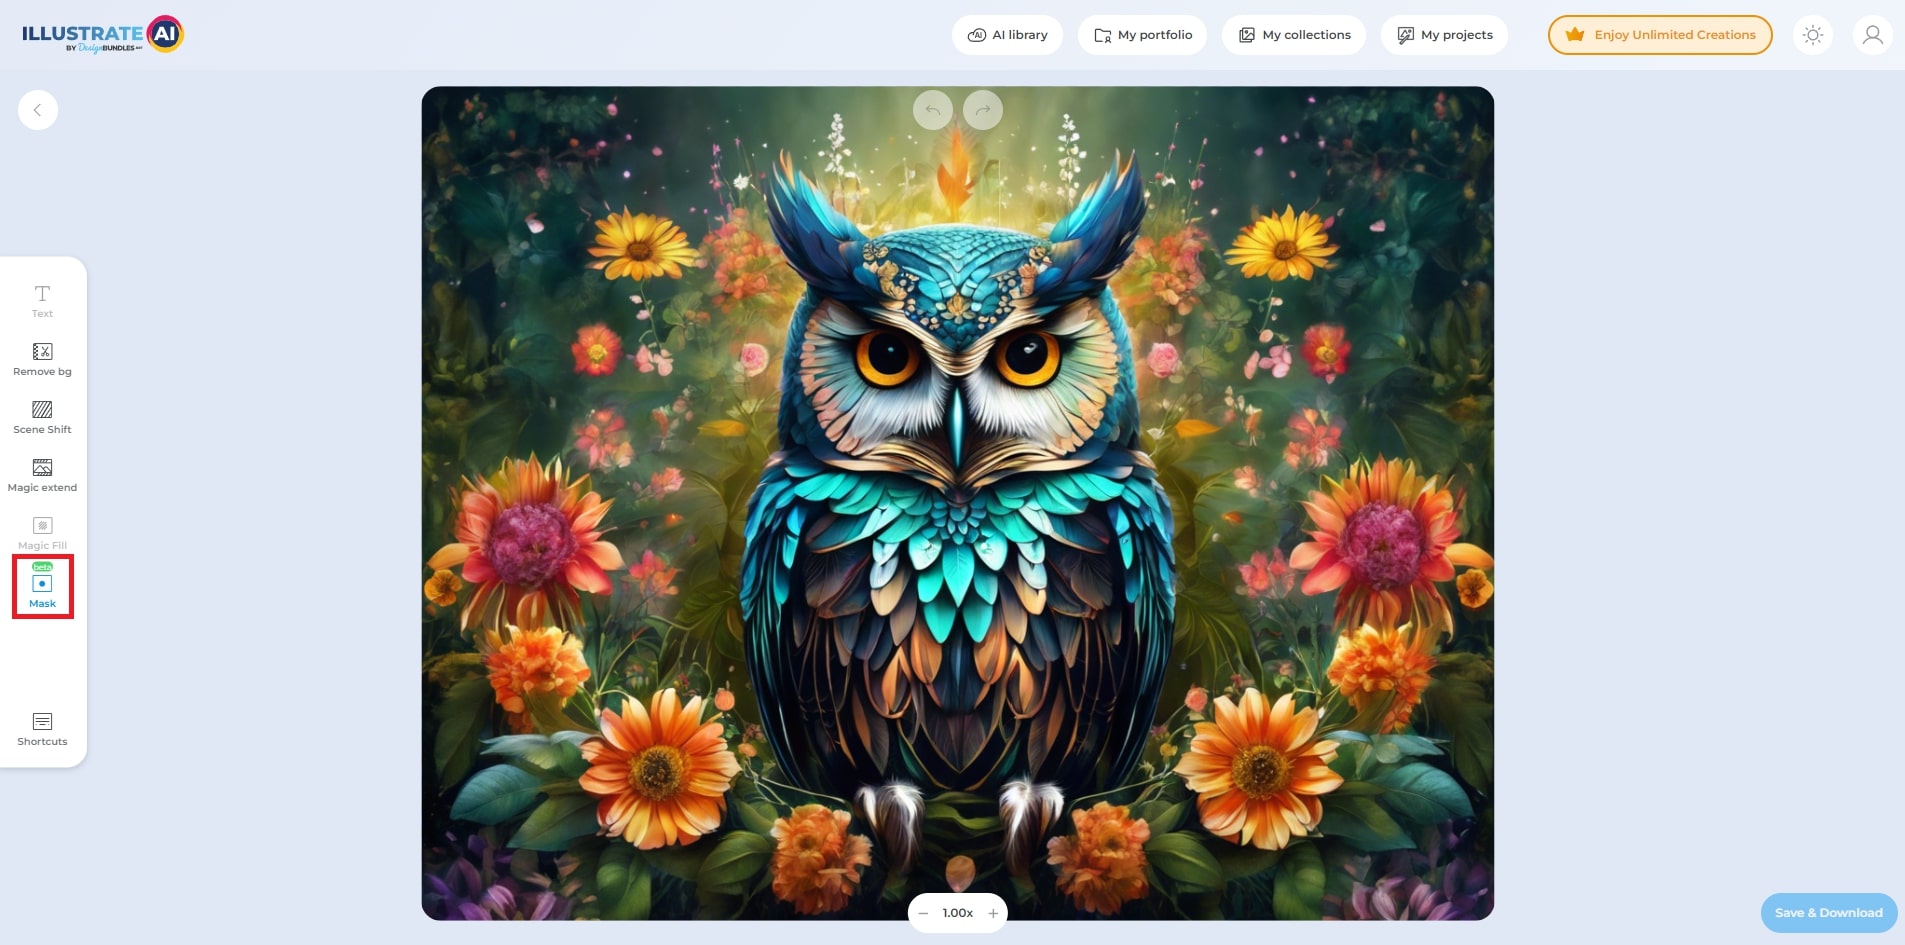
In the "Illustrate AI" editing suite, you'll find an array of tools designed to cater to your creative needs. Look for the masking tool on the left side.
Step 3: Choose Your Mug Template
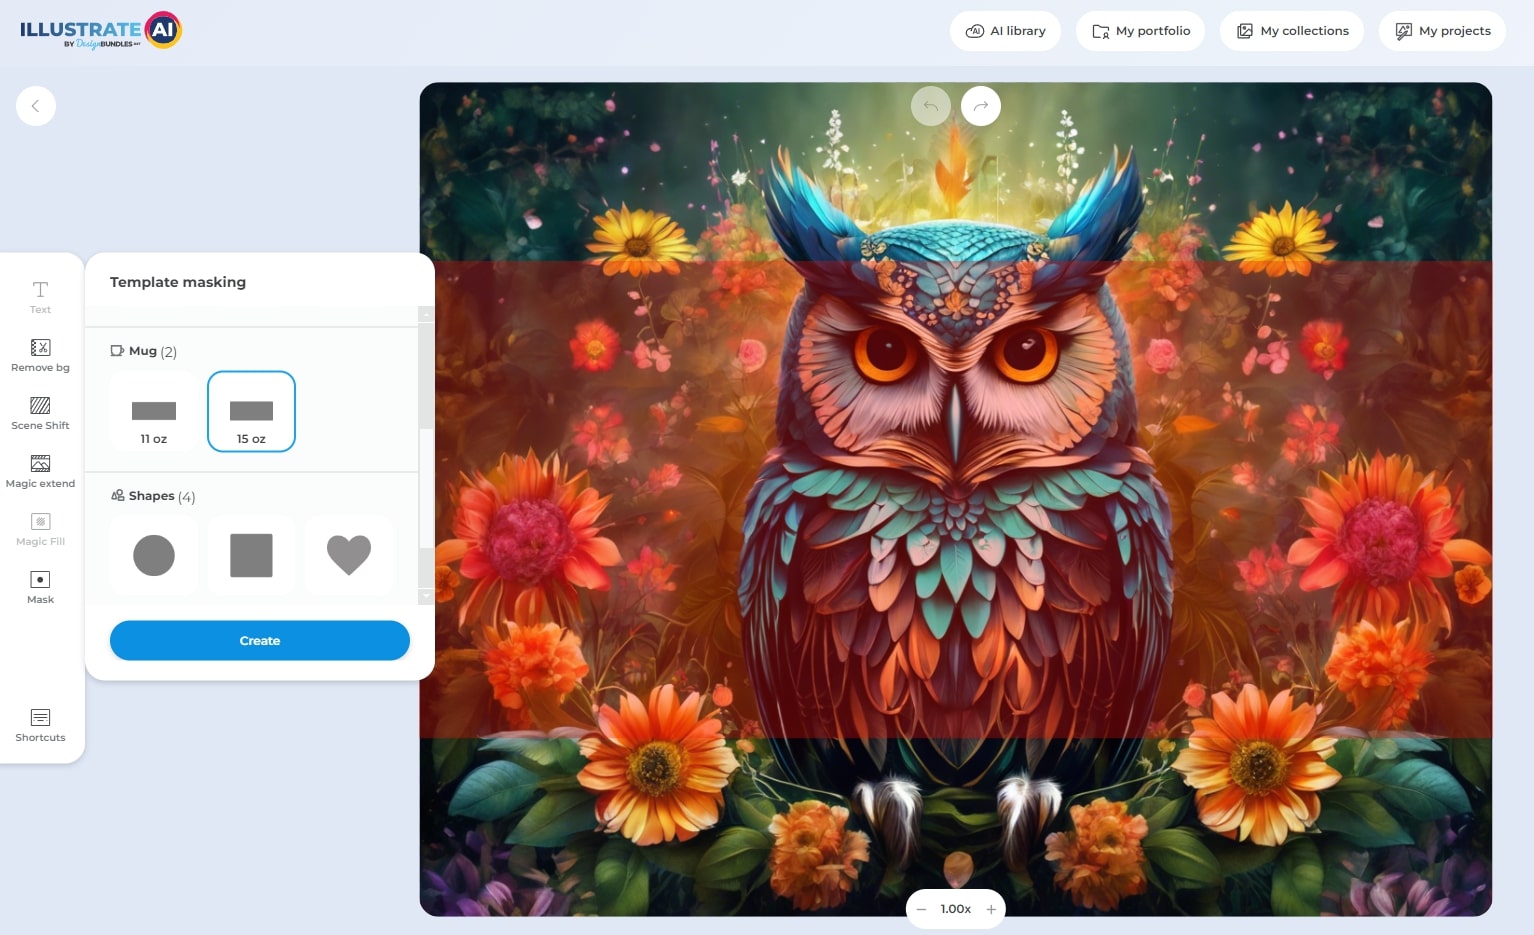
Click on it and Scroll Down to Find the Mug Category from where you can choose 11 oz or 15 oz Template. Select the template that best suits your design idea and click 'Apply' to proceed.
Step 5: Preview and Save Your Mug Design
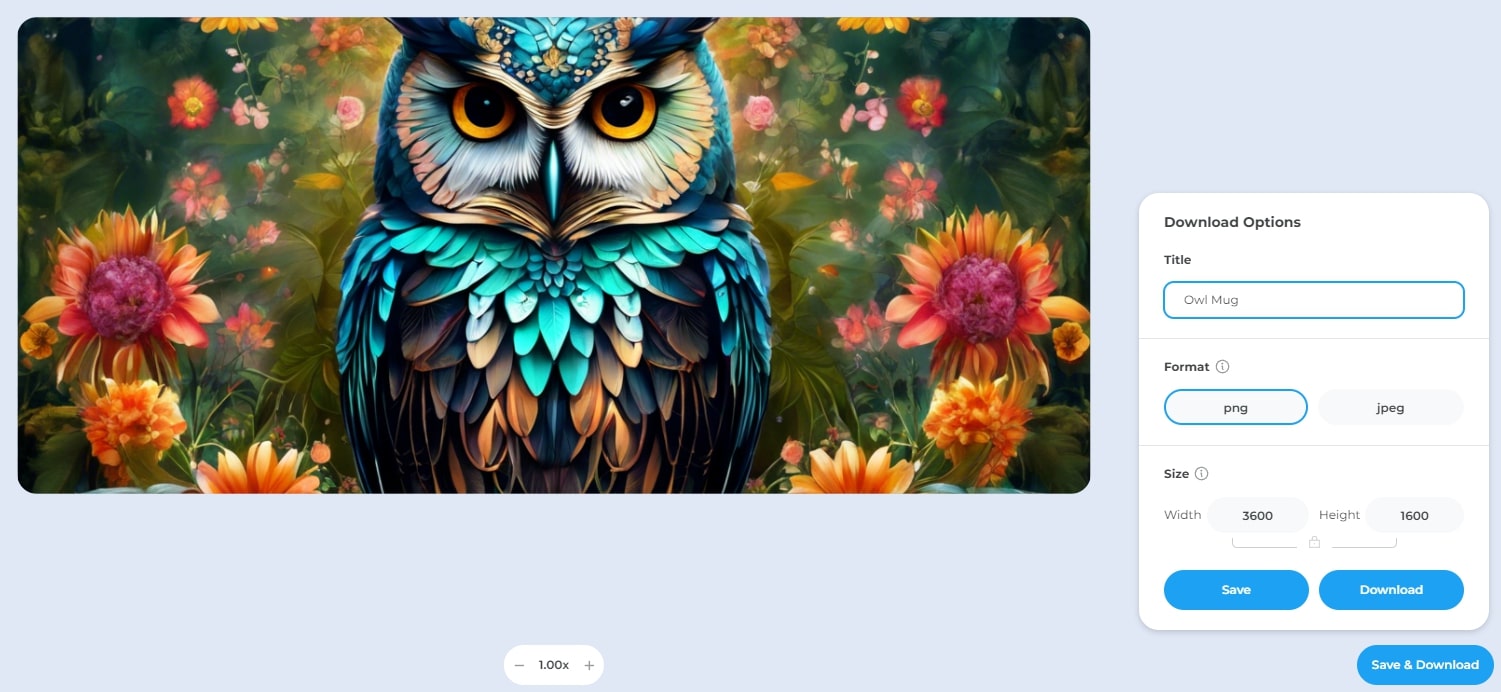
After you've adjusted your design to your satisfaction, go ahead and save your design. You'll have the option to download it in various formats, but for mug printing, a high-resolution PNG is recommended.
Step 6: Bringing Your Design to Life
With your design saved, you're now ready to bring it to life. You can use a print-on-demand service to have your design professionally printed onto a mug, or if you have the capability, print it yourself using suitable mug transfer materials.
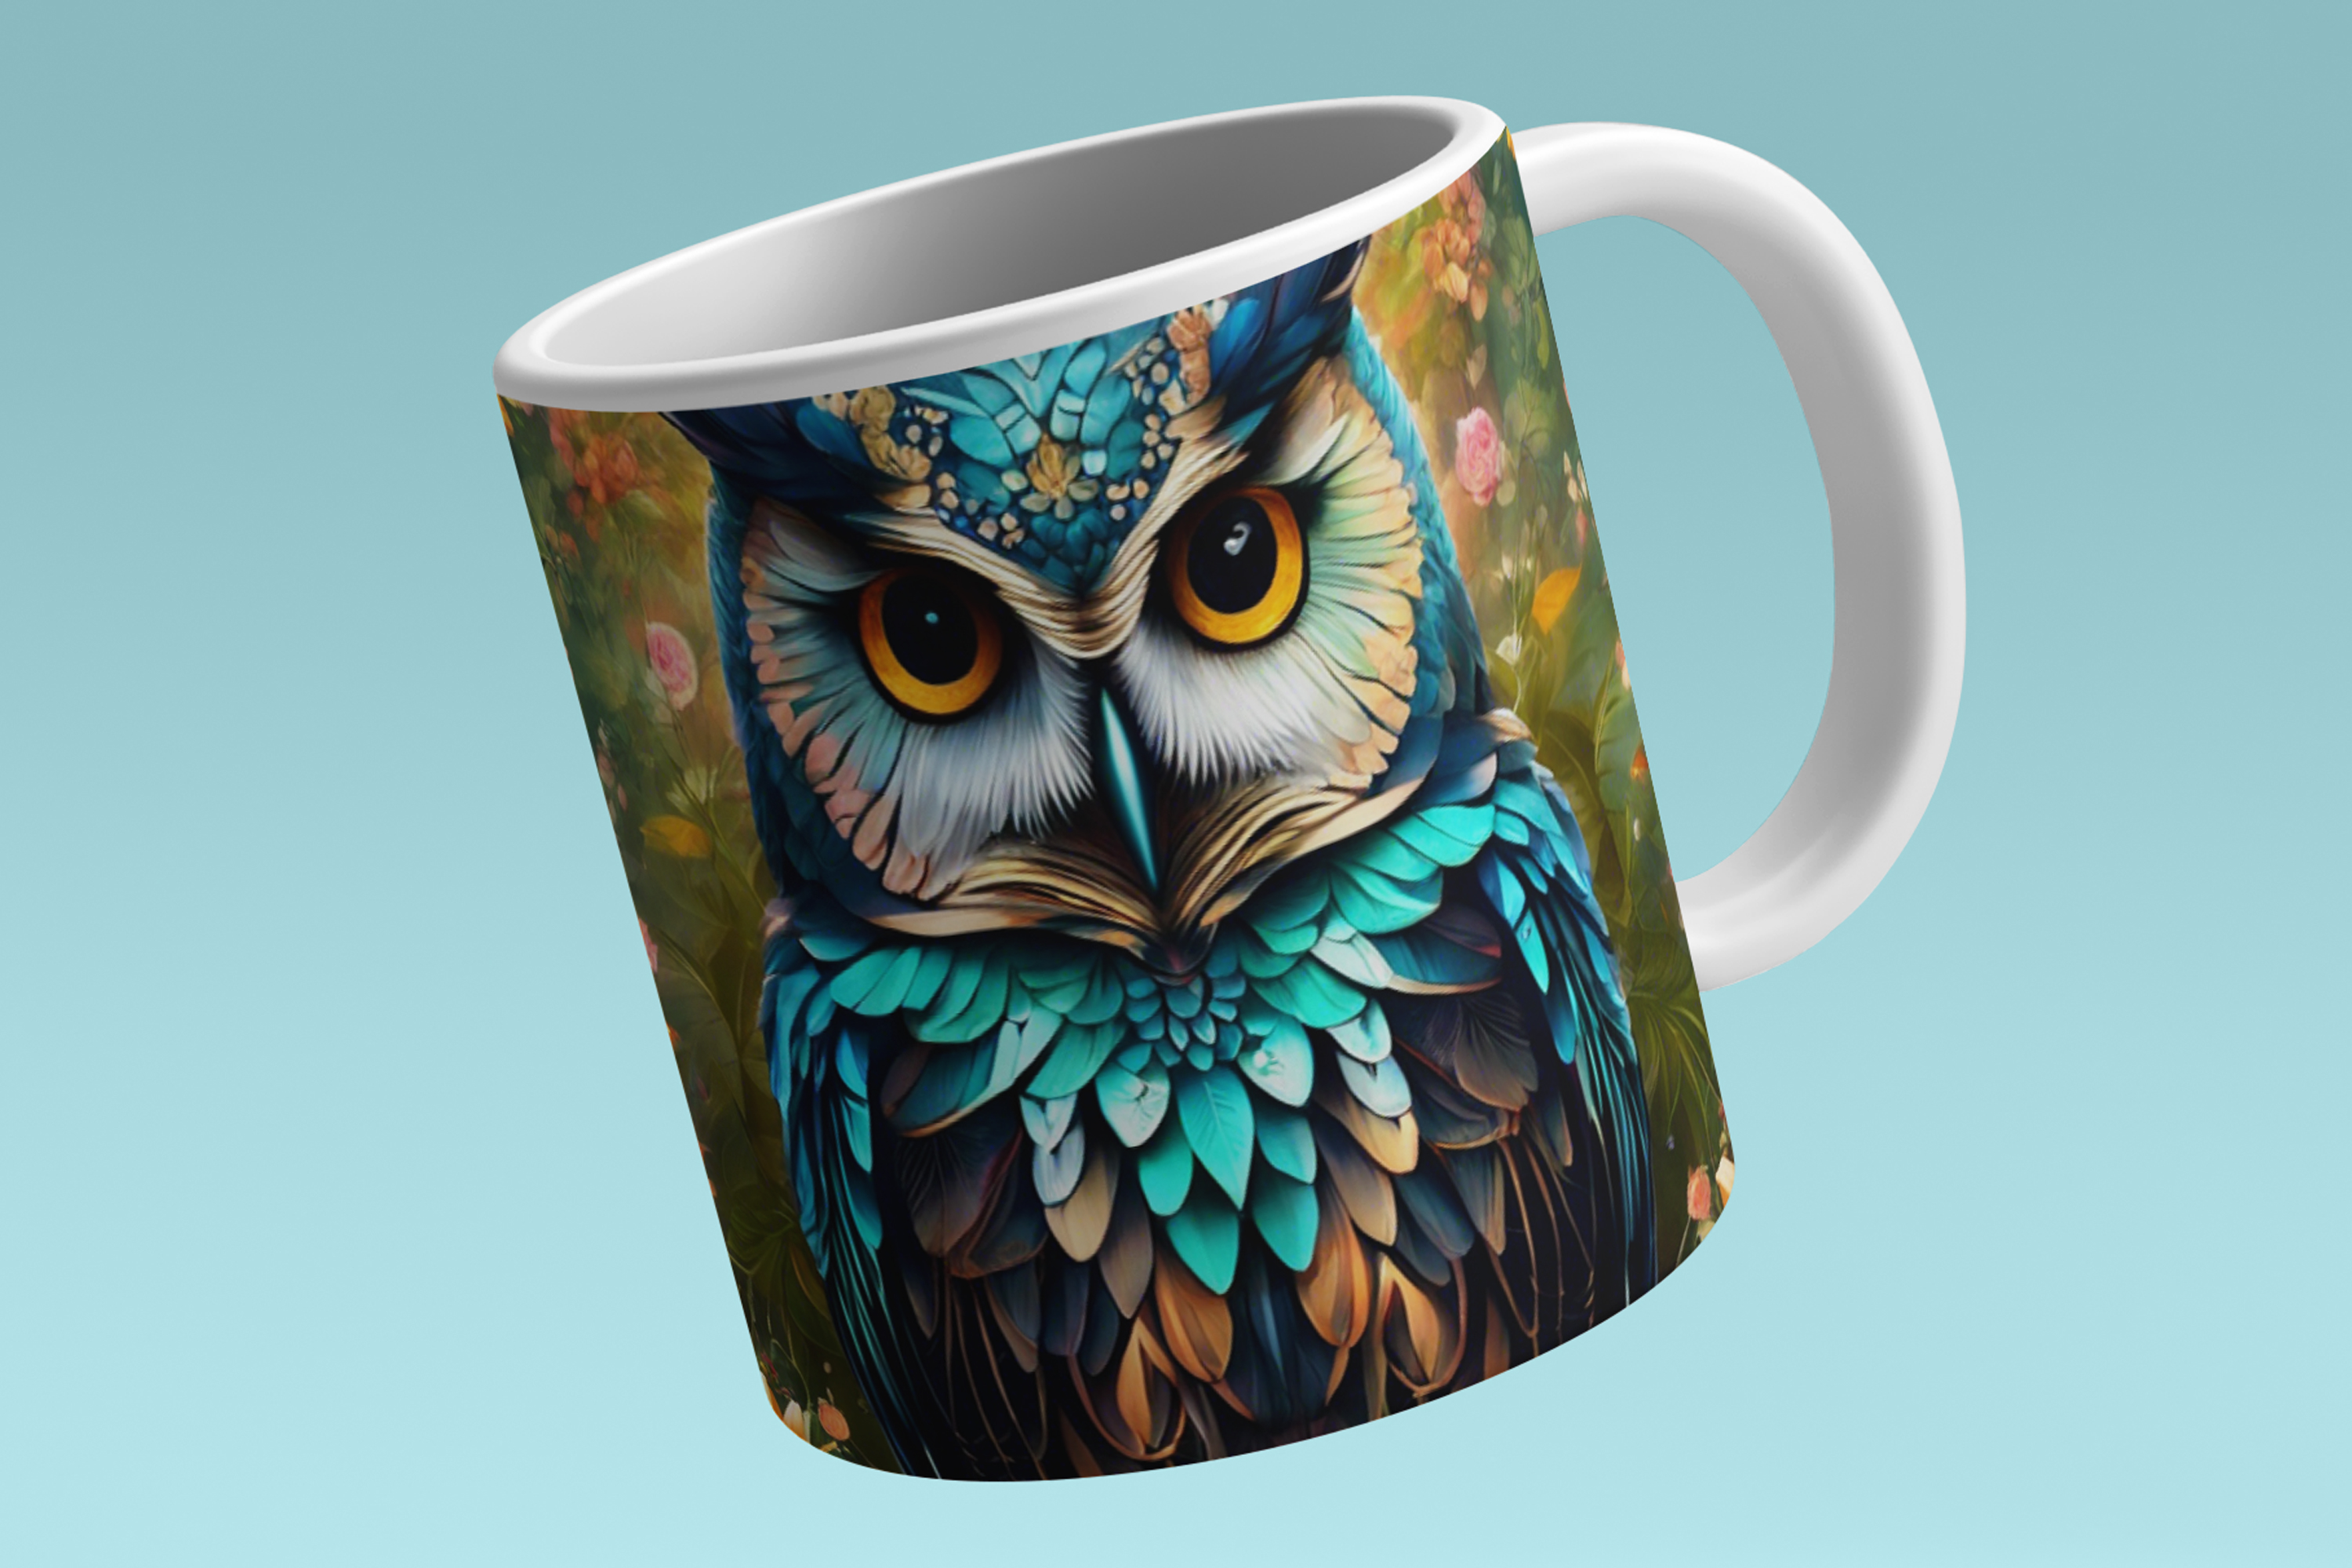
Congratulations! You've successfully created a unique mug design with "Illustrate AI". This tutorial was designed to guide you through each step, making the process accessible and enjoyable. Now that you have your custom-designed mug, it's time to enjoy your morning coffee or tea in style. Remember, the possibilities are endless, so keep exploring and creating with "Illustrate AI". Happy designing!


