Posted 16th April 2024 •
By Saqib Ahmad
Welcome to this tutorial where you'll learn how to use "Illustrate AI" to create stunning shirt designs using the masking technique. This guide is designed to walk you through each step, from selecting a template to downloading your final design. Let's dive in and unlock your creativity.
Step 1: Publish Your Generated Artwork
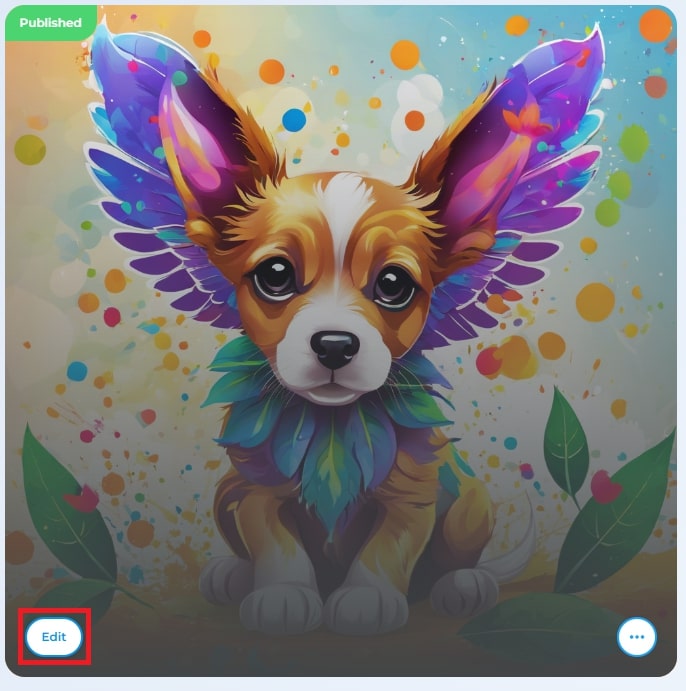
The first step is to publish the image you've made with "Illustrate AI". Look for the 'Publish' button and then click on 'Edit' to proceed with your design. This is where your creative journey begins.
Step 2: Access the Mask Tool
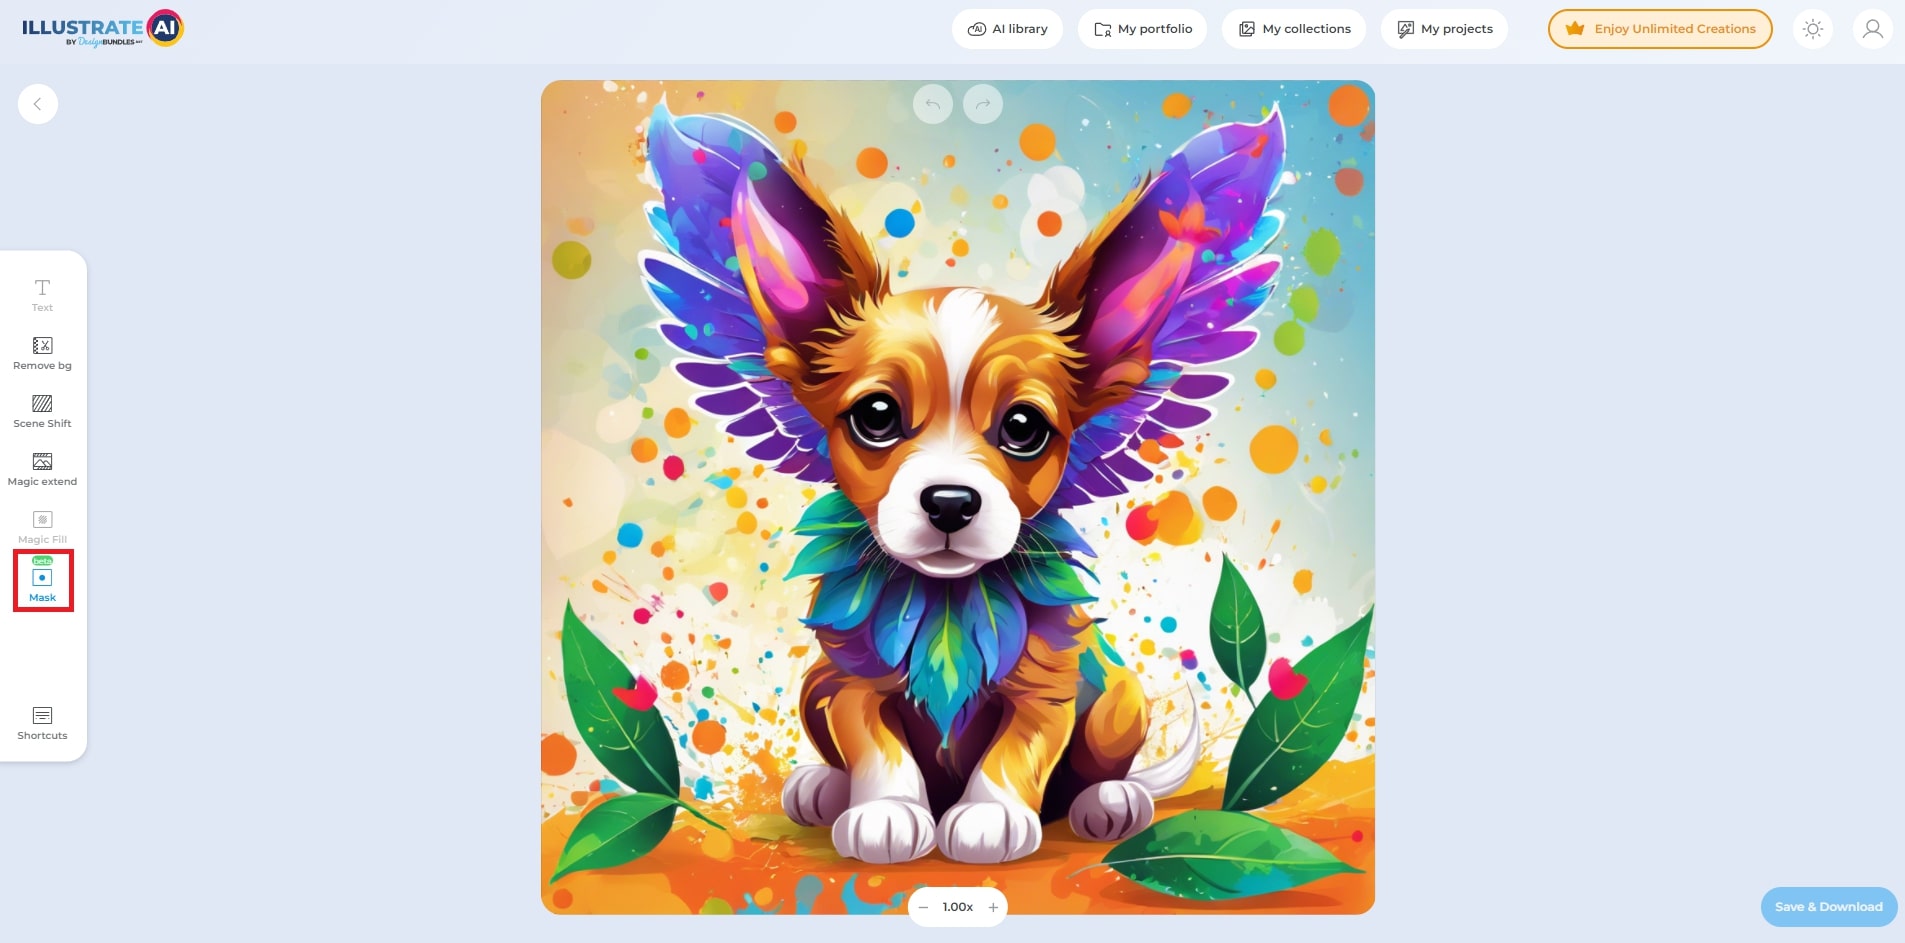
On the editing interface, you'll find a variety of tools at your disposal. Direct your attention to the left side of the screen to locate the 'Mask' tool. This tool is crucial for applying your design to our premade shirt templates seamlessly.
Step 3: Select a Premade Shirt Template
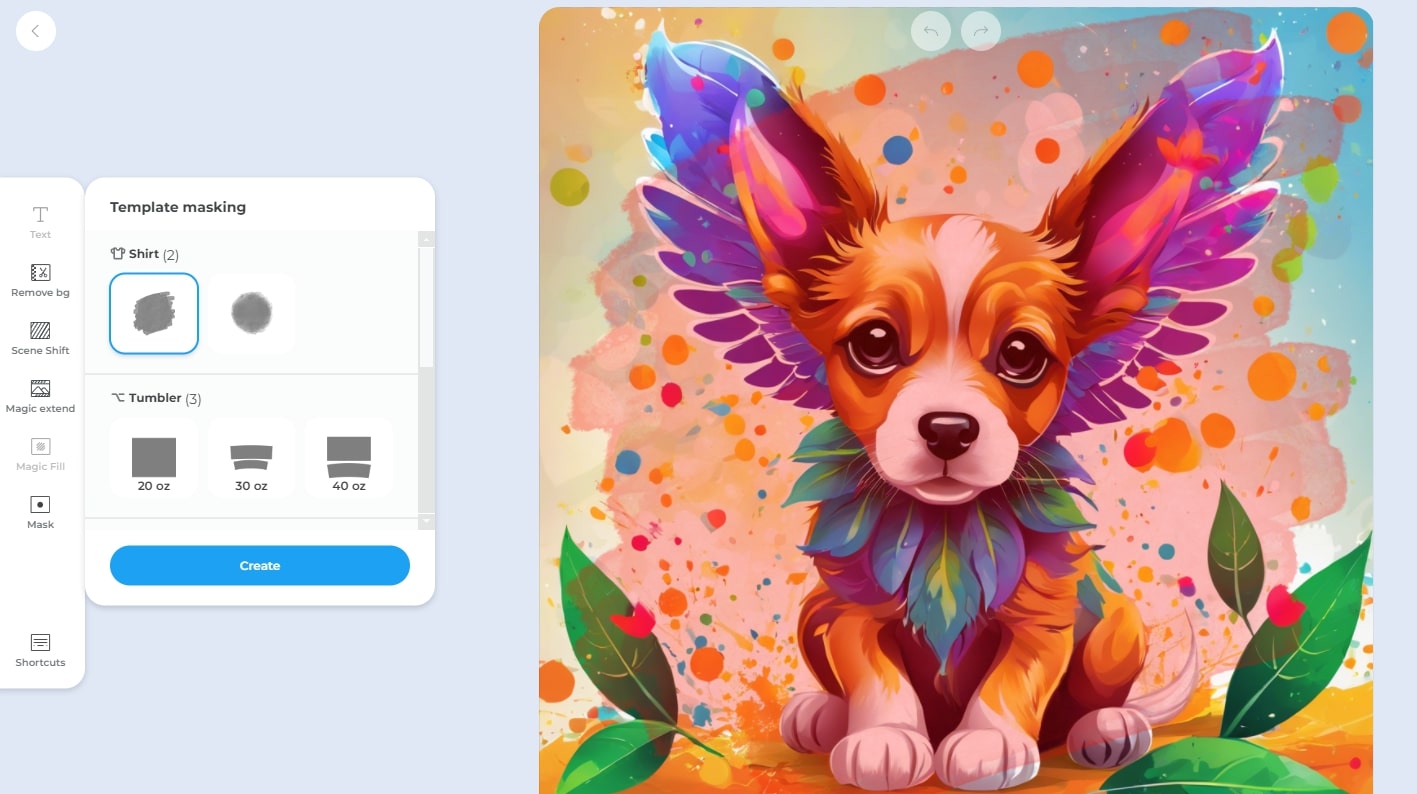
With the 'Mask' tool activated, it's time to choose your canvas. You'll see a list of premade templates; navigate to the 'T-Shirt' category. Browse through the options and select the template that best fits your vision. Once decided, hit the 'Create' button to merge your design with the selected template.
Step 4: Save and Download Your Design
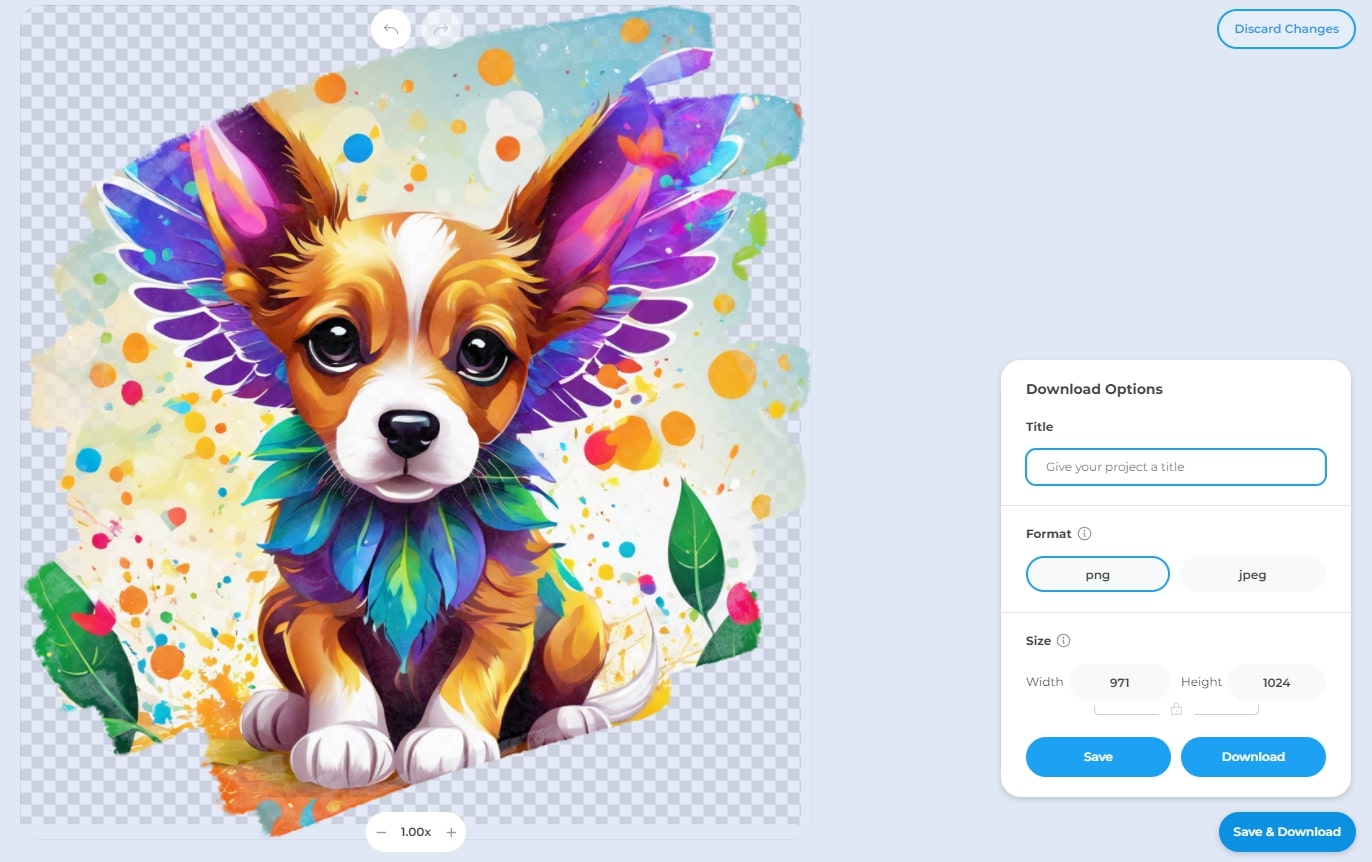
After customizing your design to perfection, click on 'Save'. Now, you're ready to download your artwork. You can choose between PNG and JPEG formats for the download. To ensure your design looks great in print, we recommend selecting a minimum width of 3600px. Opting for this resolution guarantees your design is crisp and clear on your shirt.
Step 5: Final Result
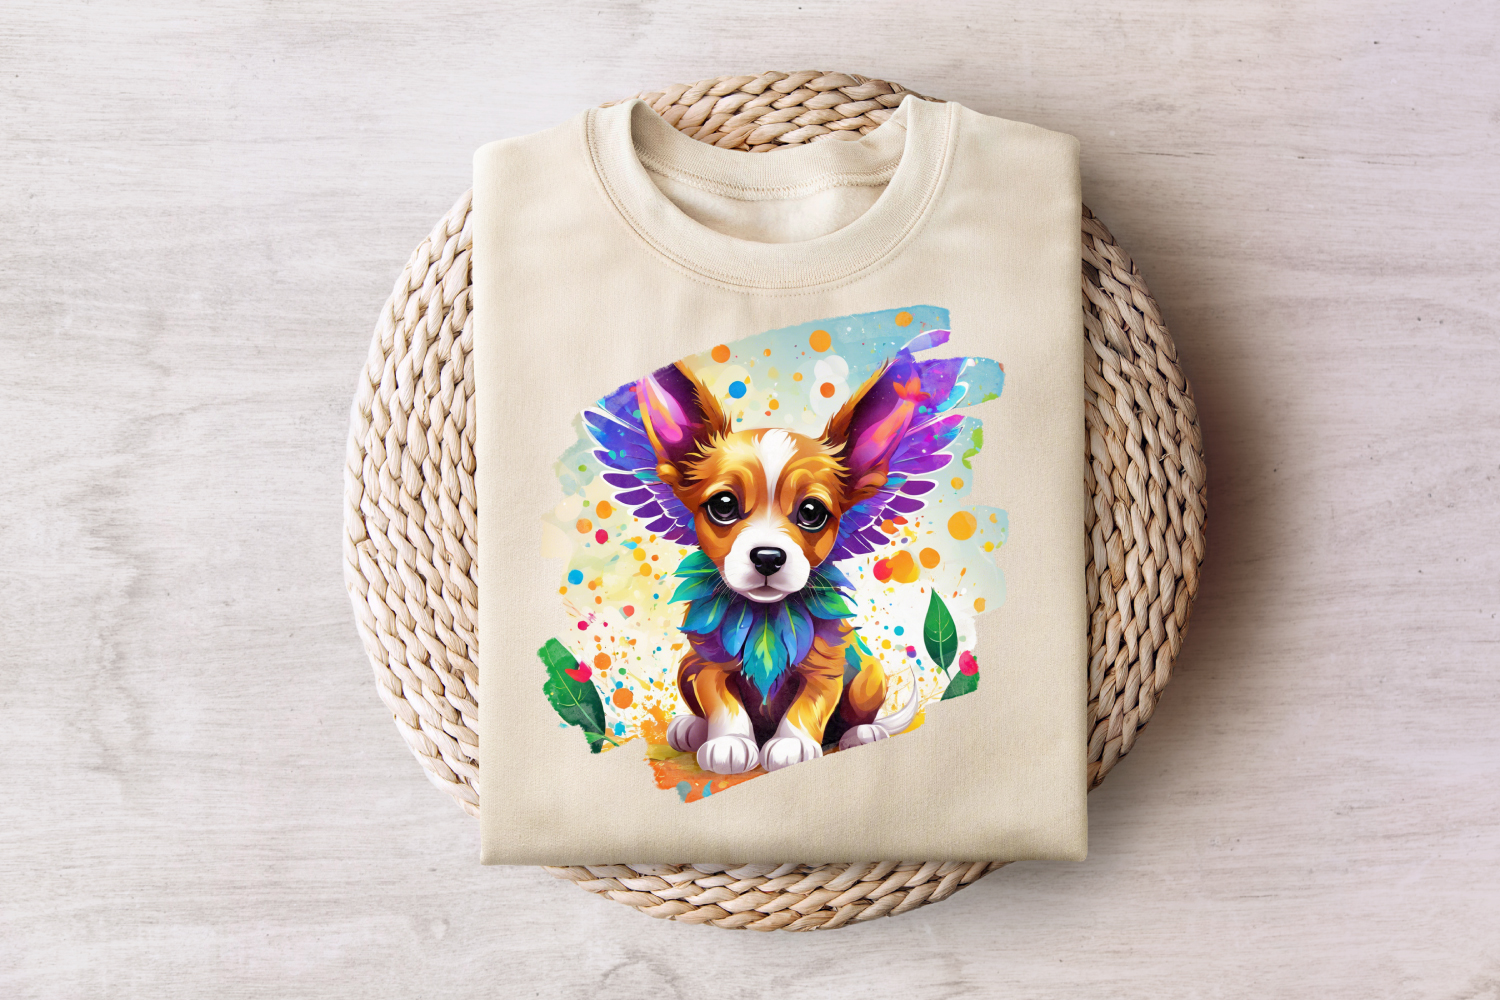
Now comes the exciting part, It's a rewarding moment that brings your creative efforts to life. Here is the Final Outcome of the T-Shirt Design!
