
Ok ladies, how many of you dig around in your makeup bag every morning for 5 minutes trying to find the right brush? Or you give up and just have them all laying on your counter making a huge mess, no one likes having a huge mess.
You will love this tutorial then!It's pretty simple to make if you're comfortable with power tools, they really aren't as scary as they look, I promise.
I'm going to show you how to DIY your own wooden makeup brush holder which also doubles as an adorable accessory for your bathroom.Gotta love a dual function item!!
The Supply List:
The first step is getting the wood holder made. I figured out how many holes I wanted to cut and their sizes first then I determined the best length. For my holder I decided on 6".

Take it over to your miter saw and cut it down to size.

Next, mark the places where you're going to cut the holes.

I used my brushes to figure out the right sized spade bits to cut with. I wanted them slightly bigger than the brushes so it was easy to put them in and out.

Clamp your block down to your work surface (check out my Instagram profilefor the story on how I DIY'd this table for under $40 @designedtobecrafty)

I cut two larger holes on each end and 3 smaller holes in the center. I went about an inch deep for each hole.
This is probably going to smoke a lot while you're cutting, just keep taking breaks to let the wood and bit cool down so you don't accidentally start a fire!

You'll see the edges are a little rough, just give it a quick sand to remove the rough spots.

Now let's add some stain! I'm using the color Ebony since my cabinets in the house are a really dark brown.

I did 2 coats to get a nice rich finish. Make sure to apply it with the grain.

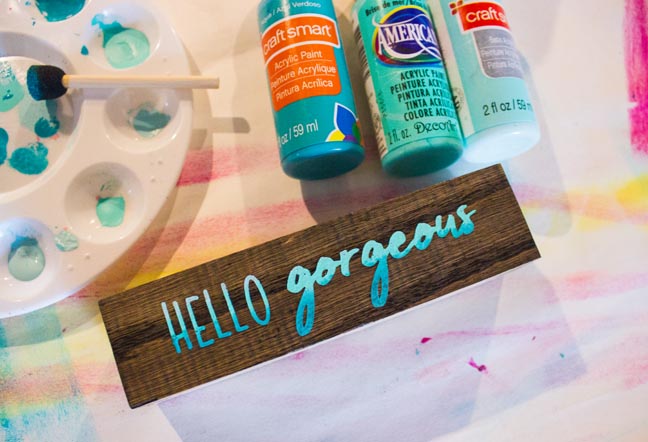
While the stain dries let's design a fun saying to add to the wood.
Open your design software and draw a rectangle the same size as your wood so you can size it properly.

I'm going to type the words "hello gorgeous" but wanted to use 2 fonts.
'Hello' is in Carley & Co. in bold from the Tremendous Font Bundle 2.

'Gorgeous' is written in Mak Dah which is a bonus font with the ChocoLate Script. This is also from the Tremendous Font Bundle 2.

Since gorgeous is written in a script font you'll need to weld it together so it doesn't cut each letter individually.

Size and center them in the rectangle as you want. Once you're happy with it, group them together.

Now you're ready to cut it out. I left the box so I could line it up with the wood holder to make sure it's straight and centered.

While that cuts, paint the inside of the holes to add a fun pop of color when the brushes aren't in their holders. This also gives it a finished look so there's not raw wood showing.

After the vinyl is cut, weed out the letters, you want to use this as a stencil.

Apply the transfer tape so you can transfer the vinyl to the wood.


Because wood has the grain and isn't a perfectly flat surface the paint will bleed a bit under the vinyl. To prevent this from happening first apply a coat of clear mod podge to seal the edges. If it bleeds you won't notice it since it's clear. Let that dry.

I decided to get super fancy and attempt an ombre paint effect! I used 3 shades of blue/teal and started with the lightest color first and used the same brush to do each darker shade.

Let it dry then carefully remove the vinyl.
Now you're ready to add your brushes. How fun to have a functional accessory for your makeup area!
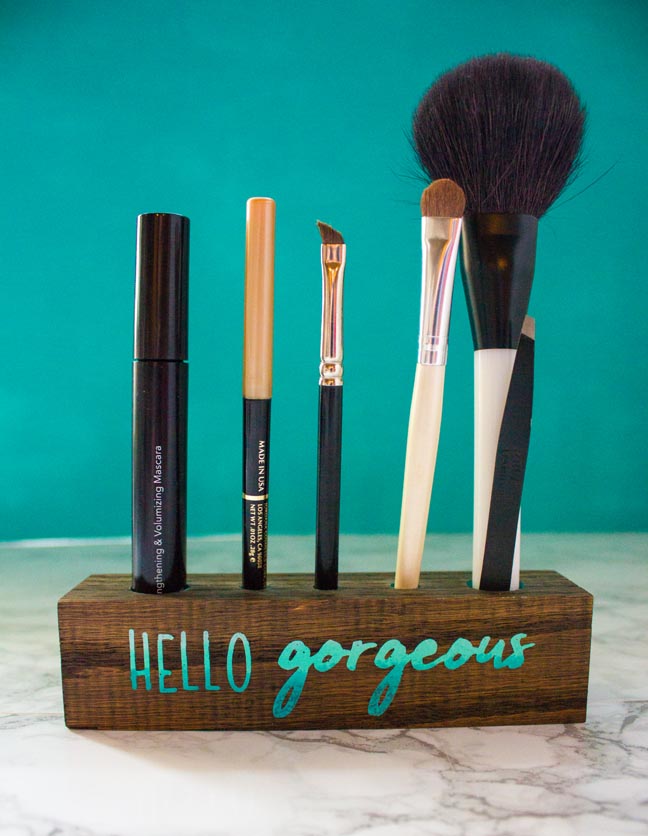
I'm really happy with how the ombre paint effect turned out!!
This is going to save me at least 5 minutes every time I go to get ready, no more searching for lost tools!
Go on and make yourself one too!! This would also be great for the craft room for paintbrushes and pens.

DTF vs Sublimation Printing: Which Is Better for Your Craft Business

Beginner Cricut Project: How to Make a Paper Cut Gift Tag with Cricut
