Posted 24th April 2024 •
By Saqib Ahmad
Welcome to our tutorial on how to design a custom coaster design using "Illustrate AI". Whether you're aiming to create a unique accessory for your home or gift someone a piece of your creativity, this guide will help you transform your artistic vision into a coaster artwork. Let's dive into this creative journey together.
Step 1: Start with The Prompt:
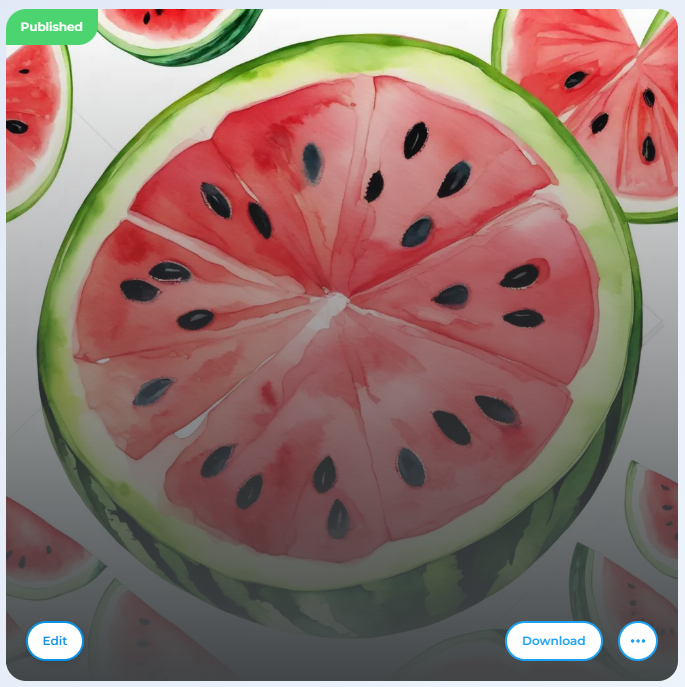
Here is a simple Prompt I added with the ''Whimsical Watercolor'' Art Style:
''Round Watermelon Slice at the center with Seeds, Watercolor, Digital Illustration, White Background''
Once you're happy with the design, click on "Publish!" After publishing, select "Edit" to move forward.
Step 2: Click on the Masking Tool:
Within the "Illustrate AI" editing suite, you'll find a variety of tools tailored to enhance your creativity. Locate the masking tool on the left-hand side.
Step 3: Choose Your Coaster Style:
Click on the masking tool and scroll down to find the Shapes Category, where you can choose from different shapes and sizes. Select the template that best fits your design concept and click 'Apply' to proceed.
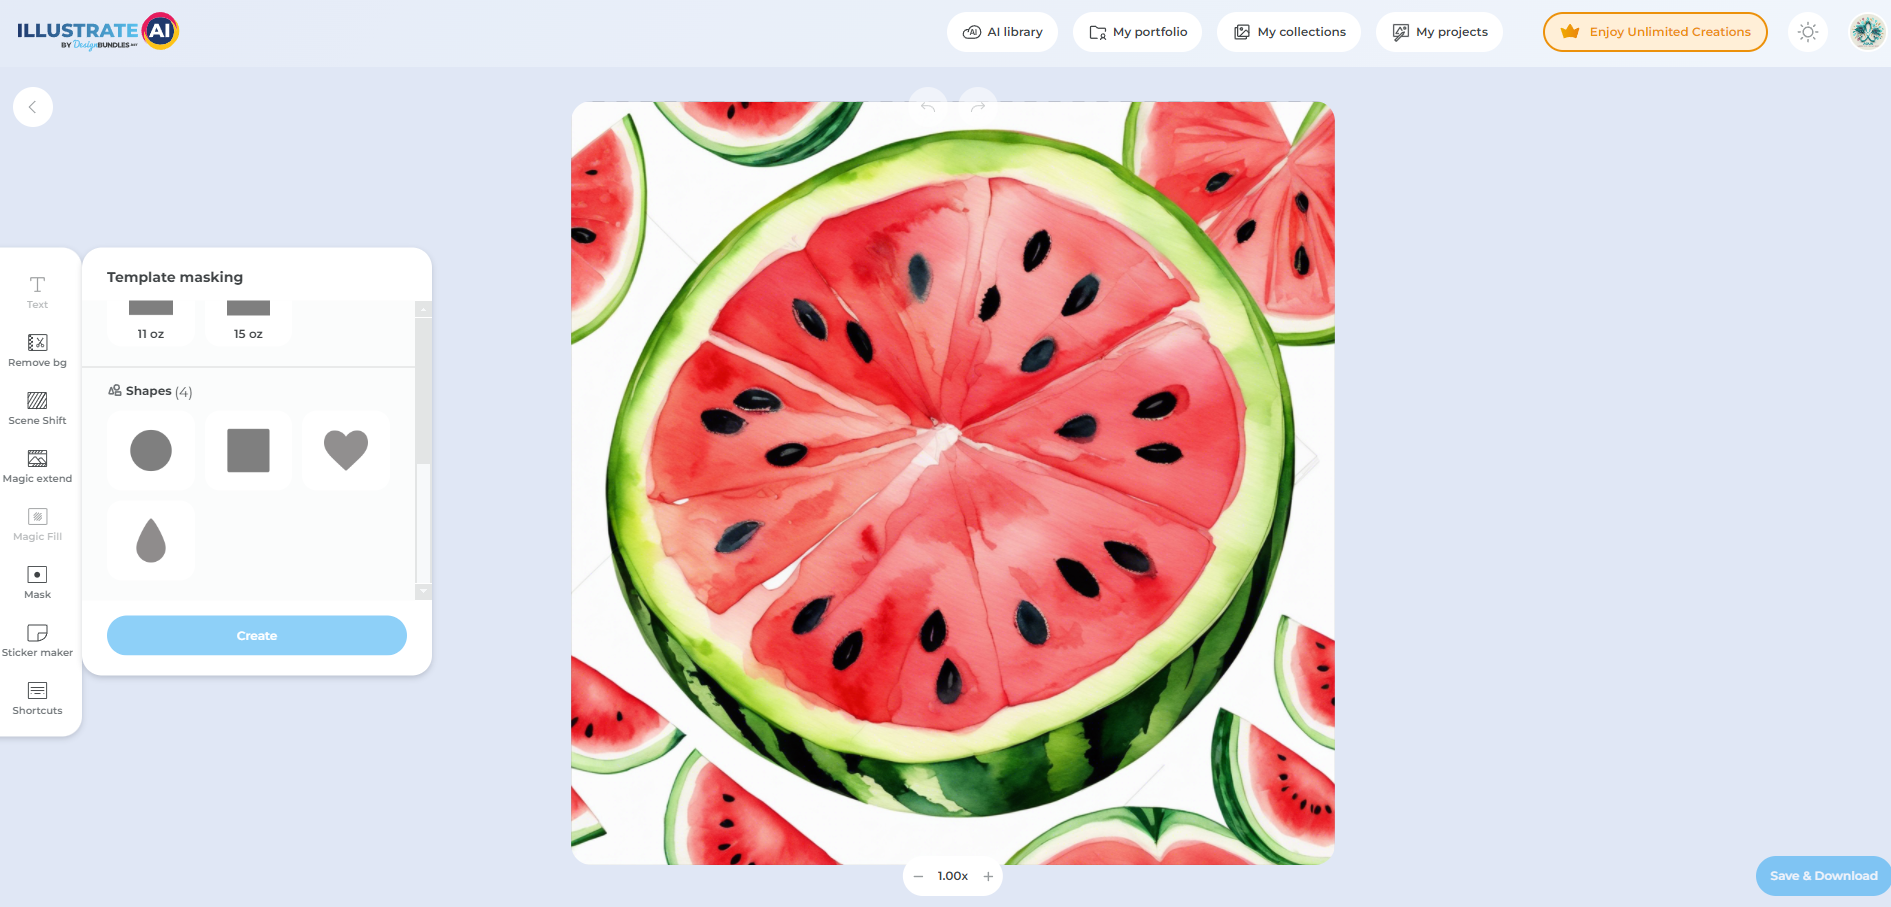
For this I selected Round Shape and Applied on the Generated Artwork
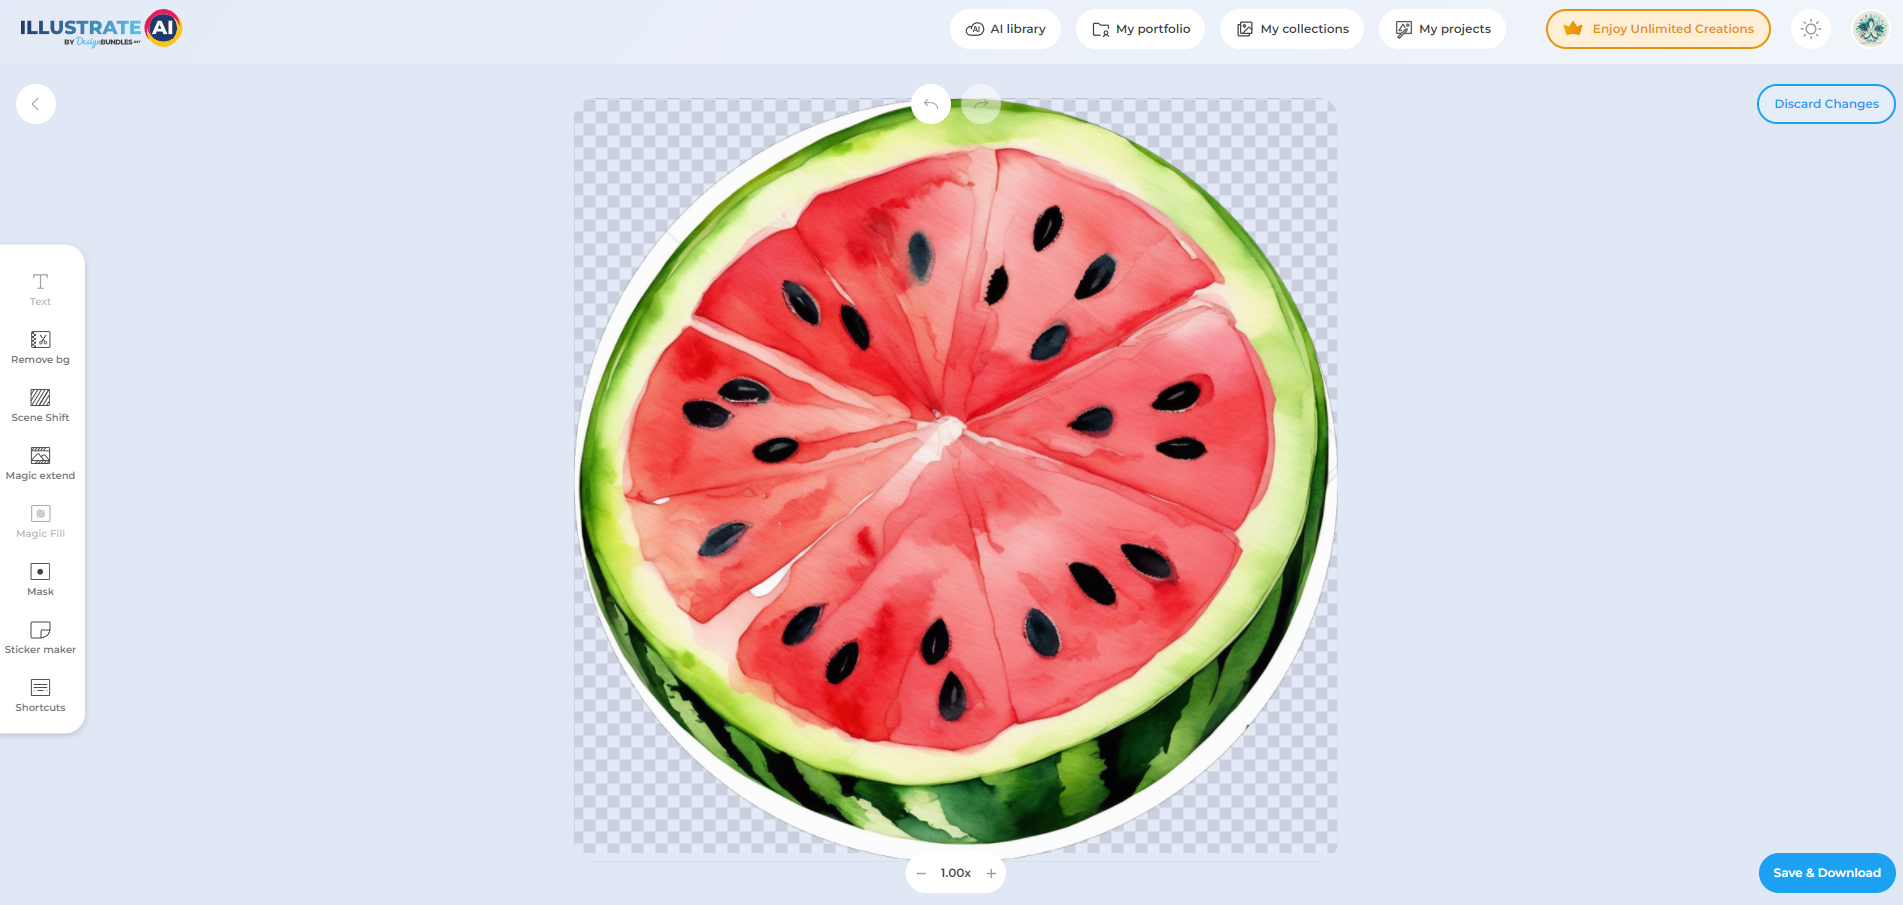
Step 4: Preview and Save Your Coaster Design
After fine-tuning your design to perfection, save your work. You'll have the option to download it in multiple formats, but for coaster printing, a high-resolution PNG is ideal.
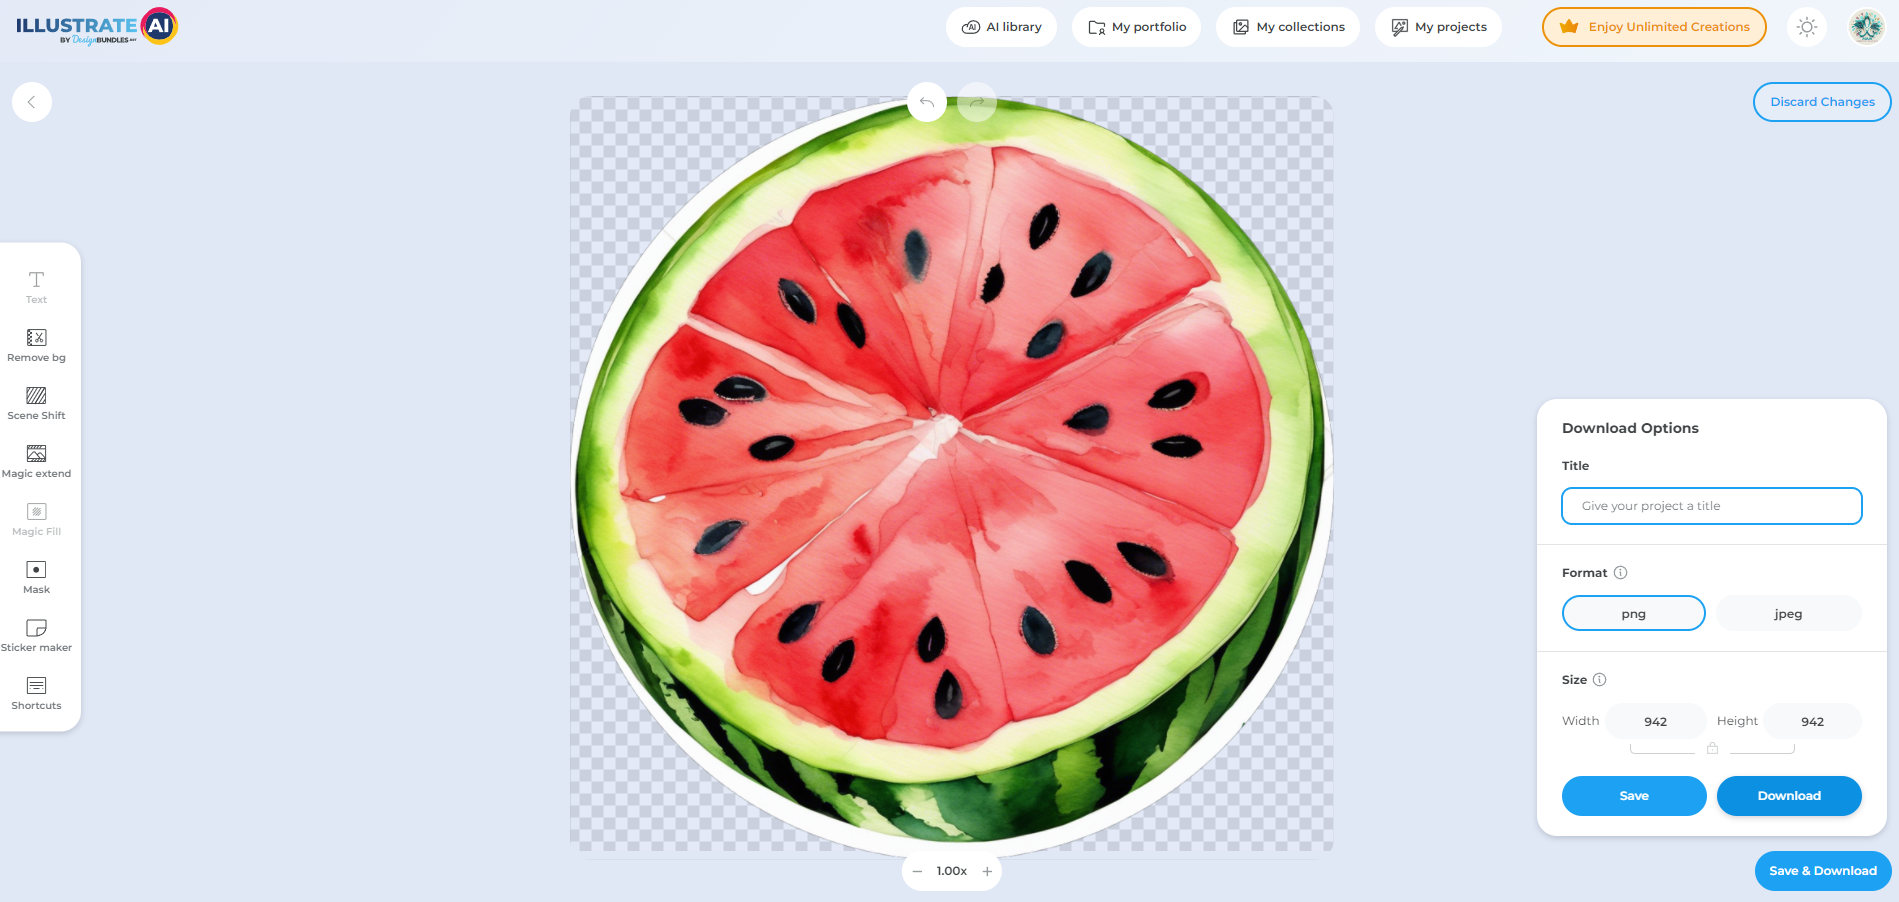
Step 5: Bringing Your Design to Life
With your design saved, it's time to bring it to life. Utilize a print-on-demand service to have your design professionally printed onto coasters, or if you're equipped, print it yourself using suitable coaster crafting materials.
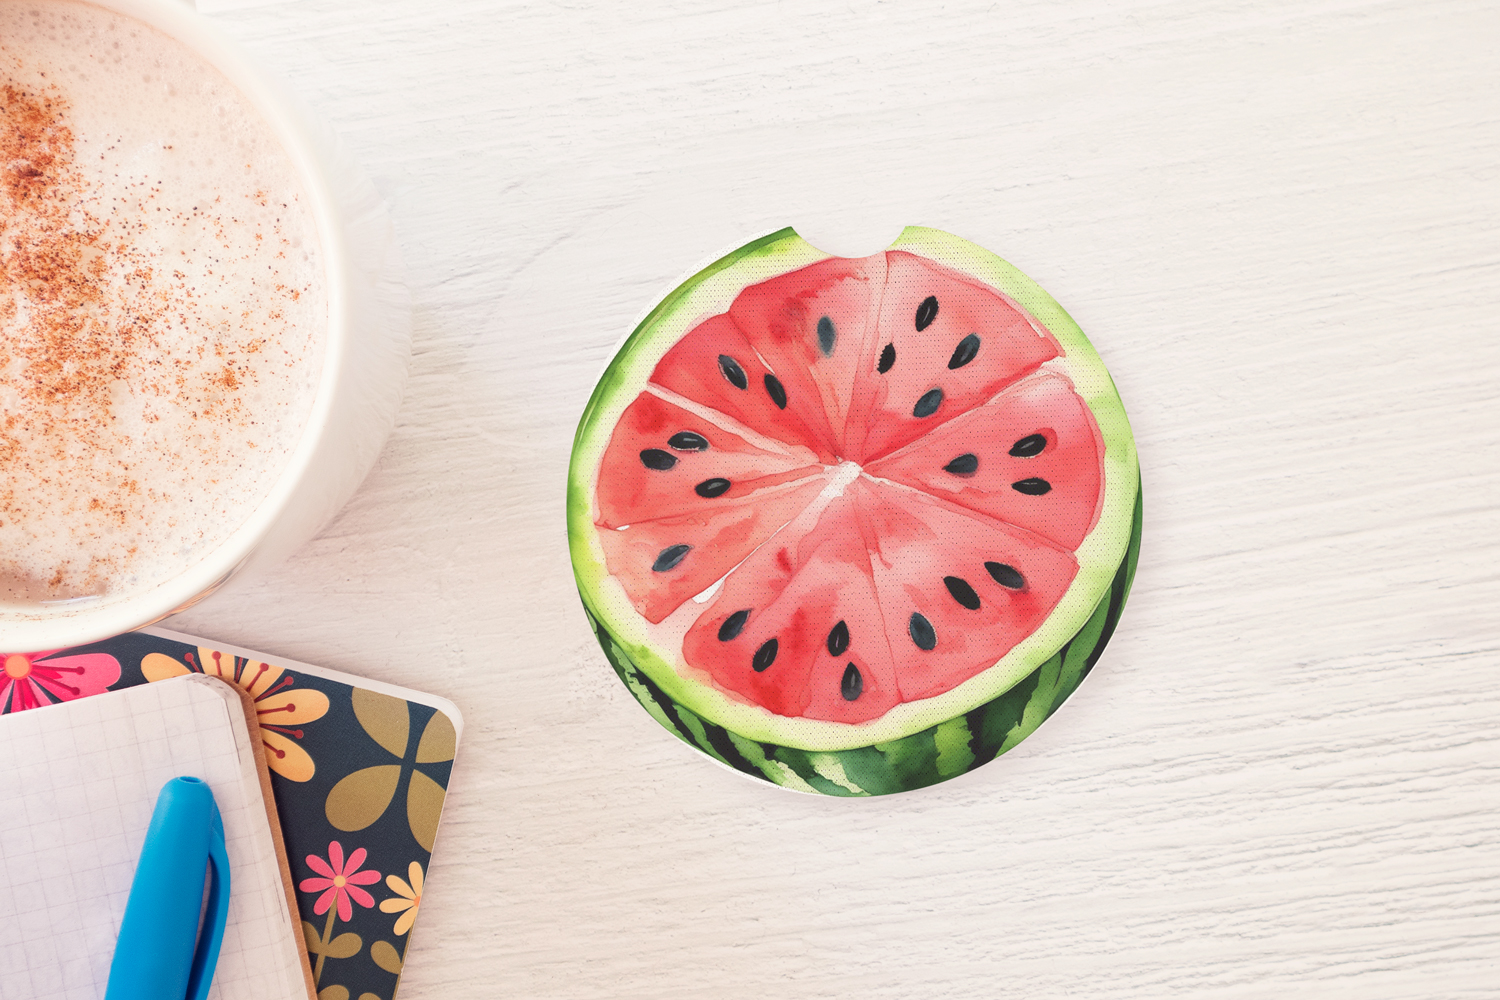
Congratulations! You've successfully created a unique coaster design with "Illustrate AI". This tutorial was crafted to guide you through each step, ensuring the process is both accessible and enjoyable. Now, it's time to display your coasters proudly or give them as thoughtful gifts. The possibilities are endless, so continue exploring and creating with "Illustrate AI". Happy designing!


