Posted 13th March 2018 •
By Design Bundles
Here's the second part of my concrete vase experiment.If you already read part 1 you'll remember that I said concrete and cement aren't the same products.
The bagged concrete mix has little rocks and pebbles and is a rougher texture.Bagged cement is the smooth flour-like powder, which is what I preferred working with to make my vases.
I also used a silicone mold for this project vs making myown in the previous tutorial.I did research buying molds designed for making cement planters/vases but they are expensive!
I was shocked that a small 3" vase mold costs about $80.If you plan on selling them, it might be worth the investment.
I came up with a different solution and since I'm no stranger to the baking section of the craft stores I know where to buy affordable silicone molds!
The Supply List:
Ok, let's get started!Since we're using a mold we can just jump into mixingup the cement.I still followed the basic 4 parts of mix to 1 part of waterratio.

I bought the quick set up version because I'm impatient!haha
I made it about the thickness of cake batter again.You do have to work quickly with this mix because you can feel it start to harden up.I just added a tiny bit of water when it did that.

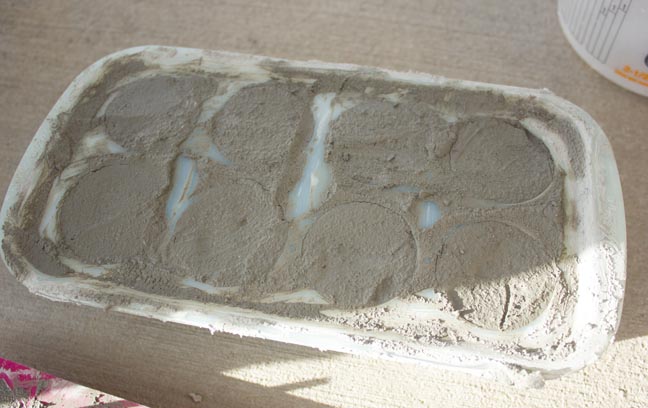
Pull out the mold and start filling it in with the cement mix.Tap it down on the ground as you go to help get rid of the bubbles and get thecement all the way in the mold.

Once it's all filled up try to level off the top as best you can.I also tried to clean up any excess mix on the edges.

Now the waiting part again!It technically is set up in about an hour but I left it overnight so I didn't accidentally break them.
While we wait we can design a cute stencil to paint on the vase to make it a fun decorative object.
I'm using a Bird Silhouette from the Crafters Delight Bundle Volume 3.

What's great about this file is they are SVG, so they already have the cut lines!!!No tracing involved.
Since my vases are tiny I'll need to resize it much smaller.

I made mine fit into a 1.5" x 2" space.

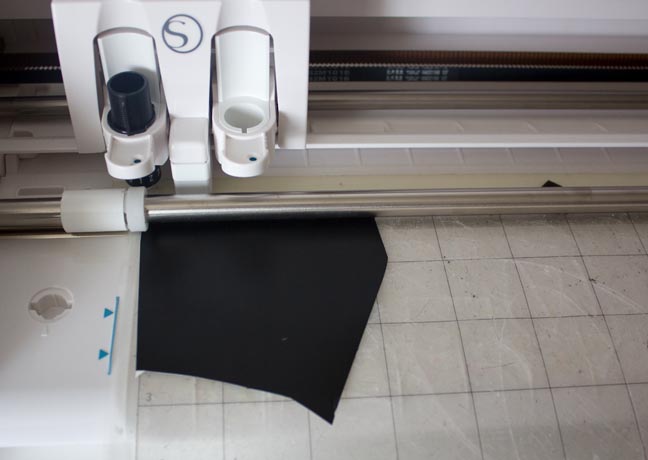
Send it to be cut, see the cut lines are already there!!

The machine works it's magic pretty quickly since it's a tiny cut.I used a scrap piece of vinyl.

Now let's head back over to the cement mold.I let them dry overnight.

They popped right out of the mold without any trouble!!You can see mine have a few air bubbles but it's just added character!!These are handmade after all and perfection is totally overrated.:)

We're ready to add the décor to make these really special!Weed out the bird portion so you have a vinyl stencil.

Because this is such a tiny cut and doesn't have any unattached portions I didn't bother using transfer tape.I simply attached it tothe vase like a sticker.

Dab some paint onto the vase in your choice of color.I didn't load the brush with a ton of paint to help avoid it bleeding.

It traced perfectly!!

I didn't like the bird just floating all alone so I took the brush and dabbed paint all along the bottom edge too.I also made a few others with an ombre paint effect.
Add some floral foam and faux stems to create a really cute decoration.
I also left one empty to use as a pencil cup.

These would make great favors for a wedding or shower!! Super affordable too.

These are seriously easy to make!!
Don't be afraid to work with different materials!!Cement isn't as scary as it sounds.Just have an outdoor space where you can get messy, save those Amazon boxes as a drop cloth.


