
It's officially December and time to get our homes looking festive! Want to make a fun sign to light up the night?
It's my own fun twist on a string art sign, only you use battery-powered lights instead of the string.
The Christmas Craft Bundle has some great hand-lettered sayings. So I wanted to use one of them for this project.
The Supplies Needed:
First, design the hand-lettered quote in Silhouette Studio so you can cut the heat transfer vinyl. Open the file by using the merge tool.

I printed the design on regular paper to find out what size I wanted the final quote to be.

The lettering is a bit too thin to successfully cut out on the heat transfer vinyl. Once I printed it I was able to see that the original thickness would be hard to work with.

There is an easy fix though! You can use the offset tool to thicken it up a little bit.

You can delete or move the original quote off to the side. Group the newly offset design together so you can move it around as needed while keeping it intact.

If you are planning on cutting it out of regular vinyl you can go ahead and cut the design out now. Since I'm using heat transfer vinyl I need to mirror the design.

Once it's cut, weed away the extra material and set it aside.

Arrange it on the wood sign where you want it to be.

I used my heat press to attach the heat transfer vinyl to the wood. I ended up doing it twice since the woods a little uneven.
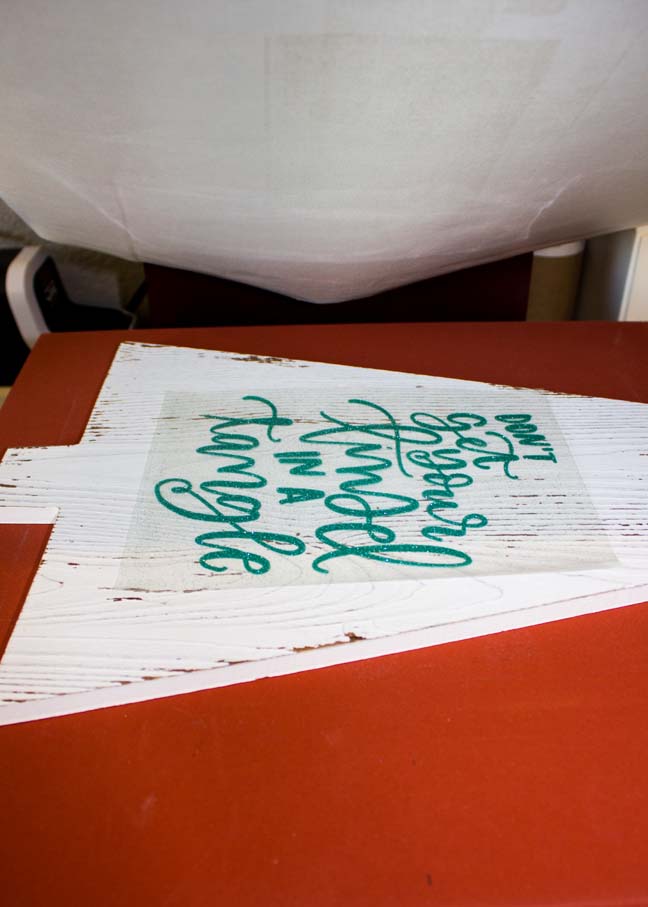
Peel away the plastic carrier sheet per the instructions for the product you're using, this glitter is a warm peel.

It's time to break out the hammer and nails now! I followed along the edge of the tree moving in about 1/2" and kinda zig-zagged.

I apologize that the nails are hard to see in the photo, I didn't want them to stand out on the project. I widened the spacing of the zig-zag as the tree got wider too.

Start wrapping the battery operated lights around the nails. I even wound the wire so it was twisted where it wasn't attached to the nails. I wanted the "tangled" look.

Continue twisting the lights all the way down the sign. I kept it simple over the quote portion so the sign was easier to read.

Attach the battery box to the back of the sign, I used foam tape since it's a strong grip product.

I also taped the wires on the back with regular clear tape to keep it neat.

Your new festive sign is all ready!!

Happy Holiday crafting everyone!

DTF vs Sublimation Printing: Which Is Better for Your Craft Business

Beginner Cricut Project: How to Make a Paper Cut Gift Tag with Cricut
