
Winter brings us so many wonderful holidays to celebrate with our loved ones and a fresh start with a new year.
It also brings the cold and flu season which usually hits during those same holidays, every. single. year!
Unfortunately, this post was inspired by real-life events in our home! We have two toddlers and one is in preschool so we've been super lucky to catch EVERYTHING this year.
After sending my husband to the store a few times late at night (he luckily was spared this year), it dawned on me that I should probably stock the essential food items for when you're not feeling your best.
I'm just going to keep ours in a spare closet for when the need strikes again! I purposely kept this food only and the type that is non-perishable for about a year.
Supplies Needed:
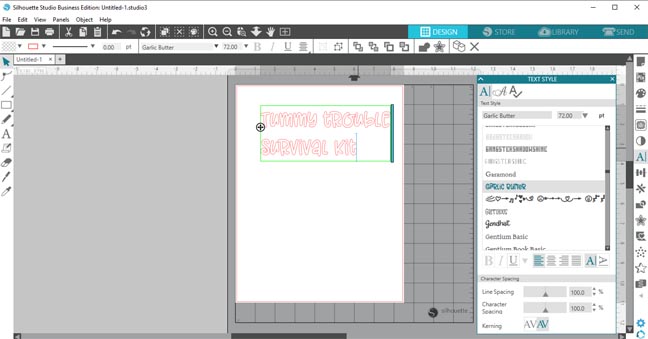
First, open Silhouette Studio, select the text tool and type out your words.
I'm using the font Garlic Butter from the new Two Font Ladies Bundle.
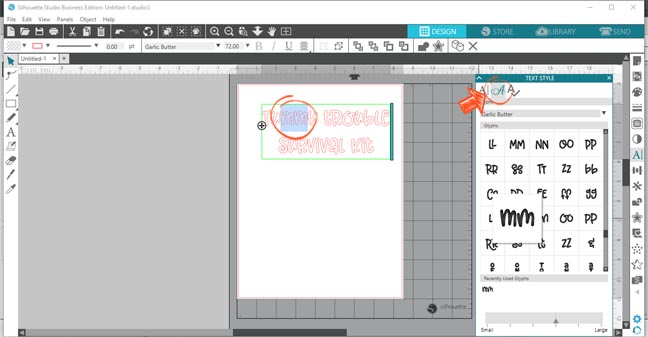
I centered the words and swapped out the regular "mm" for the special glyphs version.
Click on the script A in the text style tool and all of the options pull up.
Scroll through and find what you want and simply highlight the text you want to change. Then select the glyph and hit enter.
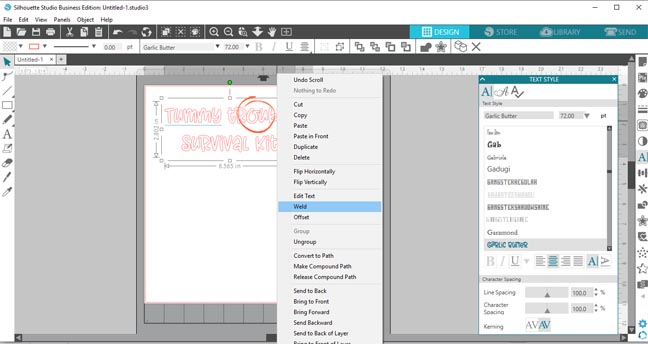
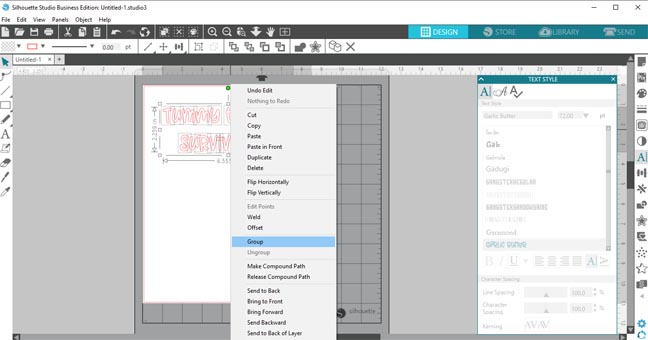
Next, you'll notice there is a slight overlap of a few letters. You'll need to weld the design to remove those extra cut lines. Simply right-click to pull up the shortcut menu.
You'll see this screen after you weld. It changes your design from being text to seeing them simply as shapes.
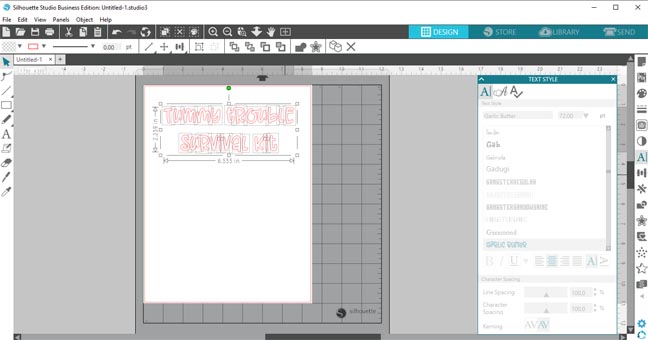
Just select everything and then group it all together to keep it as a single object.
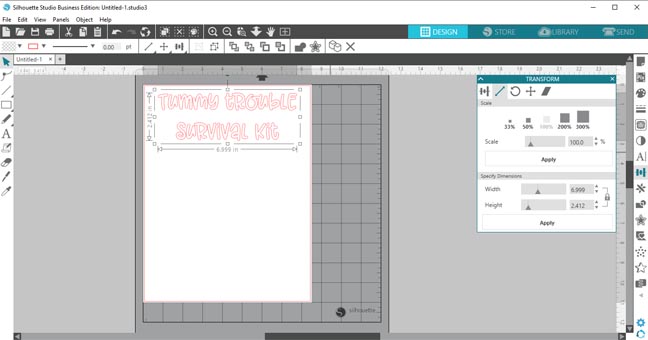
Now you can resize the words to the size you want them to be for your storage bin. The scale tool is great for making it an exact size.
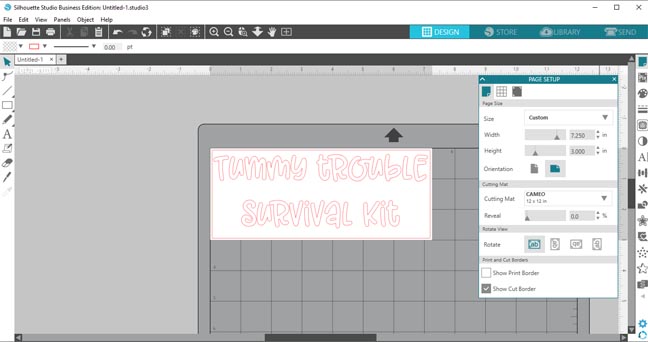
I always resize my page to match the piece of vinyl I need to cut for my project. I then cut down my vinyl before attaching it to the mat so I don't waste any accidentally.
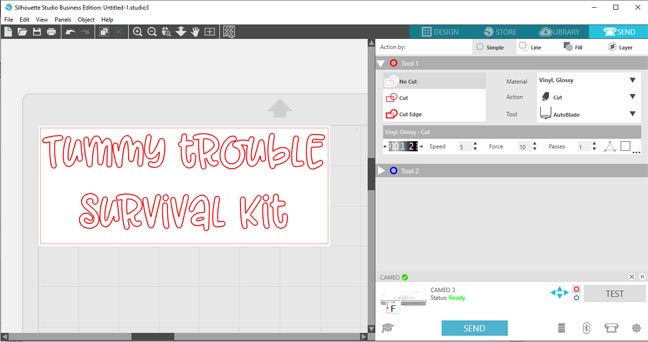
Lastly, set up your cut setting for the material you plan on using. I always recommend doing a test cut to double-check you have it correct.
I actually just flipped this design upside down so I could test cut in the top left corner after taking this screenshot.
Go ahead and attach your vinyl to your cutting mat and send it to be cut.
Weed away the excess vinyl so you only have your words.
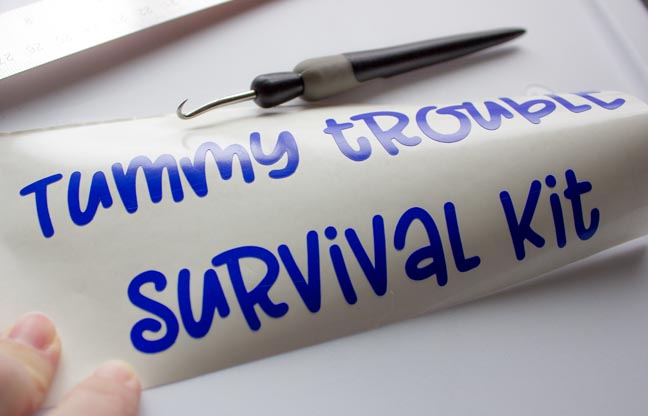
Apply your transfer tape over top of the vinyl.
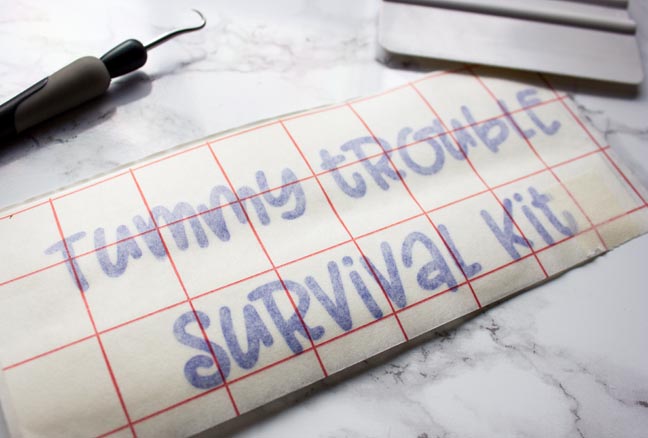
Remove the paper backing from the vinyl.
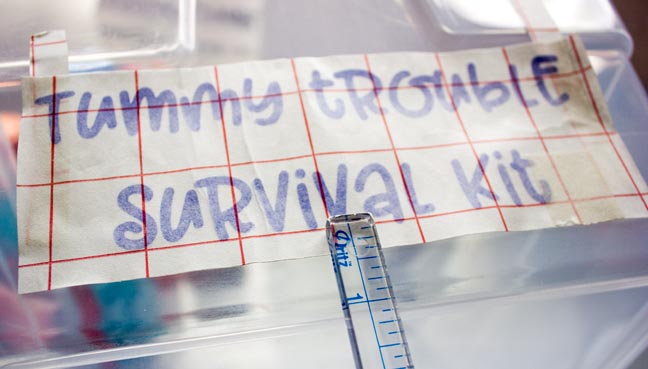
I always use a little ruler to help make sure I get the vinyl onto my surface correctly.
I used little scrap pieces of the paper tape to hold the vinyl away from the tub while I centered it.
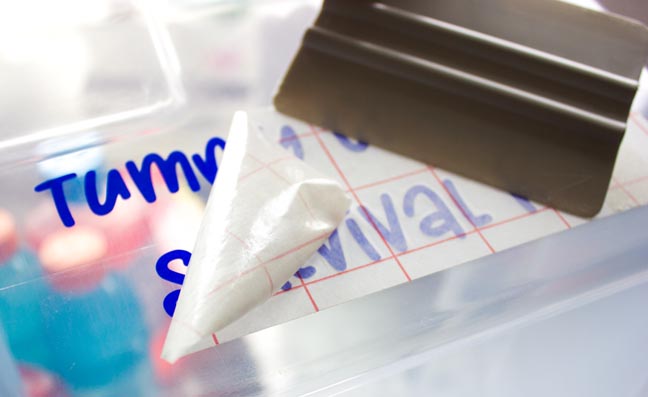
Once you've got it centered where you want it, use your scraper tool to attach the vinyl to the bin. Then slowly peel off the transfer tape.
Ta-Da! You now have a labeled bin ready to fill with your supplies.
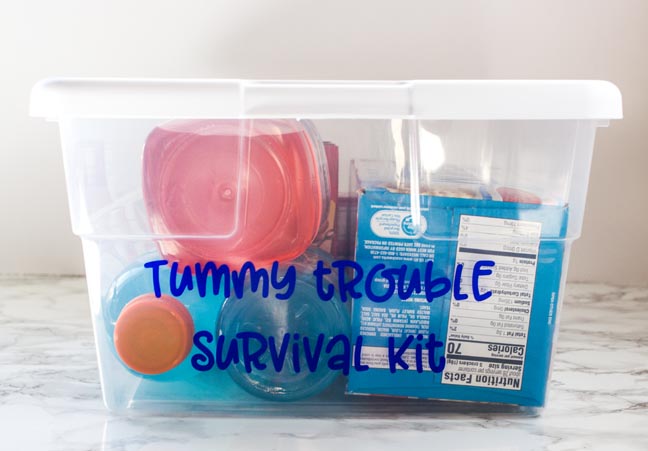
Everything I bought fit perfectly into the bin.

Attach the lid and find a safe storage spot in your home.
Now you're always prepared for when the flu strikes without having any late night trips to the grocery store. Just make sure to refill it and keep the food inside fresh.
I'm hoping that this doesn't need to be used any time in your future though! Stay healthy my friends!!


DTF vs Sublimation Printing: Which Is Better for Your Craft Business

Beginner Cricut Project: How to Make a Paper Cut Gift Tag with Cricut
