
Washi tape...one of everyone's favorite crafting supplies. I don't know about you but I tend to collect it and then don't want to use it because if I use it all up I'll be sad. Logical...no, but that's how the crafter's mind works, right? Just me?
Well, guess what! I just came up with a way to make your own washi tape with a common craft supply, for people who use vinyl, so you probably have it sitting in a drawer right now. Any guesses?
Ok, I'll tell you.
It's paper transfer tape!!
I told you it's a common craft item for us vinyl crafters. I will specify you need the sheet type with the backing paper.
Ready for the tutorial? It's a simple one.
Open up your design software with a letter-sized page. I'm using a seamless paper design from the Splendid Design Bundle. This is the Heartsease pattern set.

Scale the pattern down so you have a smaller pattern to make a nice tape sized print.

Head over to the replicate tool and start replicating that pattern.
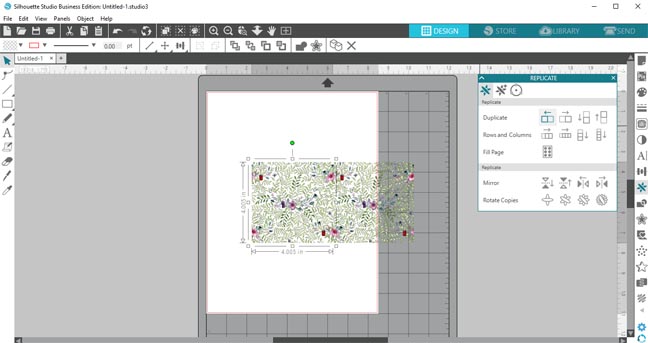
Once you have the one row filled, replicate it up.

Now replicate it down.

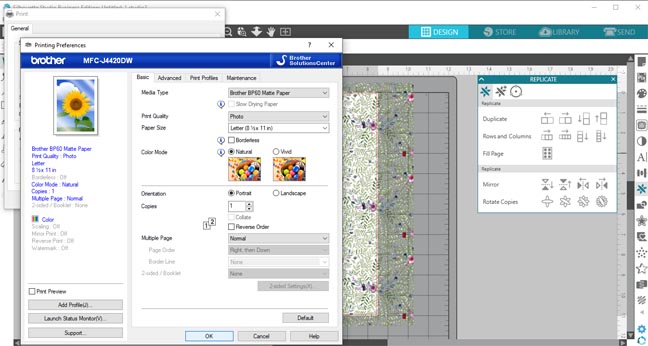
Set it up to print with your printer. Make sure to select the best print settings.
Now let's prep that paper! Since they sell it in 12"x 12" sheets you'll need to cut it down to 8.5" x 11" paper to fit your printer. I have this great paper trimmer I use pretty much every day.

As you can see my paper is curling since it's packaged in a tube usually.

Here's another tip. Take it over to your heat press and give it a quick press or you can use an iron and it will flatten like a pancake.

Now that your paper is ready, throw it in the printer and hit print!

Take it back over to your paper trimmer and cut it into thin strips.

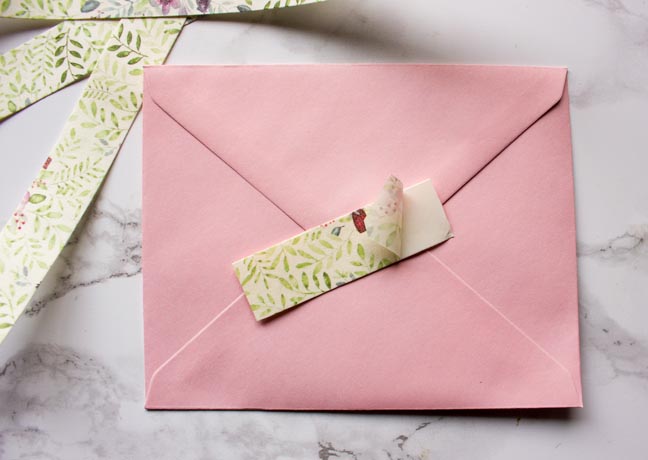
Washi tape!!!

Remember this isn't super sticky stuff, just like regular washi tape. Use it like you would any other washi, like seal a cute envelope.
Ok, let's take this up one more notch for those of you who own an electronic cutter.
Like literally, notches...why have straight lines? I found this tear strip border design in the Silhouette design store.

I'm using some Cute Llamas for this washi paper design. Scale it and mirror it to make the design long enough for the sheet of paper.
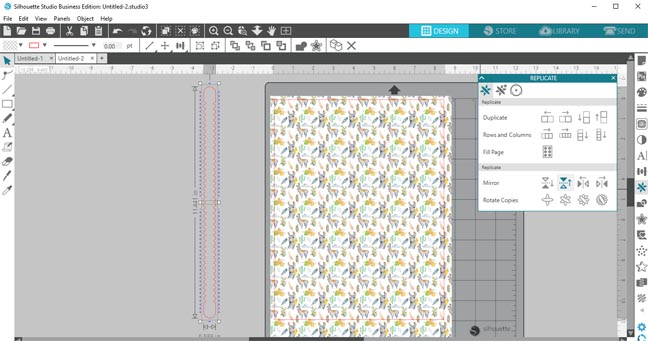
I moved the pattern off to the side so you can see where the pattern sits on the page.
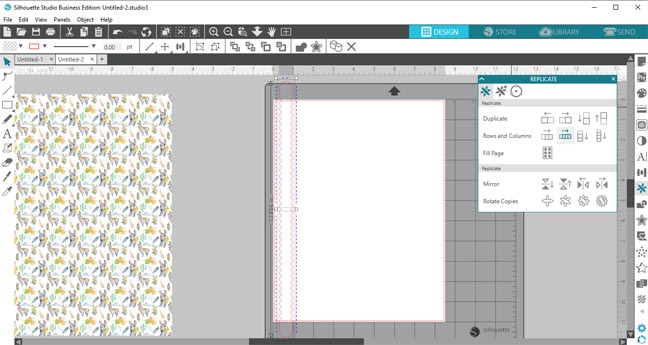
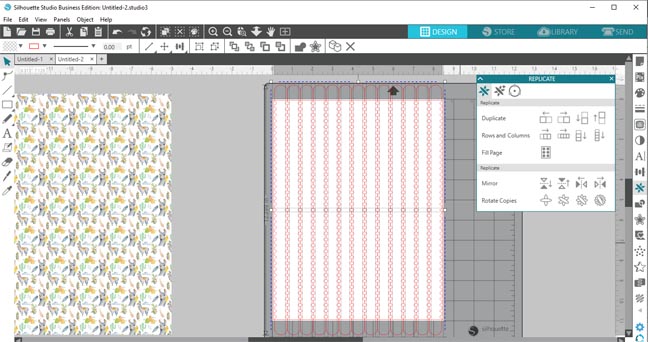
Replicate the pattern to fill the page.
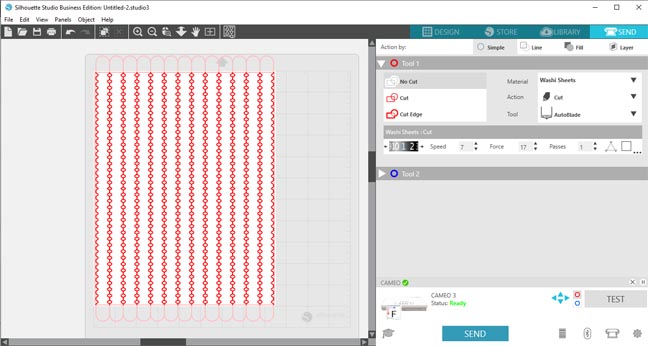
Print your paper and load it onto your cutting mat into the machine.

Send the design to be cut. There already is a washi cut setting since Silhouette sells washi paper, I did perform a test cut and these settings worked for me.(Do your own test cut though, don't waste those cute llamas)
Now, how unique is that? Fun edged washi!!

I'm already thinking of what other fun designs I want to print. Time to stock up on my paper tape supplies!!

I hope you guys are as excited about this as me! What are you going to print for yourself?

DTF vs Sublimation Printing: Which Is Better for Your Craft Business

Beginner Cricut Project: How to Make a Paper Cut Gift Tag with Cricut
