One thing you will always see fonts used for in craft are sentiments.
It can be printed, made into stickers,alphabets or stamps. Fonts are what makes a sentiment unique and will always give your greeting card the finishing touch it needs.
Sometimes no matter how hard you look, the right sentiment cannot be found. You could have the right sentiment for your card but its the wrong font.
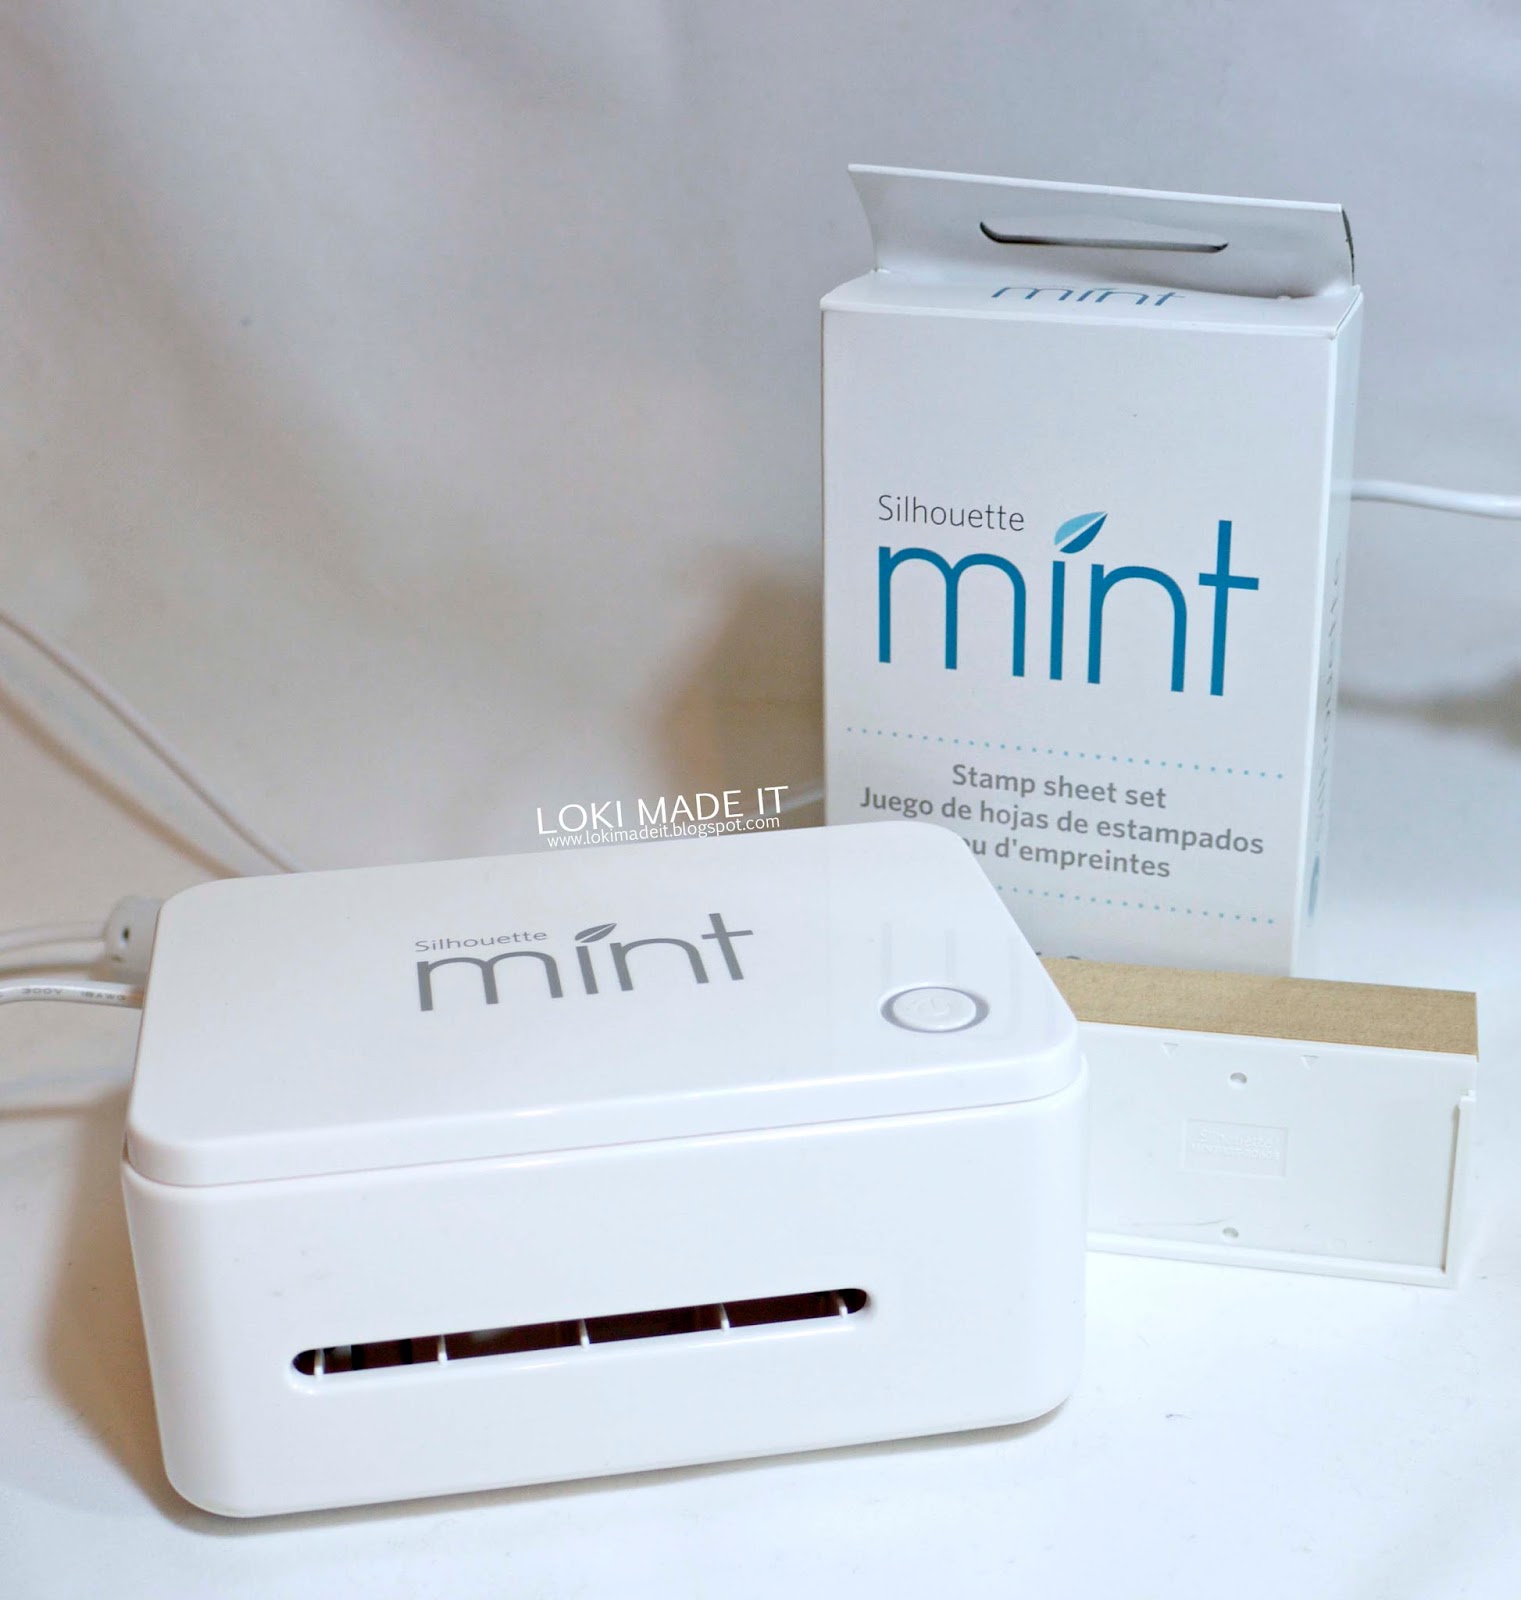
One of the latest tools on the market at the moment is the Silhouette Mint Machine.
With the Mint machine and an amazing font from places like Fontbundles.net, you can make your own personalised sentiments into stamps!
To make today's stamp you will need the following-
*Please note- If you do not have access to a Silhouette Mint Stamp machine you could design your sentiment and have a professional company produce a self inking stamp for you. Places like Vistaprint will produce stamps with your designs.*
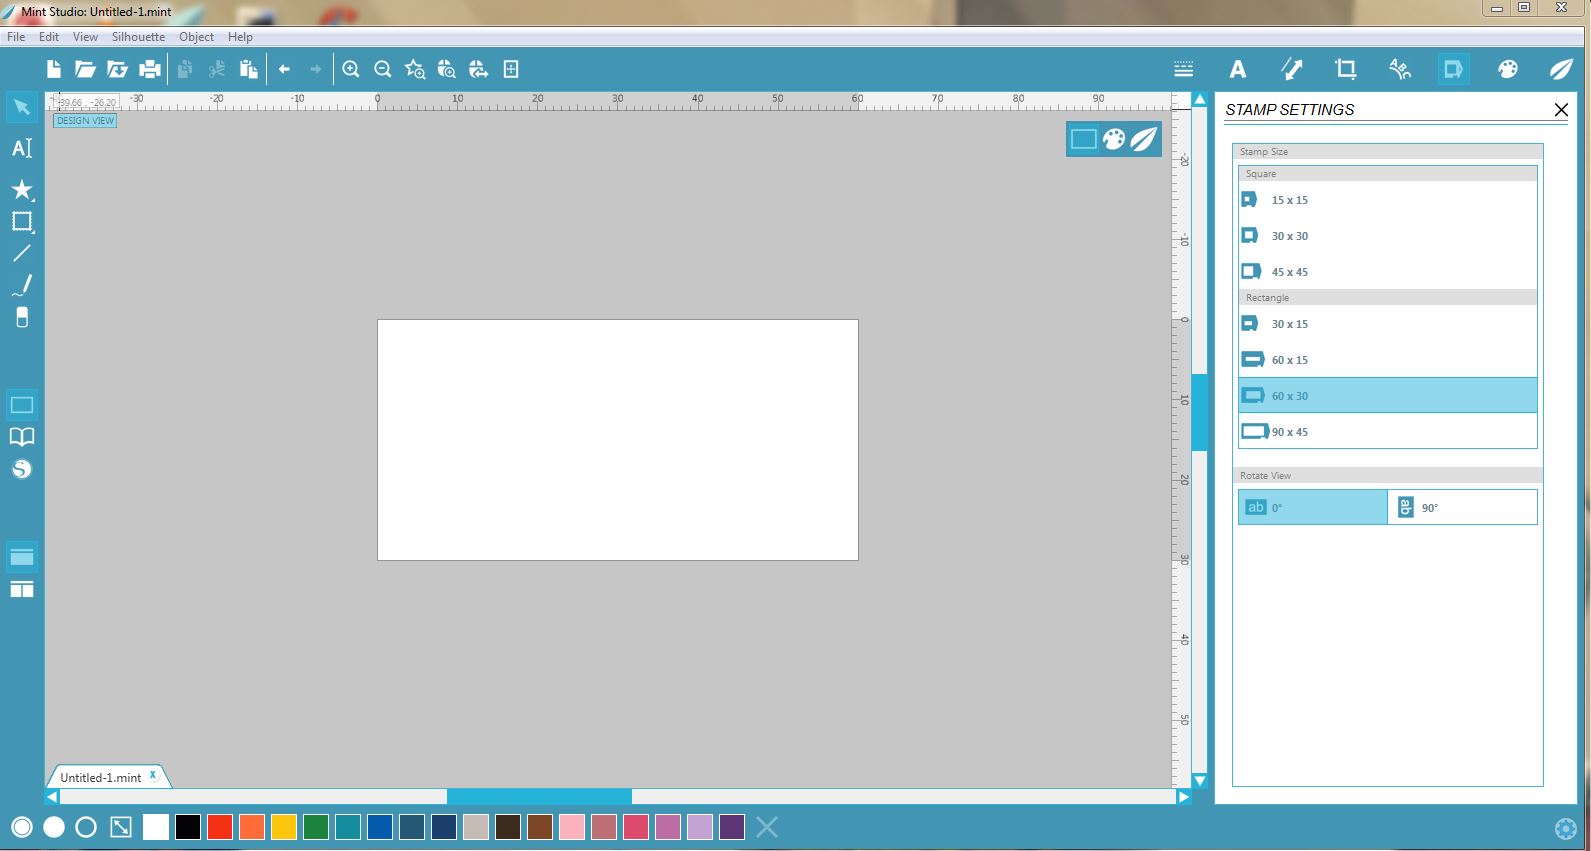
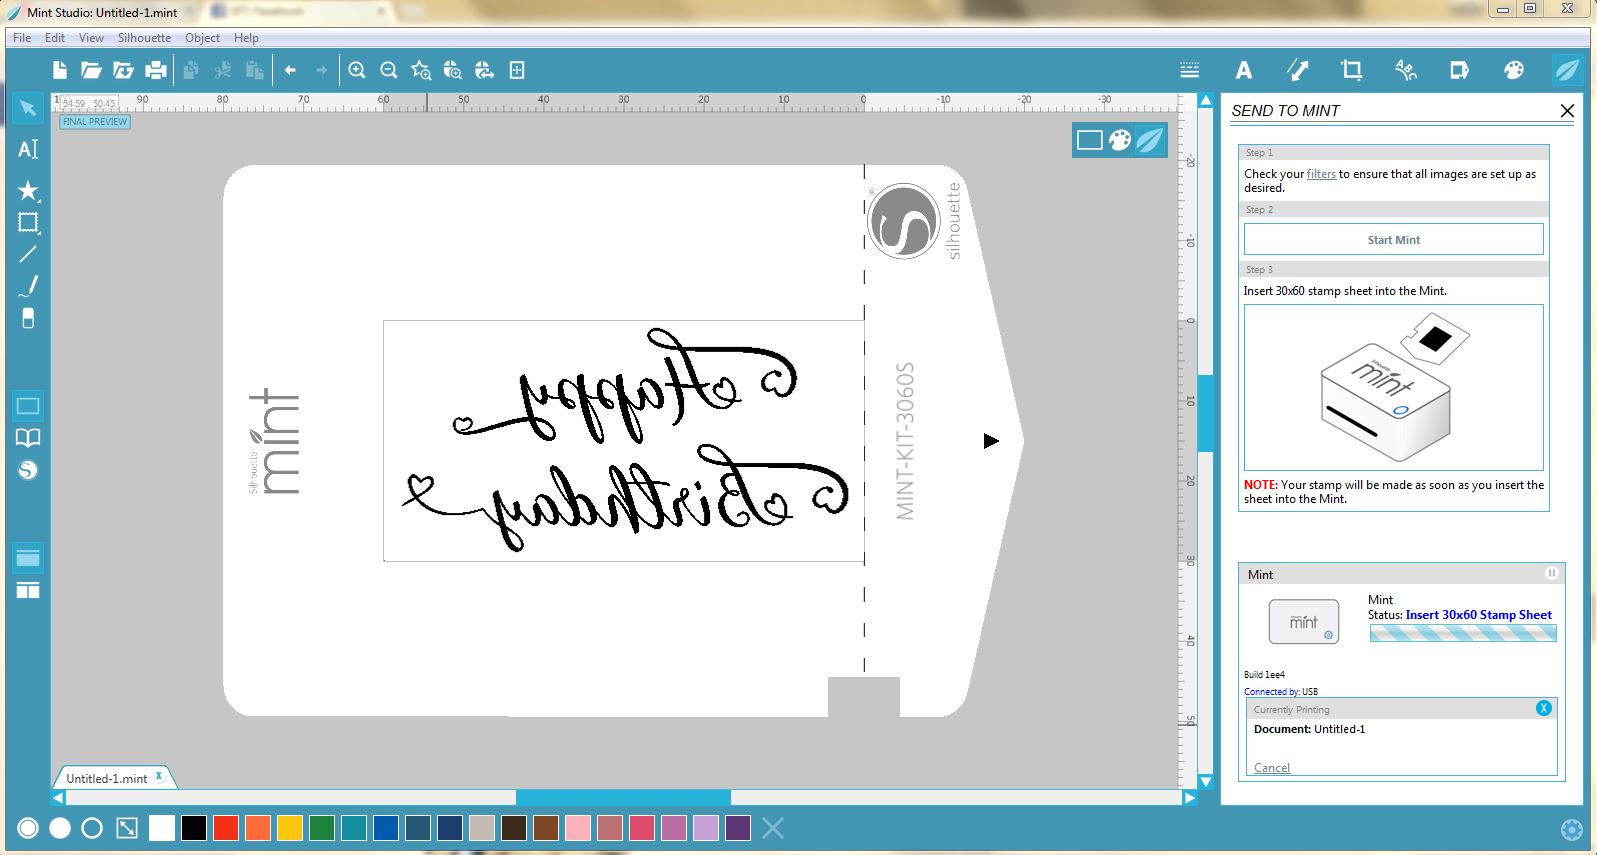
1- Turn on your Silhouette Mint software and plug in your machine. Select the size stamp you would like to make in the right column. We will using a 30 x 60 stamp set.
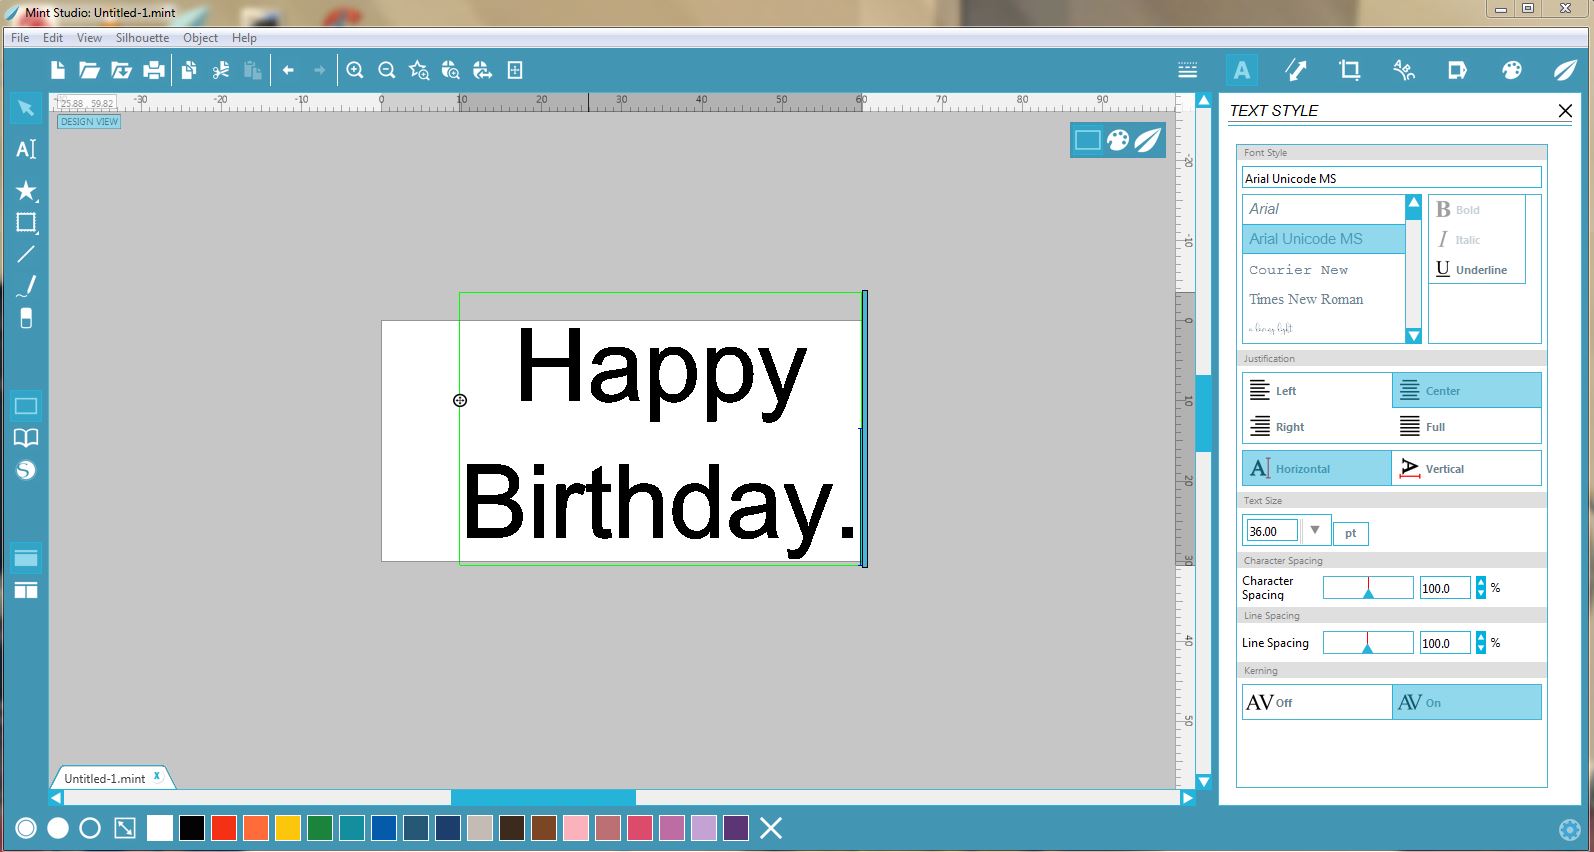
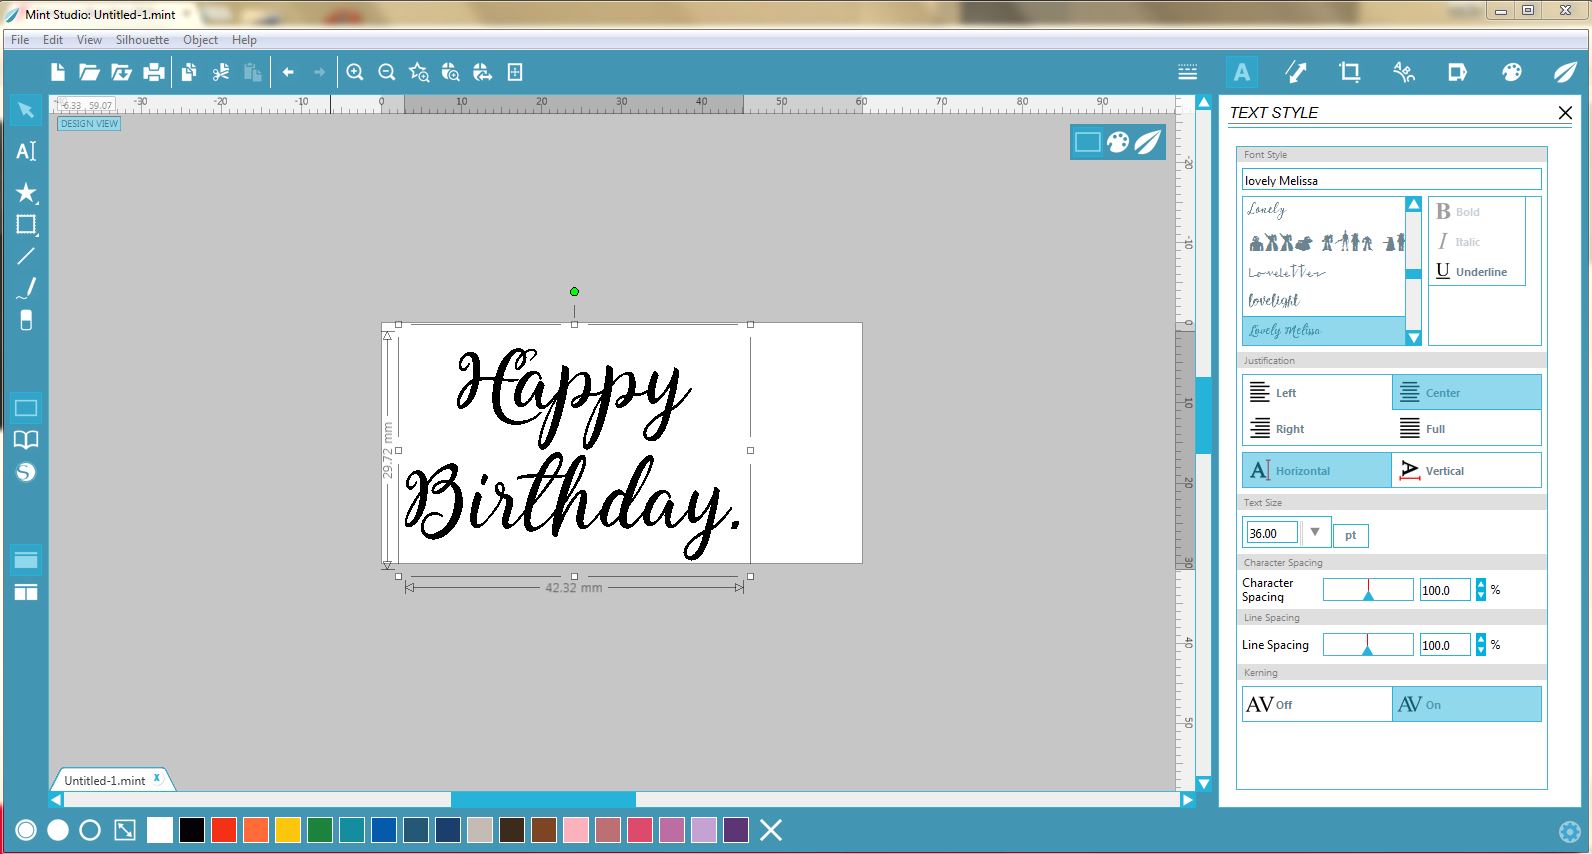
2- Type your text anywhere on your design space. Centre the sentiment.
3- Select the text and choose the font you would like to use. Today I will be using the Lovely Melissa Font.
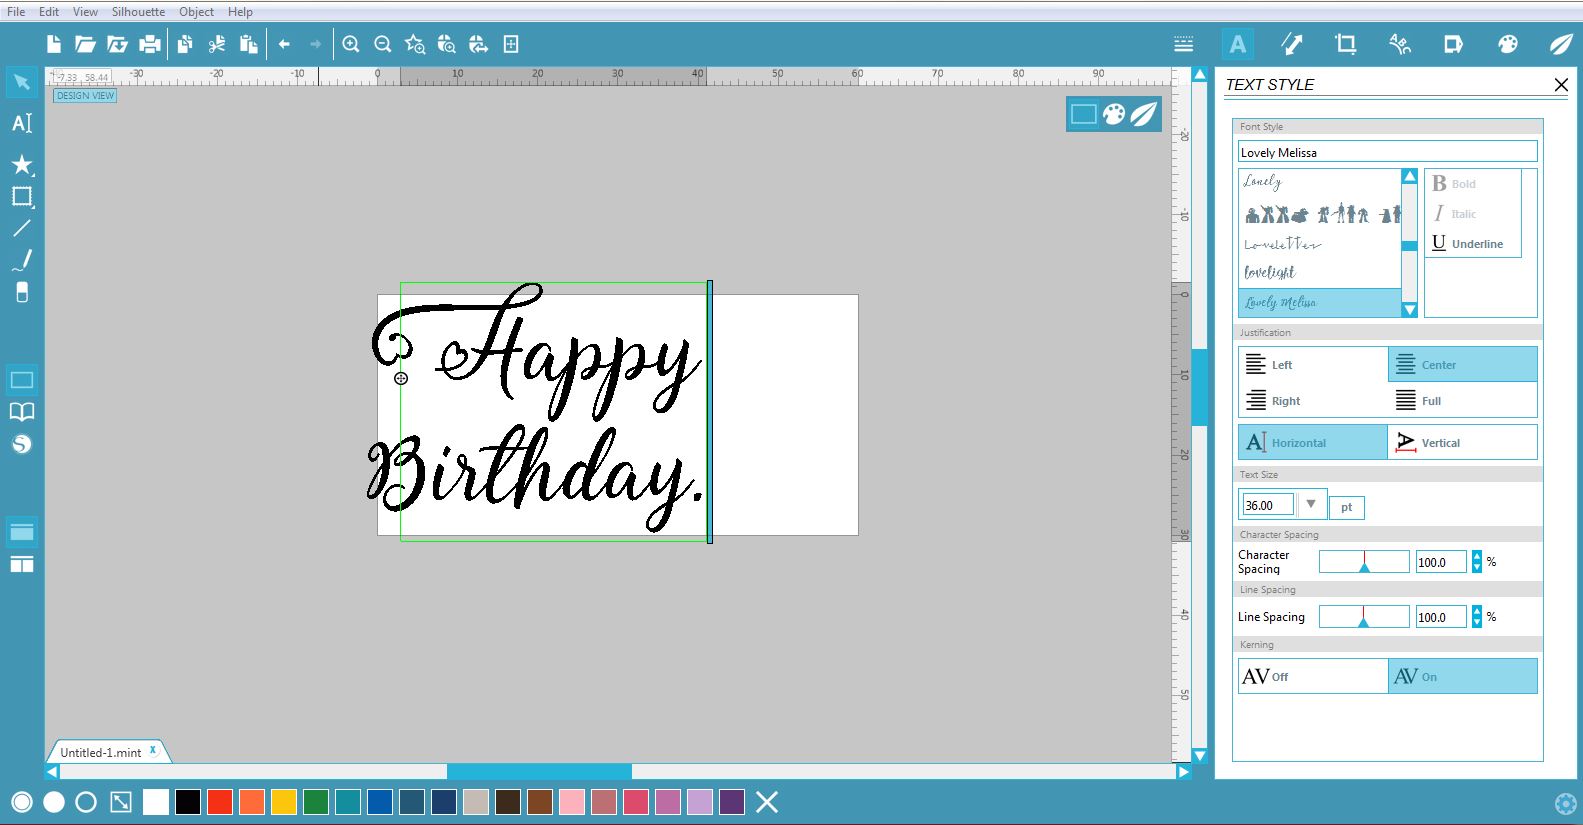
4- Once you have your font selected, we need to add the glyphs on the words. To do this we need to open up Character Maps (font book on MAC), select the font you are using.
Once selected, go to the "group by" drop down box and select " Unicode Sub range" This will open up another window. In this new window, scroll to the end and select "private use characters". This will now bring up any glyphs for the particular font you selected.
Find the Glyph you would like and click on it. Press the select button, then the copy button. this will copy the glyph for you.
5- With the glyphs I will be changing the letters H, Y, B and Y to make them look more ornate.
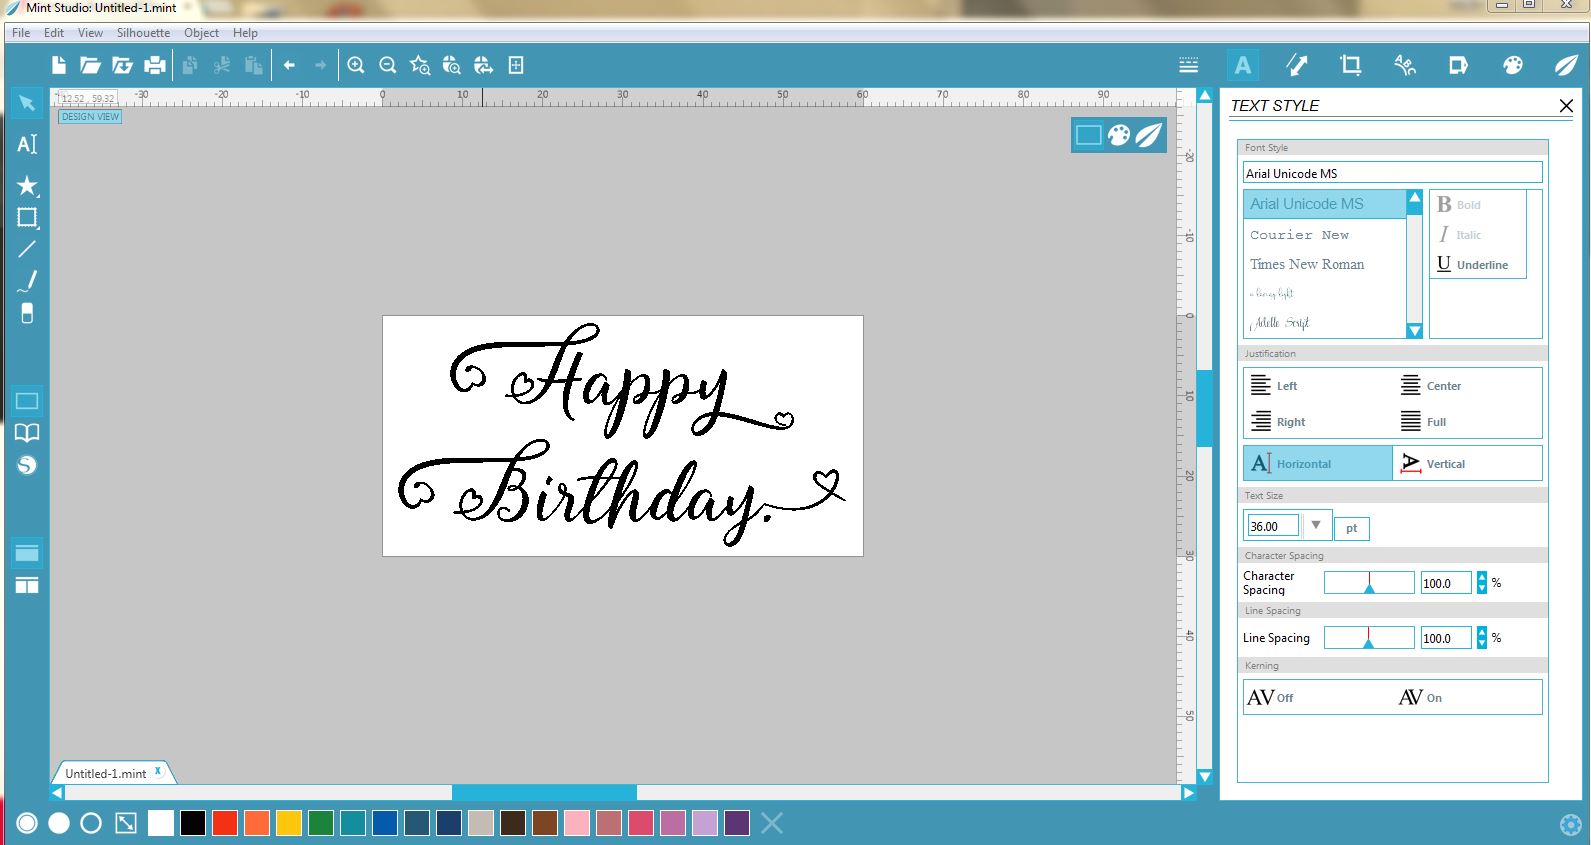
6- When all the Gylphs are in place adjust your sentiment to fit inside the design space of the stamp.
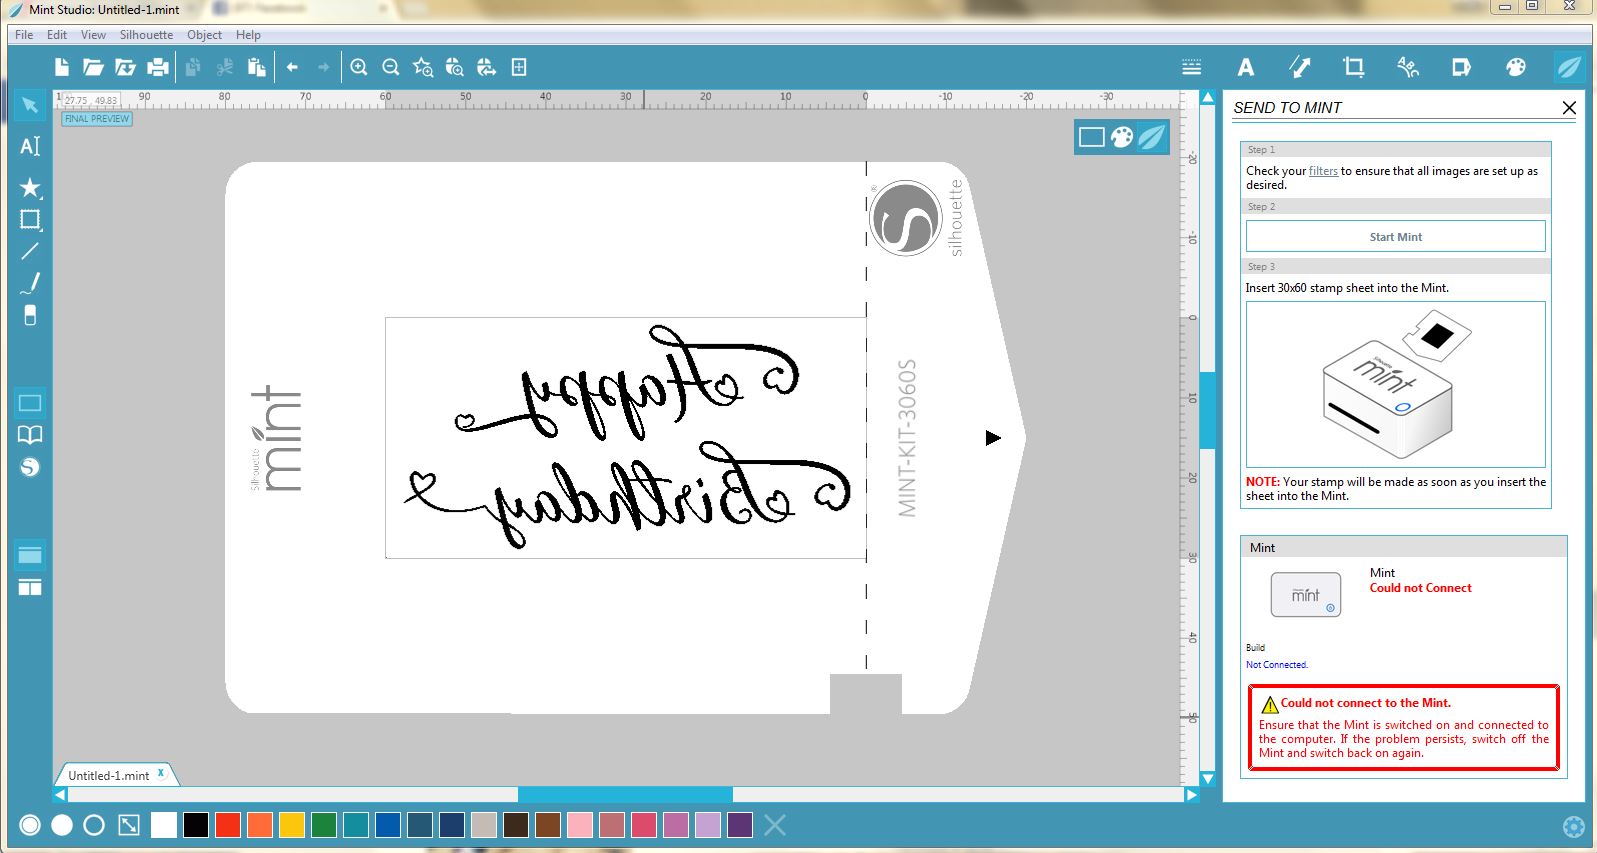
7- Once you have it in the correct position click on the mint leaf icon. This will automatically reverse your image to print and start the process to create your stamp.
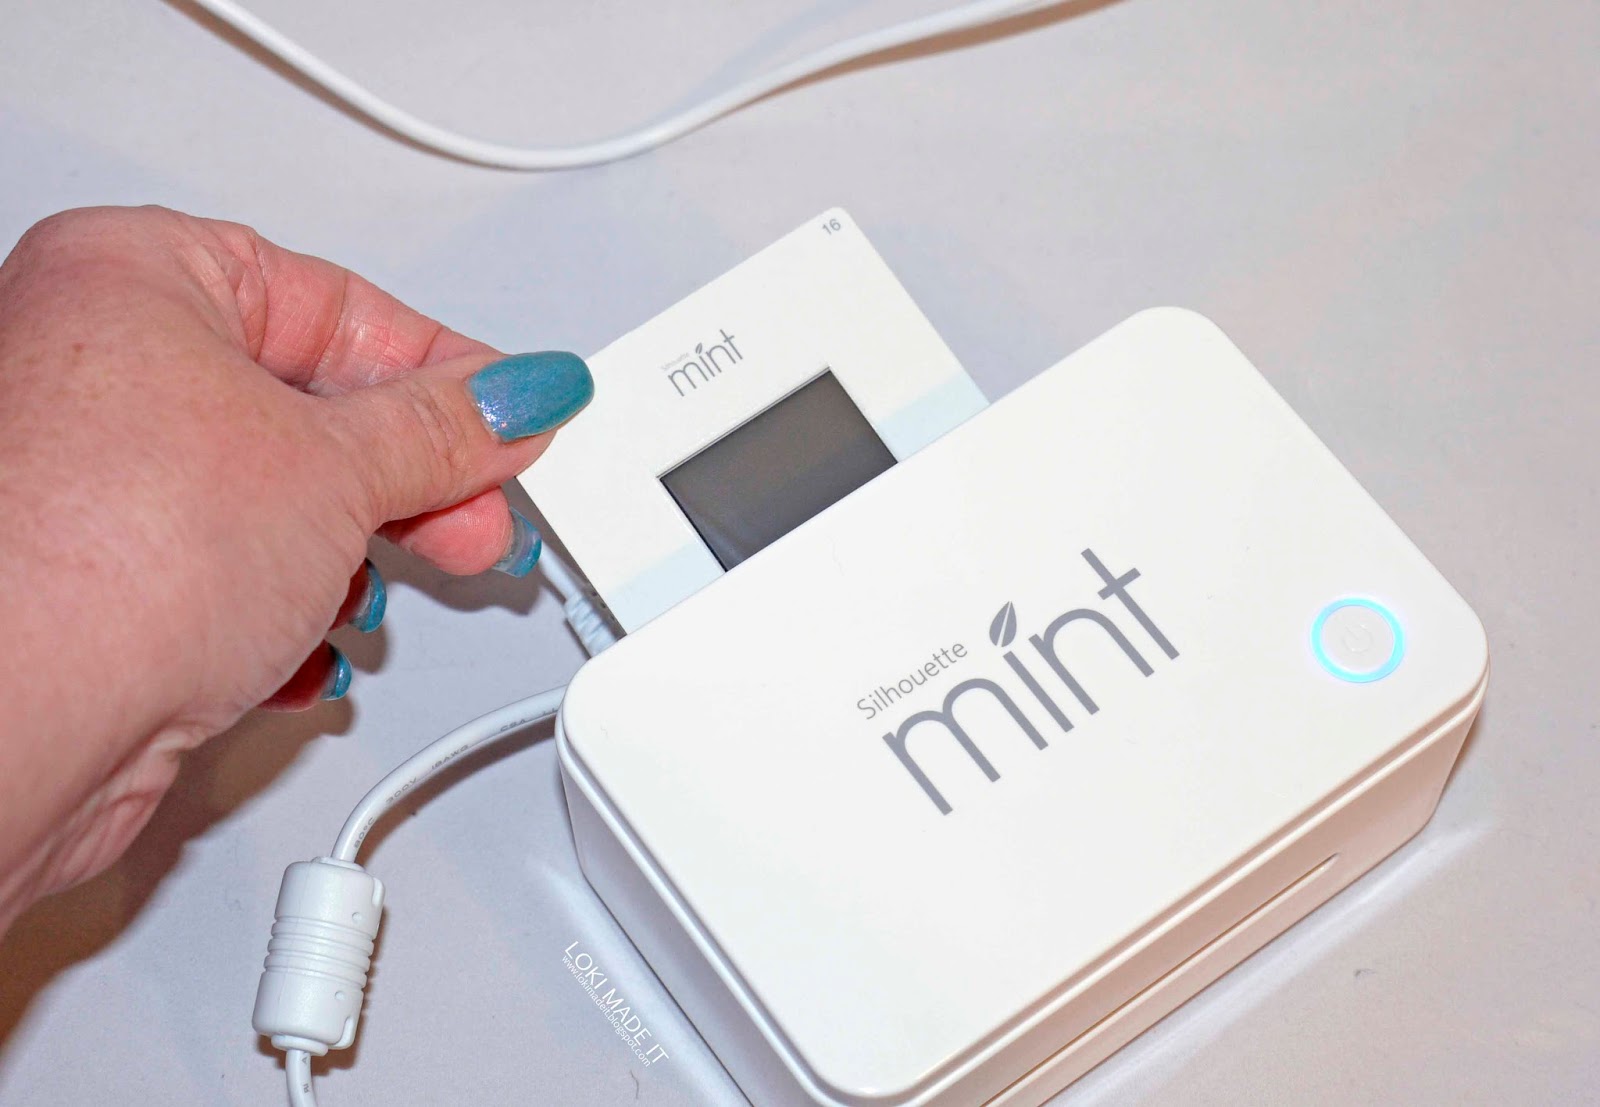
8- Turn on your Mint machine and then click the start button on screen.
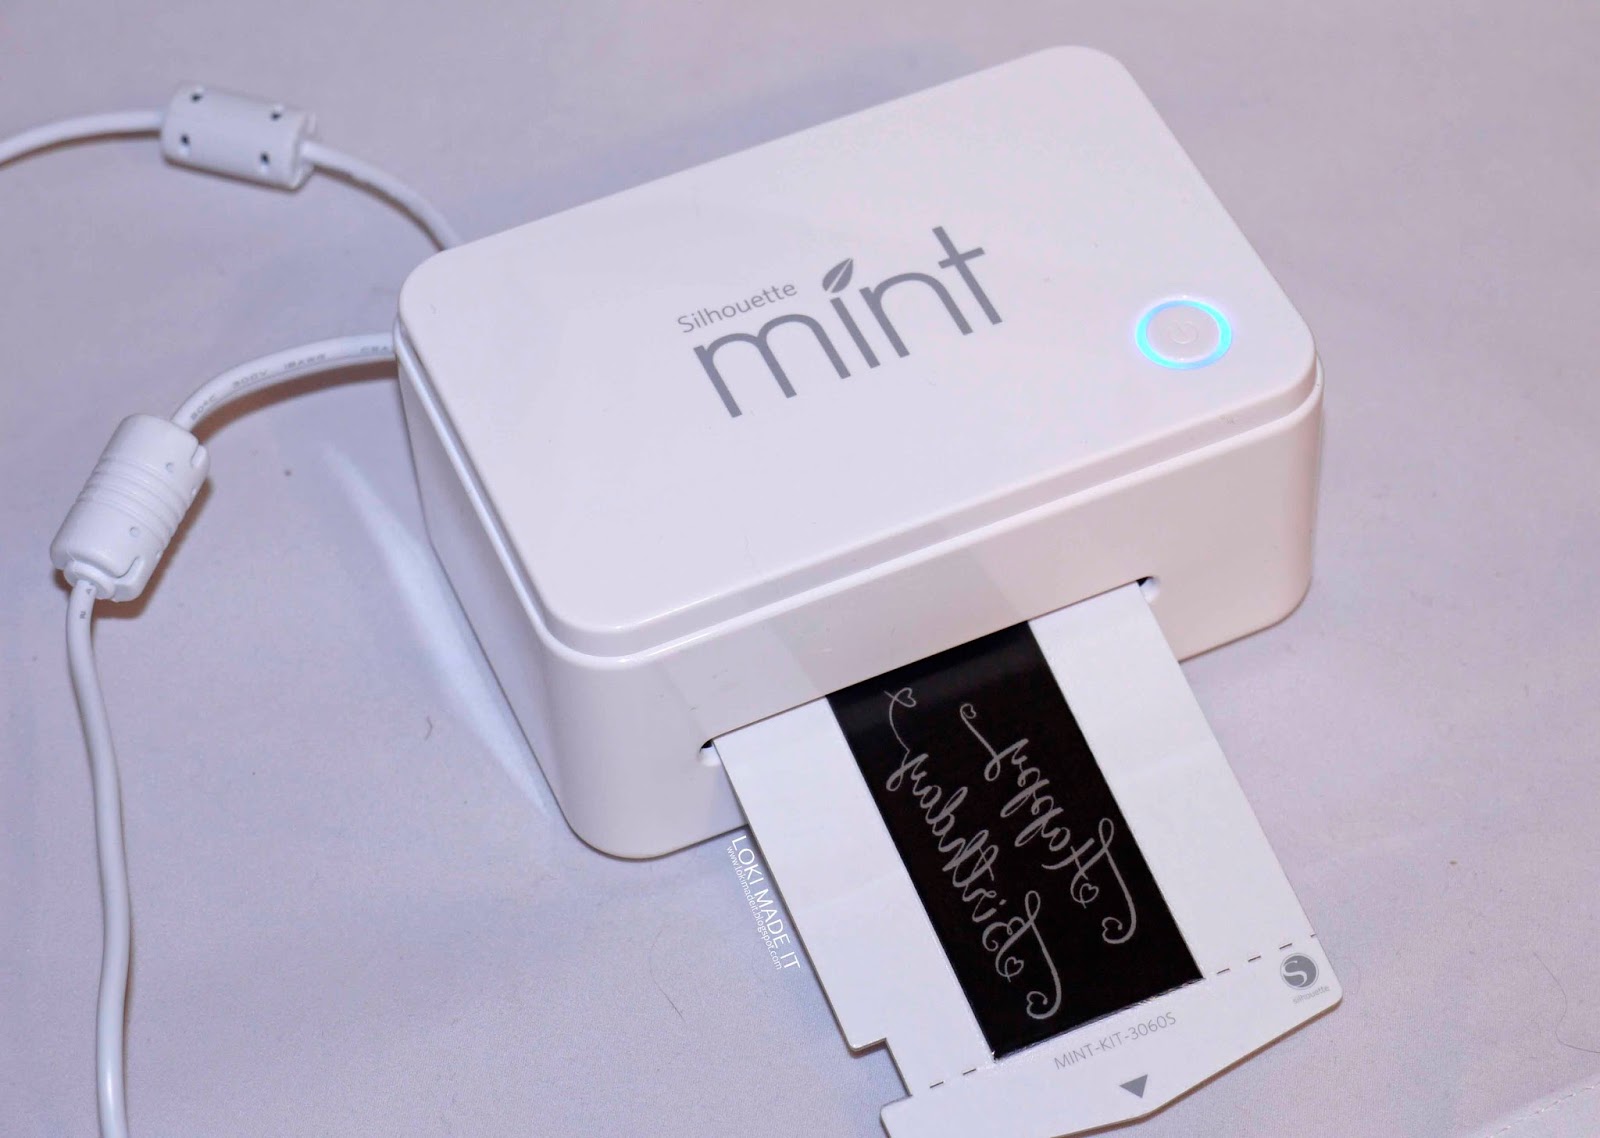
9- Follow the prompts on the software. It will ask you to insert your stamp sheet. Place in the back end of the machine and the mint will pull it through imprinting your stamp as it goes through.
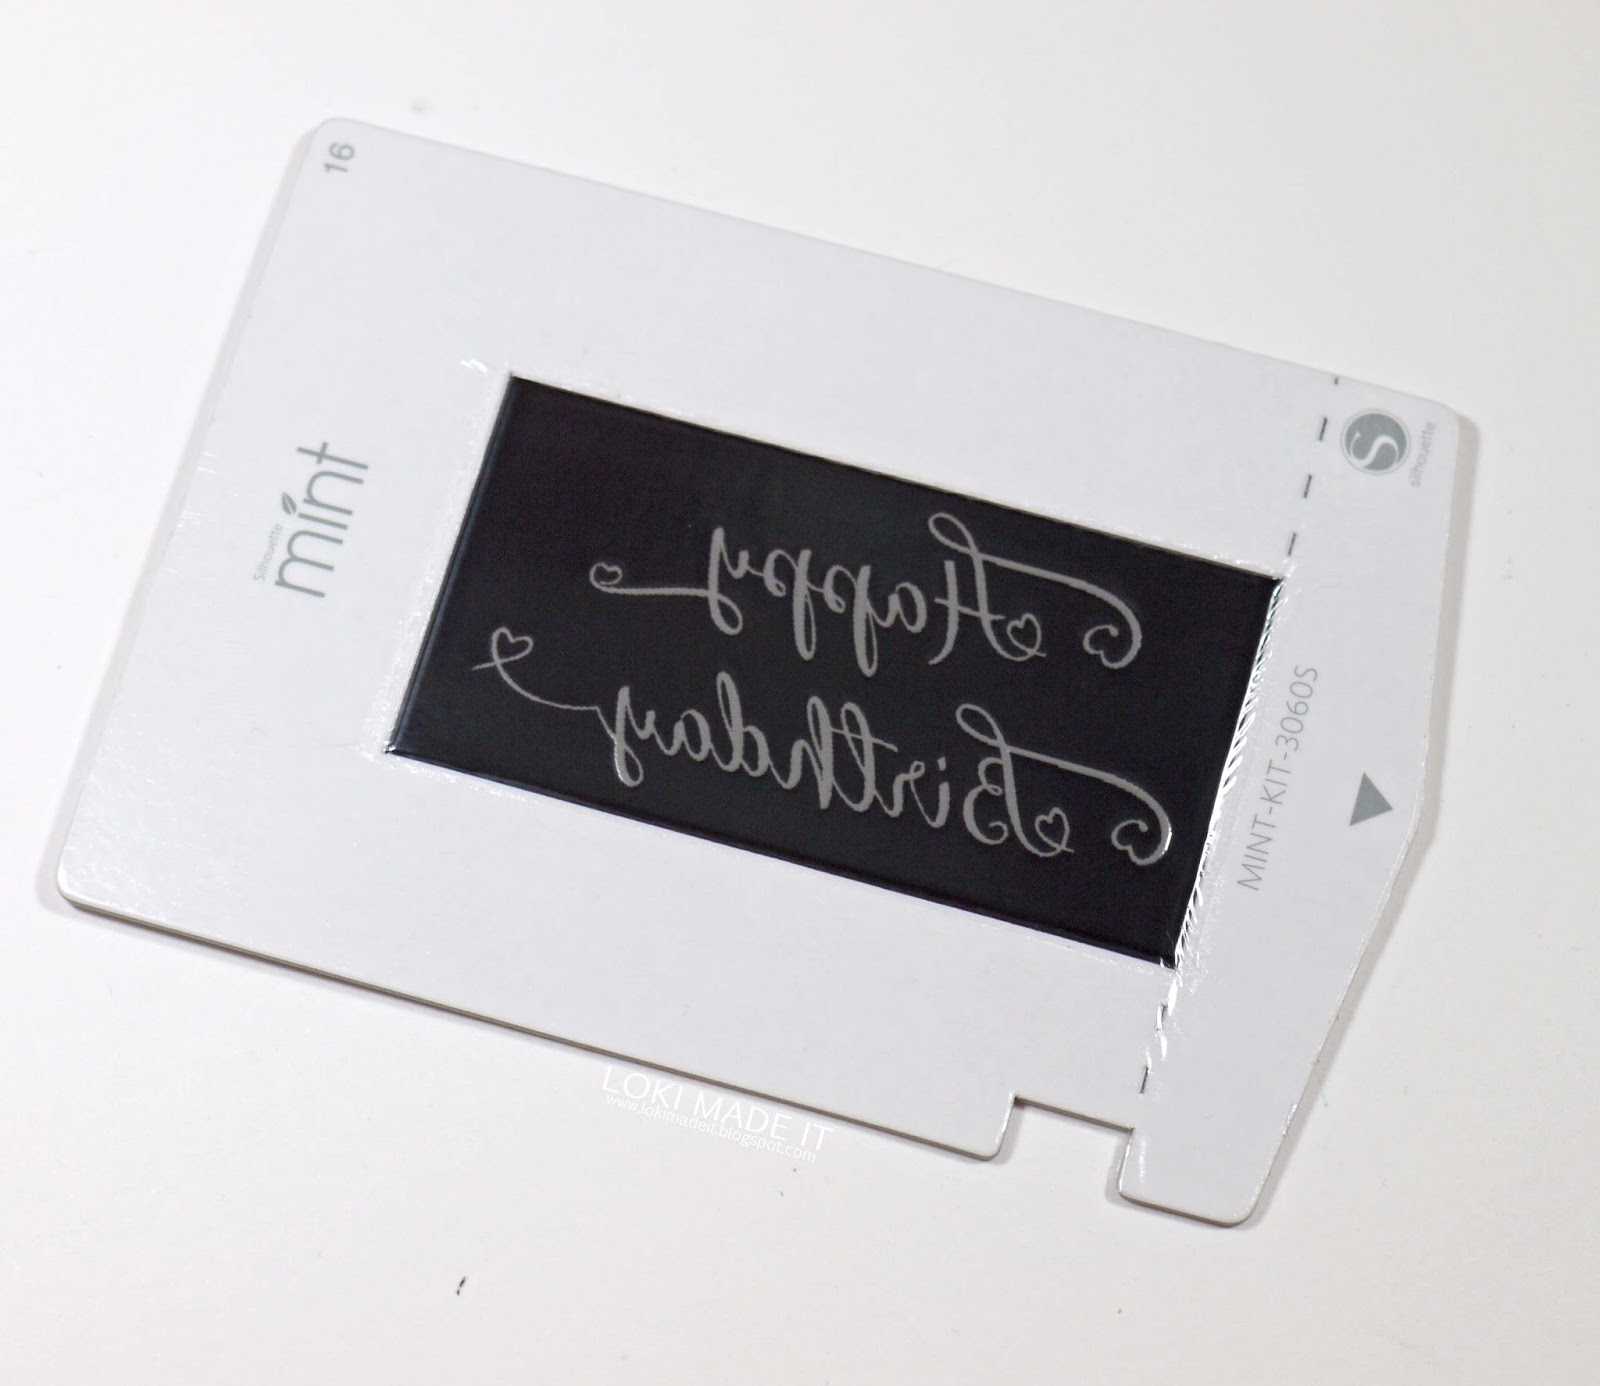
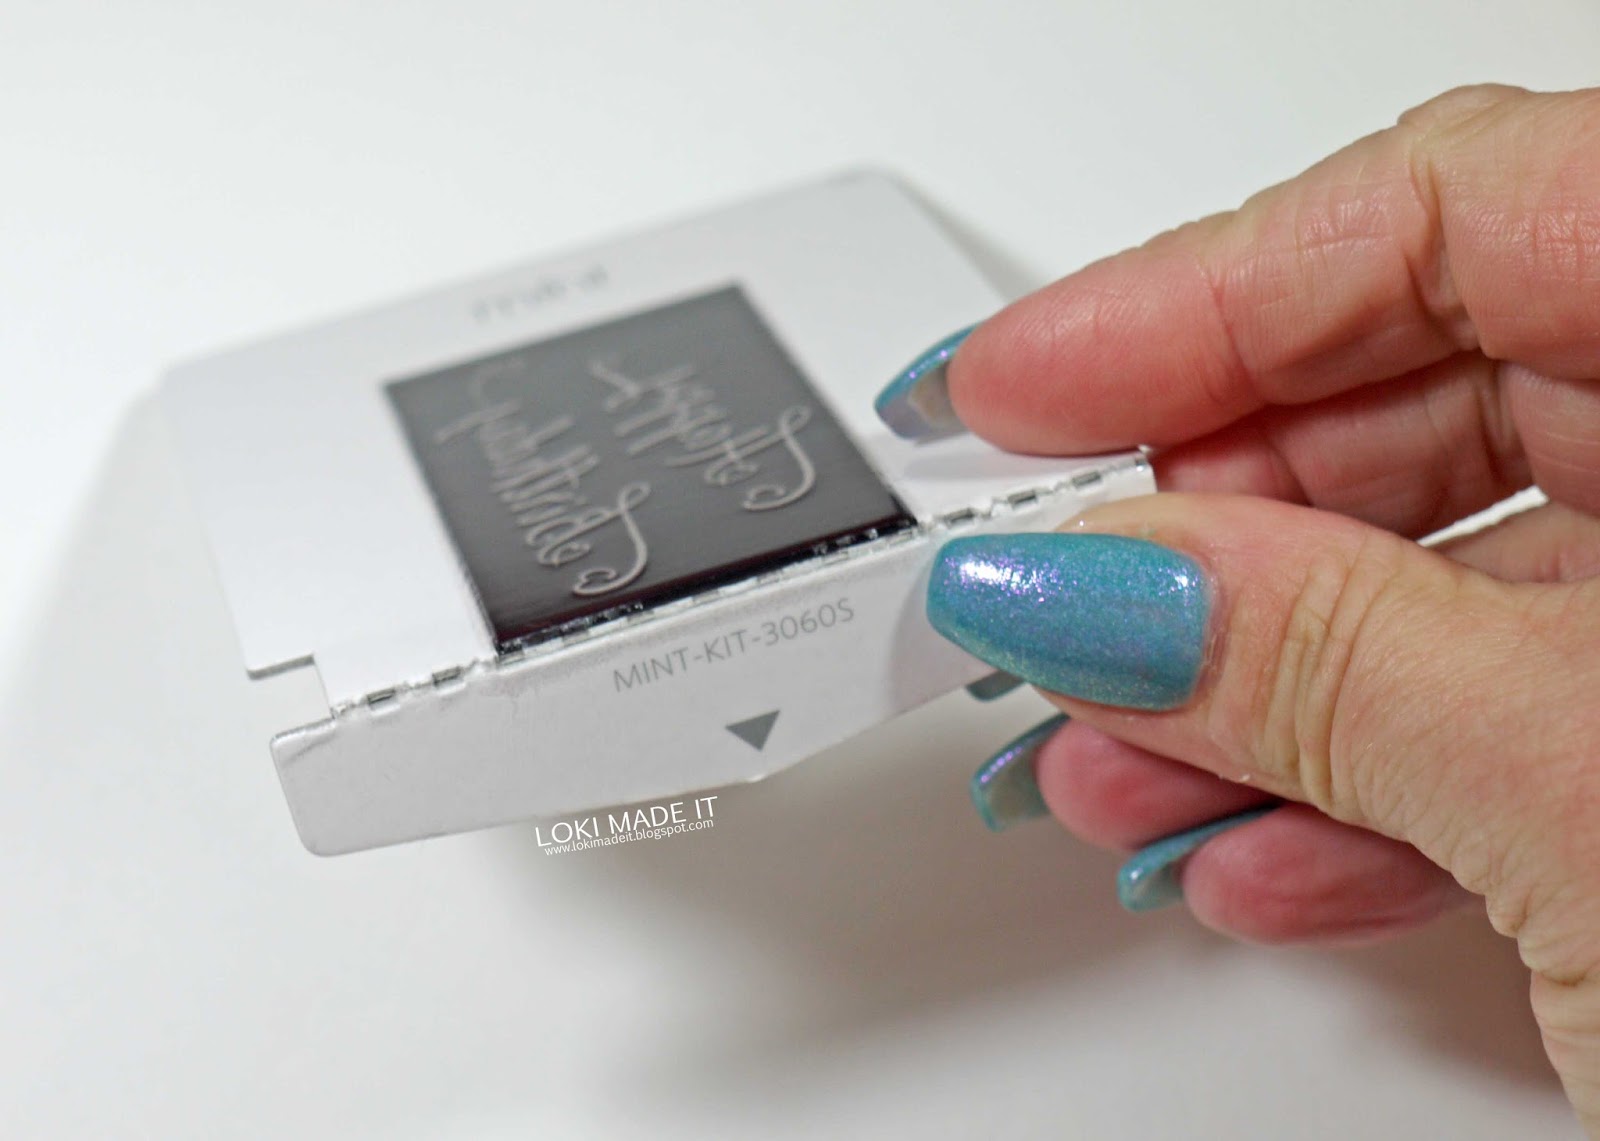
10- Once it has finished printing you can remove the stamp sheet from the machine.
11- Bend the card at the dotted line to start releasing the stamp image.
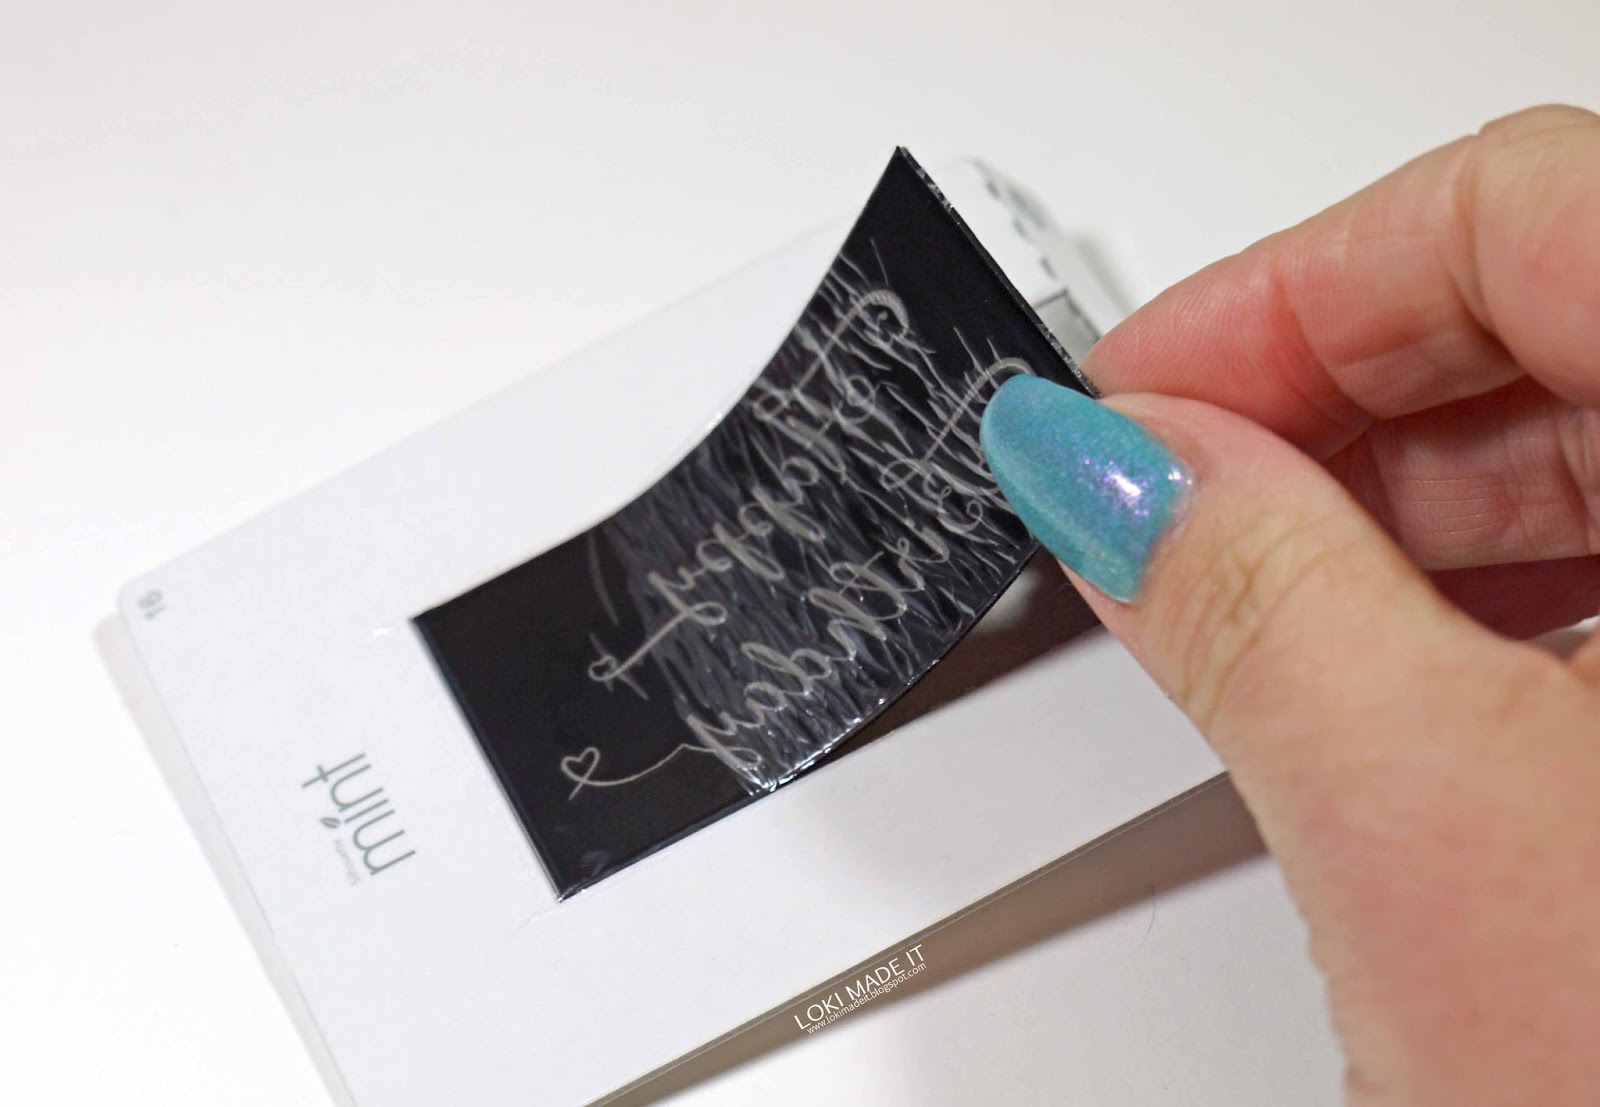
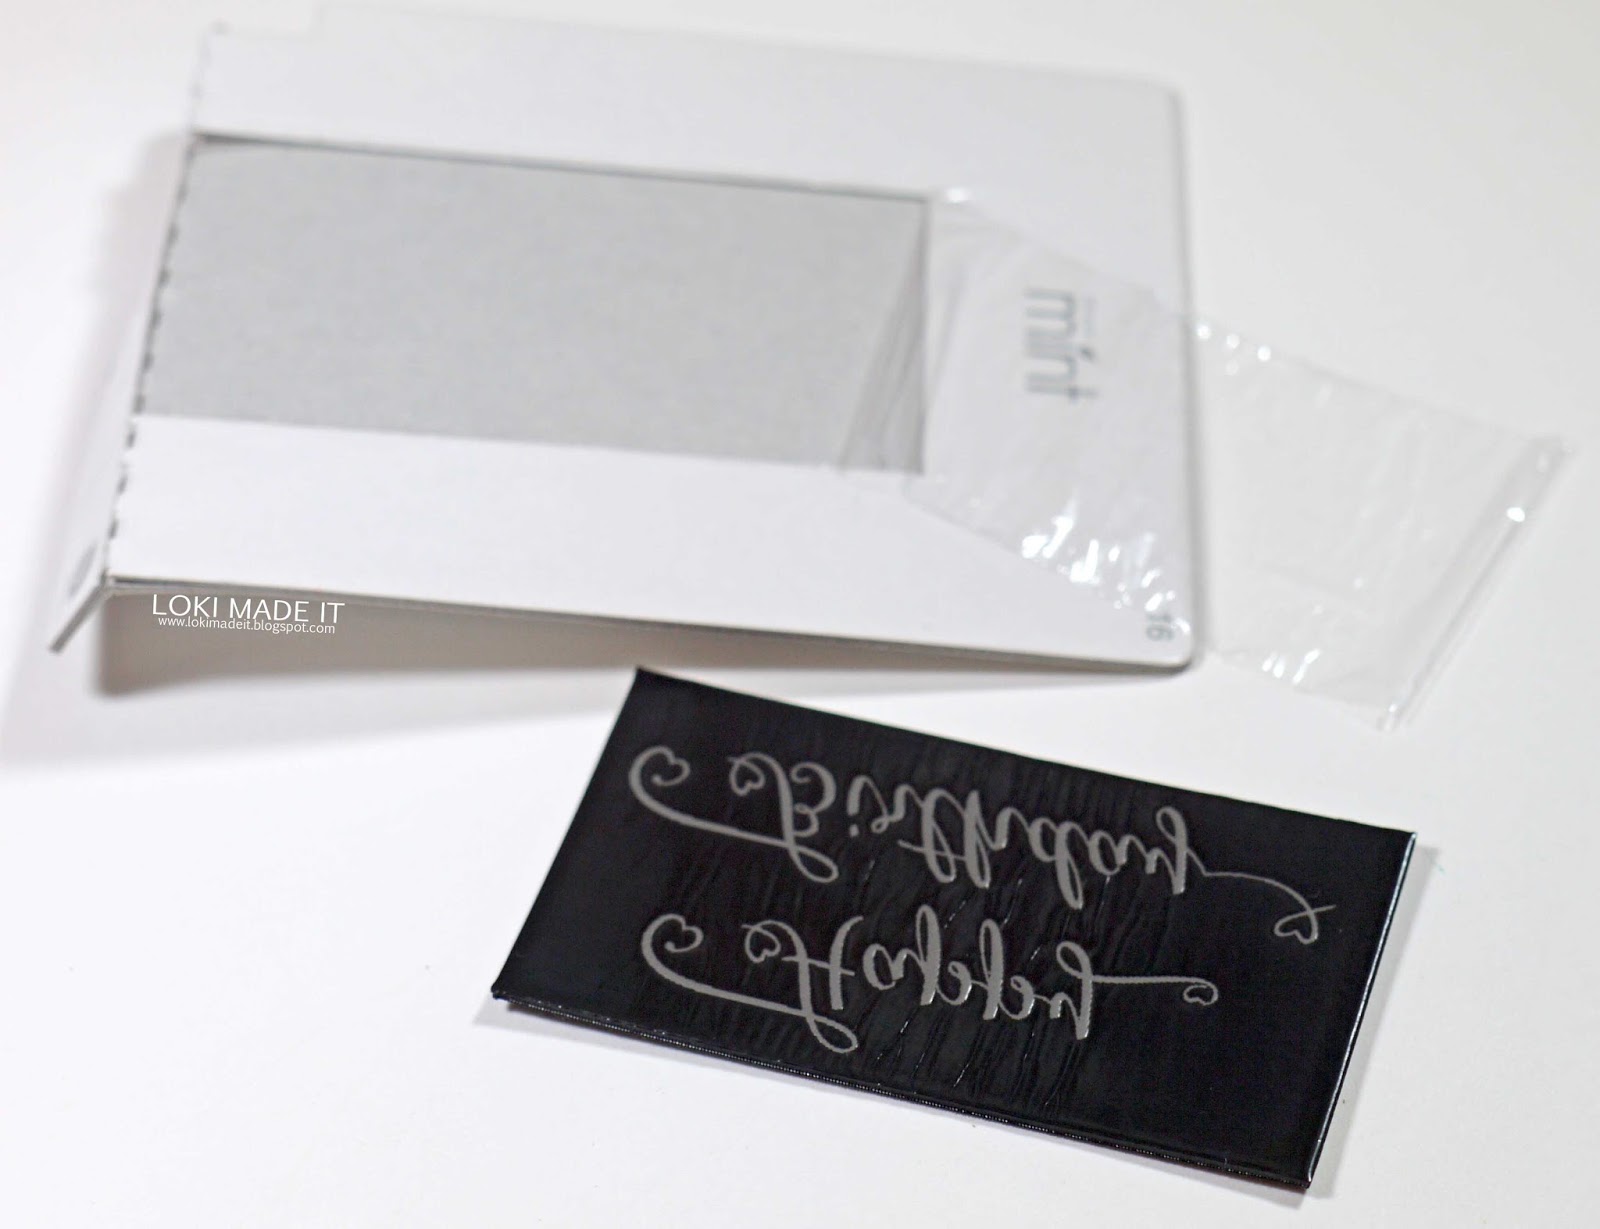
12- Peel the black printed sheet off the card backing slowly. You will see a thin plastic layer as you remove the black sheet. Make sure you remove this as you pull it out.
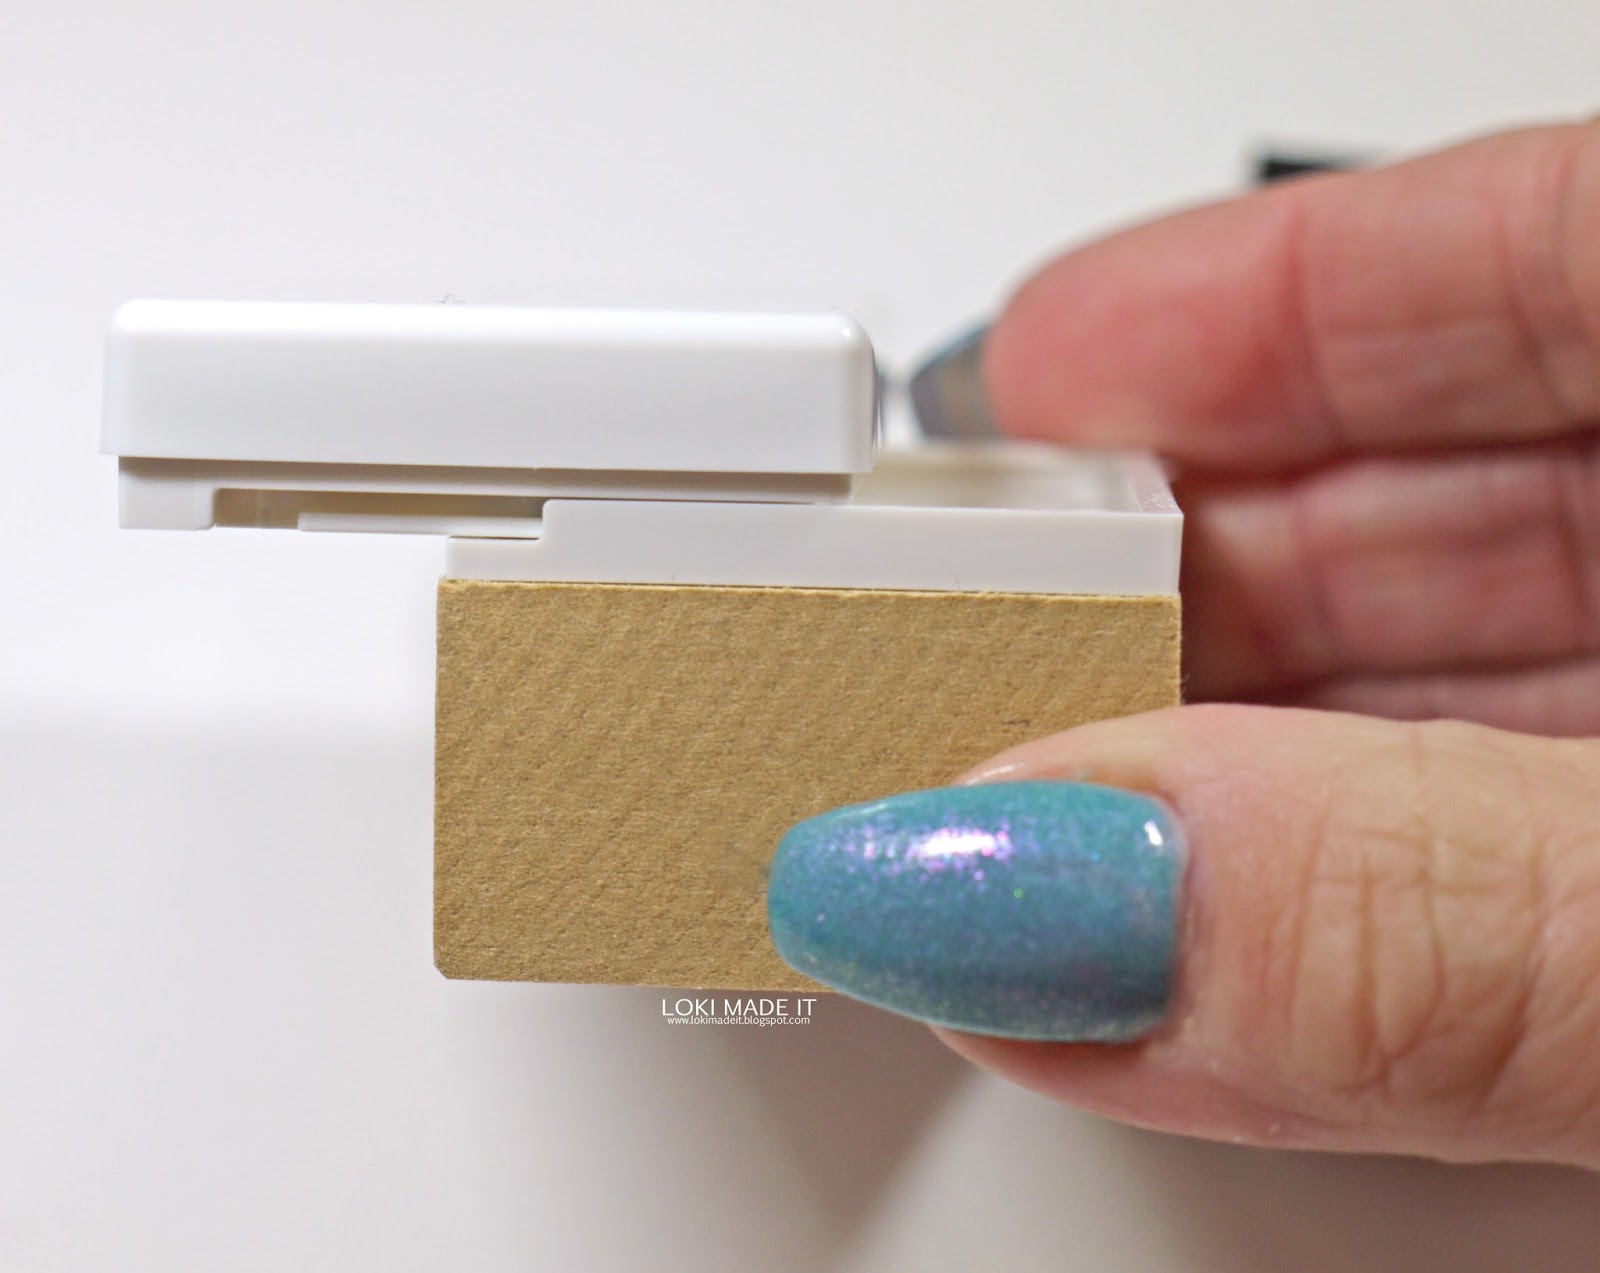
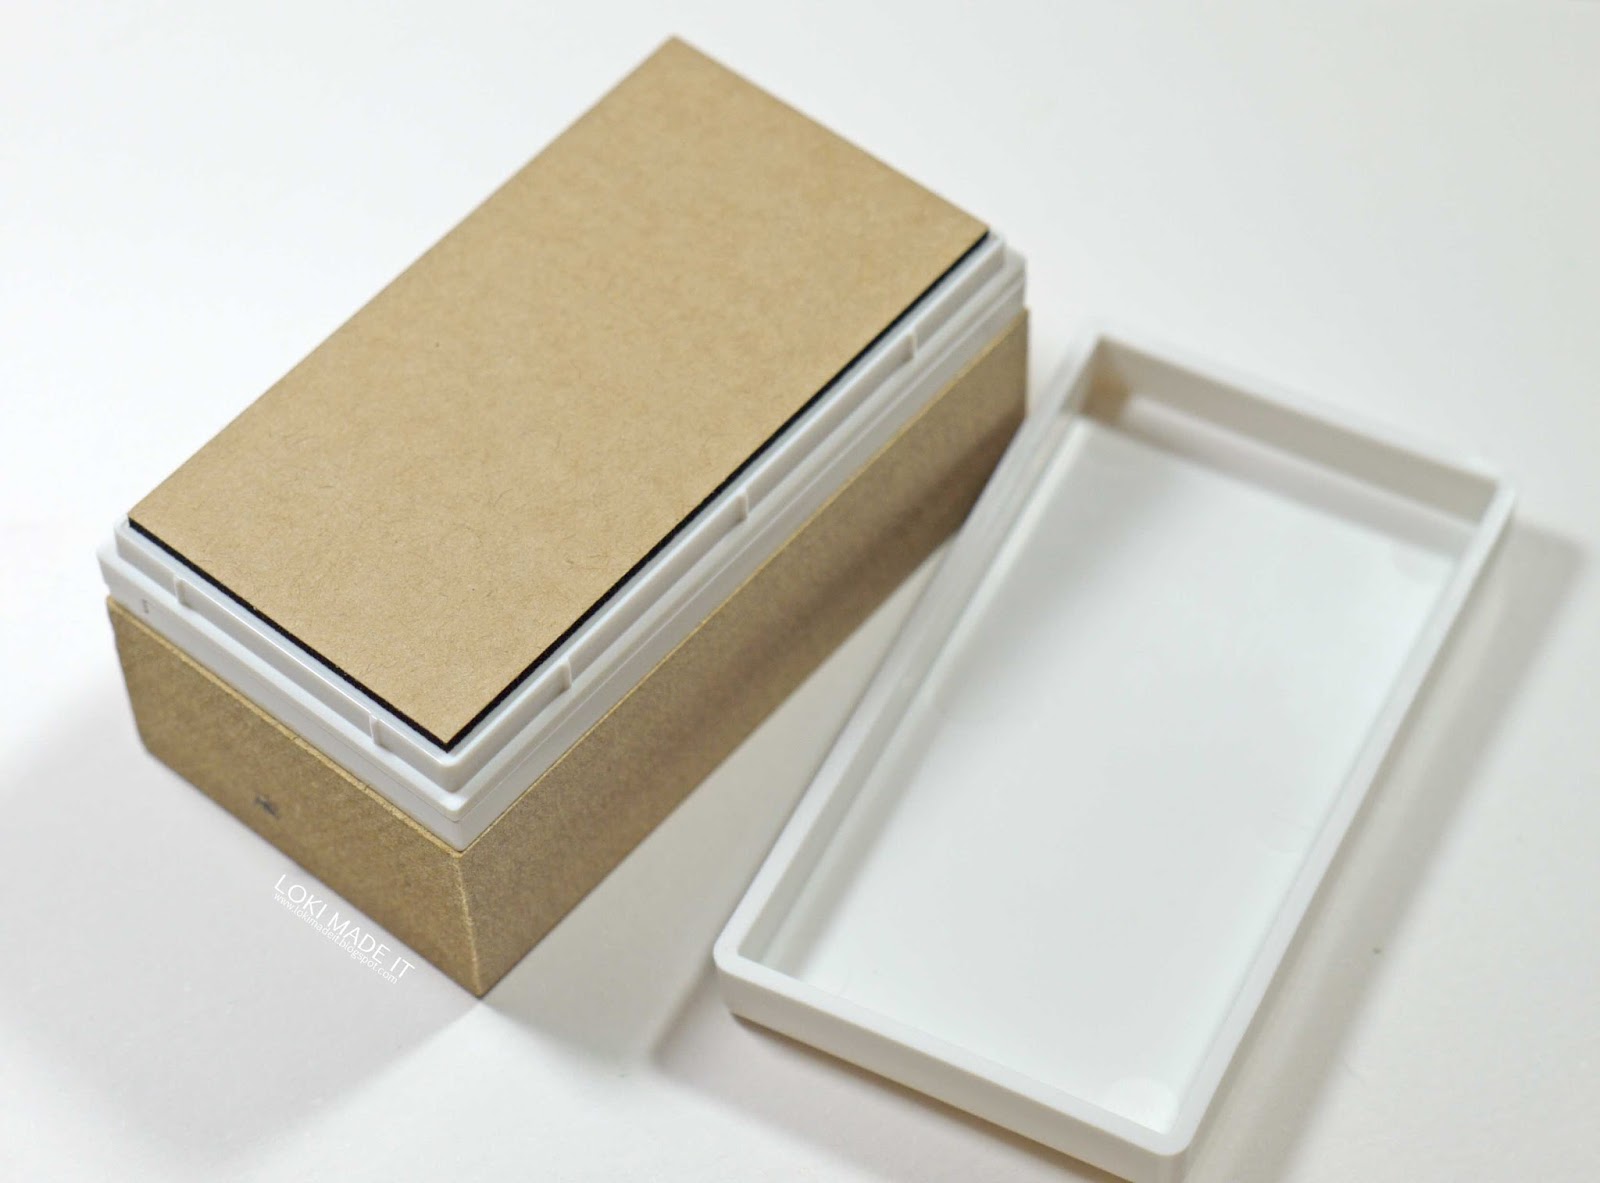
13- Slide and clip in the stamp top to the stamp base.
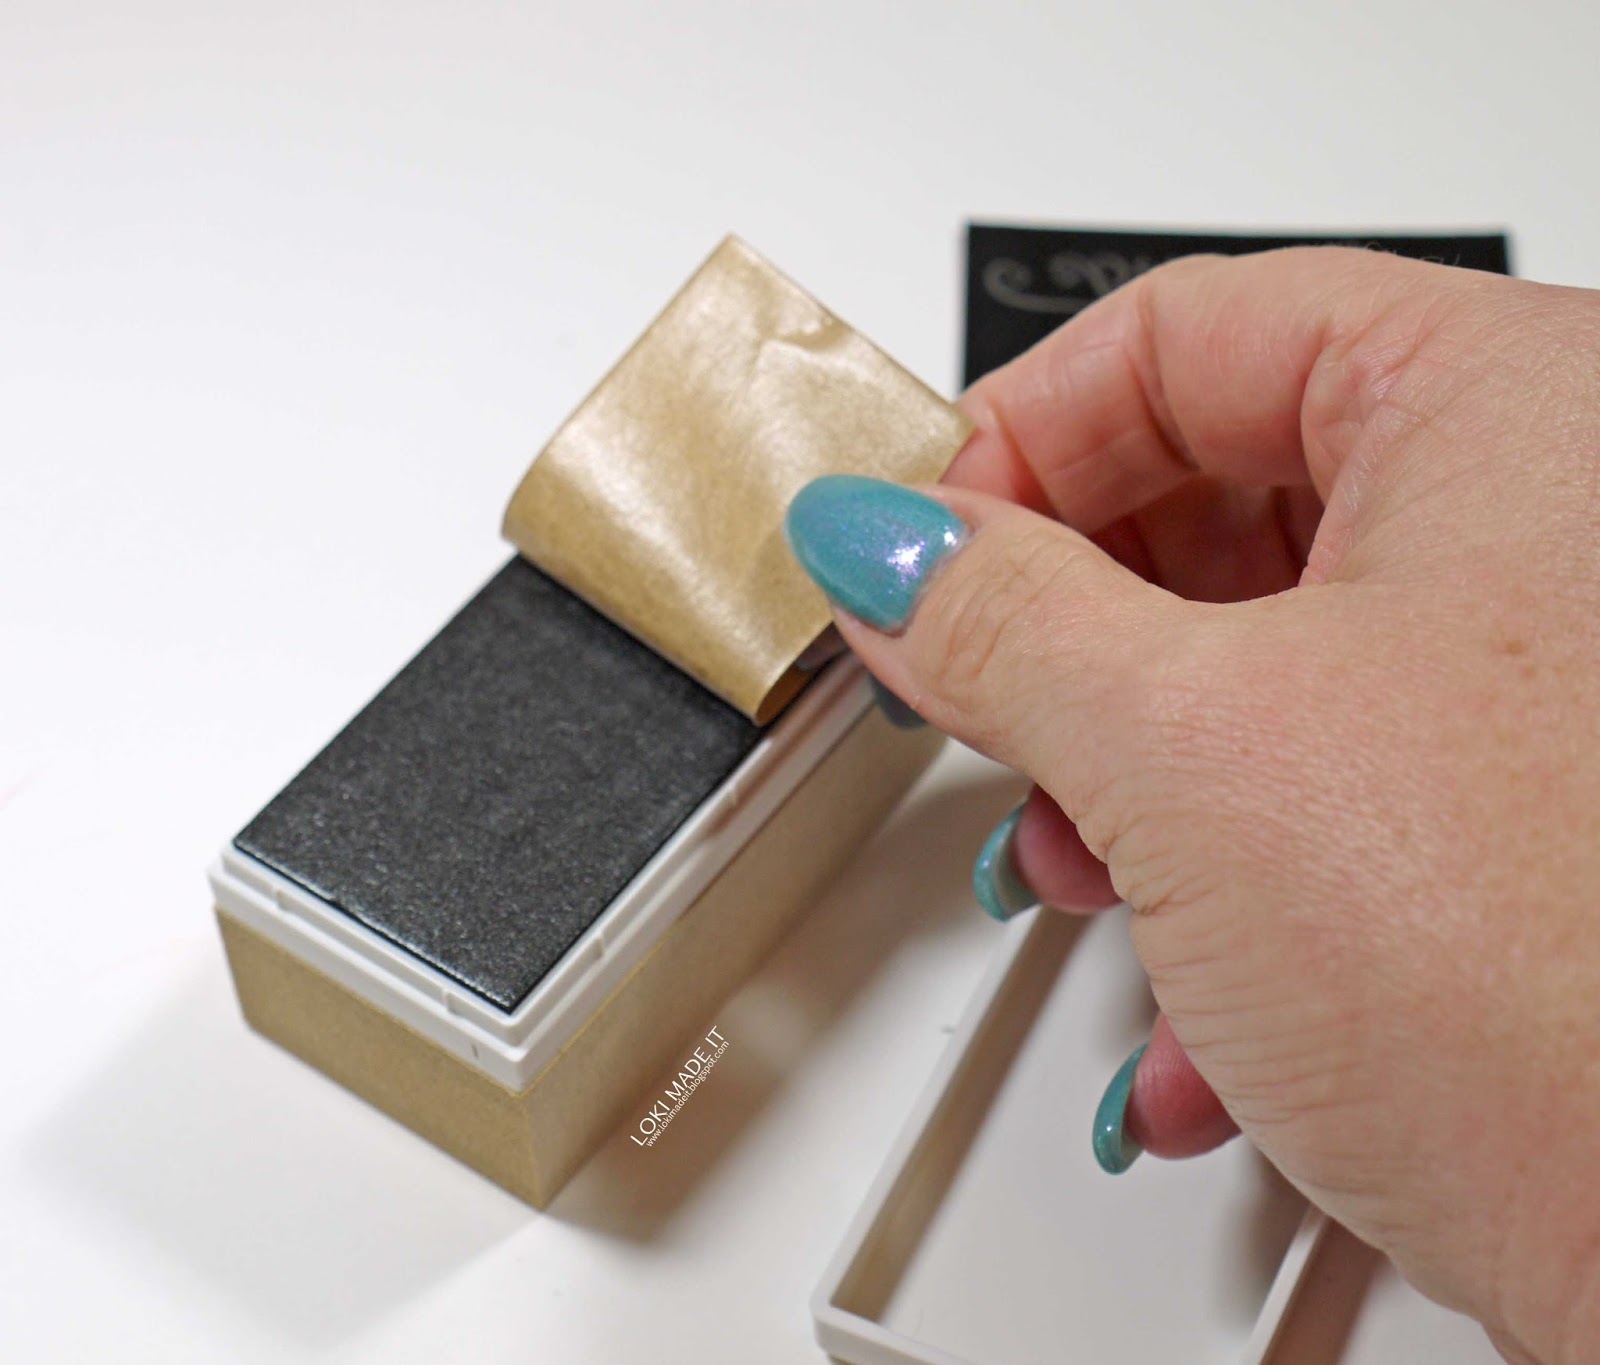
14- Once clicked in, remove the lid and peel off the backing paper.
15- Adhere the stamp to the block.
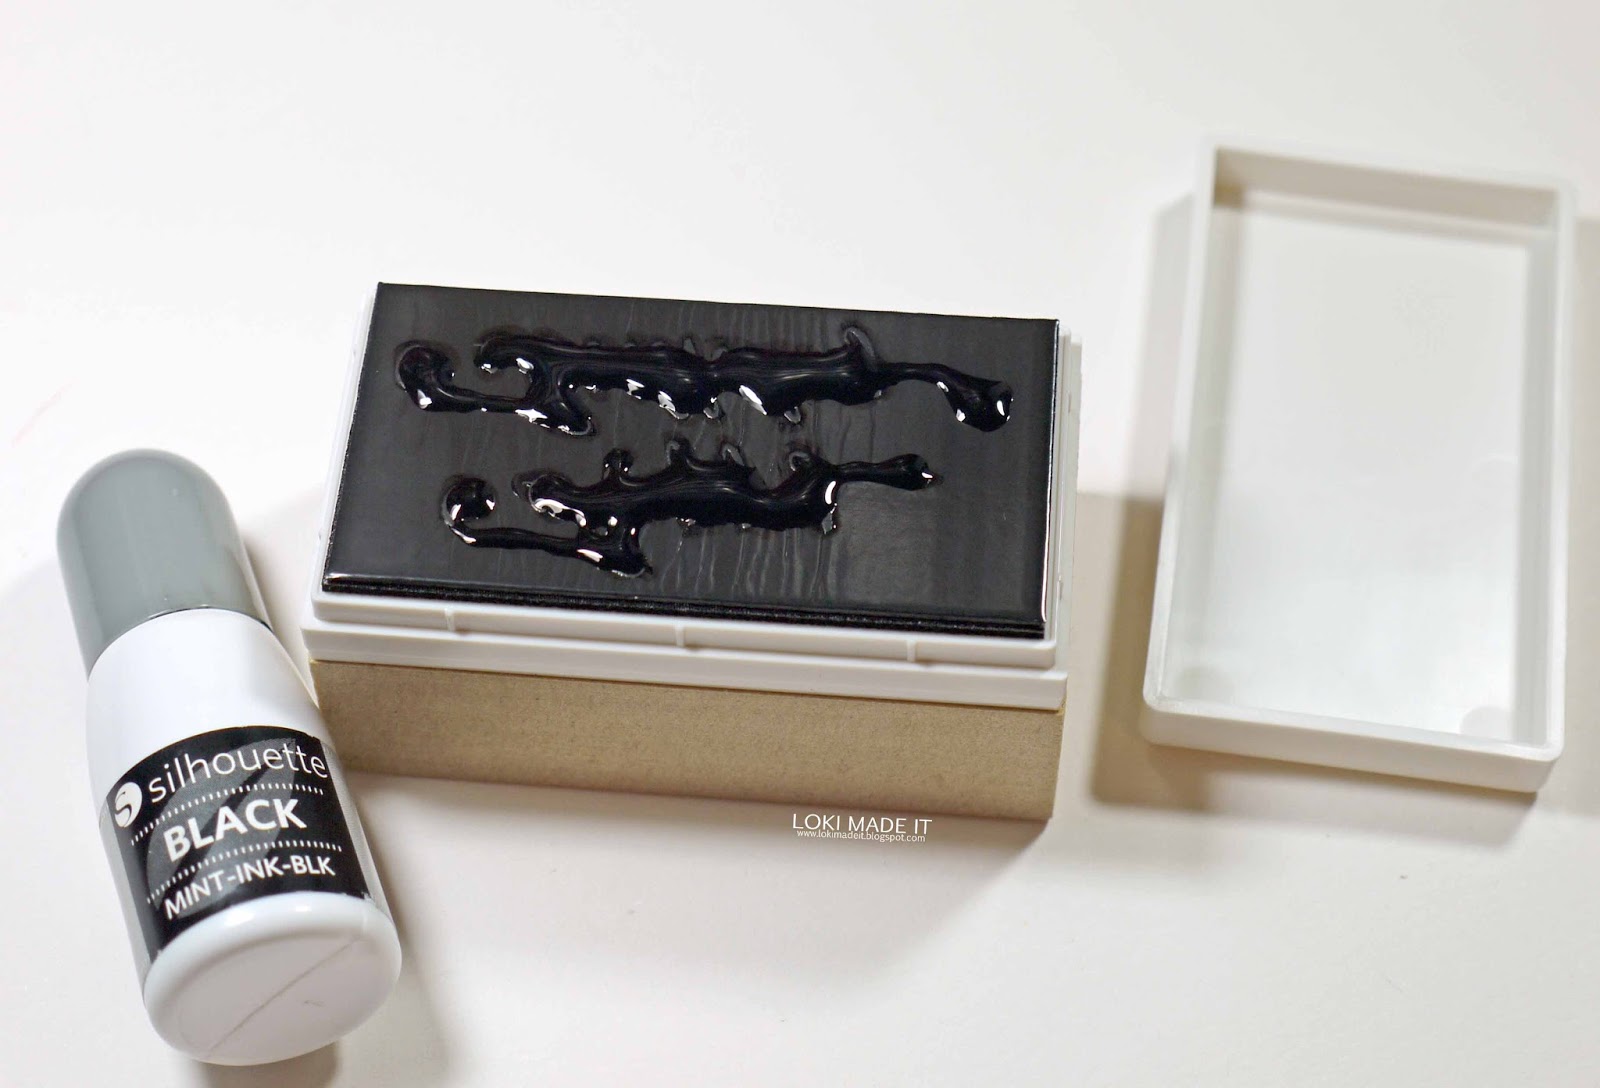
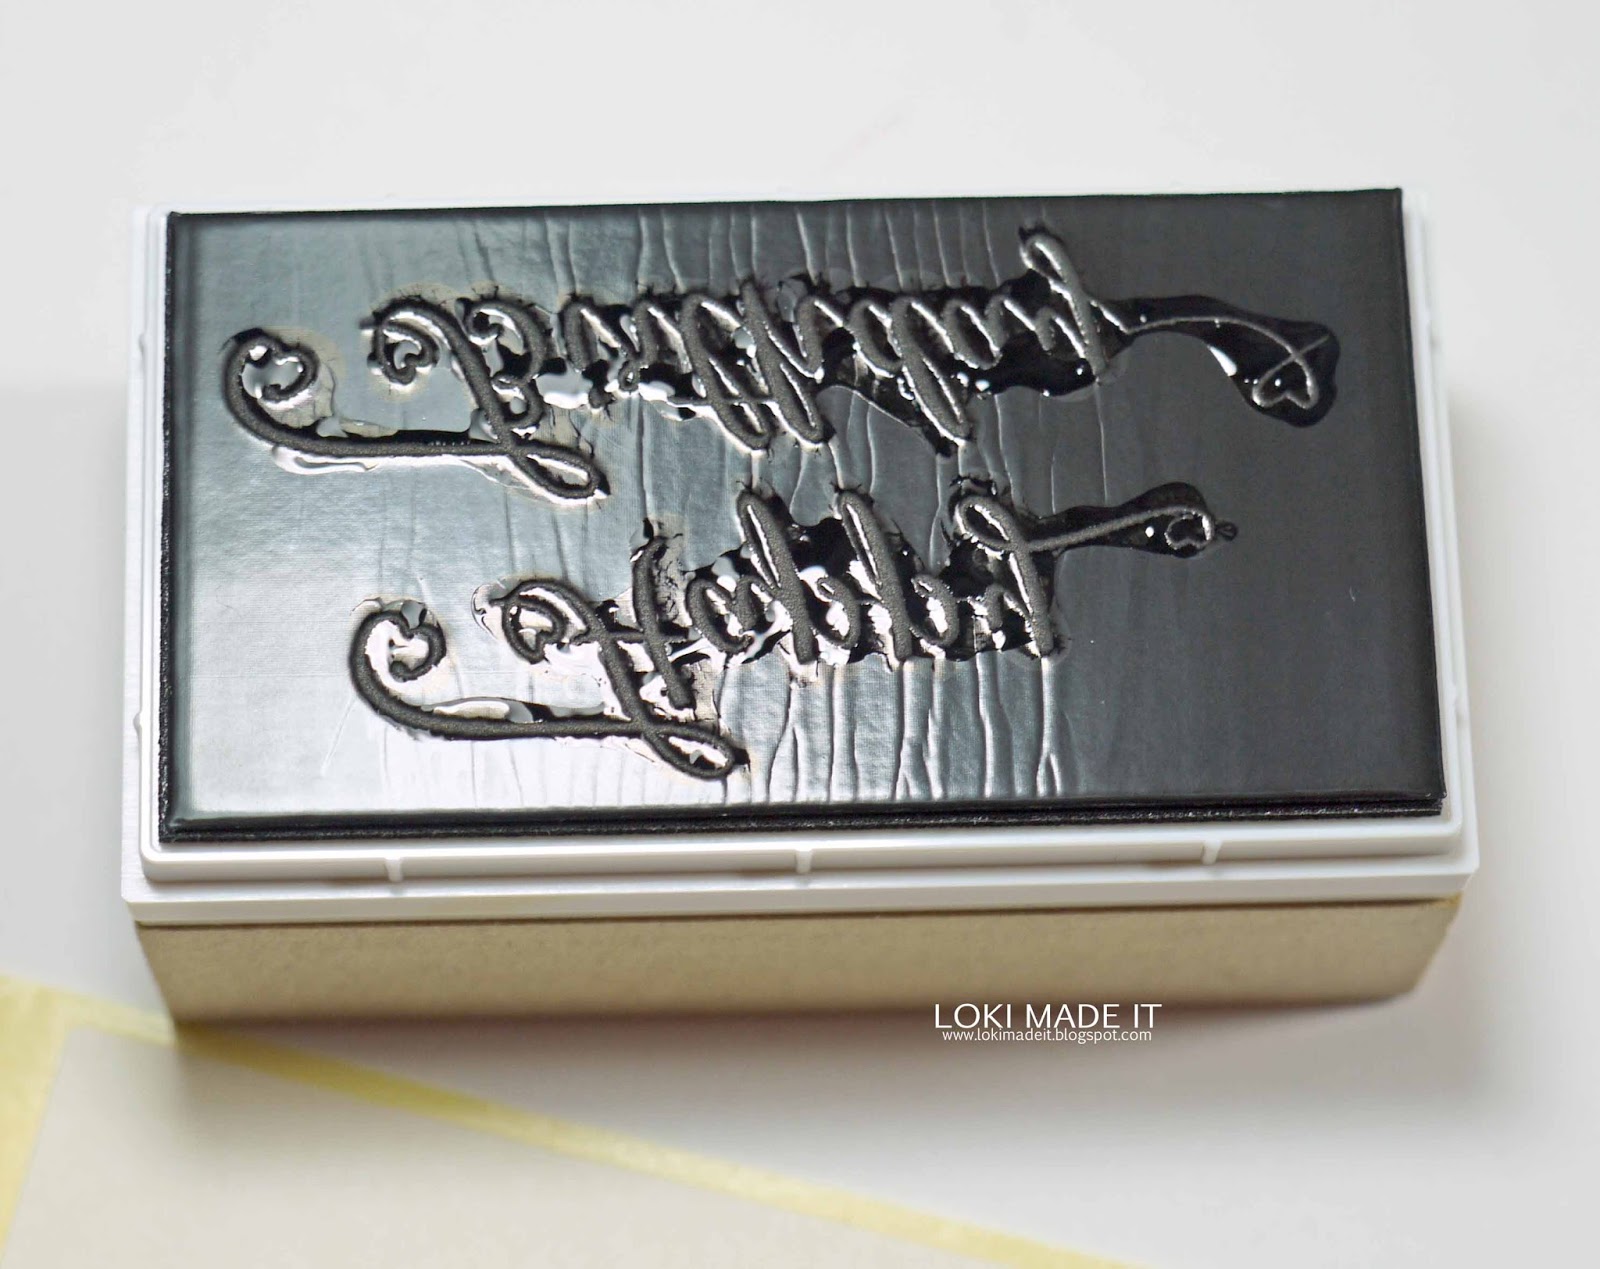
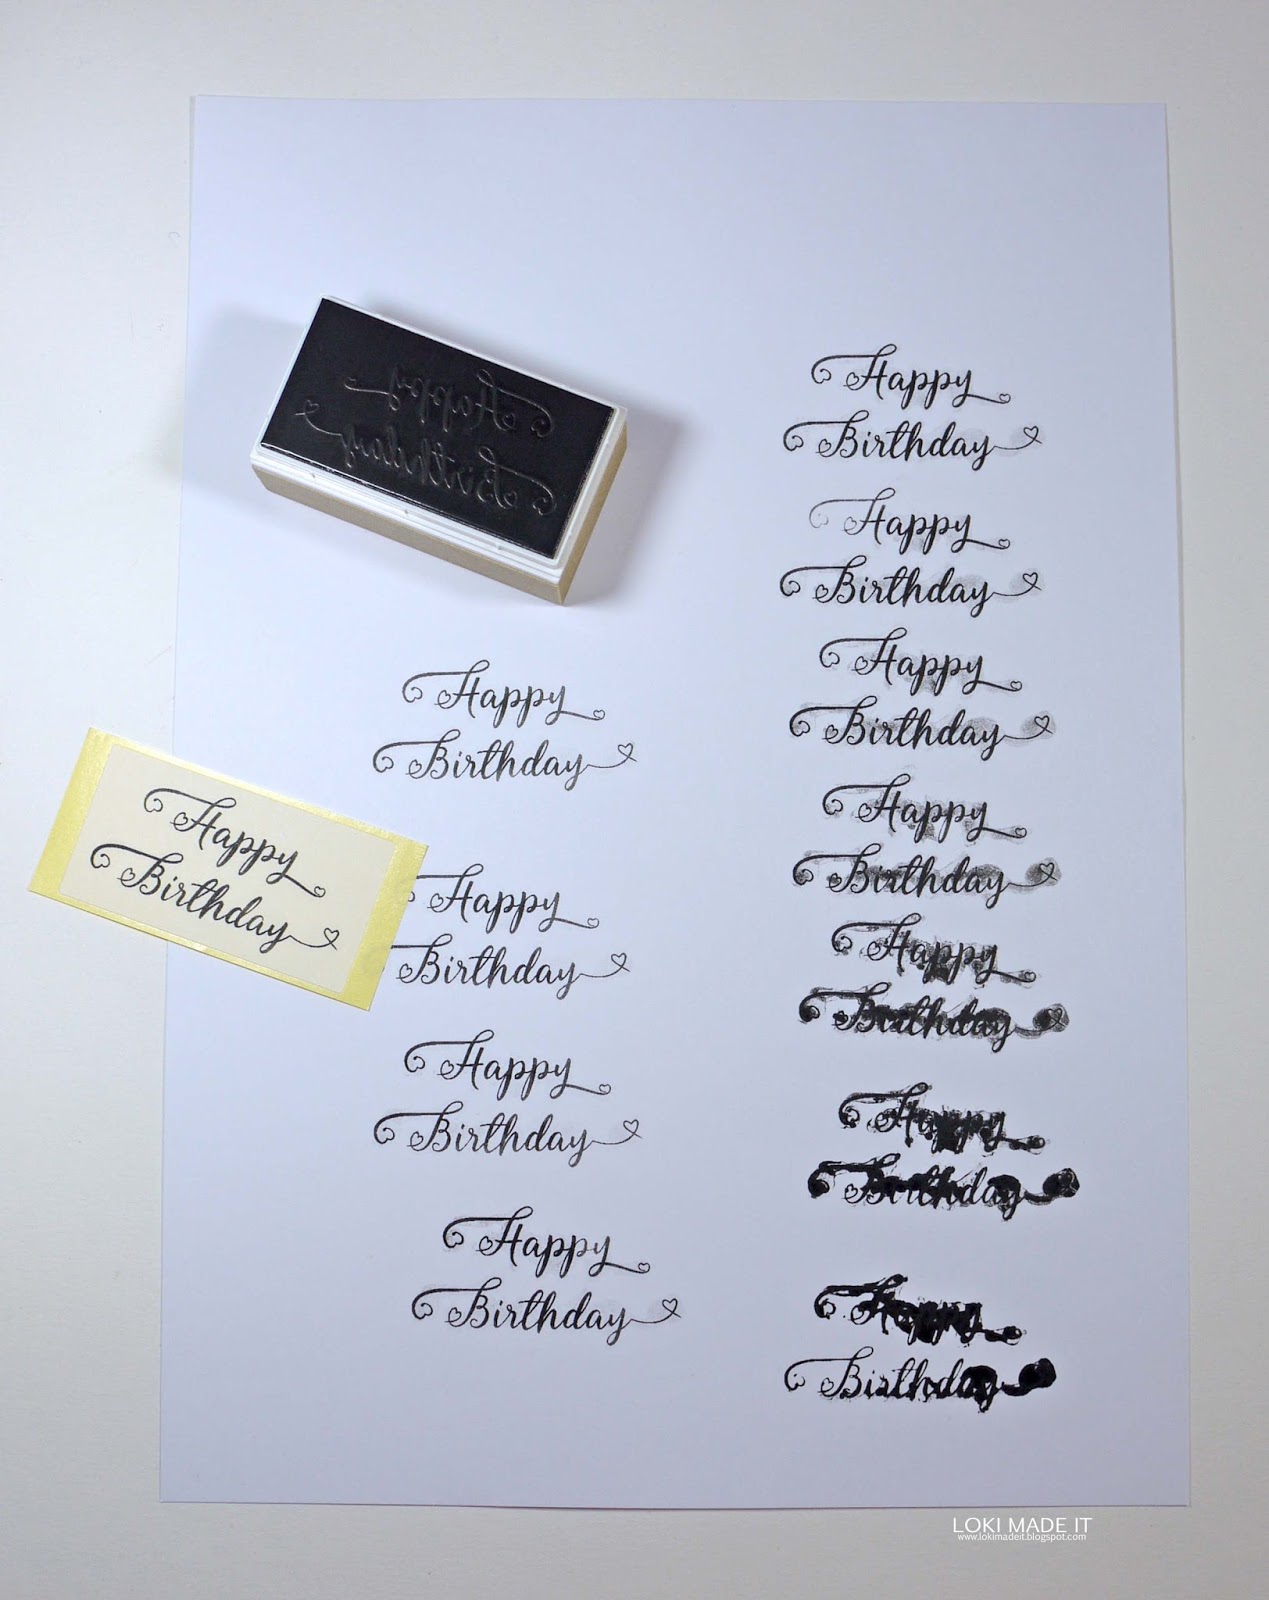
16- Using the black Silhouette Mint ink cover the image only, not the whole stamp. You only want the ink to absorb where the text is.
17- Wait approx 10 mins for the ink to fully soak in.
18- Once it has soaked in you will need to stamp it numerous times to remove any excess ink from your text. Stamp your sentiment onto the sticker provided and place on the lid of your stamp so you know what it is. The ink on the stamp should last approx 50 stamps before it will need re inking.
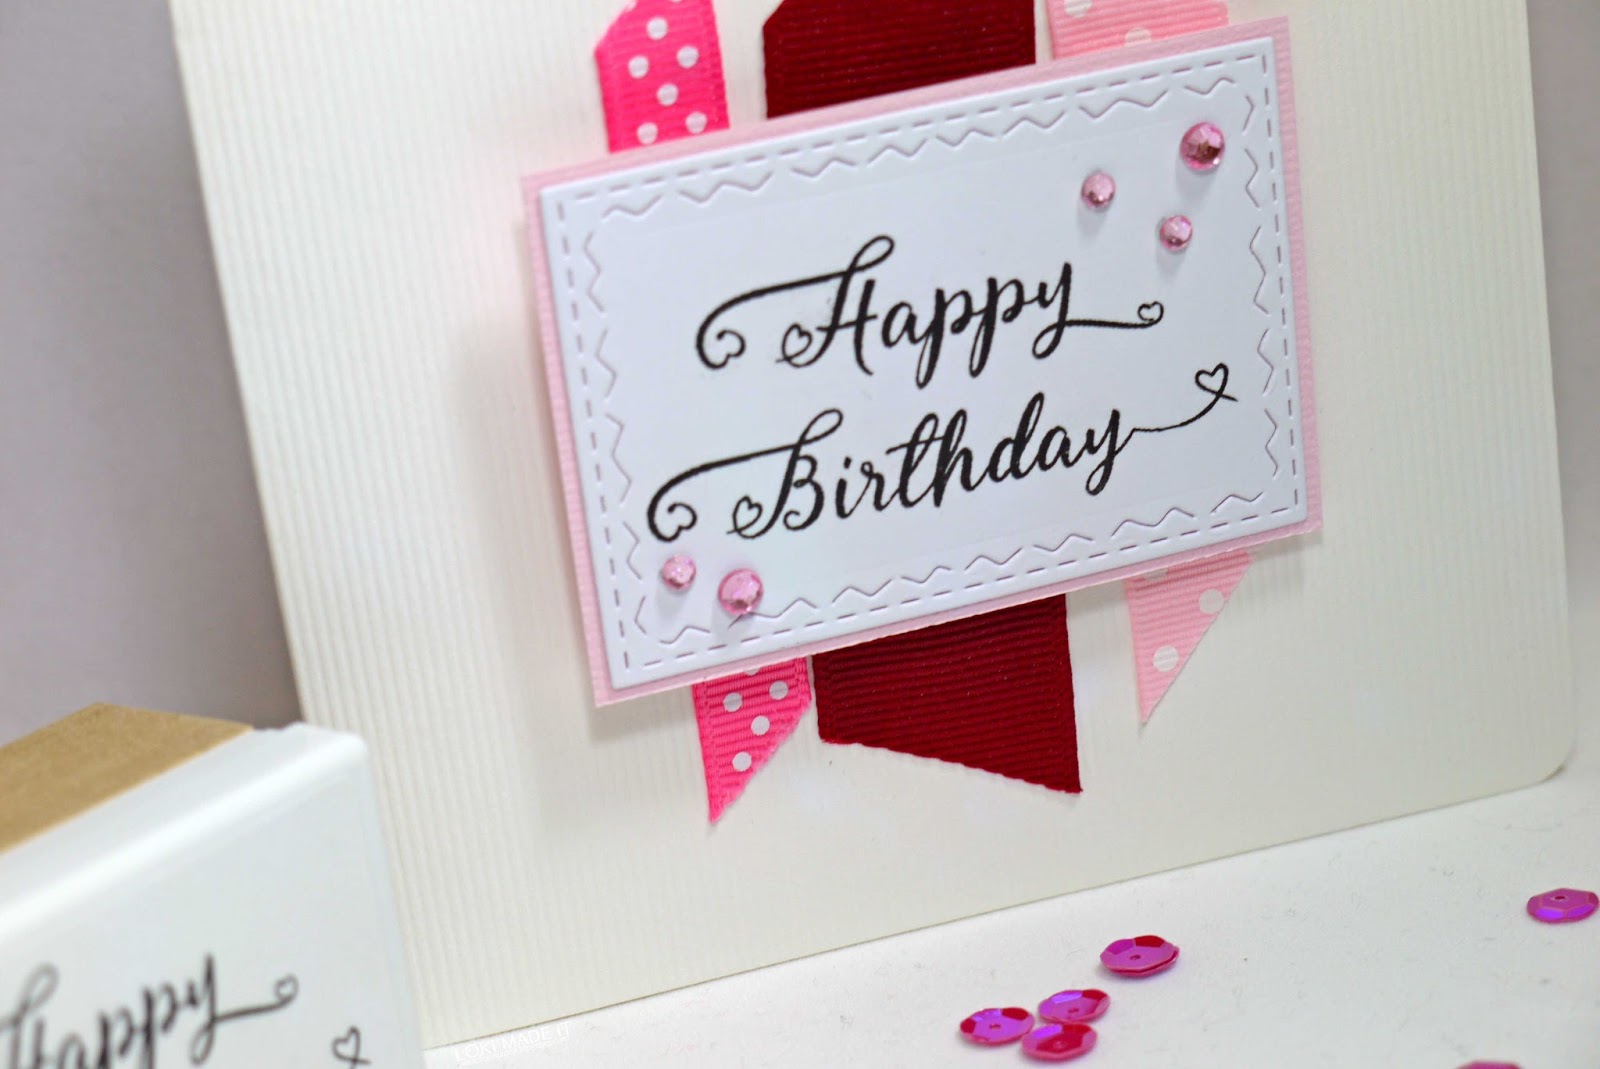
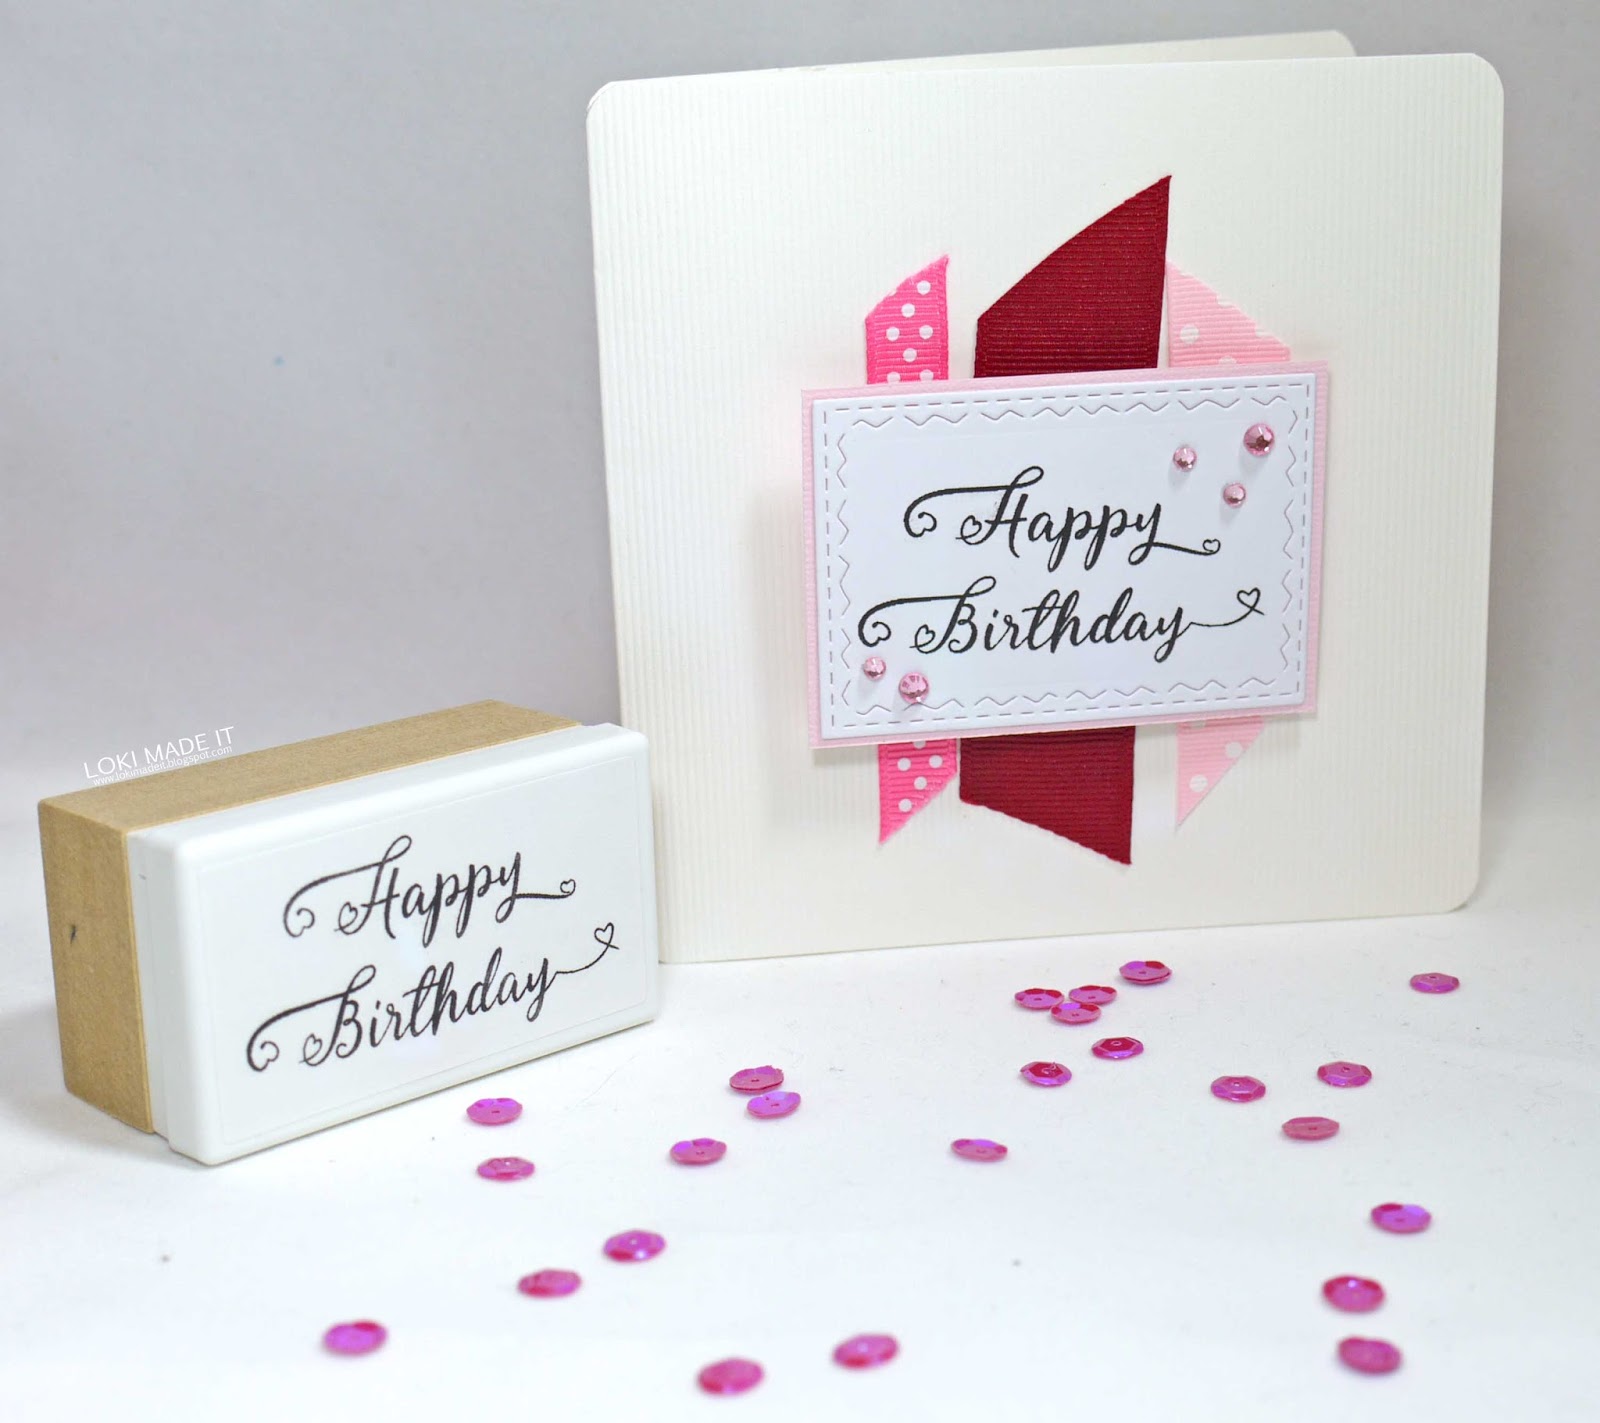
19- Once the stamp is ready, you can use it on your projects. I decided to stamp on some card and with some ribbon and a few gems created a simple birthday card.
The Silhouette mint is a great investment to create lots of fantastic sentiment stamps for your projects. The fonts at Fontbundles.net work well with the software and the encoded Glyphs make the sentiments you will create,that much more amazing!!!


