Posted 2nd August 2016 •
By Design Bundles
From time to time a truly amazing craft tool enters the market.
The MISTI arrived on the market a little while back and I had a look at it, thought it was very similar to my Fiskars Stamp press so thought nothing more of it.
It was not until a few months ago when I kept seeing tutorials on the MISTI that I thought i'd give it another look. I asked around about it and everyone agreed it was amazing and had replaced all those annoying big bulky acrylic block we have been using for years.
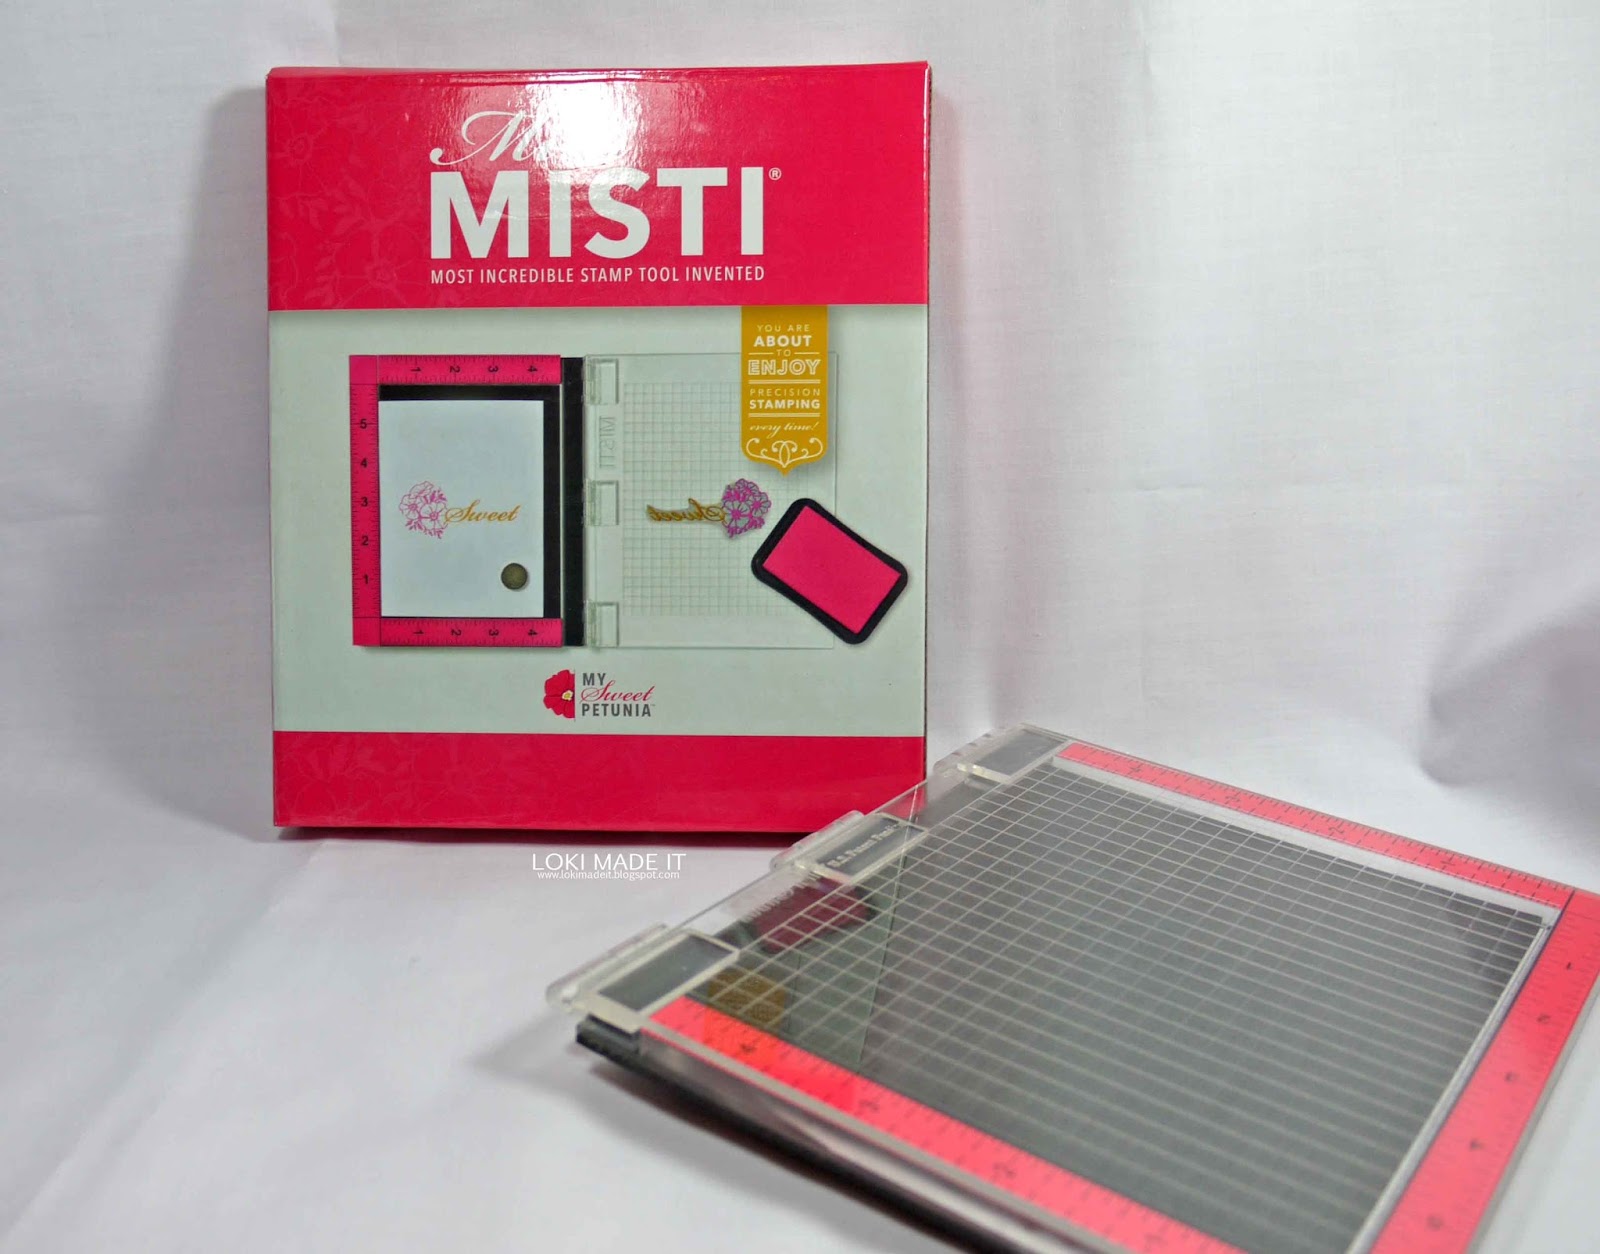
I decided to buy one. Now these MISTI tools are not cheap, they range from USD$49.00 to over $100.00 depending on the size you purchase.
I decided on the mini MISTI and purchased mine from
Scrapbook.com

The main function of the MISTI is to make stamping a whole lot easier! The hinged side lets you stamp your images in the exact same spot many times over, making it easy to fix errors if you miss stamp the first time. You can also use the tool to create accurate layered stamping. You can use it to stamp large quantities as well.
The MISTI comes with the tool itself, 2 magnets and a small pad of grid paper to use with the MISTI.

It is good to note that the 2 magnets that come with the MISTI are super strong and quite delicate. If they get close together the snap really quick and are very hard to get apart. A friend of mine recommended to place washi tape on each to make a small tab to be able to pull them apart.

The MISTI allows you to use clear stamps as well as the rubber cling stamps.
To use a Cling mounted rubber stamp you require to remove the foam insert from the tool.

Place your cardstock onto your MISTI base. Push the card to the corner and place the magnets onto it so the card will stay in place. Put your stamp (stamp side down) onto your card. Close the top.

Press down firmly to get the stamp to adhere to the top of the MISTI. then re open. Ink your stamp and then re close to top. Press firmly all over the top where the stamp is adhered too.

Re open the top and your stamp is not onto your card. If for any reason the stamp miss printed you can re ink and re stamp. This is the beauty of the MISTI you can re ink and fix any errors.

Now lets create a card with the MISTI!

You will need the following-
MISTI tool
Sweet Stamp Shop- unicorn stamp
Patterned paper
Cardstock - various colours and glitter
Glitter markers
Paper smooches dies- stars
Lil Inker dies- small bow
Tim Holtz dies- Stitched Rectangles
Manual die cutting machine - Sizzix big shot
Adhesives.
1- Place your card into the MISTI. Put your stamps where you would like them to go on your card.

2- Close the top and press to get the stamps to adhere well. open back up and ink your stamps.

3- Once inked press back down and ensure all the stamps touch the paper. Open back up.

4- Your image is stamped. If there are missing parts to your stamped image re ink and stamp. The beauty of the MISTI is you can re ink and stamp exactly in the same spot over and over if you need too.

5- Trim your image and colour with glitter markers.

6- Cover a 6 x 4 inch card in patterned paper.
7- Die cut the stars, rectangle and bow.
8- Adhere all parts of the card together.

The MISTI is a great investment. I now only have to use one tool instead of 4 different blocks.
If you use a lot of background stamps I would recommend the original MISTI as it is larger than the Mini MISTI I purchased.
Until next time.....


